Let It Glow Holiday Cards
 Gella
Gella 
Step 3: Prepare and Place LED
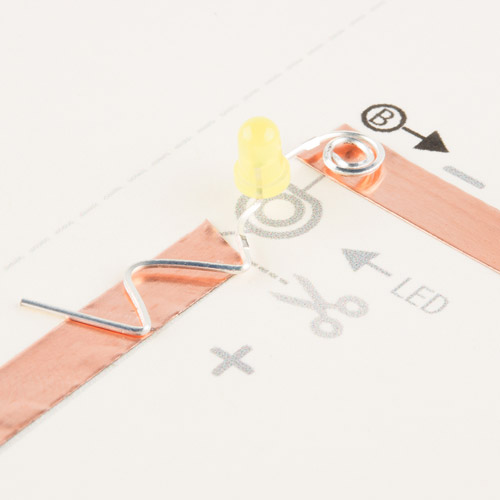
Now that our copper is in place, time to add the LED. Each template has an LED symbol which shows a shaped wire - we use this method to help us remember which side is positive and negative on the LED.
Here's excerpt from our Light-emitting Diodes (LEDs) Tutorial about LED polarity:
"In electronics, polarity indicates whether a circuit component is symmetric or not. LEDs, being diodes, will only allow current to flow in one direction. And when there’s no current-flow, there’s no light. Luckily, this also means that you can’t break an LED by plugging it in backwards. Rather, it just won’t work. The positive side of the LED is called the “anode” and is marked by having a longer “lead,” or leg. The other, negative side of the LED is called the “cathode.”
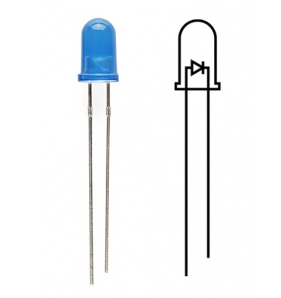
Here are directions for bending a standard LED (as shown in the image above) to prepare it for our circuit.
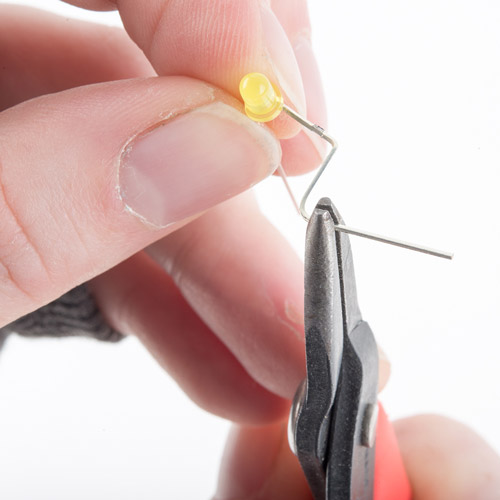
Using pliers (or your finger) bend the longer leg of the LED flat. Then form the wire into a zig zag shape. Be careful not to break the wire by bending back and forth over the same joint too many times.
Next, bend the other leg flat and curl into a spiral. Use the end of the pliers to lightly grab the end of the wire and curl around the tool.
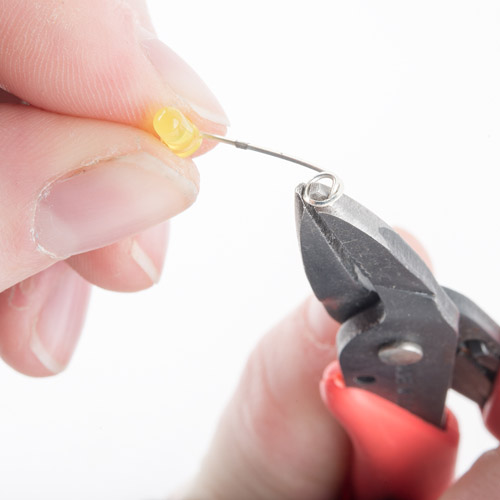
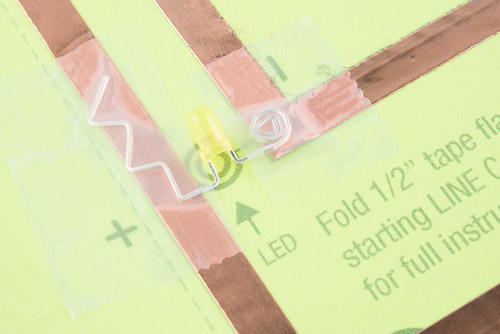
Once all shaping is complete, place the LED on a table or flat surface to make sure it sits flat and upright. If not, make any adjustments now.
The Christmas Tree design looks best if the LEDs are pointed at a slight angle toward the middle of the tree and each other, see picture below.
Using LED String Lights
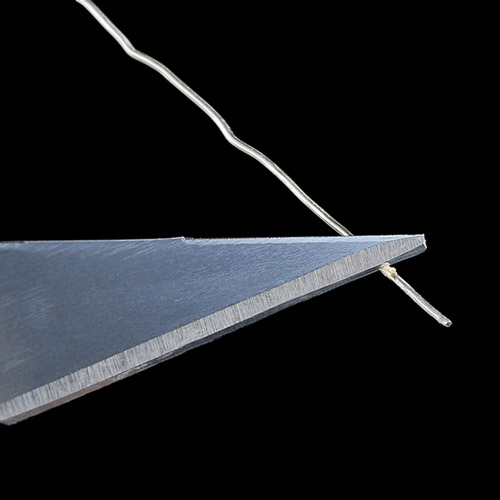
We've been experimenting with cutting up LED string lights (also known as fairy lights) because they use tiny LEDs that are great for flat surfaces like greeting cards. Cut one LED off of the strip, making sure to leave ~1/2" of wire on either side. Then use a hobby knife to scrape away the coating from the wire to expose it. Make sure to scrape all around the wire, not just the top or bottom side, to ensure that you'll have a good connection with the tape. Sandpaper will also work, if you don't want to use a knife.
Each LED will have four wires coming from it - two positive and two negative because the LEDs are wired in parallel. It's hard to see immediately which is which (they don't have the handy longer/shorter trick like normal LEDs) - but we can quickly check them against a battery. Once we know which side is positive - mark the wire with a sharpie to help identify it. It's okay to just leave the wires straight rather than shaping them like the other LED example.
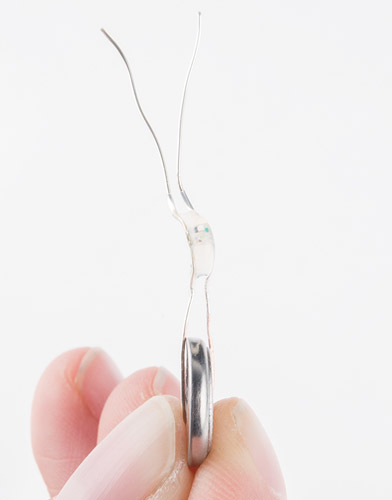
If you have super eyesight - you can check for a green marking on the LED, this is the negative side.

This picture shows an LED from a string light prepped by identifying and marking the positive wire and trimming the extra wires so that they don't accidentally short circuit each other.
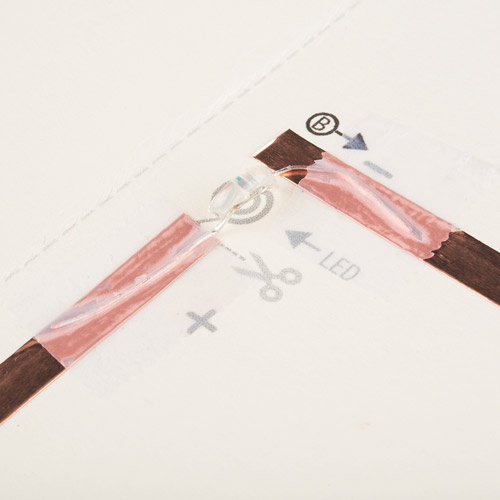
Tape Down LED
Regardless of which LED type is going into the card, line up the positive lead with the copper tape marked + and the negative with -. Use clear tape over it to hold down to the copper.