LED PomPom Headbands
 Feldi
Feldi 
Beginner PomPom Headband
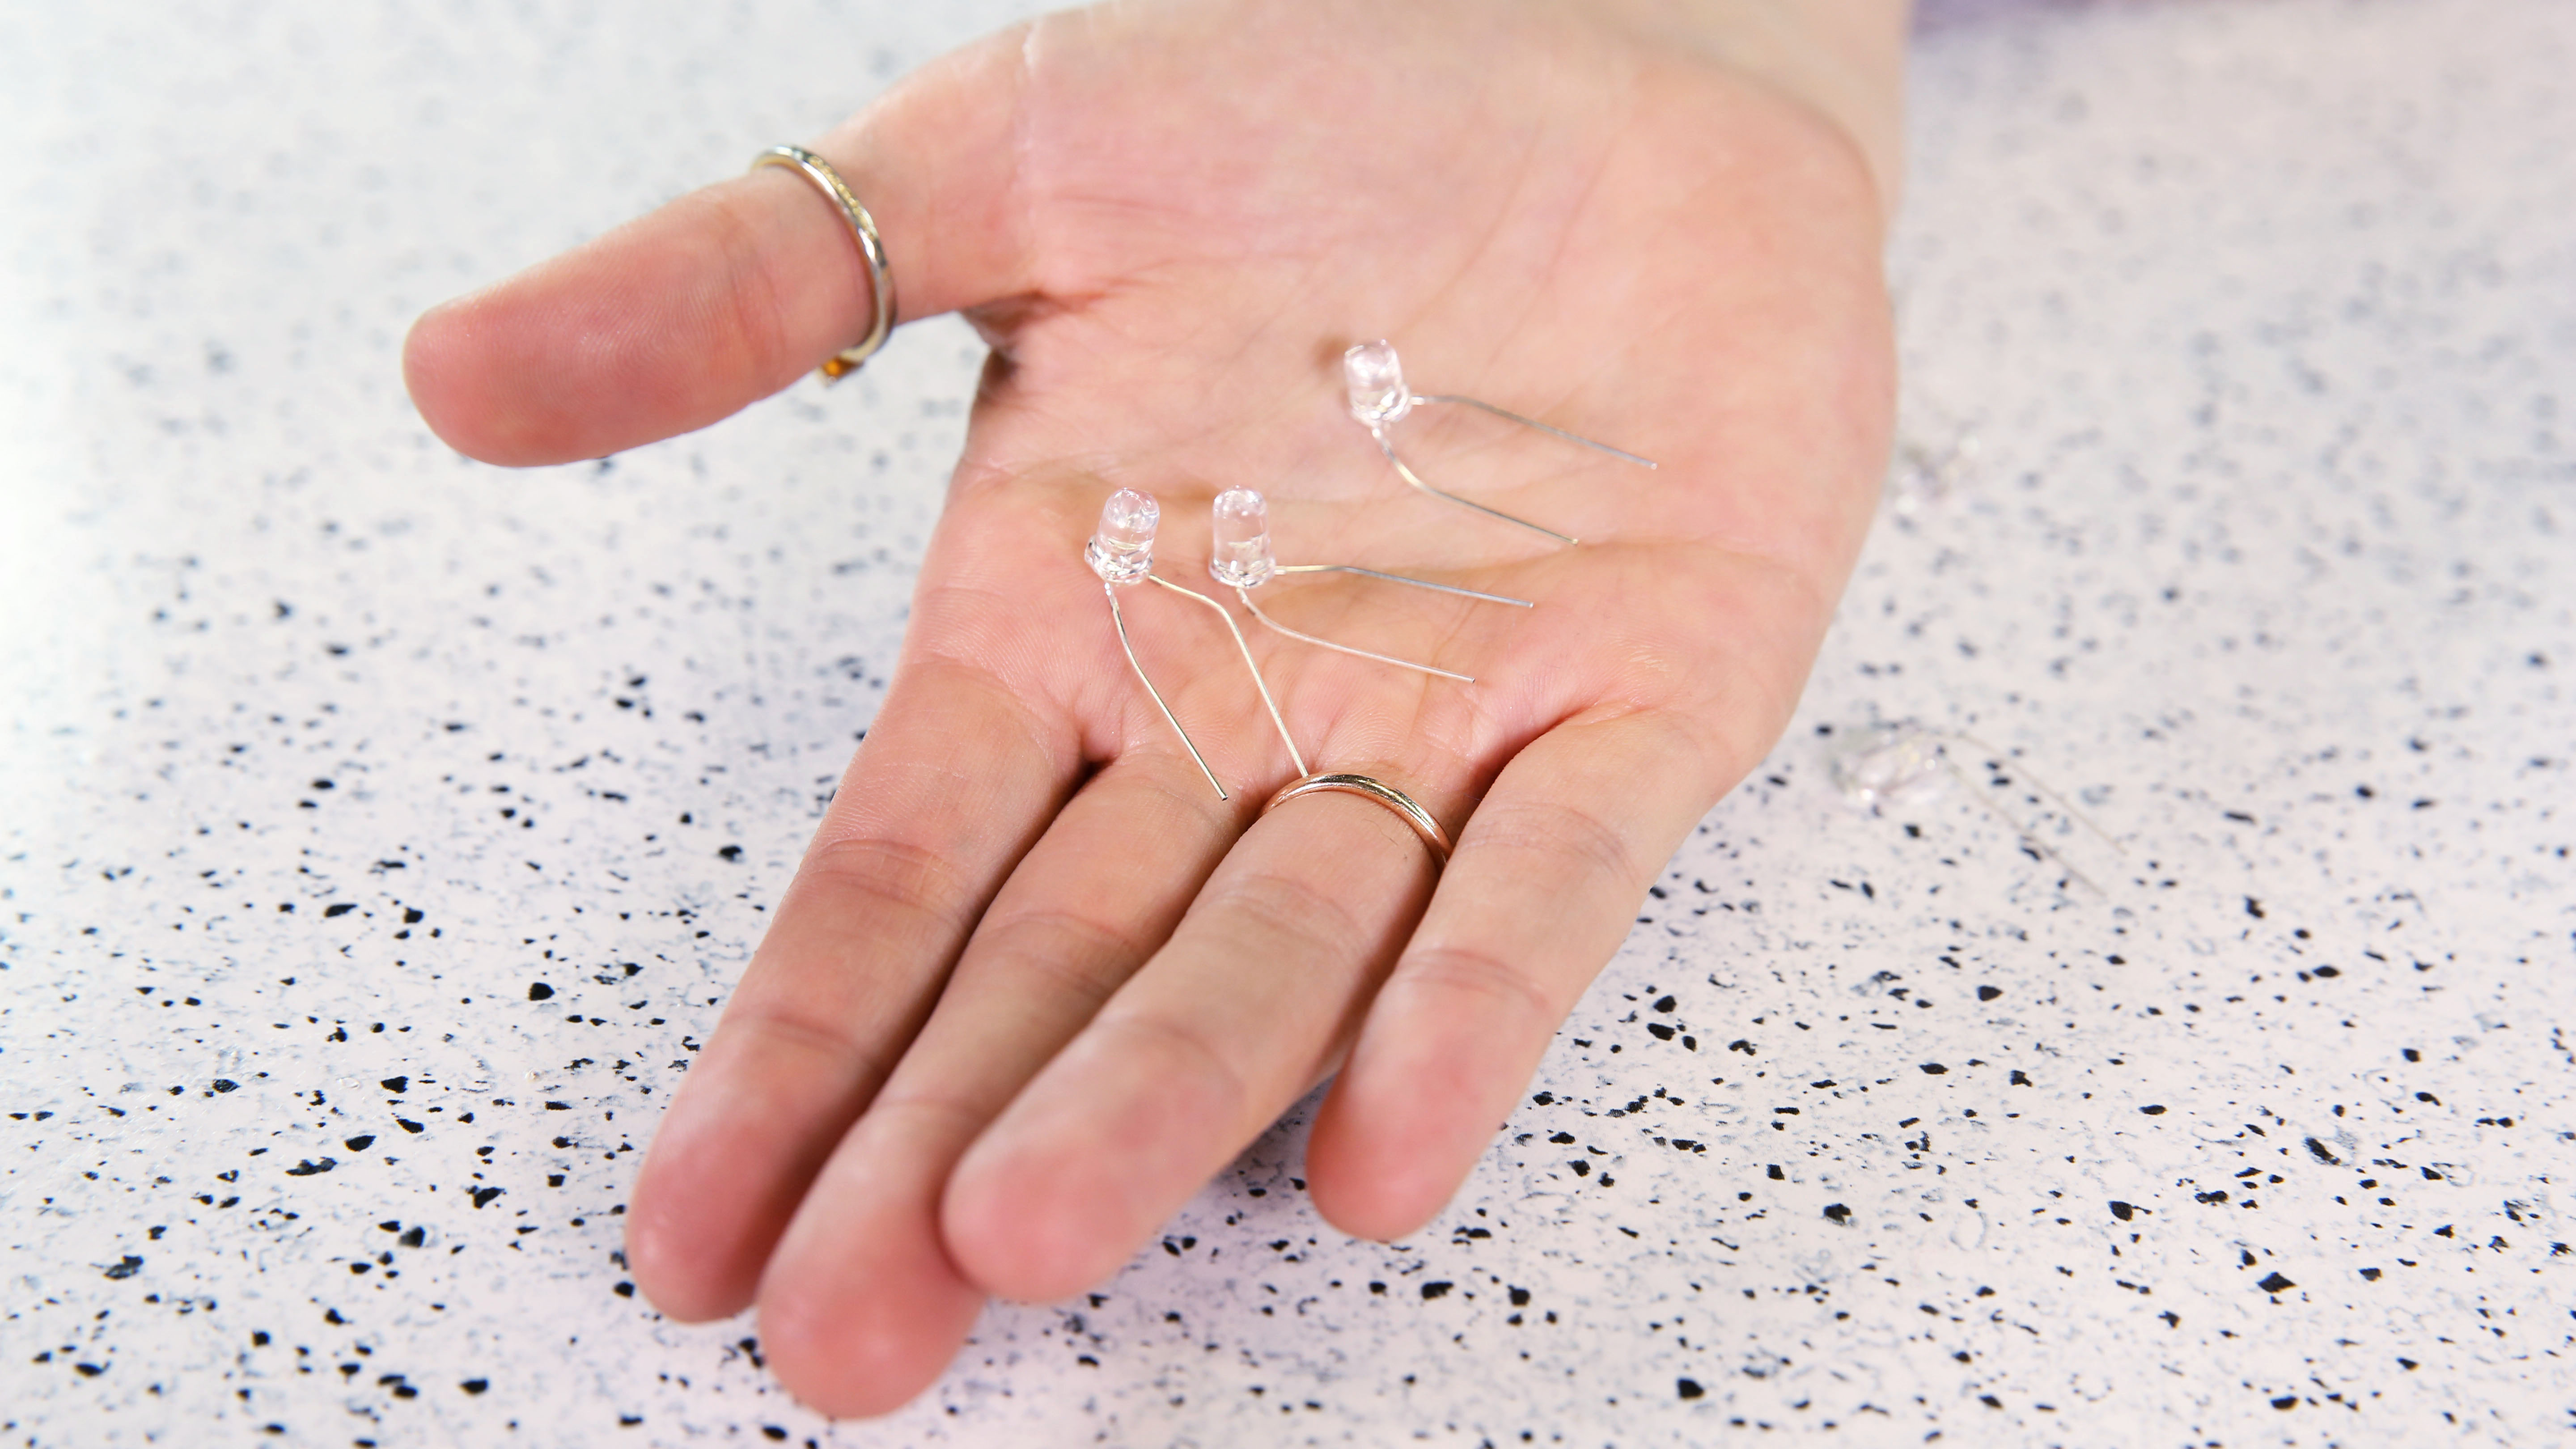
STEP 1:
Bend the leads of your LEDs to a 90 degree angle. Remember, LEDs have polarity, so make sure they are all facing the same direction.
STEP 2:
Solder a 47Ω Resistor to the cathode of each LED. If you are unsure of which side is the cathode, remember that the LED's cathode side will have a flat edge on the bulb and a shorter leg.
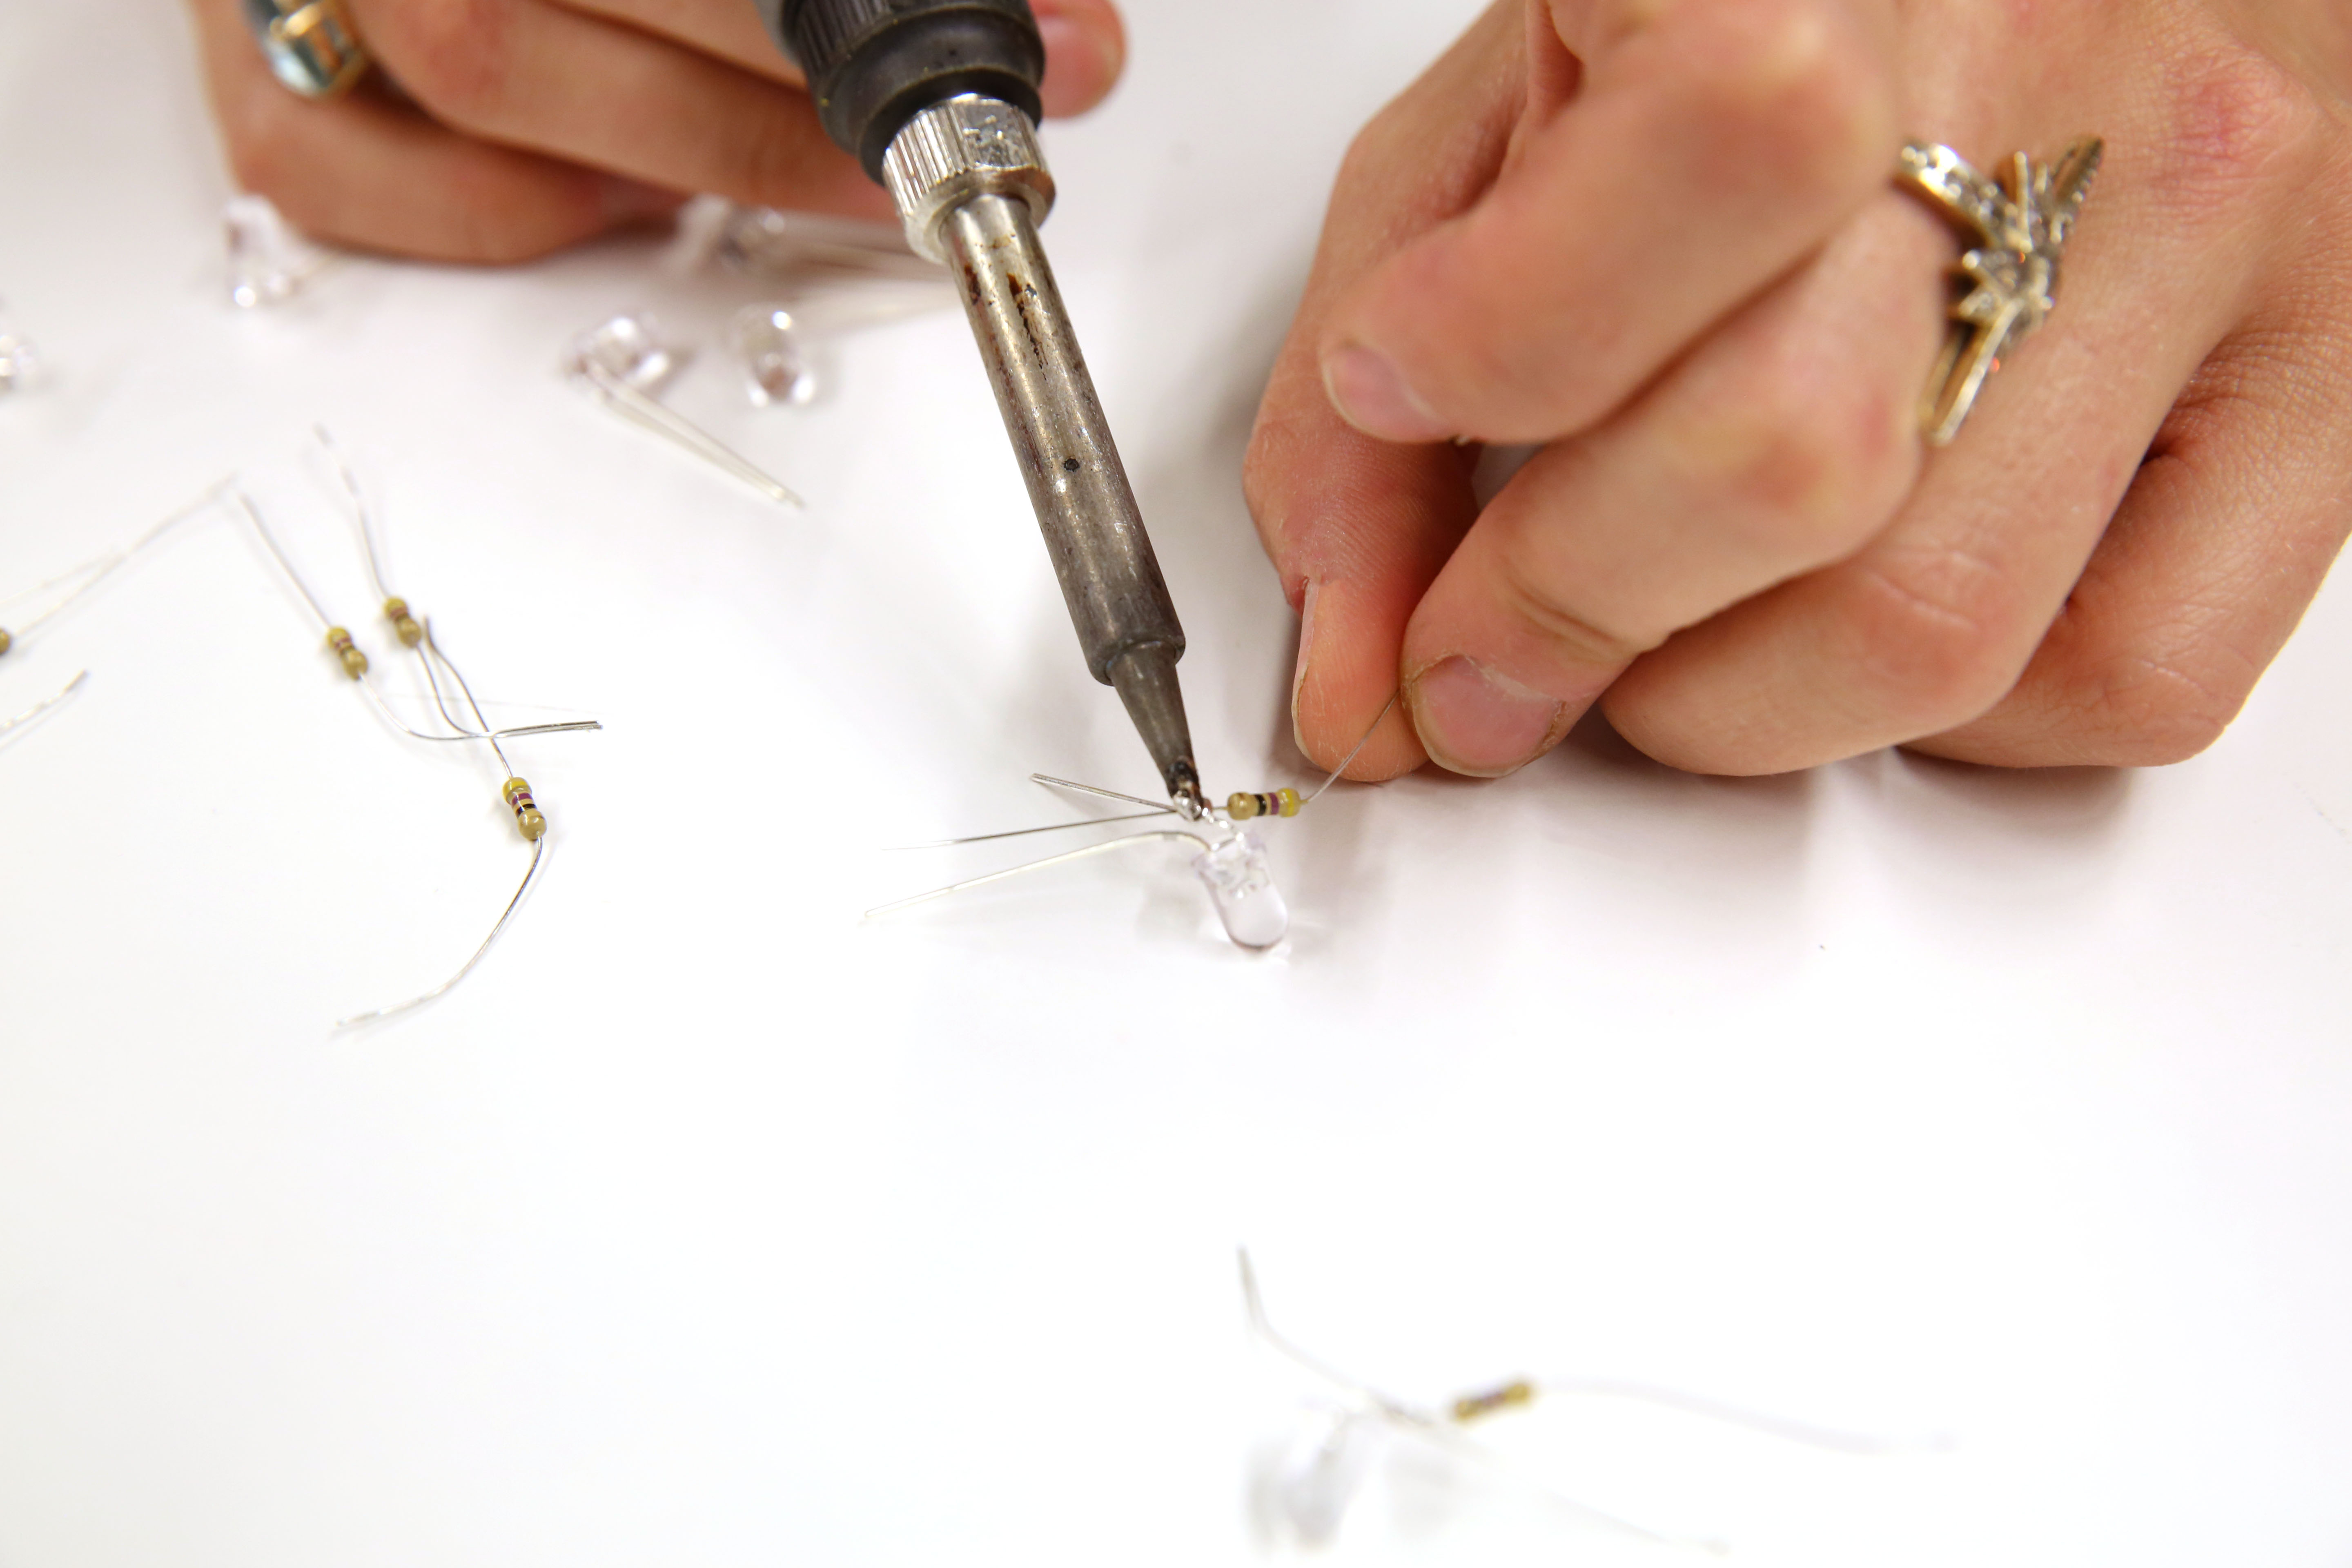
Clip off the excess leads between the resistor and cathode using the flush cutters.

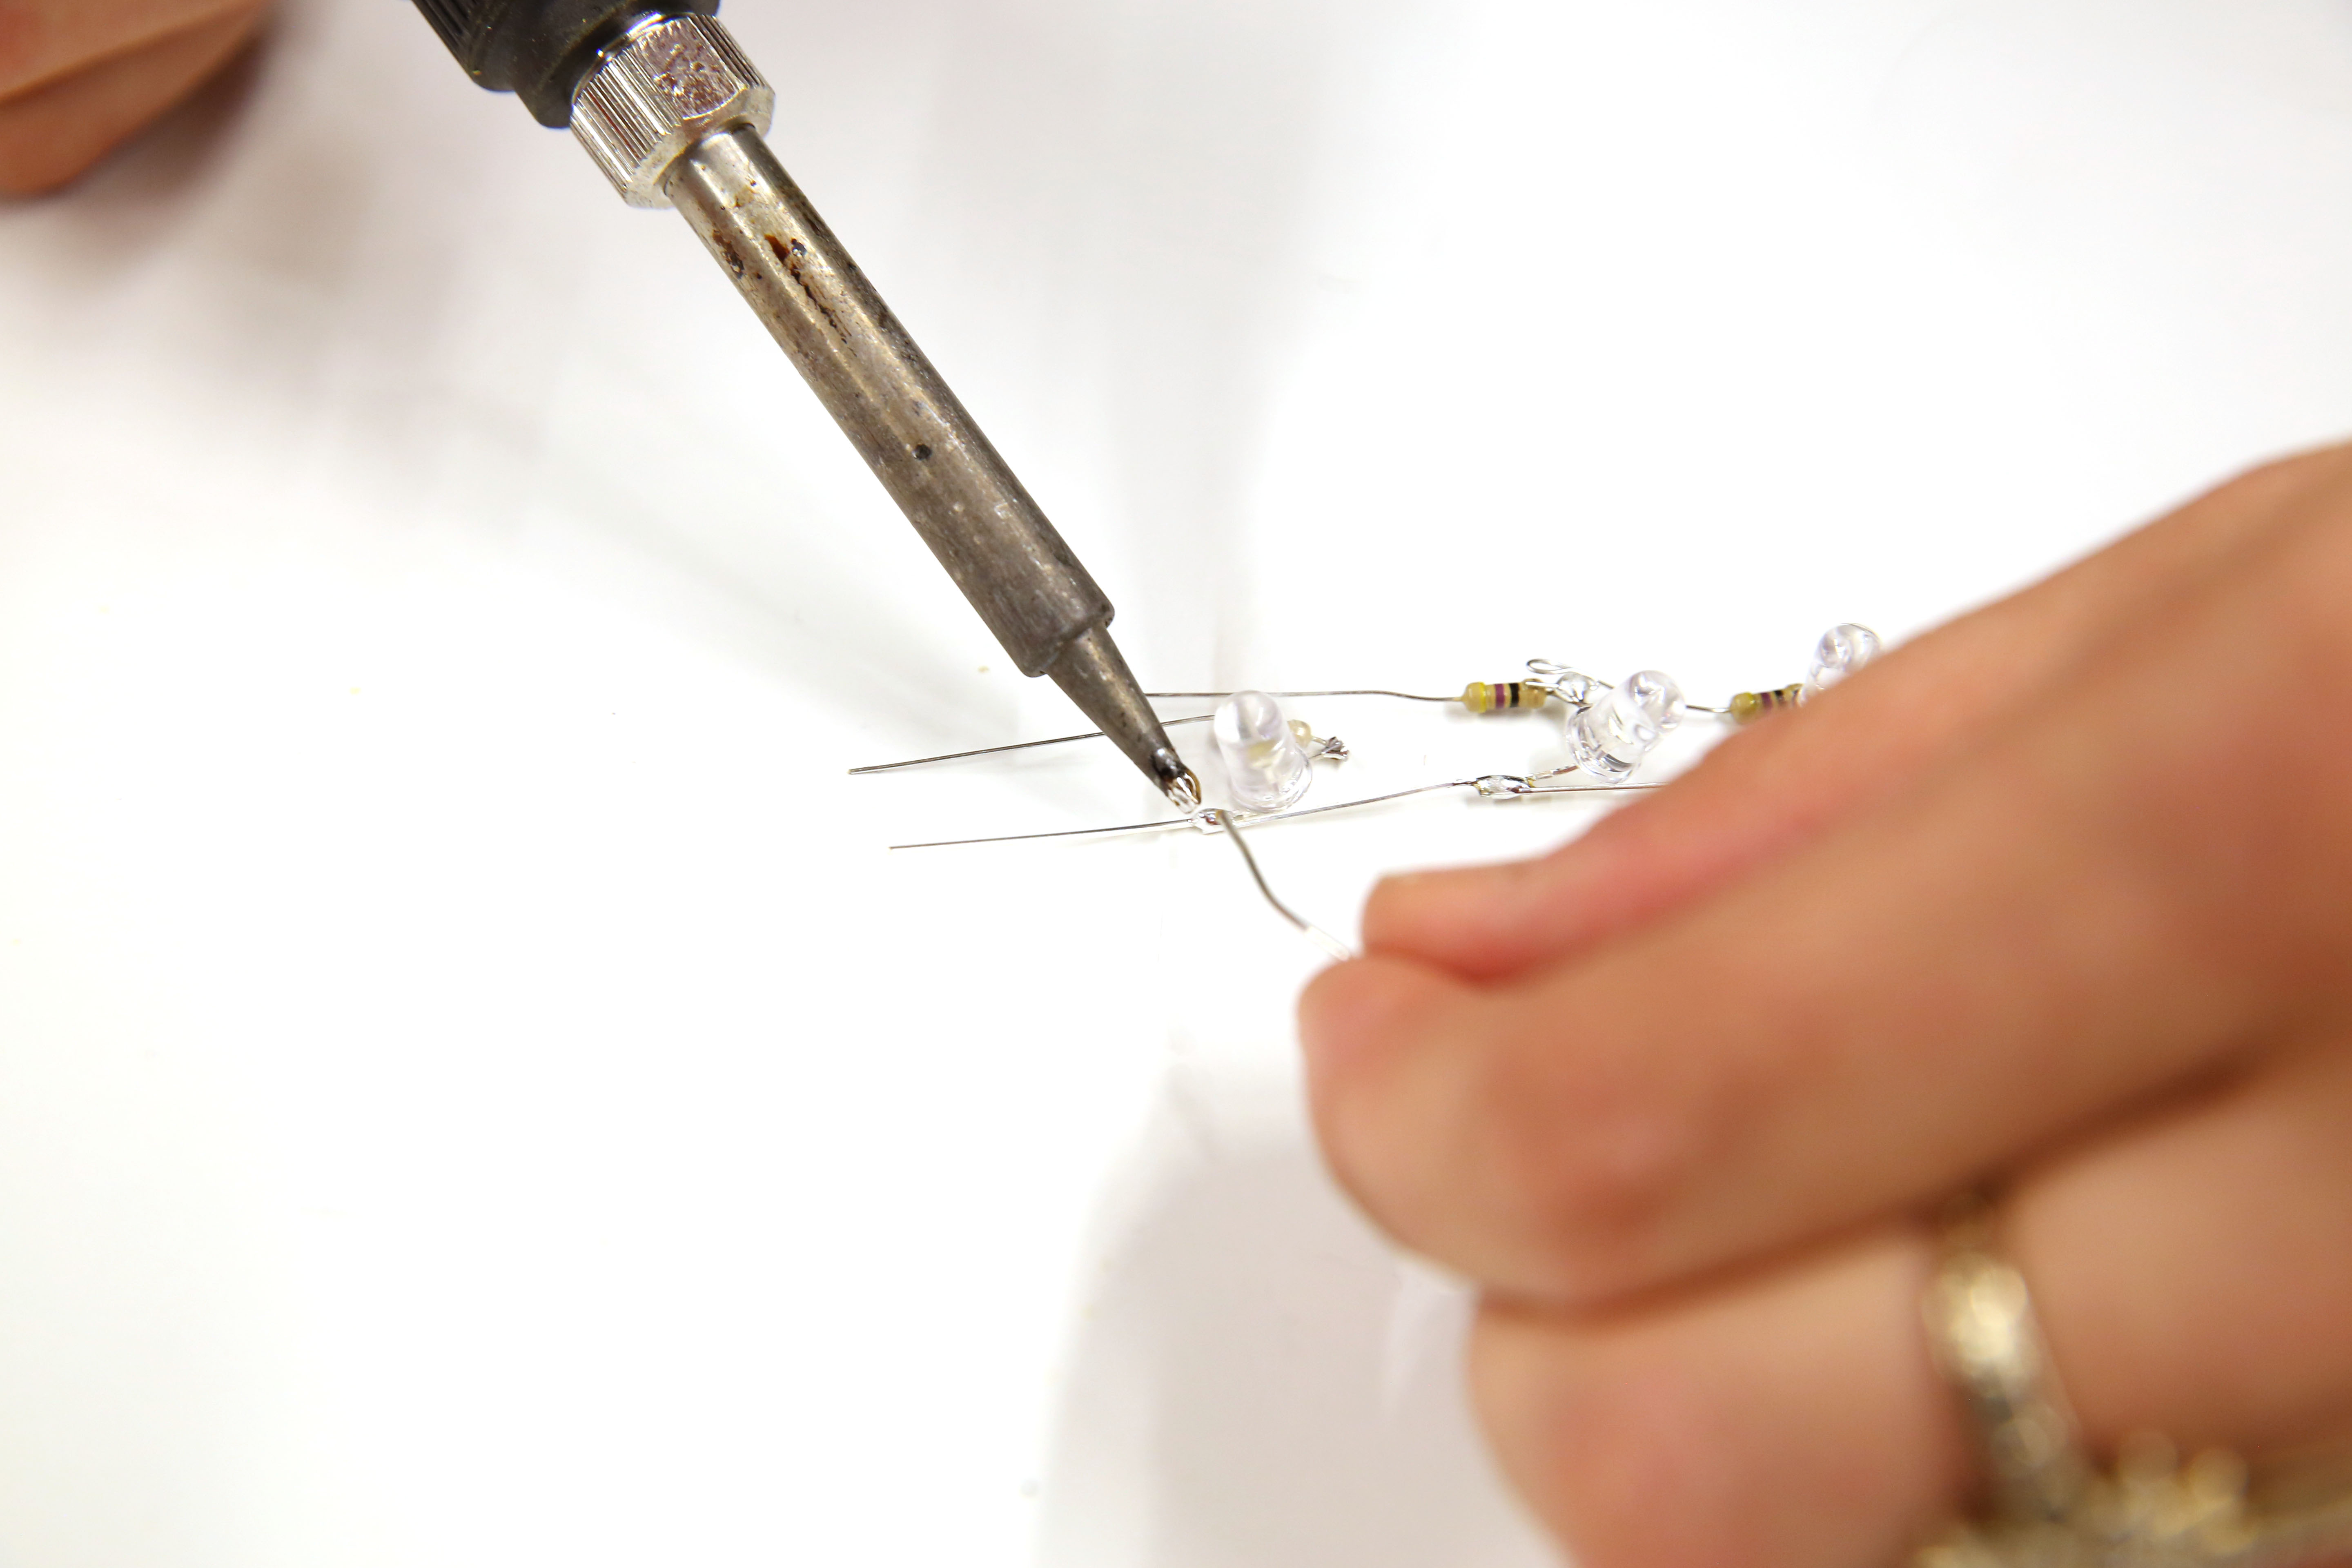
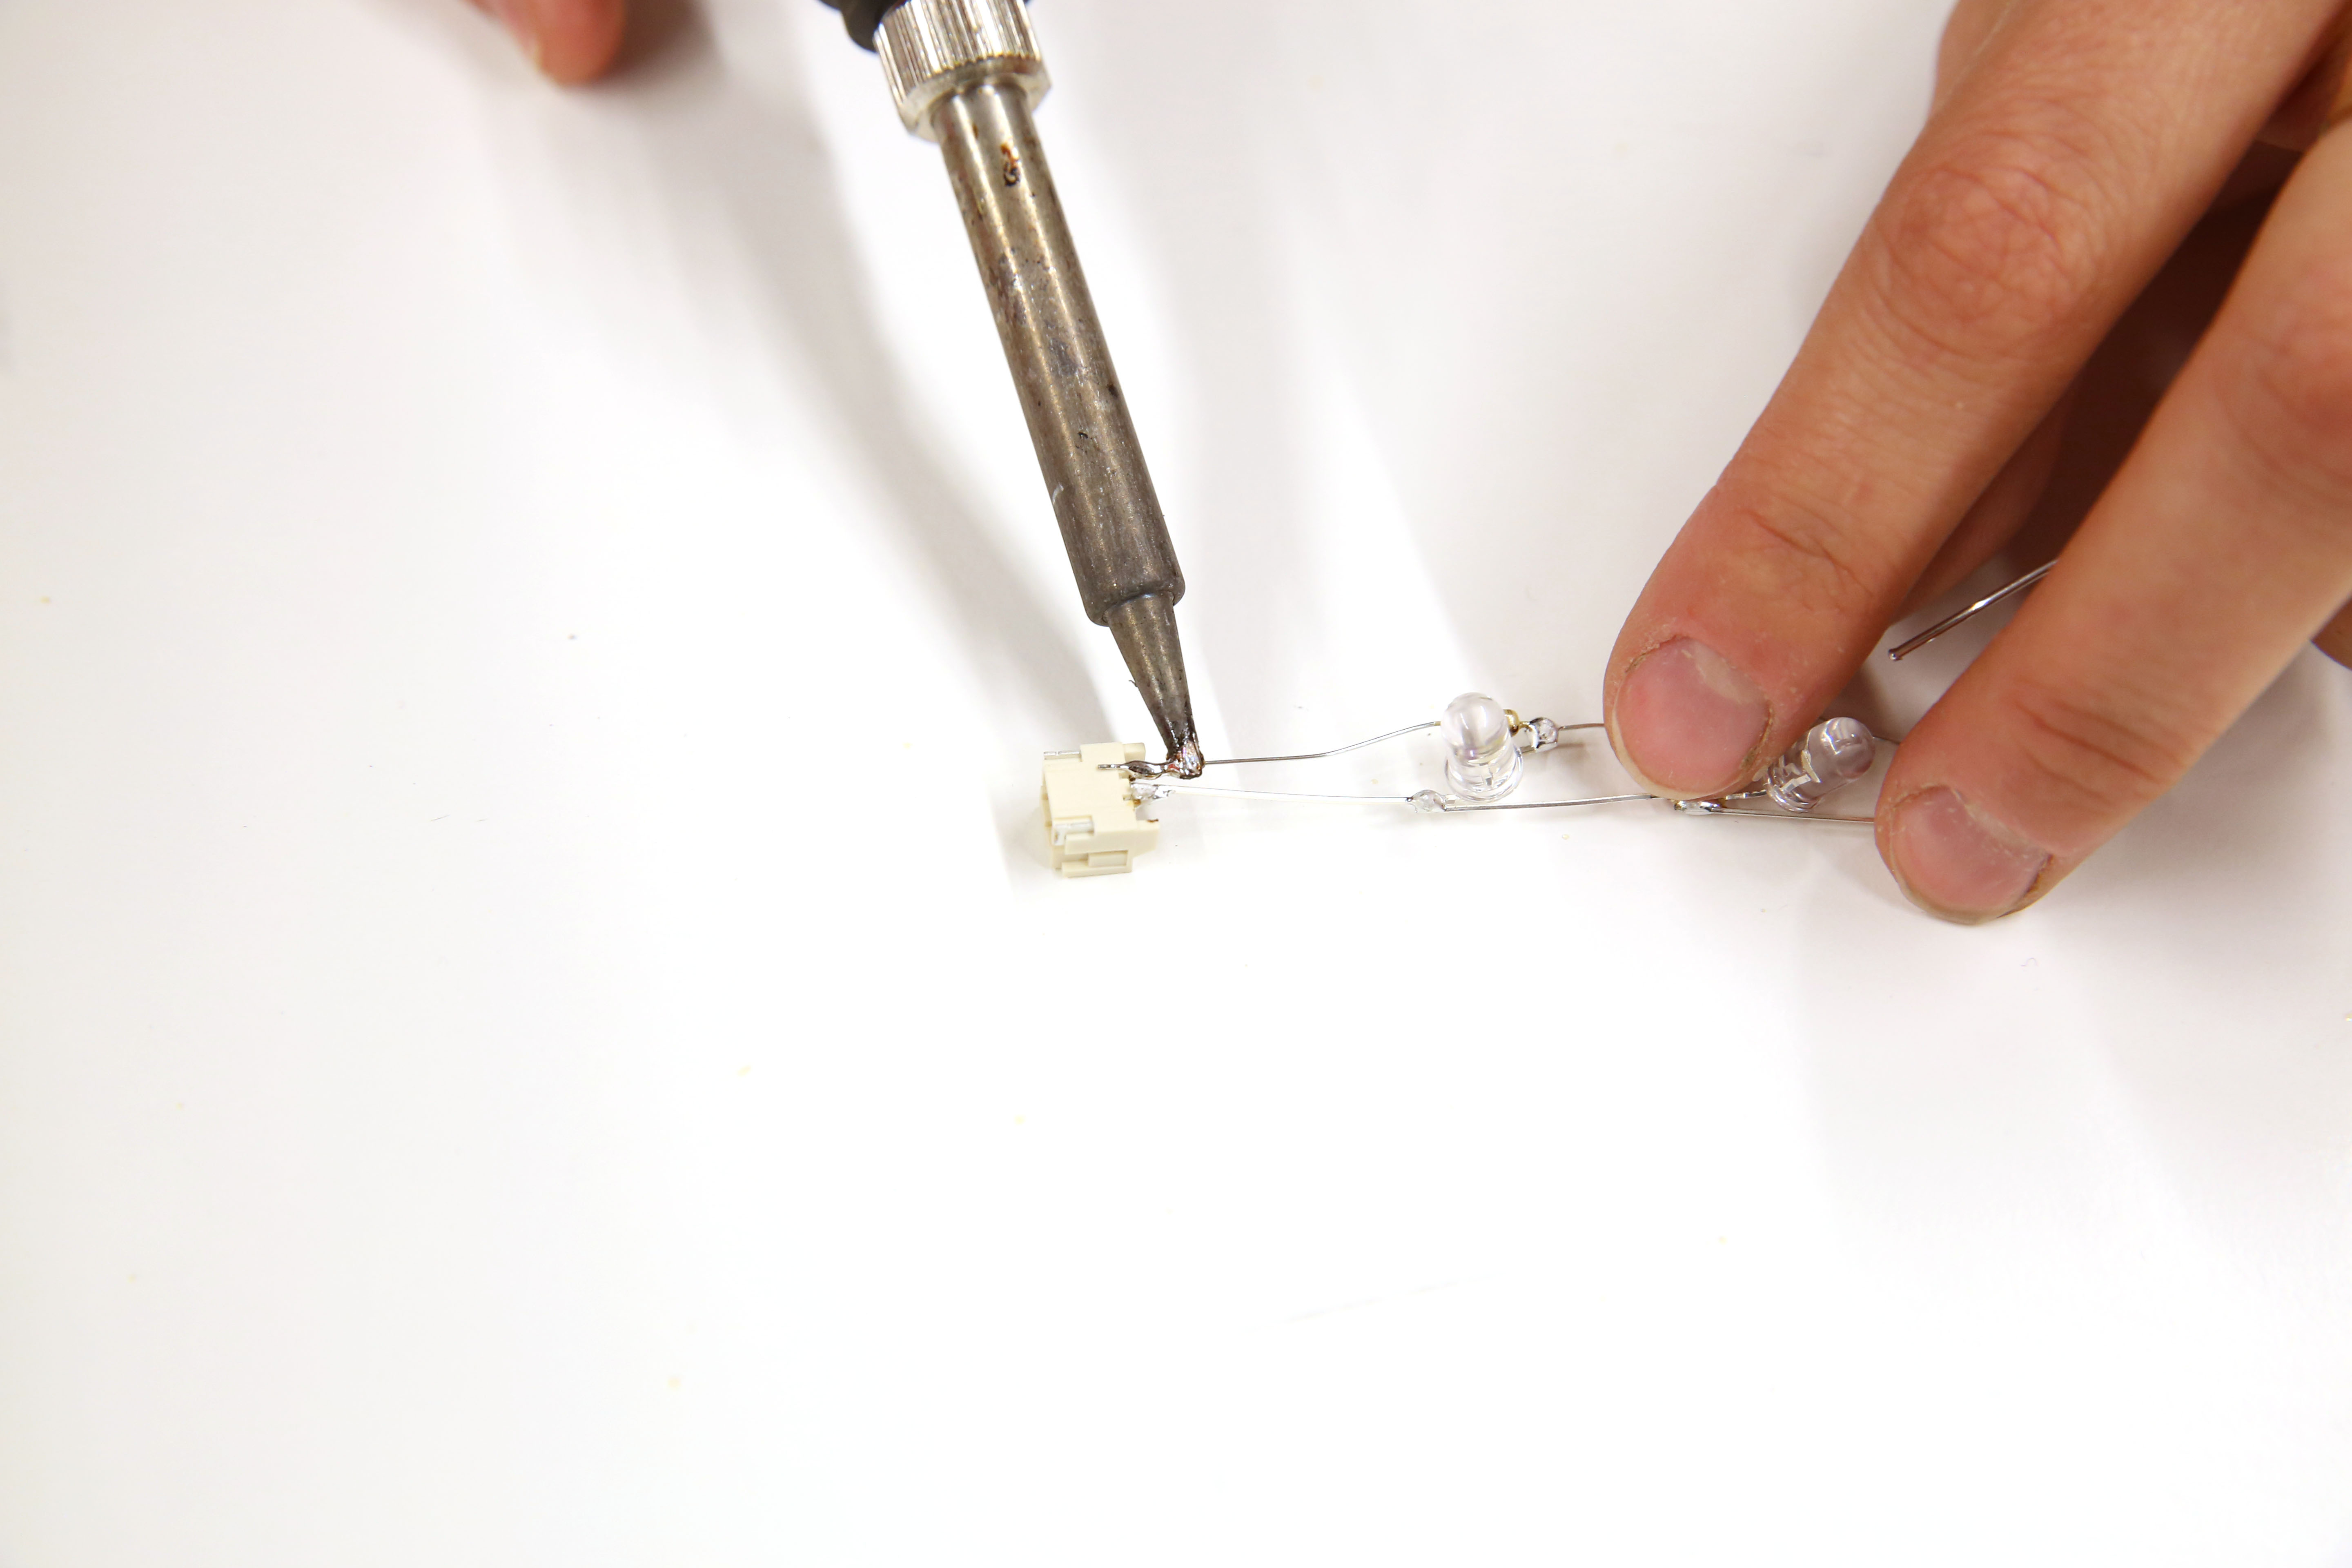
STEP 3:
Solder the LEDs together in a parallel chain. All the anodes should be connected together on one side and all of the cathodes should be connected via the resistors on the other side. If any of the LEDs are arranged incorrectly, they will not illuminate when power is applied.
STEP 4:
Solder the JST connector to the last LED on the chain. Remember, the battery has a polarity, so make sure that you have the anode and cathode connecting to the correct side of the connector. You can figure this out by sticking the battery inside before soldering. After testing and take note of which side is VCC and ground, remove the battery from the connector and solder the connector.
STEP 5:
Test your circuit again! After soldering, make sure that your circuit is working properly and lighting up before moving on to the next step. To test, plug the battery into the circuit once more to light the LEDs.
STEP 6:
Hot glue the LED chain with the JST connector to the top of your headband.

STEP 7:
Insulate all exposed metal pins with hot glue.
*PLEASE NOTE: The wires need to be completely covered in hot glue. Make sure that metal pins on the anode and cathode side have some space between each other. This is to prevent a circuit short which can cause a fire. It if important for your safety to completely cover any exposed wire with glue.

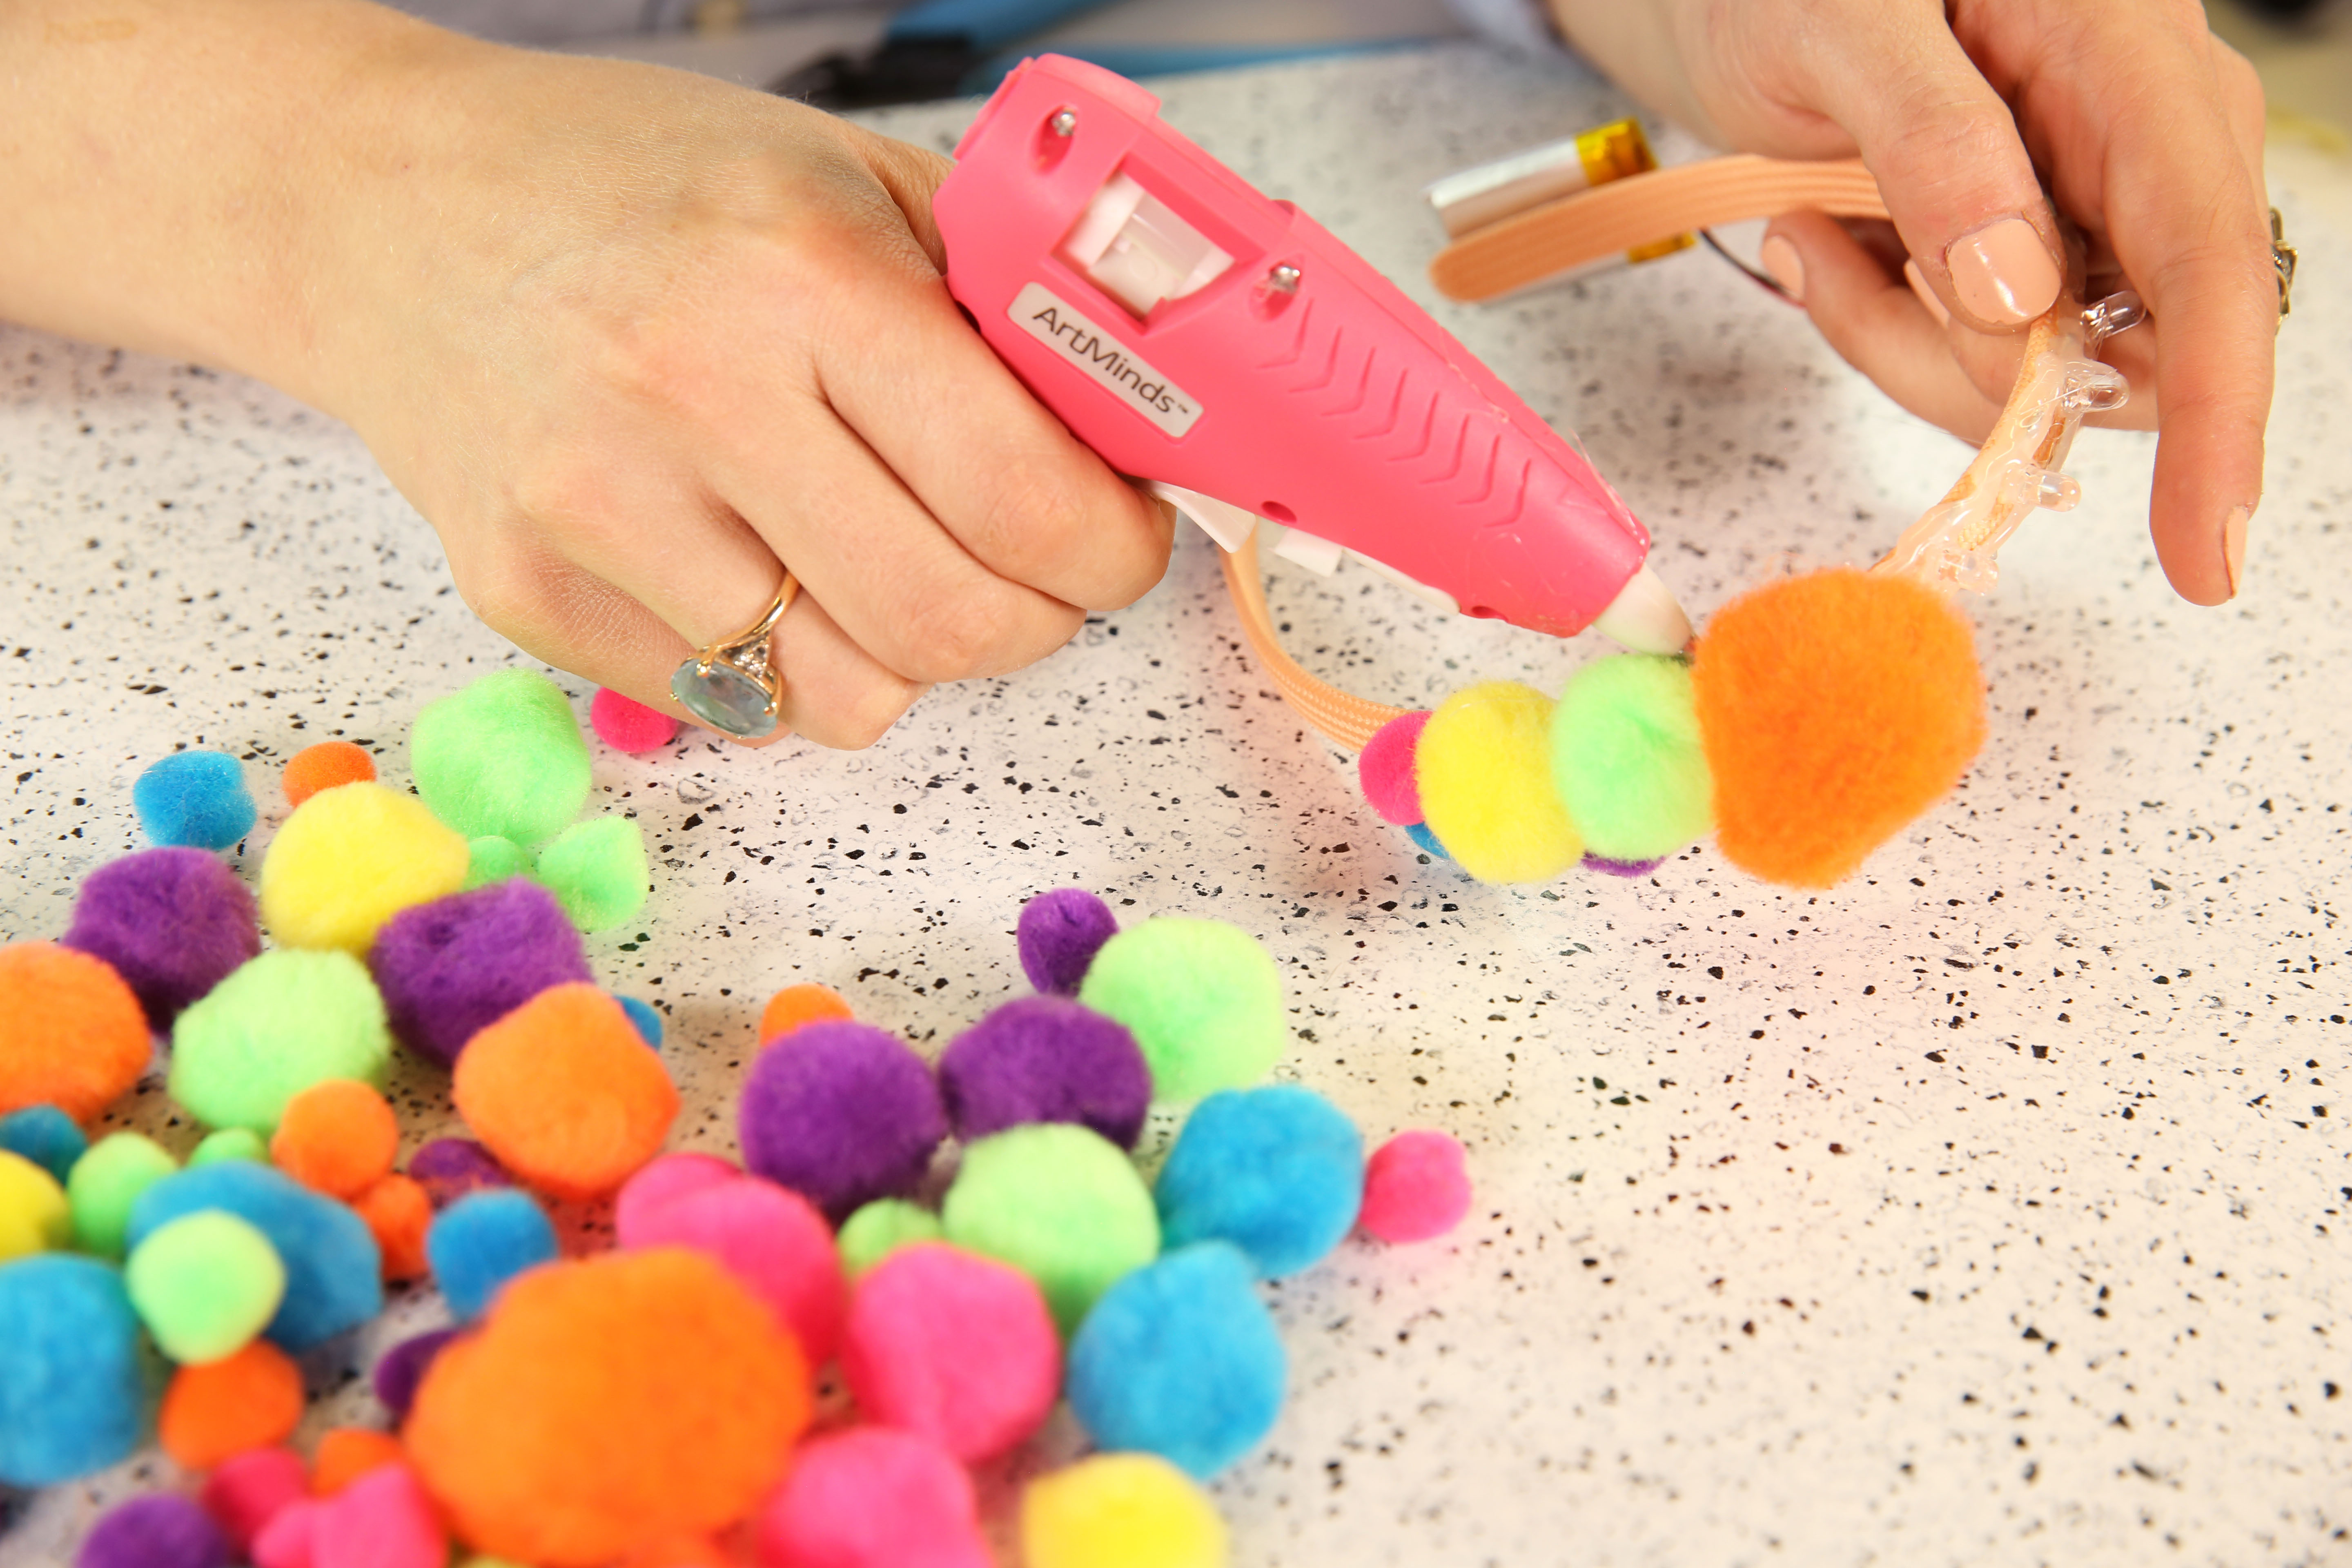
STEP 8:
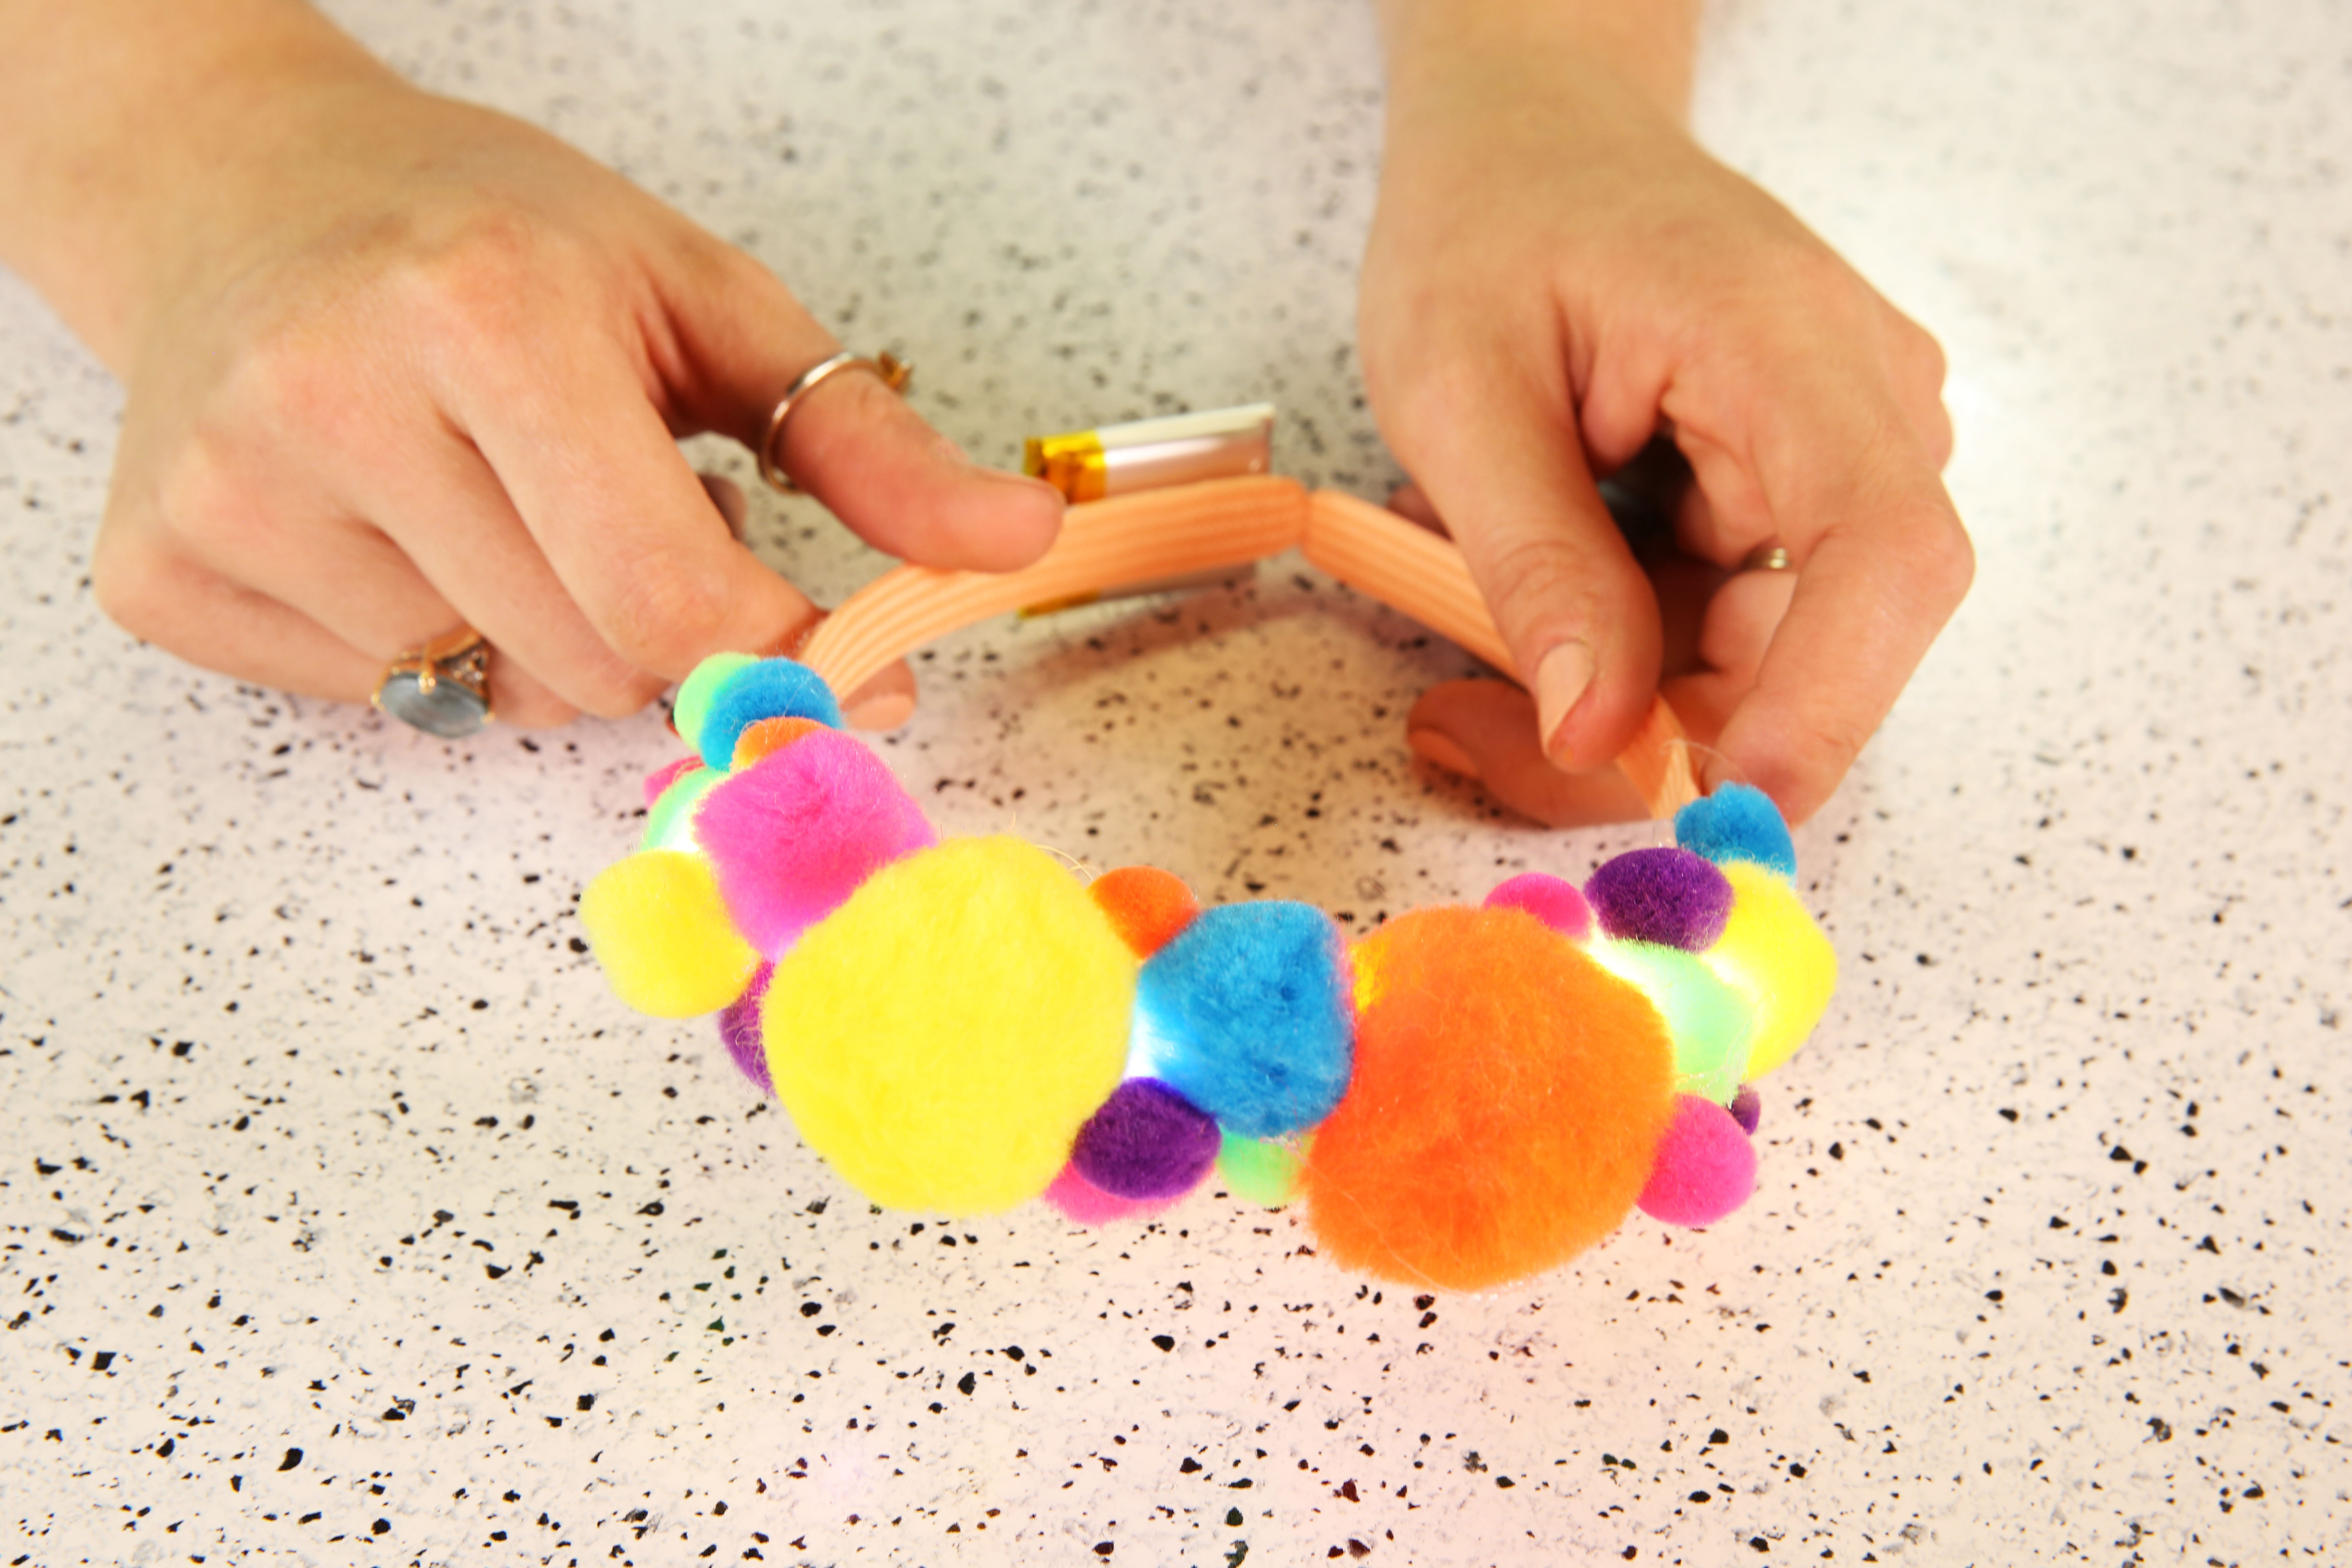
Hot glue your PomPoms on top of the LEDs. Through experimentation, I found that it looked better by adding the larger PomPoms at the crown of the headband and tapered the size down as I moved to the sides.
STEP 9:
Add double stick tape on one side of your battery to the bottom of the headband on the same side as the connector. Wrap the wires around the headband to secure and add a drop of glue to secure the wires. Make sure to leave some extra wire so that you can unplug the JST connector.
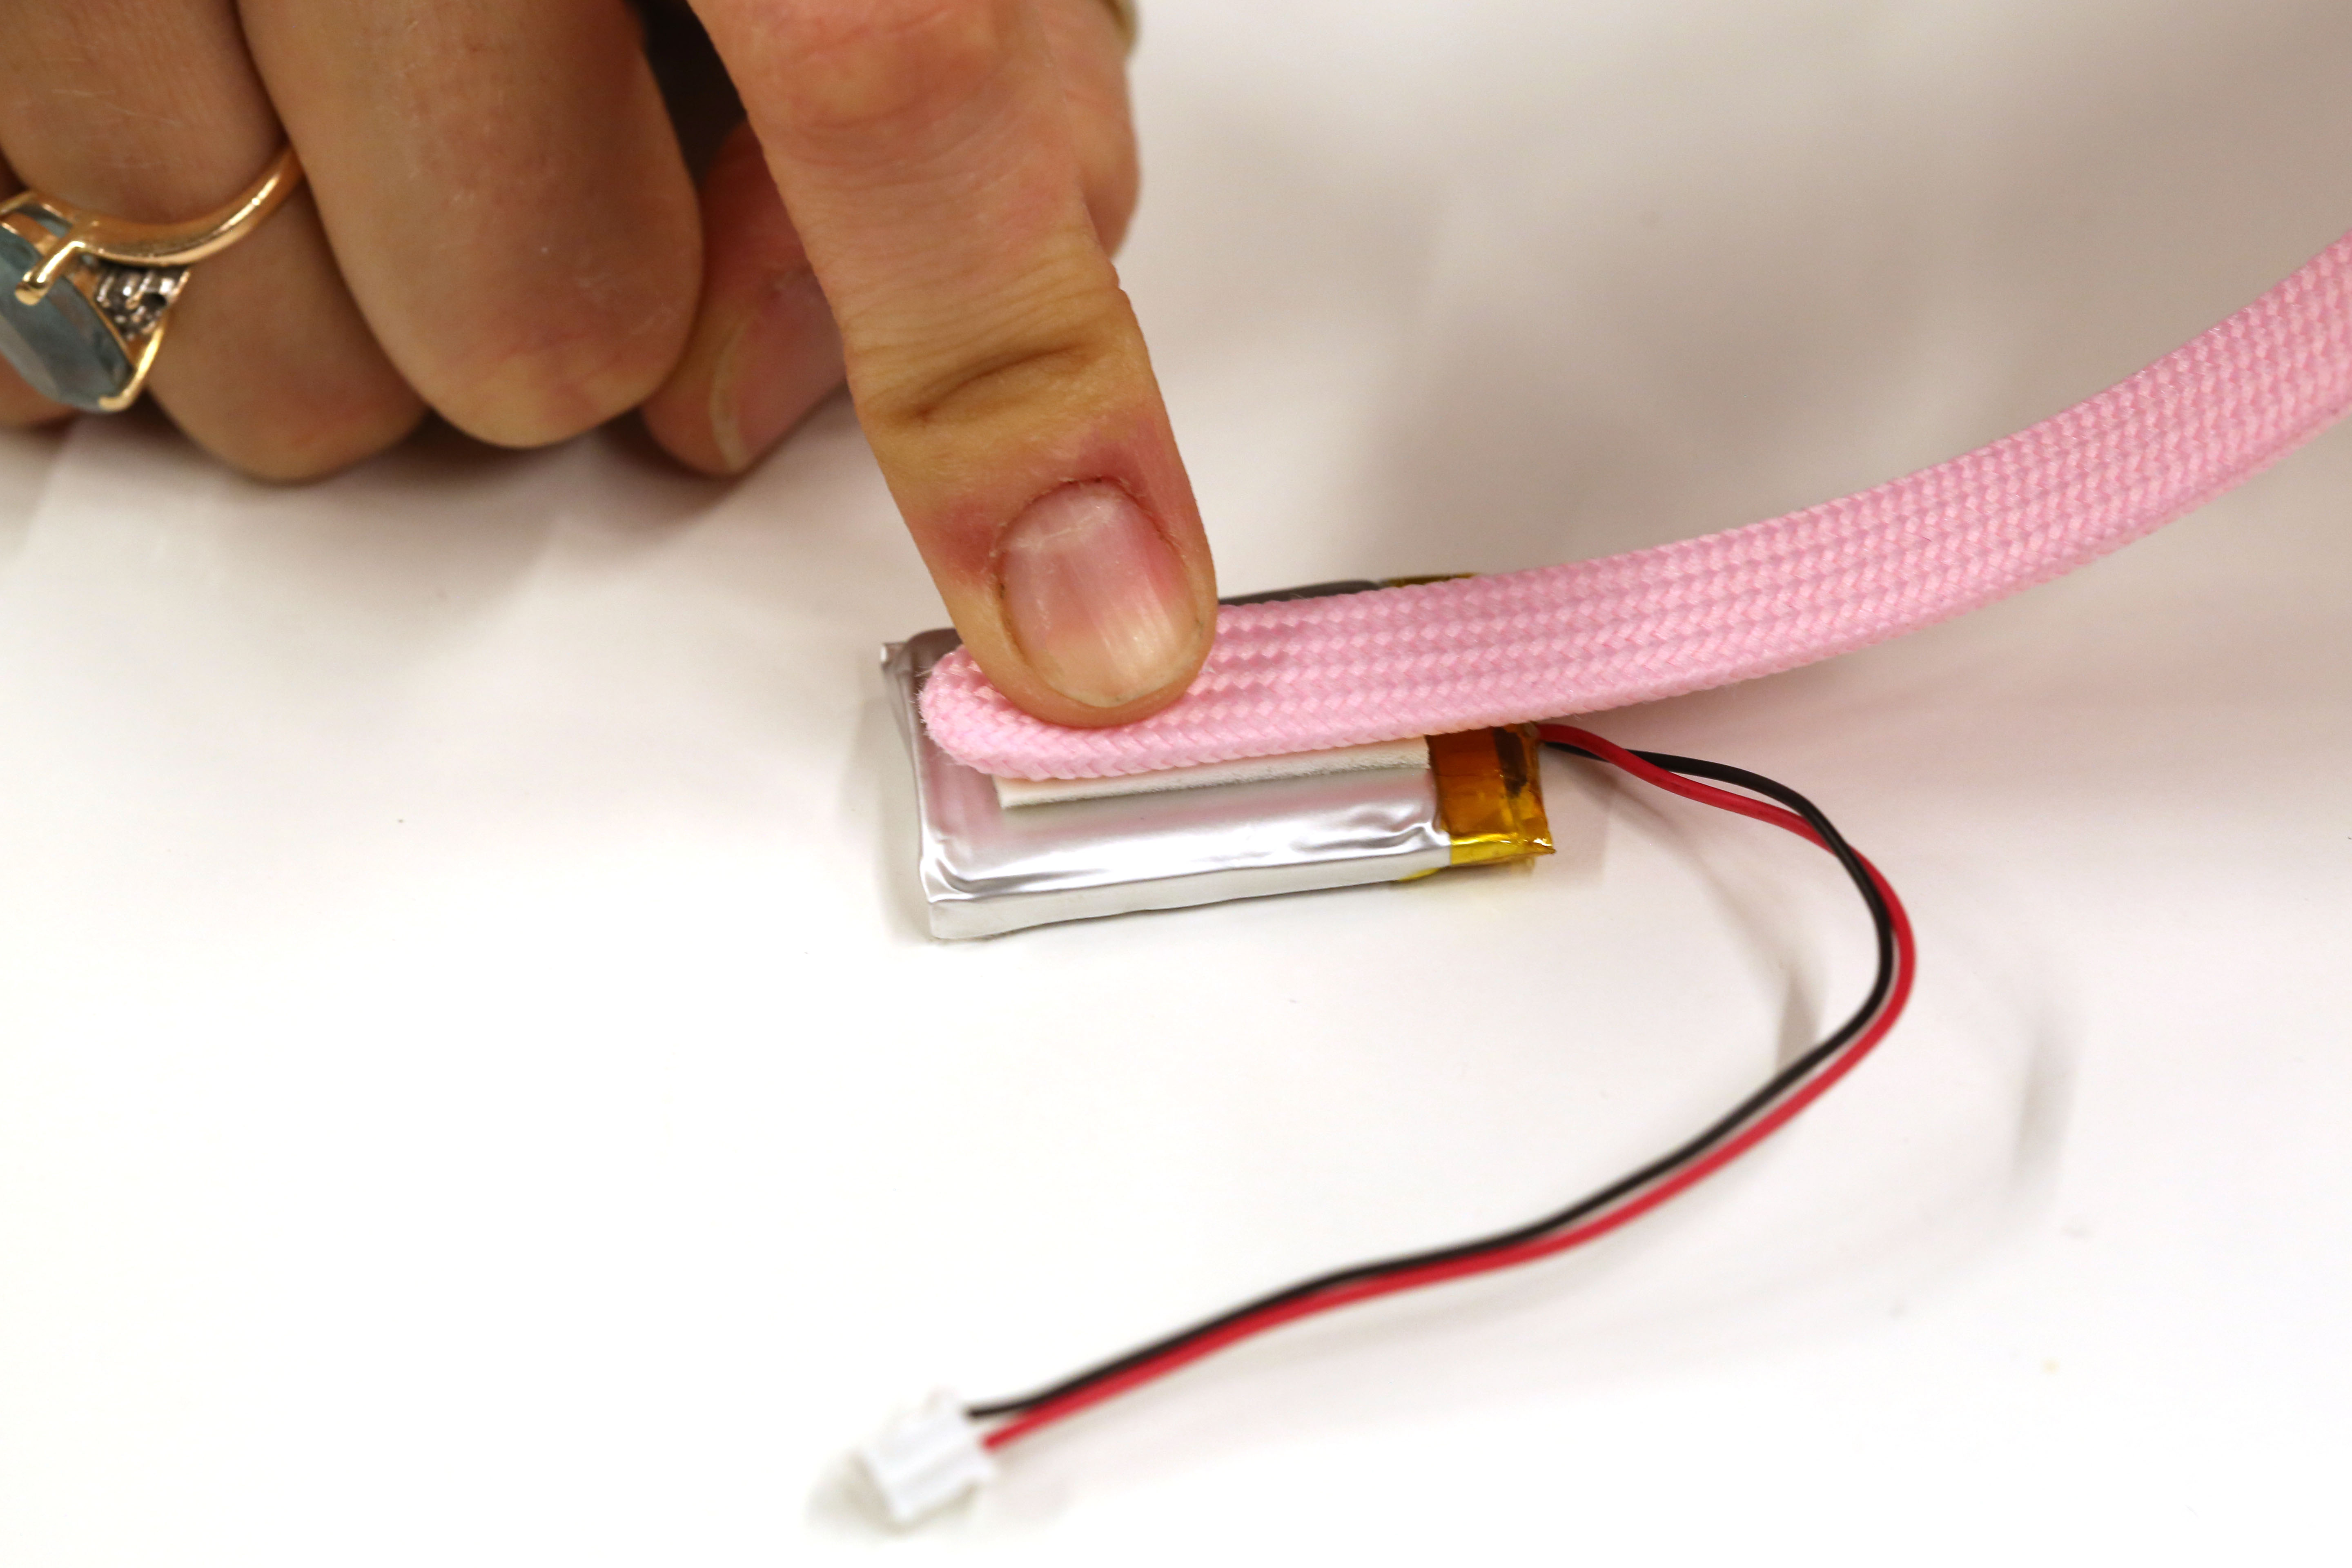
*PLEASE NOTE: It is never a good idea to apply heat to a LiPo battery using a hot glue gun. A safer solution is to secure the battery with some thread or tape.
STEP 10:
Plug in the battery, and enjoy!