LED Gumball Machine
 Nate
Nate Hardware Overview
Here’s the list of parts for this project:

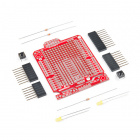
A proto shield works great. We used an old shield we had lying around but you can use any shield that has a few GPIO broken out that you can solder to.
You’ll of course need a gumball machine. We haven’t verified the continuous servo works with different brands but we’re pretty confident this Gumball Machine will work with this tutorial.
Tools
The tools for this project are pretty common. You may or may not have the various tools around so double check that you have access to the follow:


Weller WLC100 Soldering Station
TOL-14228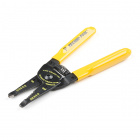
Wire Strippers - 22-30AWG
TOL-14762Continuous Rotation Servo
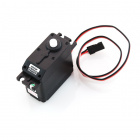
The magic of the LED Gumball Machine is the fact that a continuous rotation servo mates utterly fantastically with the dispensing cogs within the machine.
A high torque continuous rotation servo is just the ticket for getting electronic control of the dispenser mechanism.
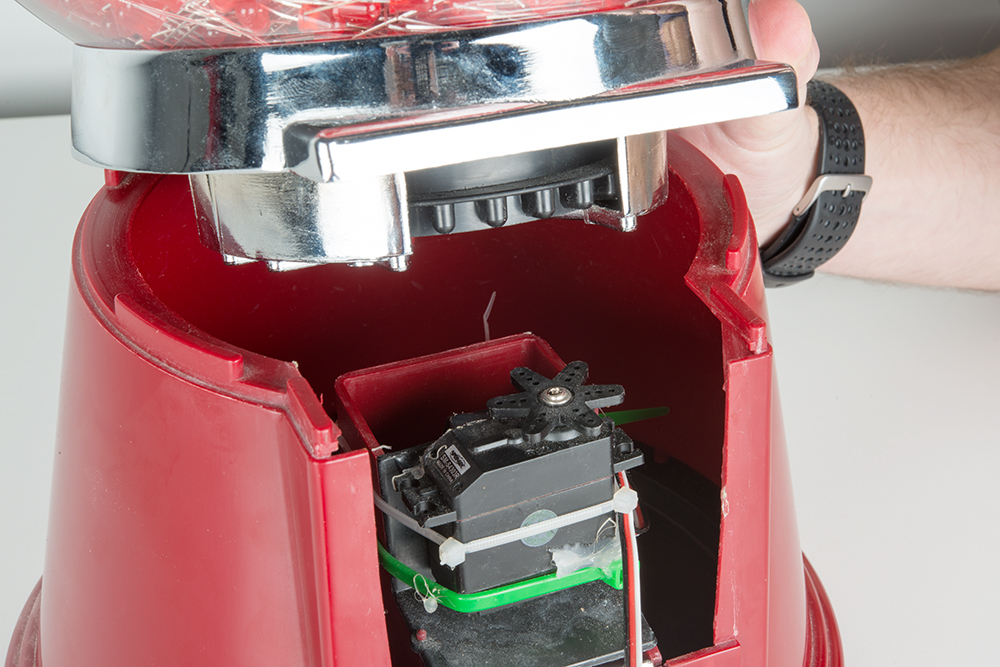
Most servos come with a variety of control horns. These are the plastic bits of different shapes that you screw into the servo to connect the servo to your application. In this tutorial we’ll want the star control horn (highlighted below). Out of complete luck, this horn has roughly the same pitch as the teeth on the gumball machine.

The servo has quite a lot of torque and we want that applied to the dispenser mechanism. We mounted the servo with zip ties and hot glue. First, use zip ties to roughly mount the servo in place. Once you get the alignment between the servo head and dispenser gear use hot glue to solidify everything in place. This combination creates the right combination of rough alignment and rigidity so that as much of the torque from the servo is transferred to the dispenser.
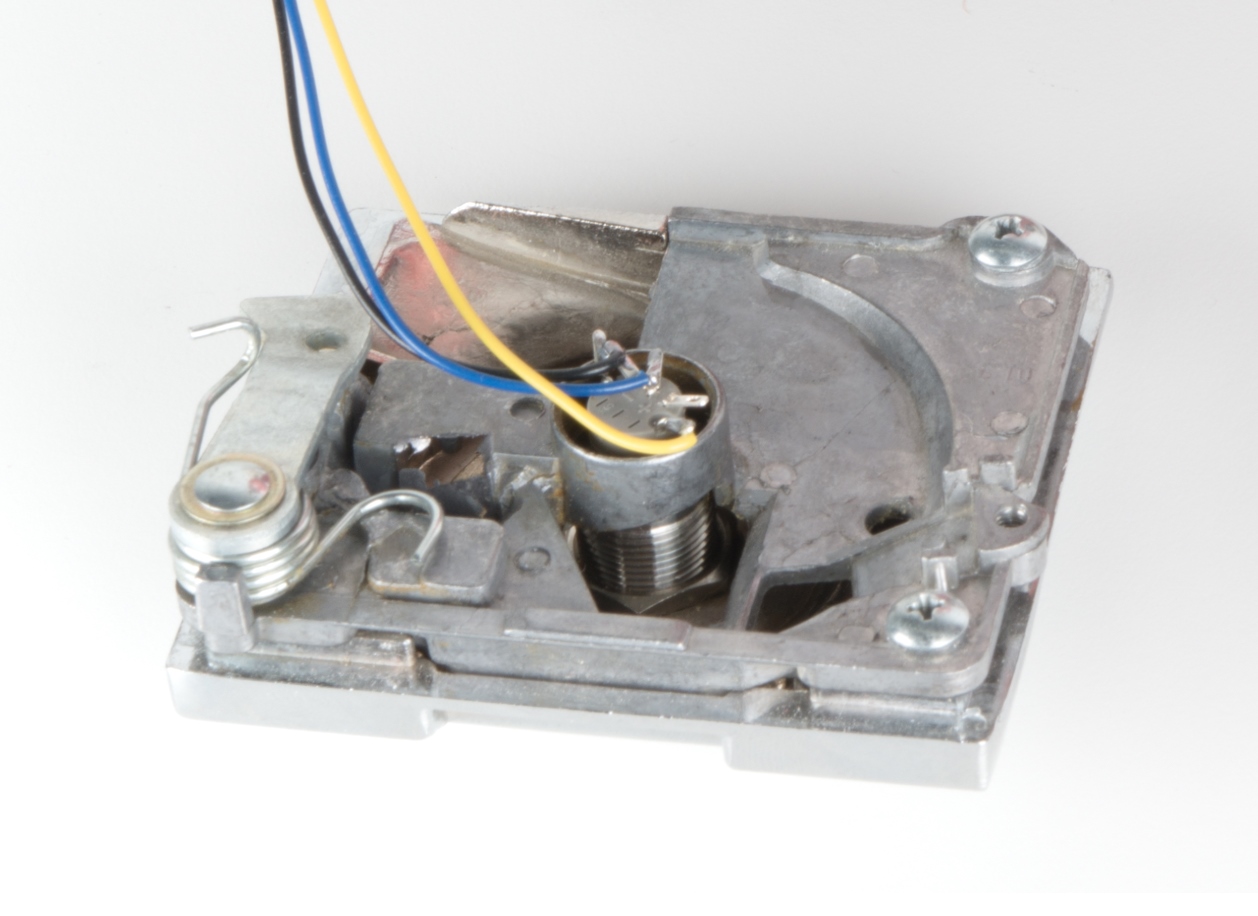
Button
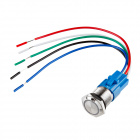
We chose a momentary light up button.

This fit superbly into the existing hole where the twist knob originally resided. Once mounted, it was a small matter to figure out which pins illuminated the LED and which pins shorted together when the button was pressed.
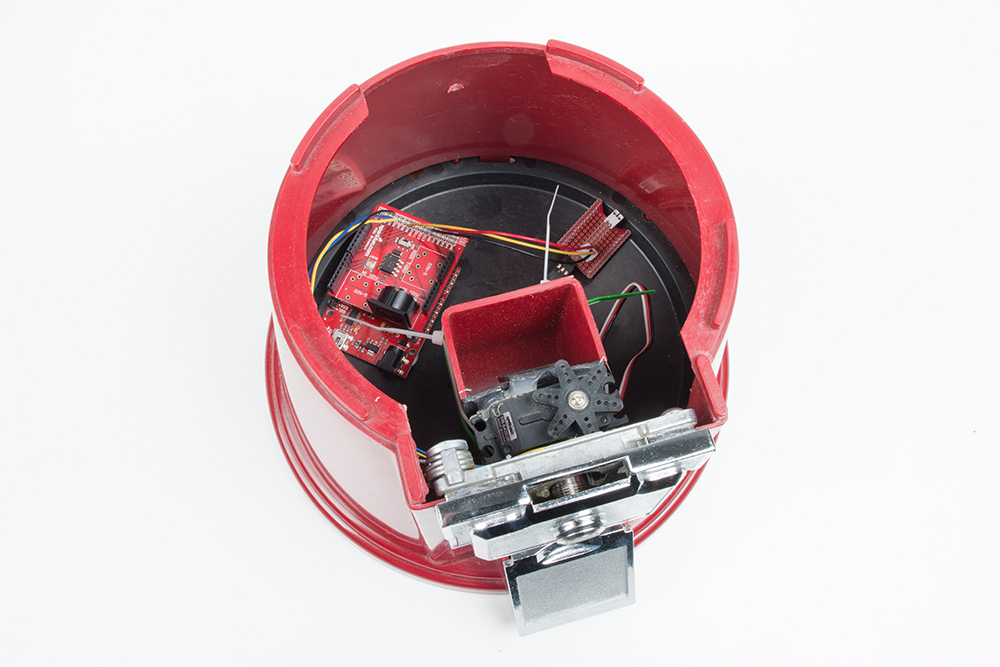
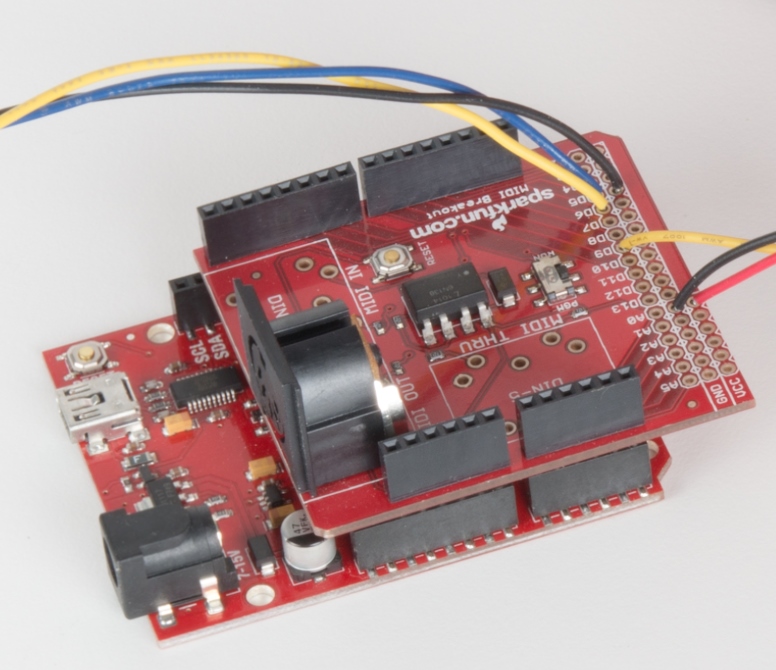
RedBoard
To tie it all together we used a RedBoard and an old MIDI shield. The MIDI part is not important. Instead, the row of breakout pins at the edge of the board made it easy to solder the handful of wires from the servo and button onto the board and then plug the shield onto the RedBoard.
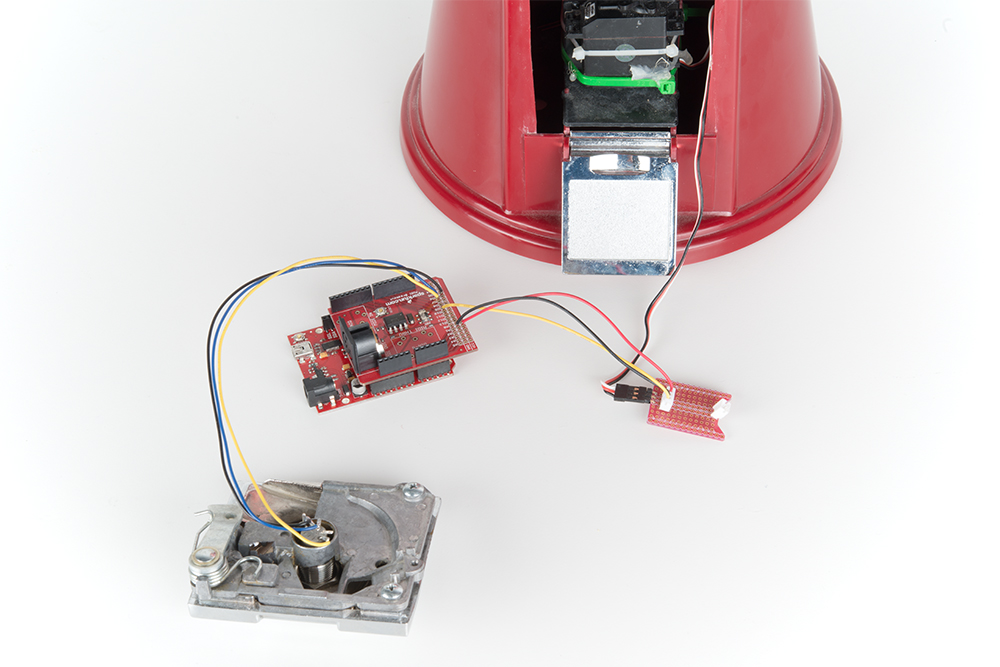
This was a more resilient connection method than point soldering to the SMD pads on the I/O of the RedBoard. We could have also used a the Proto Shield or an Arduino Pro Mini but we had these parts lying around.
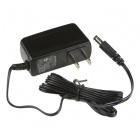
Power
The servo requires a fair amount of current at 5V so we used 5V 2A wall supply. The power cable was routed up through the pedestal column and through the mounting plates to plug into the Arduino.
Gumball Machine
Obviously you’re going to need a gumball machine.
These are amazing little machines that are well designed for rough use and easy maintenance. We aren’t charging money for the LEDs so we used the area where quarters usually get stored for our electronics.
Be sure to get a machine with a metal base and a hollow post. The metal base makes your installation last much longer (students are only slightly less tough on equipment than hyenas) and the hollow post allows us to route power up through the base. I had to enlarge a few holes to ½” in order to allow the DC barrel plug through.