LED Gumball Machine
Introduction
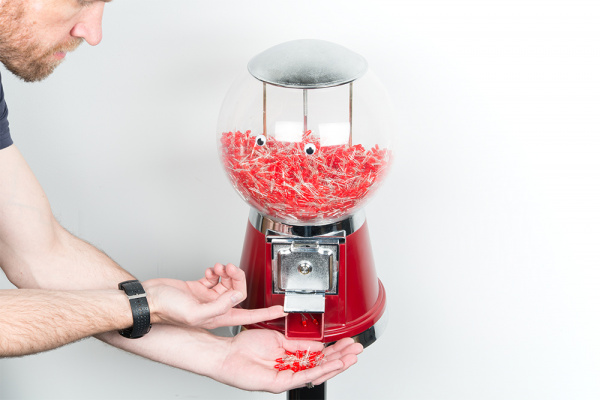
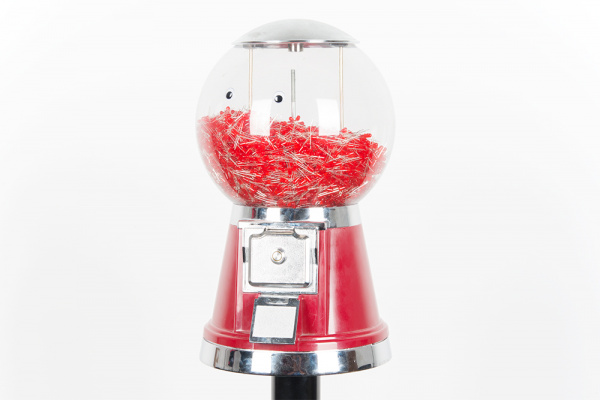
Do you need an LED? The answer is always yes. But what if you need one right now? Build yourself an LED gumball machine and never run out again!
This machine was created for the BTU Lab at CU Boulder because students constantly needed LEDs but filling parts bins always seemed to fall to the tragedy of the commons. We’d put 1,000 LEDs into the bin and they’d be gone in less than 2 weeks.
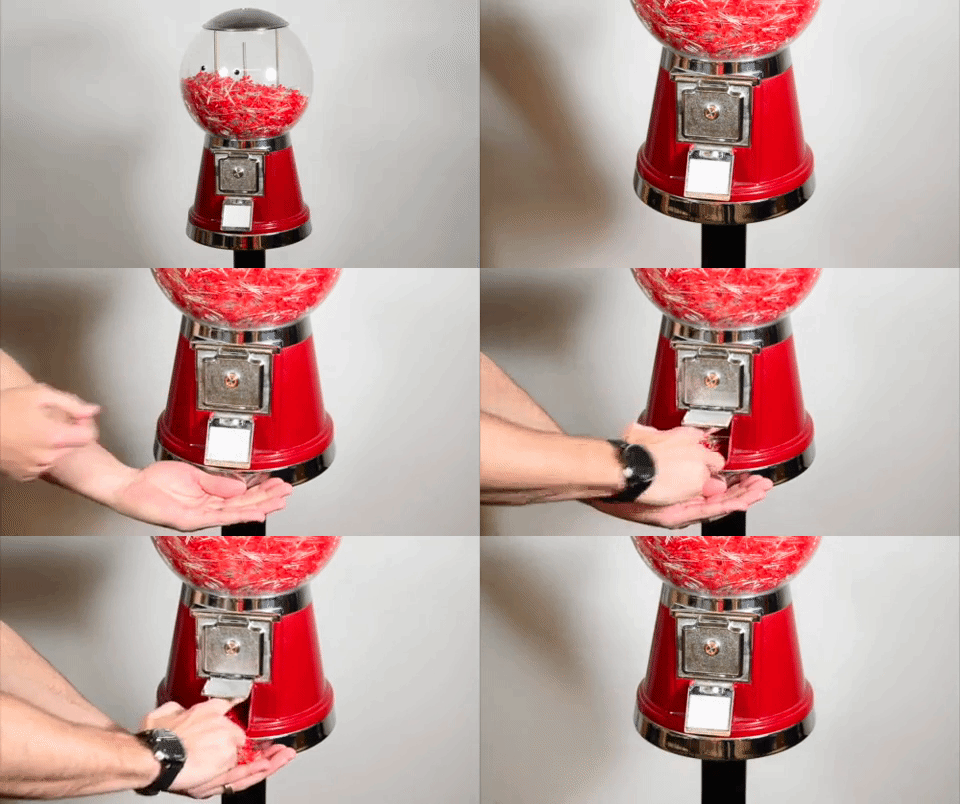
With the LED Gumball dispenser the LEDs last for more than a semester. It’s amazing how much a 15 second pause will cause people to think twice.
Suggested Reading
What is an Arduino?
Pulse Width Modulation
Button and Switch Basics
Hobby Servo Tutorial
SparkFun Inventor's Kit Experiment Guide - v4.0
And if you really want to get geeky, have a look at this posting on state machines. State machines are a good way to change between the states 'wait for user to press button' to 'ignore buttons and don't dispense right now'.
Hardware Overview
Here’s the list of parts for this project:
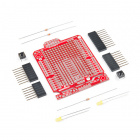
A proto shield works great. We used an old shield we had lying around but you can use any shield that has a few GPIO broken out that you can solder to.
You’ll of course need a gumball machine. We haven’t verified the continuous servo works with different brands but we’re pretty confident this Gumball Machine will work with this tutorial.
Tools
The tools for this project are pretty common. You may or may not have the various tools around so double check that you have access to the follow:
Weller WLC100 Soldering Station
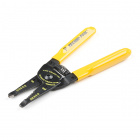
TOL-14228Wire Strippers - 22-30AWG
TOL-14762Continuous Rotation Servo
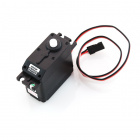
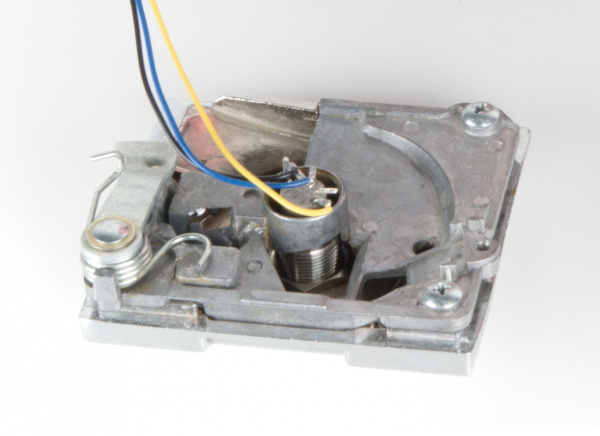
The magic of the LED Gumball Machine is the fact that a continuous rotation servo mates utterly fantastically with the dispensing cogs within the machine.
A high torque continuous rotation servo is just the ticket for getting electronic control of the dispenser mechanism.
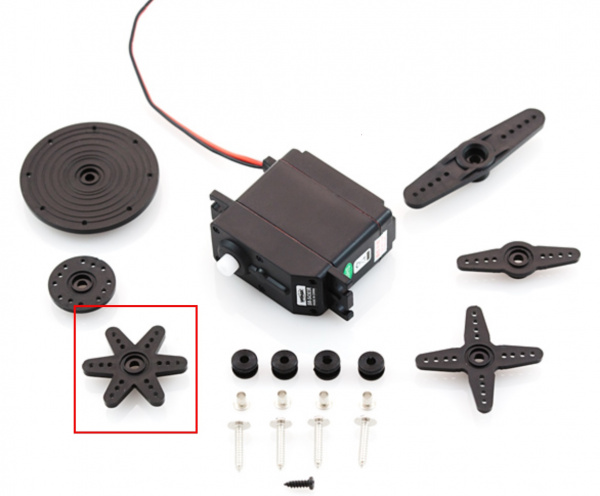
Most servos come with a variety of control horns. These are the plastic bits of different shapes that you screw into the servo to connect the servo to your application. In this tutorial we’ll want the star control horn (highlighted below). Out of complete luck, this horn has roughly the same pitch as the teeth on the gumball machine.
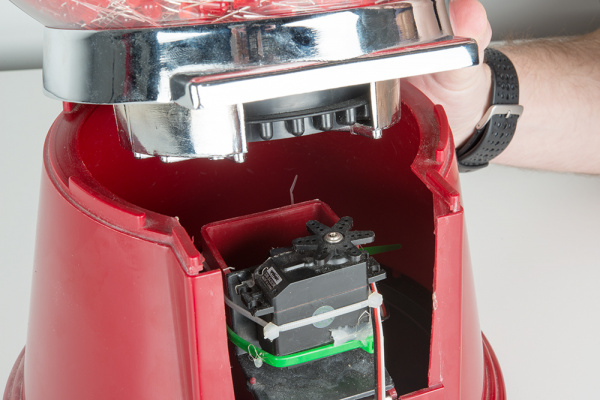
The servo has quite a lot of torque and we want that applied to the dispenser mechanism. We mounted the servo with zip ties and hot glue. First, use zip ties to roughly mount the servo in place. Once you get the alignment between the servo head and dispenser gear use hot glue to solidify everything in place. This combination creates the right combination of rough alignment and rigidity so that as much of the torque from the servo is transferred to the dispenser.
Button
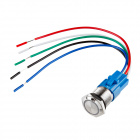
We chose a momentary light up button.
This fit superbly into the existing hole where the twist knob originally resided. Once mounted, it was a small matter to figure out which pins illuminated the LED and which pins shorted together when the button was pressed.
RedBoard
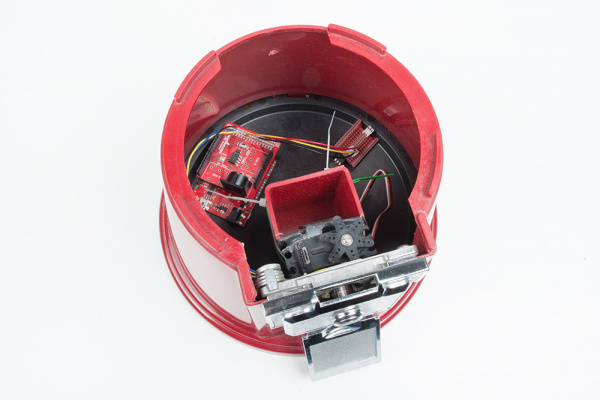
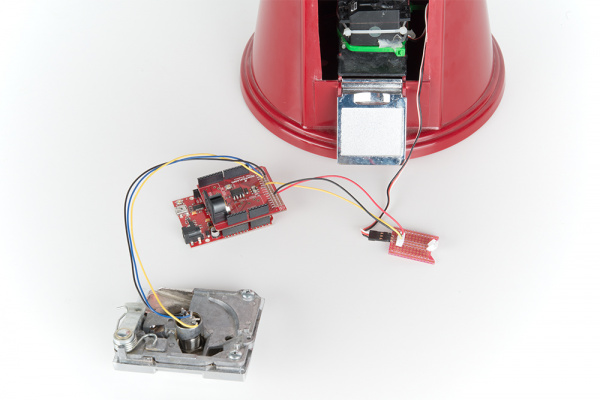
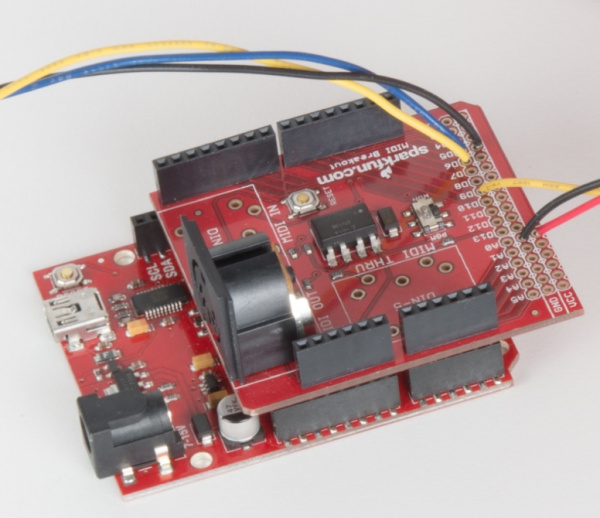
To tie it all together we used a RedBoard and an old MIDI shield. The MIDI part is not important. Instead, the row of breakout pins at the edge of the board made it easy to solder the handful of wires from the servo and button onto the board and then plug the shield onto the RedBoard.
This was a more resilient connection method than point soldering to the SMD pads on the I/O of the RedBoard. We could have also used a the Proto Shield or an Arduino Pro Mini but we had these parts lying around.
Power
The servo requires a fair amount of current at 5V so we used 5V 2A wall supply. The power cable was routed up through the pedestal column and through the mounting plates to plug into the Arduino.
Gumball Machine
Obviously you’re going to need a gumball machine.
These are amazing little machines that are well designed for rough use and easy maintenance. We aren’t charging money for the LEDs so we used the area where quarters usually get stored for our electronics.
Be sure to get a machine with a metal base and a hollow post. The metal base makes your installation last much longer (students are only slightly less tough on equipment than hyenas) and the hollow post allows us to route power up through the base. I had to enlarge a few holes to ½” in order to allow the DC barrel plug through.
Software
We want the gumball machine to dispense LEDs when the button is pressed, that’s straightforward enough. But we want to avoid dispensing all the LEDs. Also, we don’t want someone to stand in front of the free machine and continually hit the ‘gimme’ button. We implement a timeout of 15 seconds that prevents users from activating the servo constantly. You can get the software here.
Dispensing with PWM
Almost all servos operate on PWM. Before installing the continuous servo in our machine we found the servo responded in the follow ways:
gumballServo.write(95);- Stops movement of continous servogumballServo.write(200);- Servo turns CCW rapidlygumballServo.write(10);- Servo turns CW rapidly (but not used)
Our gumball dispenser was designed to operate clock wise so we only operate our servo counter clockwise.
The dispenser was designed for gumballs obviously so when dispensing LEDs the number of LEDs that actually come out varies wildly. In general the user gets 1 to 5 LEDs when the servo is activated for 1 second. This works well. In the eventual case that LEDs fail to dispense, the user just has to wait 15 seconds to try again. Since we're not charging anything this is an acceptable outcome.
language:c
gumballServo.detach(); //Be sure the servo won't move
After dispensing we detach the servo. This turns off the PWM signal going to the servo guaranteeing the servo won't move. We noticed the servo jittered or moved very slowly at 90 (when it shouldn't be moving) so this extra step insures the LED Gumball Machine won't slowly disgorge itself onto the carpet overnight.
Along those same lines of concern, we noticed that the dispensing mechanism will sometimes bind up causing the servo to draw significantly more current for a short period of time. This can cause the power supply to shut down, causing the Arduino to reset. You'll see at the beginning of setup()
language:c
gumballServo.attach(GUMBALL_SERVO); //Be sure the servo won't move
gumballServo.write(95); //Stop movement on continous servo
gumballServo.detach(); //Be sure the servo won't move
The above code is the first thing the Arduino runs and insures any previous servo movement is stopped. This helps prevent weird rolling reset situations where the servo causes a brownout and as the Arduino comes back on line the servo begins moving, causing a brownout, etc...
Button Monitoring
The button shorts to ground when pressed so we use the internal pullups to pull the button pin high when the button is not pressed.
The button has a built in LED so we connect the +/- pins on the back of the button directly to a PWM enabled pin and Ground. The LED measured 12mA at 5V, well below the 20mA max so we didn't need a resistor.
language:c
//Check if we are allowed to dispense
else if (millis() - lastDispenseTime < minTimeBetweenPresses)
{
    Serial.println("Uh-huh Mr. Eager. Wait your turn.");
    while (digitalRead(BUTTON) == LOW) delay(10); //Wait for user to stop pressing button
    return; //No soup for you!
}
In the code above, we check to see if enough time has passed since the last button press for us to vend again.
language:c
unsigned long minTimeBetweenPresses = 15 * 1000; //Make users wait this amount of ms between dispenses
We found 15 seconds (15,000 milliseconds) between vends was enough time to dissuade students from taking all the LEDs.
Resources and Going Further
We hope you've enjoyed reading about our LED dispensing gumball machine. If you liked this one, there's tons more!
