LED Butterfly Pop Up Card
 Gella
Gella 
Step 2: Create Copper Traces
Time to create a path for our electricity with copper tape.
Line A
Take a look at the template and find the circle marked A. Peel away a few inches of the paper backing from the copper tape and stick down along the grey line. Cut when you reach the scissors icon.
Line B
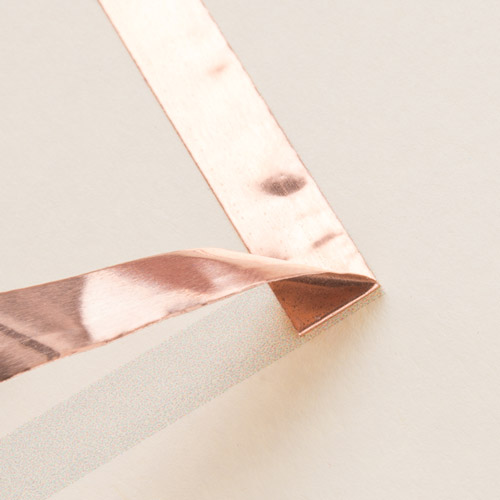
Next we'll place tape along Line B which includes a corner. To keep a solid connection of copper around corners, we'll be using a folding technique to press the tape into shape.
Start by sticking the copper tape down until you reach the corner, then fold the tape backward on itself. Use a fingernail or pen to give it a good crease at the edge.
Then carefully move the tape down around the corner - you should see the fold forming - and press down flat against the paper. The neatness of the fold doesn't matter that much, it will be covered by your pop up in the end. Finally, cut the tape when you reach the scissors icon.


Line C
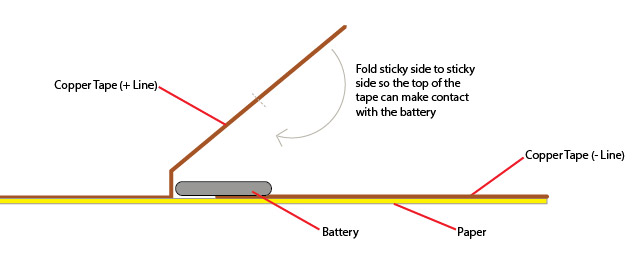
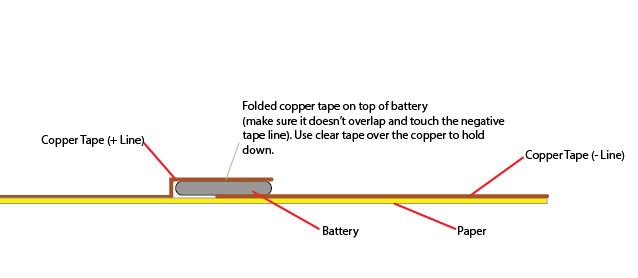
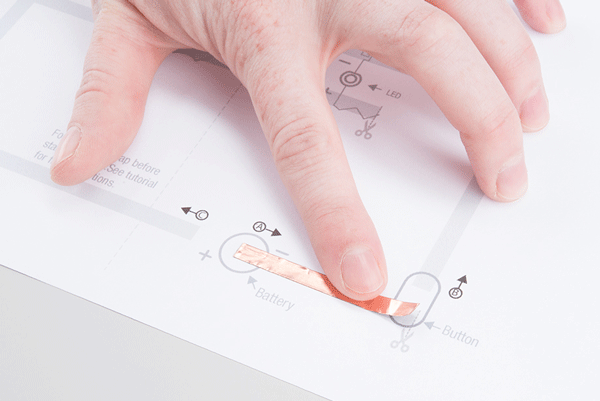
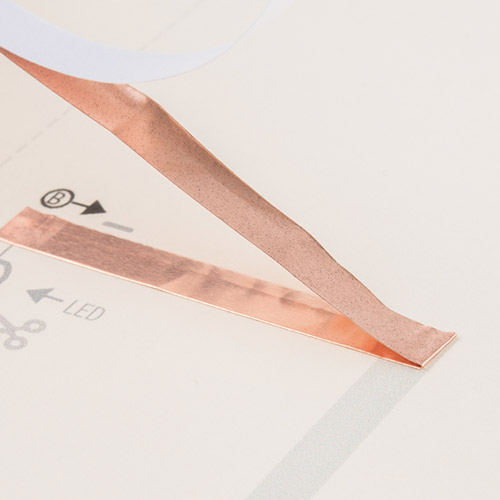
The last copper tape line will also form a battery holder. We'll start by folding 1/2" of copper tape onto itself, sticking the adhesive sides together to form a flap.
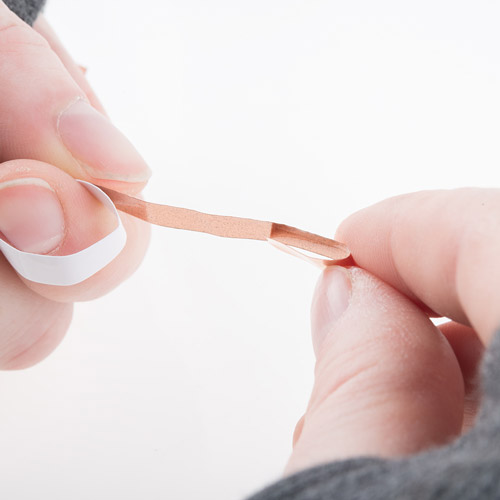
This allows the top of the copper to fold down over the coin cell battery - the positive side of the battery is the top and negative side is the bottom, which allows us to create a 'battery sandwich' with copper tape touching each side.
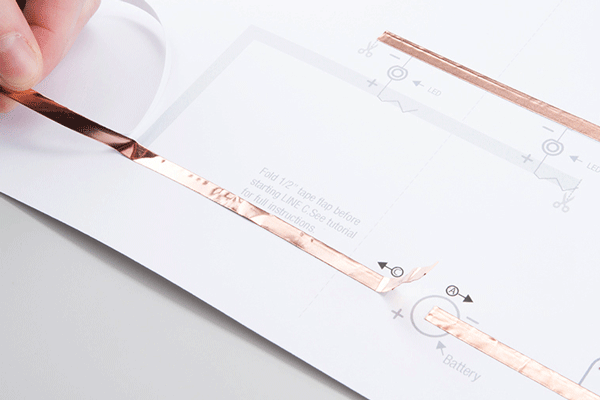
See the diagrams below to explore how this method works. We won't be installing the battery until the end of our project, so set that aside for now. Continue following Line C (around two corners) until the scissors icon.