LDK Experiment 3: Buttons and Switches
This Tutorial is Retired!
This tutorial has been retired. For the most recent information, please refer to the updated tutorial.
View the updated tutorial: LilyPad Buttons and Switches
Positive Trace
This is another parallel circuit, like the one you made in LDK experiment 2. This time, we’ll be adding a switch and a button, so that you can see how to orient them correctly. With buttons and switches, you’ll no longer have to take the battery out of your circuit to turn it off!
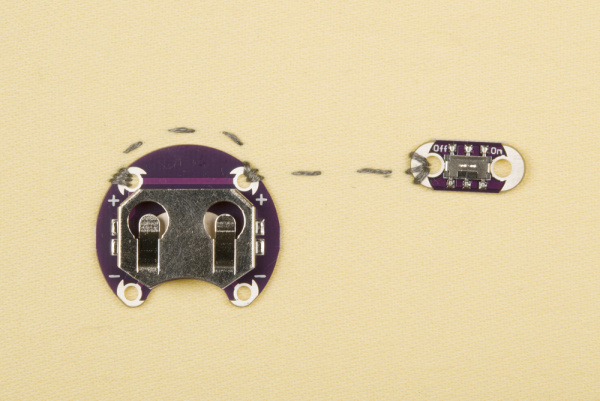
Like usual, we’re going to start with the positive trace. Place your battery holder where you’d like it, and sew the two positive pins down and to each other. Then sew a few stitches to where you’d like your switch to go. Sew down one side of your switch (it doesn’t matter which, switches aren’t polarized), then knot and cut your thread.
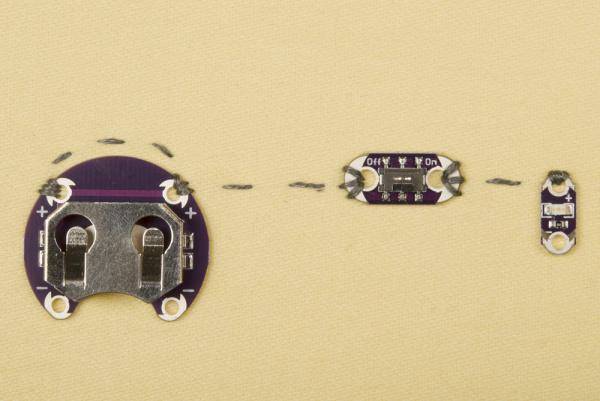
Starting again with a new thread, sew down the other side of the switch, and, from there, sew to where you want the positive side of your first LED to go. It is very important that this be a second trace, and that the thread ends be trimmed short enough to avoid accidentally coming into contact with each other. It is a common mistake to sew both sides of the switch (or button) with one trace. When this happens, current will bypass the switch entirely, traveling through the thread instead, and your switch will do nothing.
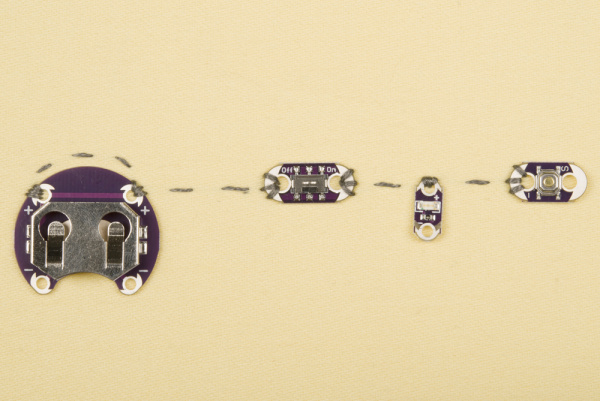
With the same trace, sew from the positive side of the first LED to one side of the button. Sew this down, then knot and cut your thread. Like the switch, the button must be sewn down on each side with a different trace.
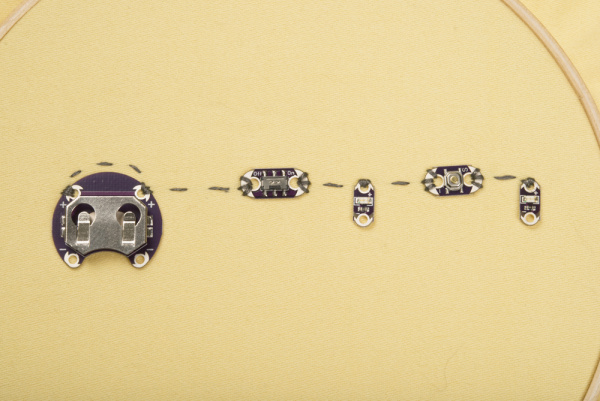
Beginning a new trace, sew from the second side of the button to the positive pin of the second LED, then knot and cut your thread.


