How to Use a Hot Air Rework Station
Introduction
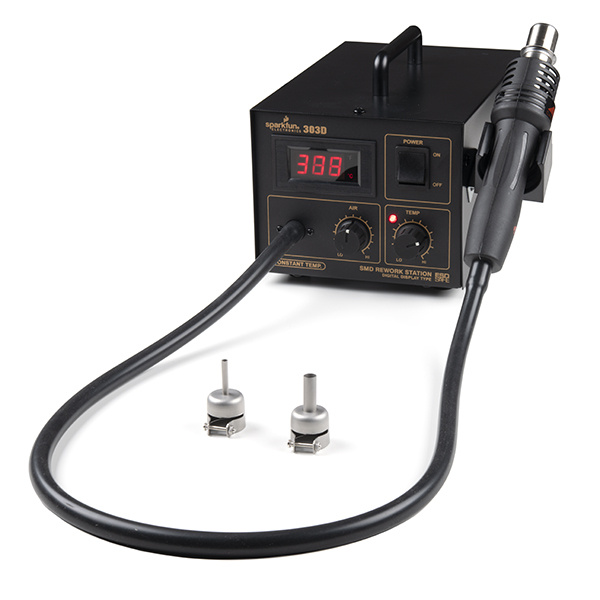
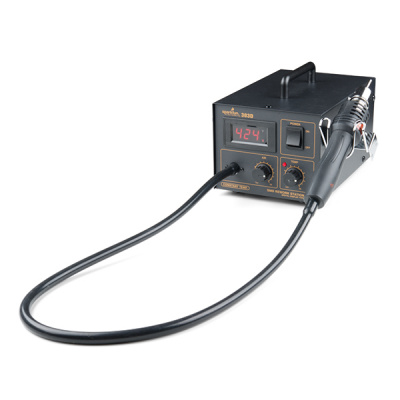
Hot-air stations or heat guns are very useful tools and are essential for any electronics workbench. When working with or building printed circuit boards, there is a lot of room for errors to be made. Whether you're relying on machines to do the building for you or building by hand, solder can often have a mind of its own. Sometimes the person doing the building (or the person programming the machine that does the building) can make a mistake. Other times, the solder or components on the PCB can react in ways that are not desirable during reflow. Have no fear though, there are ways to remedy this! The SparkFun hot-air rework station - 303D is one such solution.
Hot-Air Rework Station - 303D
TOL-19101Tools
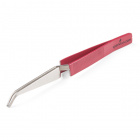
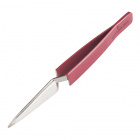
Besides a hot-air rework station, you’ll need a few tools to rework a surface mount components on a board. The tweezer type will depend on the job and personal preference. Flux can also help reflow solder joints.
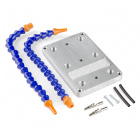
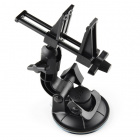
Panavise Jr. - Vacuum Base
TOL-10410Additional Tools
To protect your table's finish, we recommend using a heat resistant material.
- Heat Resistant Material
- Piece of Medium Density Fiberboard (MDF)
- Silicone Mat
If this is the first time that you have reworked a board, try reworking a scrap board from our ding and dent before reworking an expensive PCB!
Scrap Boards
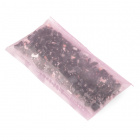
DD-08477Pick and Place Spare Parts Grab Bag
DD-10351Hardware Overview
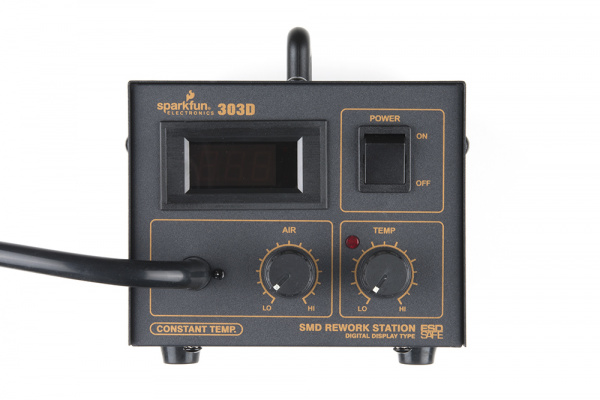
Let's take a look at the features starting on the upper right side of the 303D hot air rework station.
Power Switch -- The 303D uses a standard North American plug/outlet (~110VAC). Hopefully the power on/off switch is self-explanatory. Move the switch to "ON" to turn the hot-air rework station on, move the switch to "OFF" to turn the hot-air rework station off. Easy peasy.
LED Digital Output -- The LED digital output lists both your temperature range as well as your air flow. The display will change as you turn either the air or temperature knobs.
Air Flow Grade -- Air flow grades range from A25 ~ A99. You can adjust the air flow by turning the air setting knob. The LED output will display the setting air flow grade for 2 seconds and then return to the current air temperature of the nozzle.
Temperature Range -- Output temperatures range from 100° ~ 480° Celsius. You can adjust the working temperature by turning the temperature setting knob. The LED output will display the setting temperature for 3 seconds and then return to the actual air temperature of the nozzle. The indicator in the temperature box will twinkle when the desired temperature is reached.
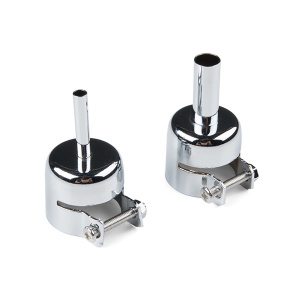
Nozzles -- The 303D comes with 2x changeable hot-air nozzles. The smaller nozzle is good for focusing the hot air on smaller components. The bigger nozzle is great if you are trying to focus hot air around a big area on the board.
Wand Holder -- The unit comes with a wand holder for the hot air gun. It can be attached on either side of the hot air rework station.
What's It Good For?
Hot-air rework stations can be very handy. As mentioned above, they are a crucial tool when it comes to reworking a board. The term rework just means you are refinishing or repairing an already reflowed board, and it is a term commonly used in the electronics world. Just think of it as doing any work to the board that wasn't involved in the actual production process. Here are some common rework scenarios:
Polarized Components - Parts that have been placed incorrectly (backwards, shifted x degrees off). These include ICs, diodes, some capacitors, connectors, etc.
Tombstone Parts - This is when a part (usually a resistor or capacitor) reflows only on one side. The part usually sticks strait up resembling a tombstone.
Cold Joints - This is similar to a tombstone except the parts might not be sticking strait up, making it harder to see the connection that is not being made.
Removing Defective Parts - Sometimes, during the IC manufacturing process, errors can arise and go unnoticed. These ICs are then placed on perfectly good PCBs. Hot-air is great for replacing these bad parts.
Missing Components - The smaller the component, the easier it is for it to disappear. This can happen before or during reflow, resulting in a spot where something should be, but isn't. Hot-airing a new part in its place is a snap with this rework station.
Unintentional Solder Jumpers - If too much solder or solder paste is used, the result can be jumpers on one or more of your surface mount IC's legs. Hot-air can sometimes be used in conjunction with a flux pen to remove these pesky buggers.
Other Uses
Rework isn't the only thing a hot-air rework station is good for. Other uses include:
- Salvaging electronic components from old PCBs.
- Reflowing solder paste applied with a stencil between SMD components and a PCB.
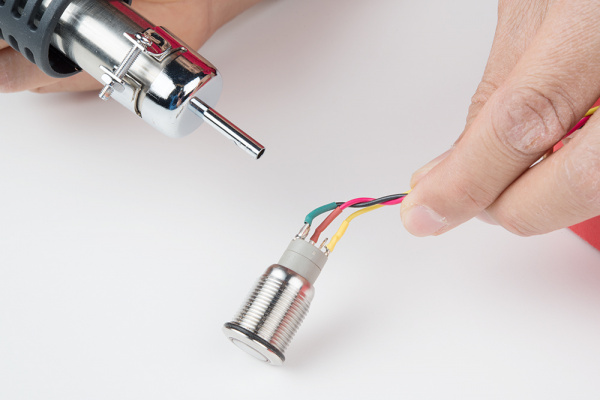
- Shrinking heat-shrink to secure wire connections.
- Heating up and bending certain plastics (with the correct settings).
- Heating up hot glue to remove or reposition items that were glued incorrectly.
How to Use a Hot Air Rework Station
Third hands or other vice grips help tremendously. Remember, metal heat sinks and PCBs with ground planes can make reworking take a lot longer.
Choose Your Nozzle
Choose the appropriate tip for the job. Attach the nozzles to the wand and tighten the screw using a screw driver to hold it in place.
Plug the 303D's North American standard plug into your very favorite US outlet (~110VAC). The heating element and blower will remain off until you flip the power switch to ON.
Power On
Flip said power switch to ON. The heating element will fire up and the air will get very hot, very quickly so aim the nozzle accordingly. The red LED next to the "SET TEMP" will pulse, indicating that “Hey, I’m ready to melt some stuff.” Wait for the hot-air station to warm up before using it.
Adjust Air and Temperature
There are two control knobs – one for airflow and one for temperature. Adjust them to suit your needs.
Rework
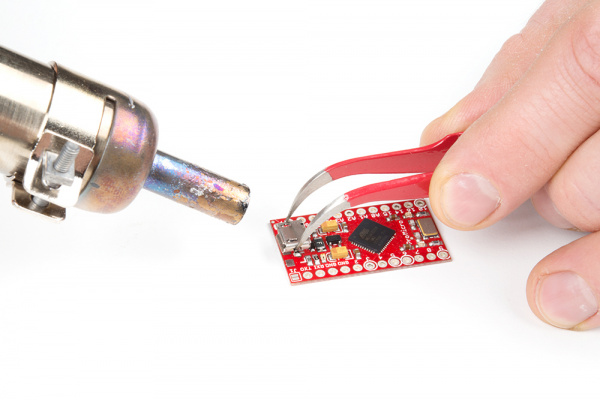
When you’ve got your settings honed in, carefully aim the nozzle at the area you are working on. Saying the magic spell (meltum, meltum, meltum), move the nozzle back and forth until the solder begins to flow (the solder should appear shiney and molten). Then carefully remove/reposition the part you want to rework using tweezers by nudging or grabbing the part. Keep in mind that hot-air is, well, hot.
If you also see smoke, warping, or black goo coming from your board, remove the heat and turn your heat setting down.
Cool Down
When you are done, flip the power switch to OFF to allow the station to cool down when finished. The self-cooling will kick on and last for a few minutes.
Clean
Wash your board when you're finished to remove any water soluble flux left on the board, which can cause corrosion over time.
Demo Video
Below is a demo video from our pal Dave Stillman showing us how to use our SparkFun Hot-air Rework Station properly!
Replacement Parts
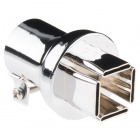
Nozzles
Hot-air Rework Nozzles - Y1126
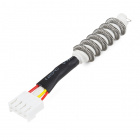
TOL-07925Heating Elements
Replacing the Heating Element:
| Remove Screws | Unplug | Remove Heating Element |
|---|---|---|
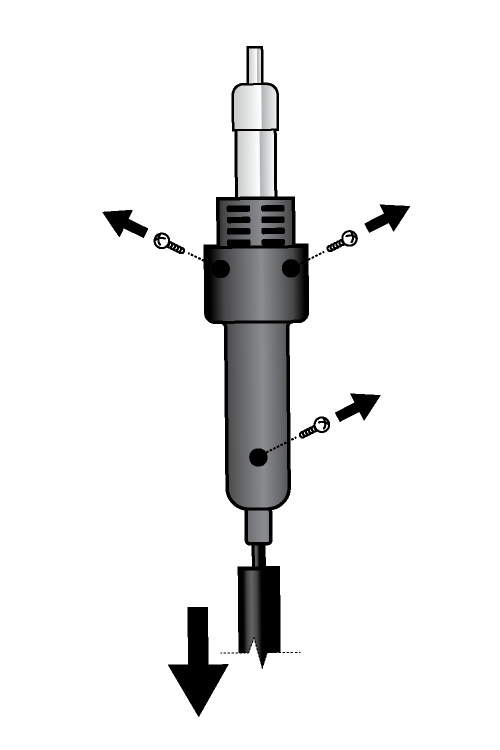 |
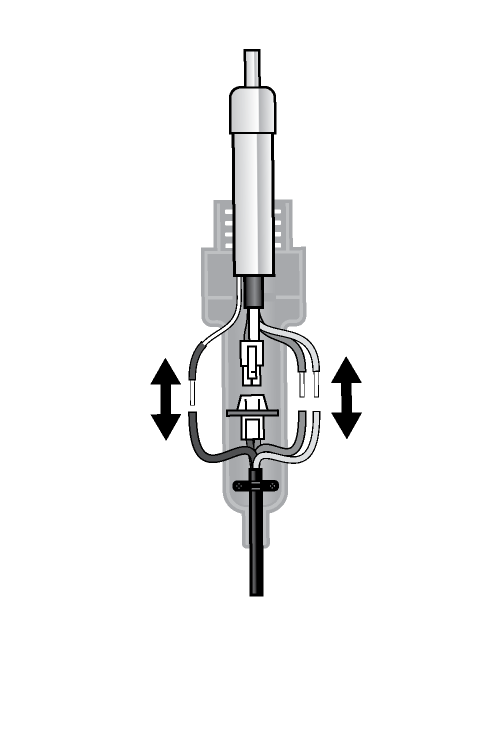 |
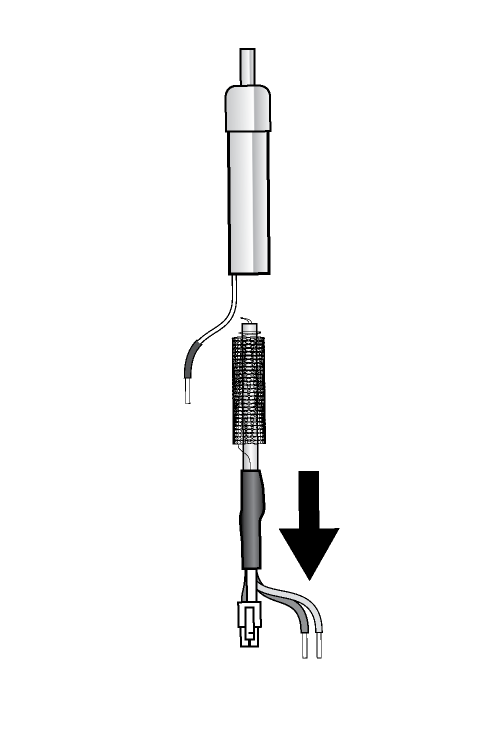 |
Troubleshooting
Low Airflow when "Air" Dial is Turned Up
If you are getting low airflow when the “Air” Dial is turned up, make sure that you have the nozzle securely attached. With the nozzle, you will get more air flowing through the hot-air rework station’s handle.
S-E Error
“S-E” usually means Sensor Error. It’s a common error. Sometimes it goes away after messing with the dial and the temperature will display properly again. Other times it indicates that the heat sensor is failing. The rework station might be able to be revived by removing and re-attaching the heater. Another tech support rep thinks it’s oxide building up on the connections. This results in fooling the controller into thinking the heater has failed.
H-E Error
Units displaying the “H-E” usually means there is a heating error. It might be that there is something with the heating element failing or not connected properly. Try checking the connections to see if the heating element needs to be re-seated. Last resort is getting a replacement heating element. A last resort is getting a replacement heating element.
Air Turned Too High
If your air flow is turned up too high, it is quite possible that you will start seeing small projectiles shooting away from your board. Those are your parts. We recommend starting at a lower air flow and moving up as your needs require.
Destroying a PCB
If you sit too long on a given spot on a PCB while working with hot-air, the glue that holds the copper layer to the FR4 laminate underneath lets go and comes out as black goo. The green soldermask on the top side also begins to come off. Because we don't have Smell-a-vision yet, we can try to describe the smell - it's horrendous. It smells like burning electronics (surprise) but the smell seems to cling to your skin and clothes. Not cool. So practice and don't be surprised if you smell bad things with your first couple re-work attempts.
Pulled Pads
When checking to see if a part is ready to move, we recommend nudging the part gently. If you push too hard, you can pull the pad.
Resources and Going Further
If you have any questions or comments, please feel free to drop them in the comments box below. Happy reworking!
For more information about the hot-air rework station, check out the resources below:
- 303D Manual
- SMD How To - 4: Rework with hot-air = Good
- SMD How To - 8: How does hot air rework actually work?
Check out these other great tutorials from Sparkfun to level up your skills!
Make Your Own Fritzing Parts
USB Serial Driver Quick Install
Getting Started with 3D Printing Using Tinkercad
Flashlight Kit
Or check out this blog post for more ideas to reflow solder!
