How to Solder: Through-Hole Soldering
 Joel_E_B
 Advanced Techniques and Troubleshooting
Advanced PTH
Once you get the basics of creating good solder joints, it's time to learn some of the more advanced PTH techniques that you can utilize. This video goes over using flux, removing solder jumpers, desoldering components, along with some other tips and tricks.
Here are some other tips for PTH soldering:
Desoldering can often be the best way to learn how to solder. There are many reasons to desolder a part: repair, upgrade, salvage, etc. Many of the techniques used in the video aid in the desoldering process.
There is another method of removing solder from through-holes that we refer to as the slap method.
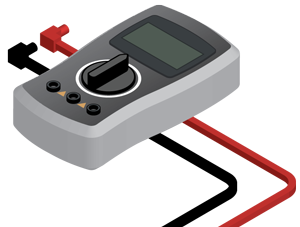
If you're ever unsure if the solder joint you created is making an electrical connection, you can use a multimeter to test for continuity.
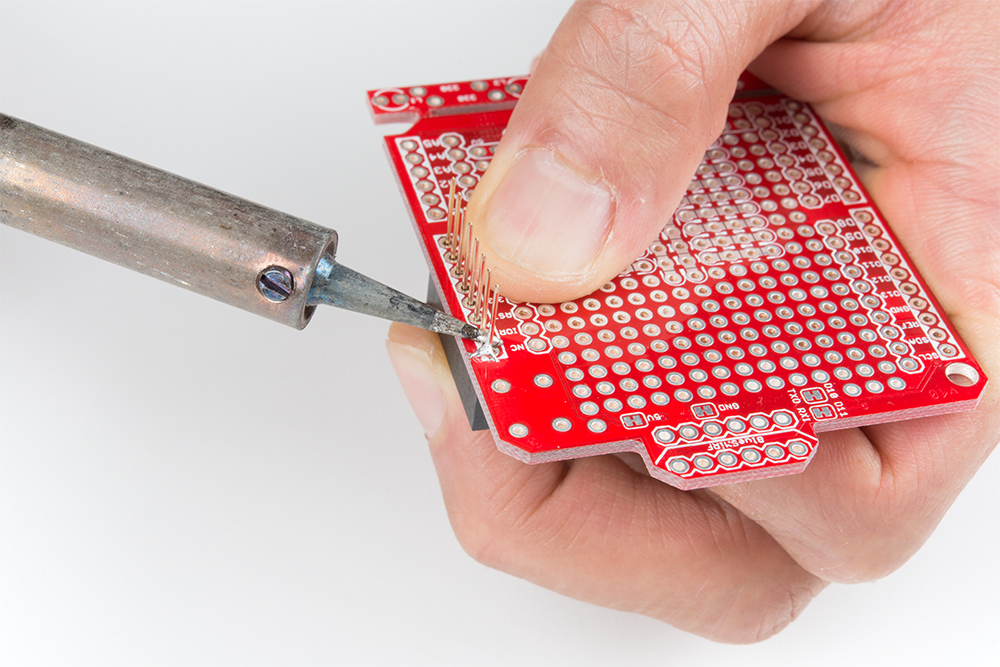
Holding Headers Against a Board
For those that have the dexterity, you can install a row of headers by holding the pins against the board! You can try to use tape and sticky tack as mentioned earlier. Below is an example of installing female headers on the ProtoShield. However, you can follow along with male headers or use this technique to solder headers on any board.
Grab a female stackable header and slide it from the top side of a shield. With your soldering hand, pull the header with your index finger and thumb toward the edge of the board. Using your other hand, push against the header using your index finger and grip the board with your thumb. Hold the header down with your middle finger. Make sure to avoid touching any header pins where the soldering iron will touch.
 |
 |
Grab the soldering iron with your soldering hand and tack on one pin. Repeat for each header. After tacking one pin for each header, you will want to ensure that the pins are straight and perpendicular to your board. If they are not, you can try to reheat the header pin and adjust the header's alignment.
If the headers are aligned, you can solder the rest of the header pins on the board to finish installing the headers on the board!
Advanced SMD
Looking for more tips and tricks with just your soldering iron? Check out these advanced techniques to rework SMD components according to Pete.
Cleaning Flux Residue
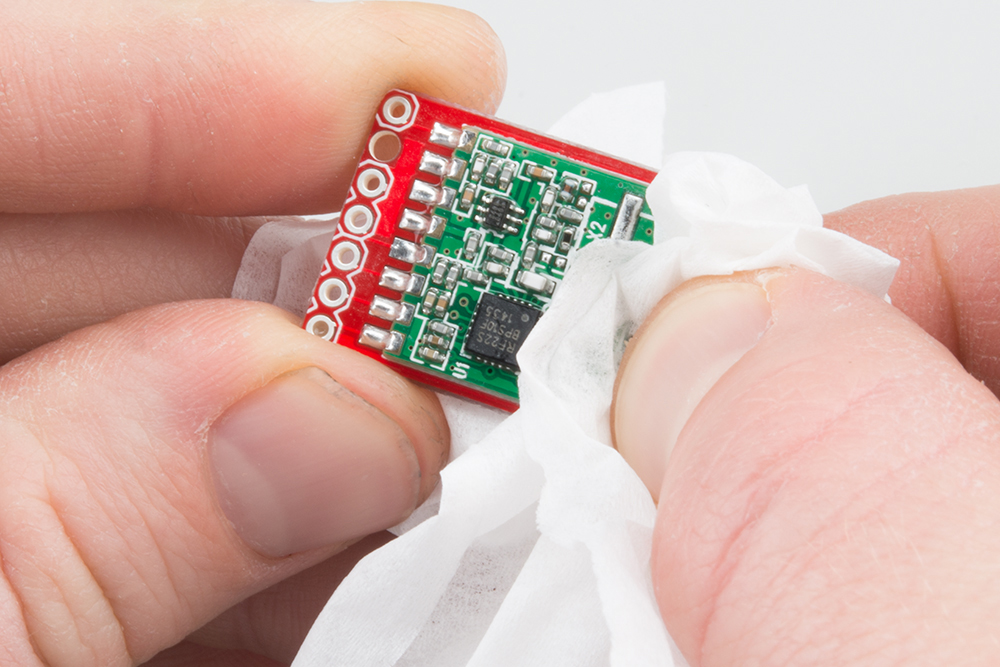
When working with lead-free solder, flux tends to get everywhere, be it from the flux in the solder or from external flux applied by the user. Certain types of flux can corrode the PCB and components over time, thus it's good to know how to clean your PCBs so they're free of any flux residue. This can also cause a high-resistance shorts between pins as a result of the moisture in the air and tiny dendrites forming. Common problems can range from uploading code to an Arduino using a serial-to-USB converter to errors when sending data through I2C.
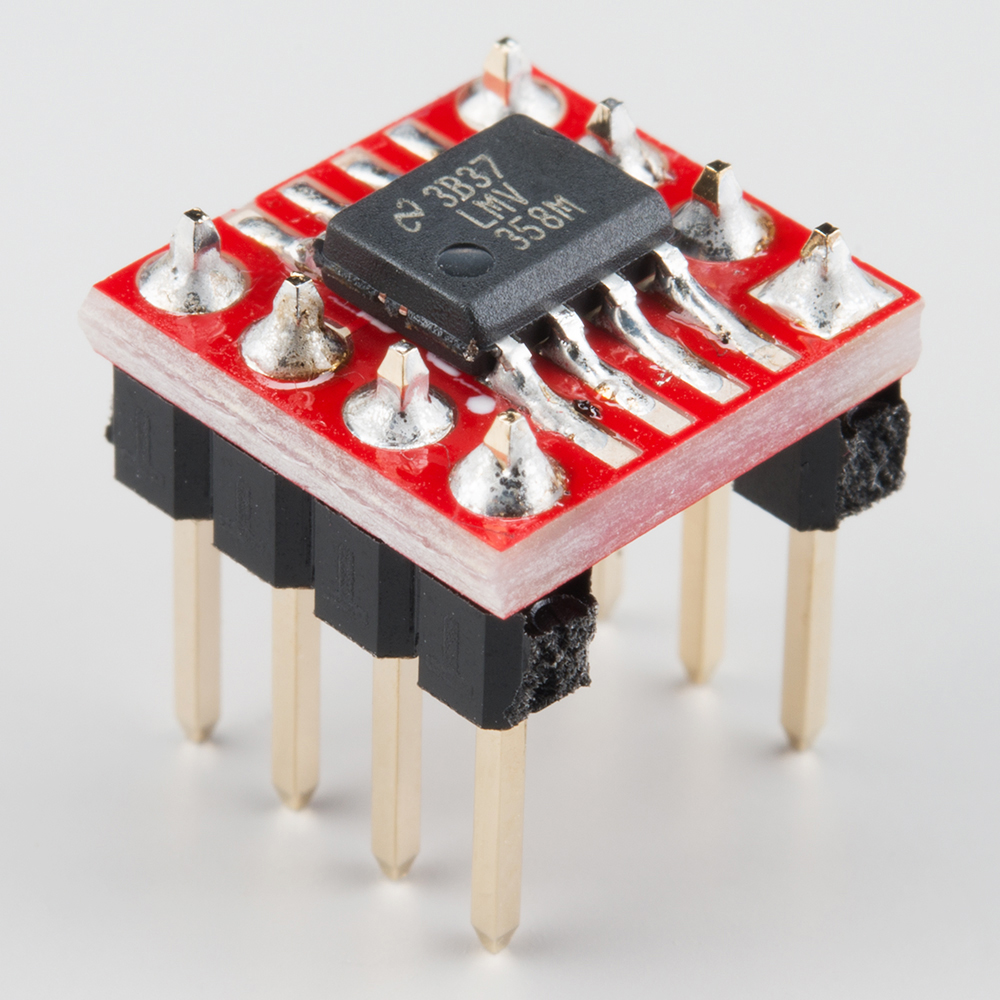
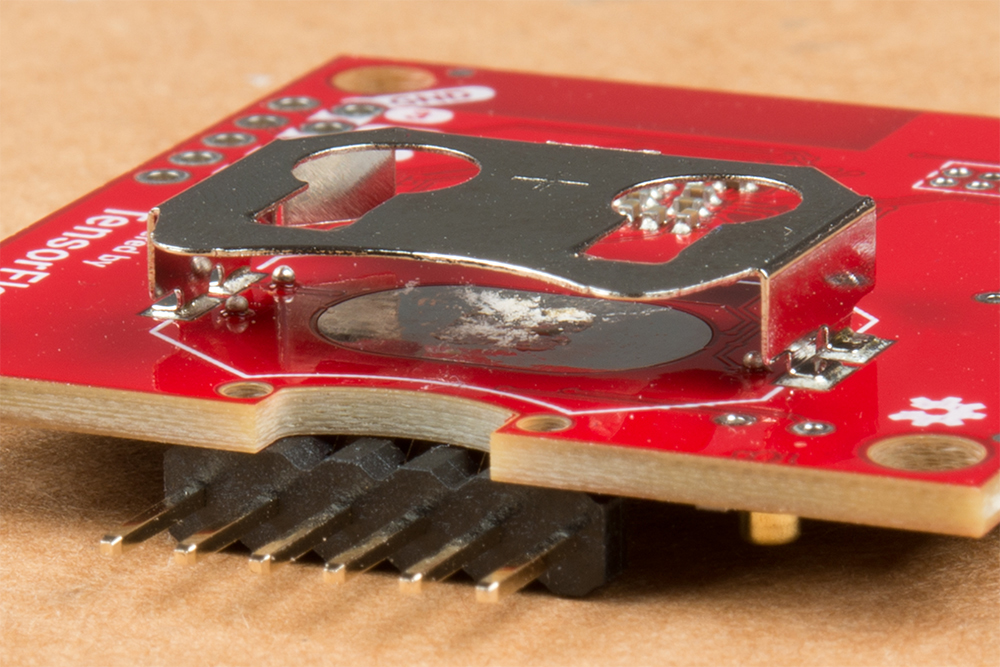
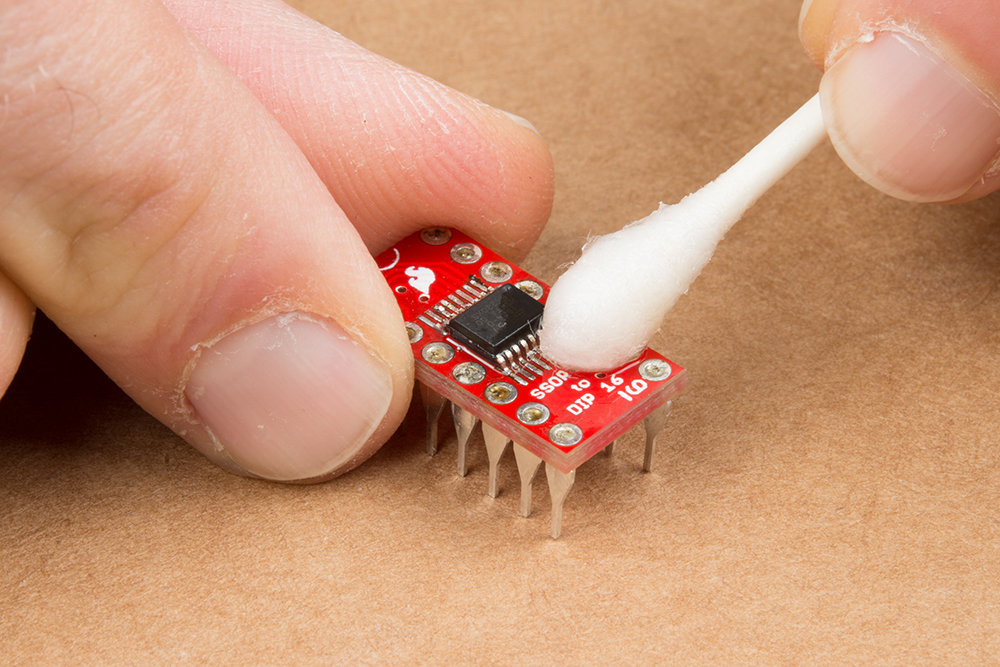
How do they look like? Well, lets take a look at the images below. The image on the left shows water-soluble flux residue on the solder joints. These can appear as a yellow or brown coating on or around the solder joints. The image on the right shows no clean flux that was used on the SparkFun Edge. These can appear gunky and white on the board. It's non-conductive so it can be left on the board.
 |
 |
| Water-Soluble Flux Residue on the 8-Pin SOIC to DIP Adapater | No Clean Flux on the SparkFun Edge's Pad |
If you have water-soluble flux residue on the board, you will want to remove it from the board. No clean flux, you should not need to remove it. The simplest way to clean water soluble-flux from the board is to use a small brush with stiff bristles (toothbrushes work great) or a Q-tip. Then scrub the solder joint with hot, de-ionized water to remove the water-soluble flux. Isopropyl alcohol can be used as a substitute for water. If you must remove no-clean flux from the board, the best approach would be to use isopropyl alcohol, rather than water. Keep in mind, you'll have to check the documentation for your solder for the proper cleaning methodology as other types of flux may require acetone.
 |
 |
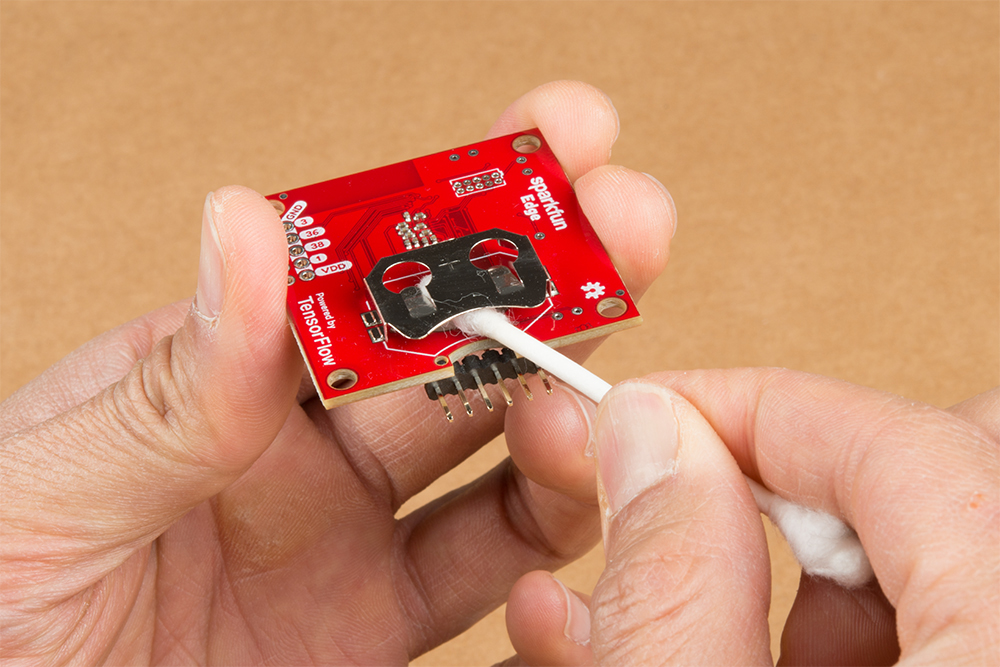 |
| Removing Water Soluble Flux with a Brush | Removing Water Soluble Flux with a Q-Tip | Removing No Clean Flux with a Q-Tip |
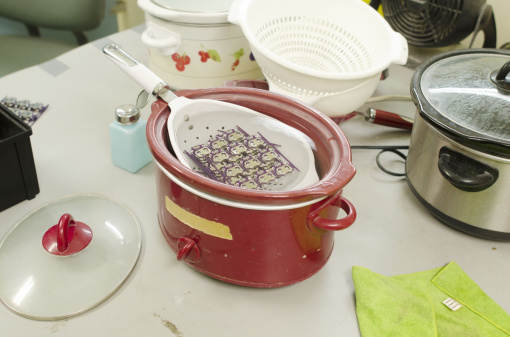
If you are soldering more than a few boards, it may be necessary to clean them in batches. For this, we recommend a crock pot filled with distilled water. The distilled water keeps other impurities and contaminants away from your circuit. Below shows an image of a battery holders being cleaned. Not all boards can be dunked in water like this. So you may need to manually clean the solder joints. Having a crock pot full of hot, de-ionized water will make the process faster.
 |
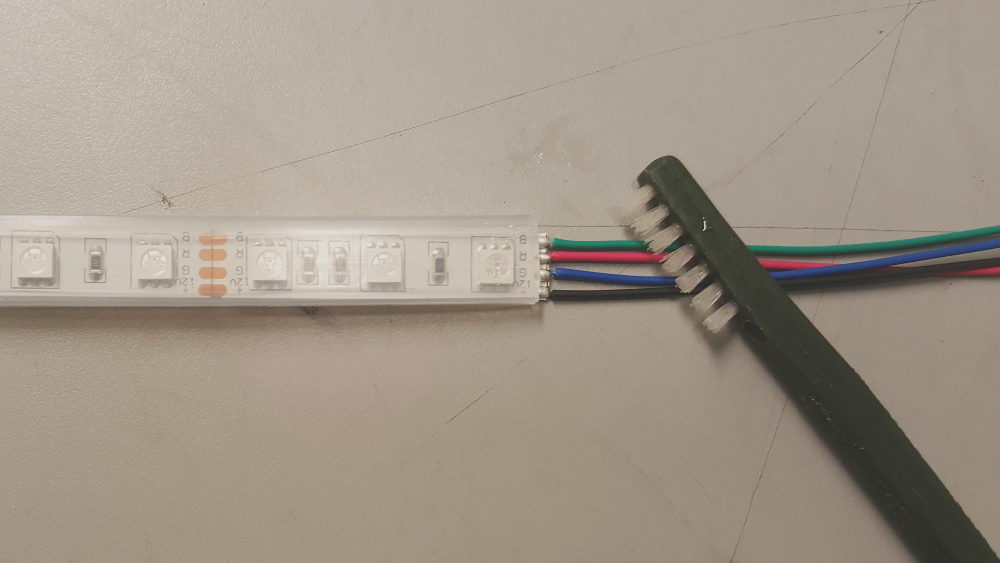 |
| Dunking Boards in a Crock Pot | Manually Cleaning an LED Strip's Solder Joints |
Make sure to avoid getting water sensors or components that can retain water. Certain components are sensitive to water, so you should avoid dunking those boards in water and be careful about getting these components wet. Here is a short list of components that should avoid contact with water. If water gets trapped in them and you power the board, it will probably damage the component.
- Character LCDs
- 7-Segment LED Displays
- Batteries
- GPS Modules
- Wireless Modules
- Barometric Pressure Sensors
- Slide Potentiometers
- Microphones
- Speakers
- Heart Rate Monitor ICs
When you are finished cleaning the board, you'll want to remove any excess water off the board. Compressed air works wonders so that you do not have to wait for it to evaporate. You can also paper towels to dry a board but it may leave pieces of lint behind. Thus low-lint wipes to dry a board would be better. If you have a hot air gun, you can also use it to heat the board up. Just make sure to not melt anything on the board.
 |
 |
| Compressed Air to Dry Board | Low Lint Wipes Drying a Board |
It's not 100% necessary to clean your board, however, it will increase the life of your circuit tremendously. Additionally, data sent through serial will be reliable when the board is clean. For more information on PCB cleaning, click below.
Testing and Troubleshooting Solder Joints
Once you are done cleaning, feel free to check your solder joints with a multimeter set to continuity mode as stated earlier. This is useful if you run into problems and need to check if a pin is soldered correctly to a board. For more information, check out our tutorial on how to use a multimeter.
How to Use a Multimeter
Looking for troubleshooting tips? Check out the hardware checklist in our tutorial for more information!
SparkFun Troubleshooting Tips
Interested in learning more foundational topics?
See our Engineering Essentials page for a full list of cornerstone topics surrounding electrical engineering.