How to Install and Setup EAGLE
 jimblom
Configuring the UI
EAGLE's user interface is highly customizable. Anything from the background color, to layer colors, to key bindings can be modified to fit your preference. Better tailoring your interface can make designing a PCB much easier. On this page we'll talk about how we at SparkFun prefer to customize our UI. None of these steps are required. Customize your UI as you see fit. These are just the settings that we've grown accustomed to.
Setting the Background Color
The first adjustment we always make to the UI is the background color of the board editor. The standard white background doesn't always meld very well with the array of colored layers required for board design. Instead, we usually opt for a black background.
To change the background color, go up to the "Options" menu and select "User interface".
Inside the "Layout" box you can set the background to black, white, or a specific color.
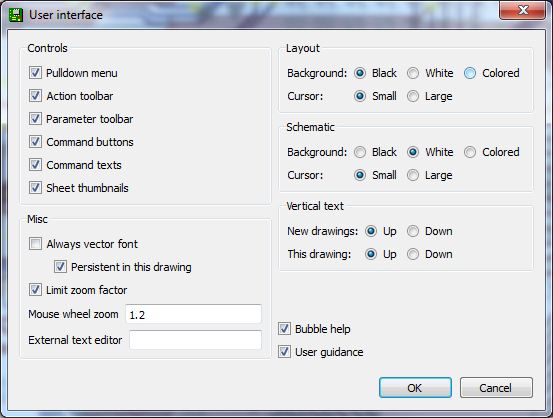
There are other options in this box to be explored, but you may want to hold off on adjusting most until you have more experience with the software.
Adjusting the Grid
Another UI improvement we like to make in the board editor is turning the grid on. Dimensions and sizes are so important to the design of your PCB, having some visible reminders of size can be very helpful. To turn the grid view on, click the  icon near the top-left corner of the board window (or go to the "View" menu and select "Grid").
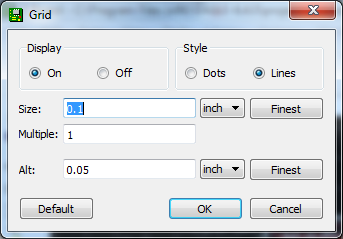
Switch the "Display" radio button over to "On". We'll also make the grid a bit less fine by setting the "Size" to 100 mil (0.1") and "Alt" to 50 mil (0.05").
Running Scripts
Scripts are a much more streamlined way to quickly configure your interface. With one click of the button, you can automatically set up all of your colors and key binds. Script files can also be shared, and run by anyone. Running the SparkFun EAGLE script will get your UI to exactly match ours.
First, click here to download the script (in a zip folder). Unzip the "spk.scr" file to a location you'll remember.
Then you'll need to run the script. In the board window click on the Script icon --  (or go to "File" then "Execute Script"). In the file browser, select the "spk.scr" file you just downloaded and unzipped.
This should automatically set up your color scheme to look a little something like this:
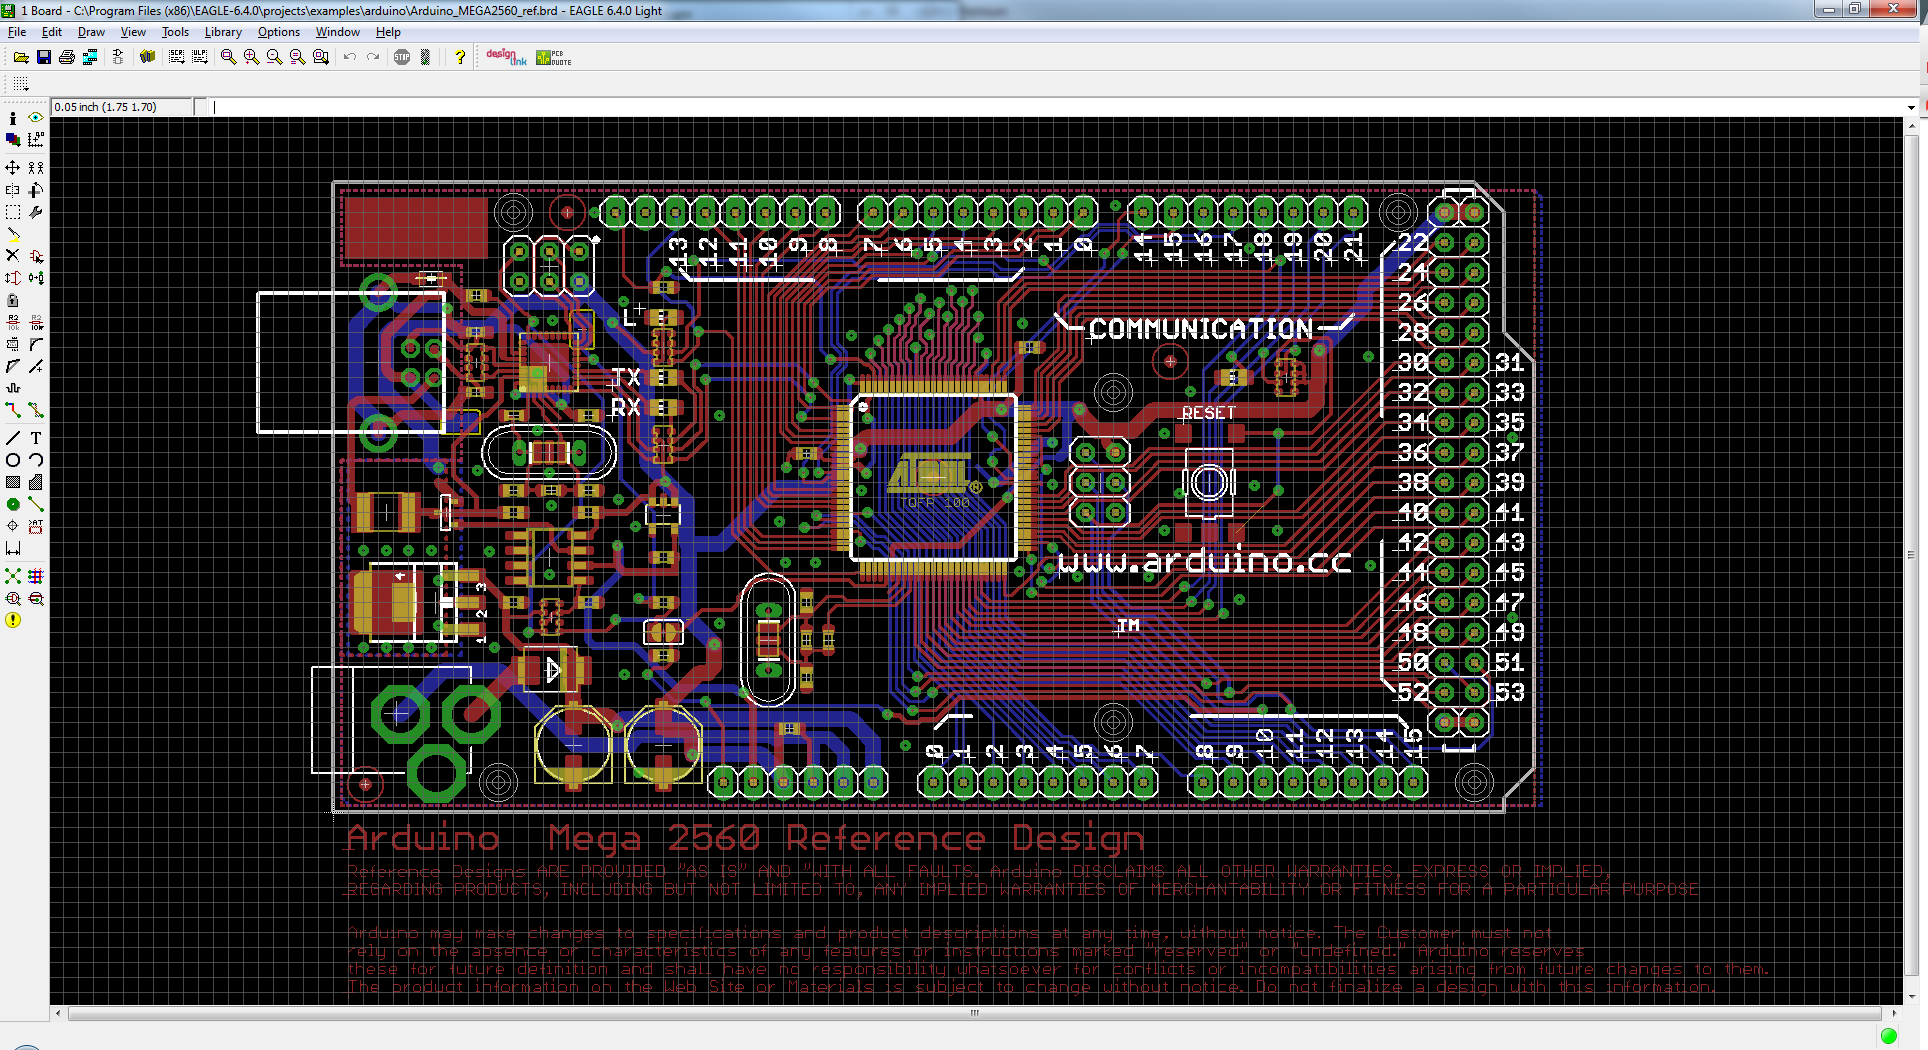
This UI setup presents a nice logical view of the layers. The important copper layers are very visible, but distinct (red on top, blue on bottom, green for vias), and the silkscreen is white as it is on most PCB designs.
All of these colored layers will make more sense as you continue to use and explore EAGLE.
SparkFun Custom Eagle Settings
To find SparkFun's most up-to-date script, and other useful files, check out our EAGLE settings repository hosted on GitHub!