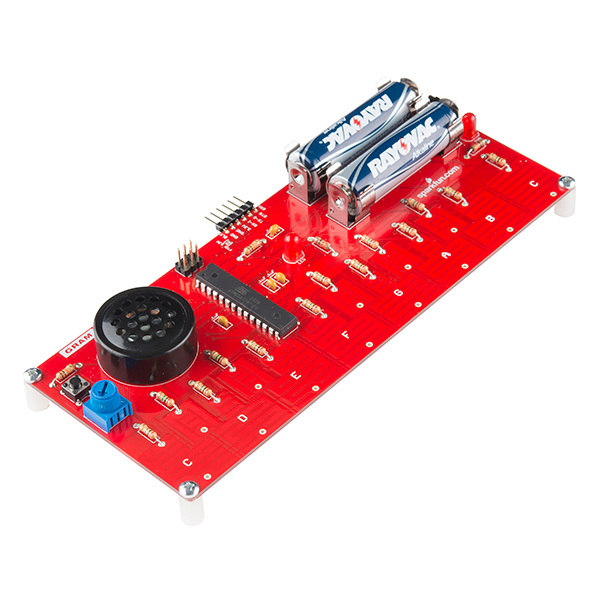
Gram Piano Assembly Guide
This Tutorial is Retired!
This tutorial covers concepts or technologies that are no longer current. It's still here for you to read and enjoy, but may not be as useful as our newest tutorials.
Introduction
The Gram Piano is a through-hole soldering kit that transforms from a pile of hardware into a tiny piano, ready for the playing. Once built, you can play an octave worth of notes using the capacitive touch keys. The pre-installed software also lets you switch between three octaves using a potentiometer and play a melody with the press of a button. Building and playing with this kit will teach you various skills related to soldering, electronics, music, and programming.
SparkFun Gram Piano Kit
KIT-11835Covered in This Tutorial
This guide will explain the assembly process, the gram piano's default functionality, and will provide an overview of the pre-installed software. After building and playing with the board's default settings, you can customize your board to your liking by diving into the source code.
Suggested Reading
This tutorial assumes you have prior knowledge of the topics mentioned below. If you are unfamiliar with any, please feel free to read up on that subject and then return to this tutorial.
- How to Solder - The Basics of Through-hole Soldering - The first and most importnat skill needed for any soldering kit!
- Polarity - Learn which components have polarity and need more attention when soldering.
- Pulse Width Modulation - PWM is used to drive the speaker on the board.
- Arduino's Tone Reference - This will help us generate the tones that emit when a certain key is pressed.
- Installing an Arduino Library - Learn how to install any libraries needed for the Gram Piano, such as the CapSense library.
- Arduino's Capacitive Sense Library - Speaking of...
- Arduino's Capacitive Sense Library Reference - Learn how the Cap Sense Library works.
