Getting Started with the Raspberry Pi Zero Wireless
 M-Short
Installing the OS
Before powering on your Pi Zero W you'll need to flash an image of the Raspberry Pi OS (or if you prefer, a third party operating system that work with Raspberry Pi) to the microSD card included with the Basic Kit. The Raspberry Pi Foundation created a great tool called the Raspberry Pi Imager that makes downloading and flashing an OS image a microSD card simple. This section briefly goes over how use that tool to upload an image of the Raspberry Pi OS on your microSD card.
Option 1: Raspberry Pi Imager
The Raspberry Pi Imager tool makes selecting and writing an image of a Raspberry Pi-compatible operating system to a microSD card way easier than it was in the past. All you need to do is select the OS and storage device and the tool takes care of the rest. Download the tool from Raspberry Pi's software page here:
Once the tool is downloaded and installed on your computer, follow the steps below to complete the image installation:
- Insert the microSD card and SD adapter into the appropriate port on your computer.
- Open the Raspberry Pi Imager.
- Click the Choose OS button to select your preferred Operating System (this tutorial will use the default Raspberry Pi OS).
- Click the Choose Storage button and select your microSD's drive location.
- Click Write.
Writing the OS to the microSD card can take a few minutes depending on which version was selected and the speed of the port/microSD card. Once the write is finished, the tool should automatically perform the software ejection for the microSD card so you can remove it once the process completes.
NOOBS, or New Out Of the Box Software to give it its full name, was an SD card-based installer for Raspberry Pi computers; we no longer recommend or support using NOOBS. Going forward, please use Raspberry Pi Imager.For users that are still interested in NOOBS, you can check out the GitHub repo.
Option 2: .img File
If you want something other than the basic Raspbian install or other options found on NOOBS, you will need to install your own image on the uSD card. This method is slightly more involved because you need a special *.img file that not only puts your files on the card, but also sets up things like making the card bootable. The Raspberry Pi foundation has a handful of images like Ubuntu, OSMC (Open Source Media Center), and even Windows 10 IOT Core. A Google search will find many more including specialized images for certain tasks. If you've never worked with Raspberry Pi before, we recommend Raspian. You can download the latest version using the link below.
To install your own image on your card, we recommend software called Etcher. These guys have taken all the different steps needed and put them all in one piece of software to take care of everything. Download your image, then run the program, select your image, select your uSD card drive, and then hit flash. Once it is done, remove your card and you are good to go. Once the image is installed, insert the card into the board and apply power.
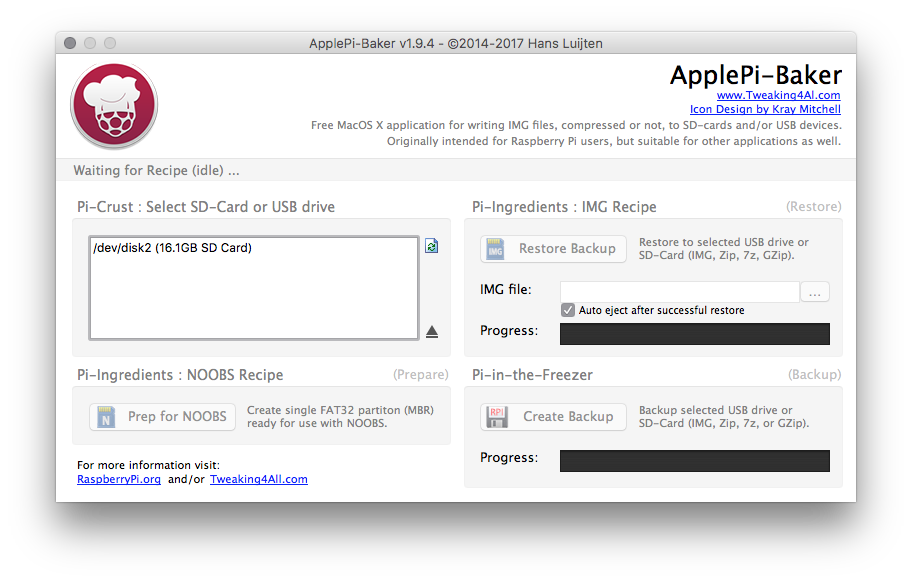
For Mac users, the ApplePi Baker Software is a great way to upload a new image to an SD card. It will ask for an admin password upon startup. Select the SD card on the left plane, then upload your image iundet the Pi Ingrediants: IMG Recipe section. Click Restore Backup, wait for the progress bar to finish, and you're done. The program even ejects the card you, so can yank it right out and insert it into your Pi.
For the rest of this tutorial, we'll assume you've installed Raspbian either by installing the image directly or with Noobs. The tutorial should also work fine for most Linux based systems with a Graphical User Interface, but things might be in slightly different locations