Getting Started with the GeoFence
 Nick Poole
Configuring Zones
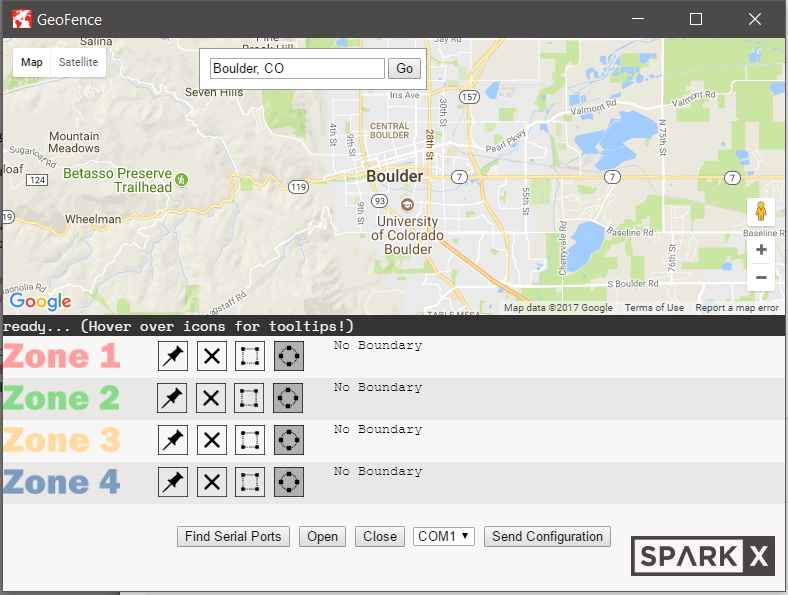
Now let's define our first set of zones and send them to our GeoFence hardware! First, launch the GeoFence app, you should see something like this:
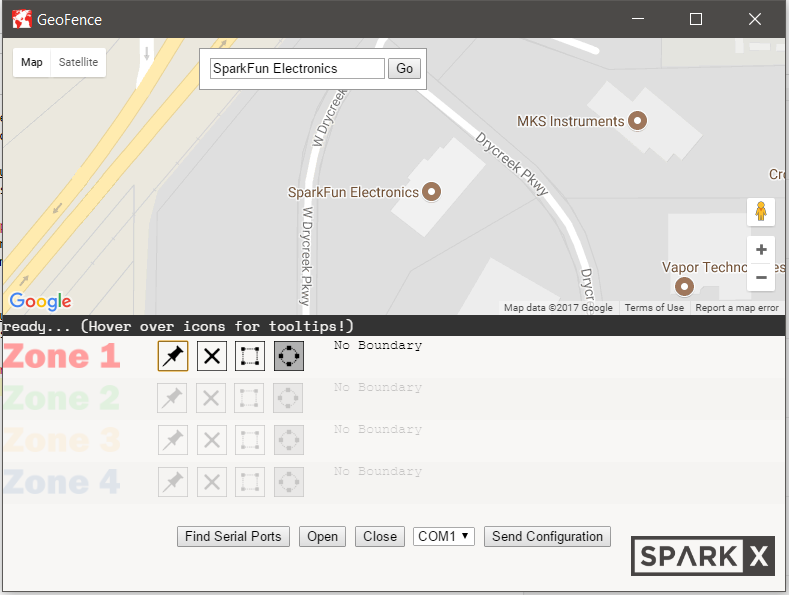
Let's make some zones around the SparkFun headquarters. I'm going to type "SparkFun Electronics" into the search bar and click "Go". After zooming in a little (either using your mouse scroll wheel or the zoom controls in the bottom right corner of the map) you should be looking at SparkFun HQ.

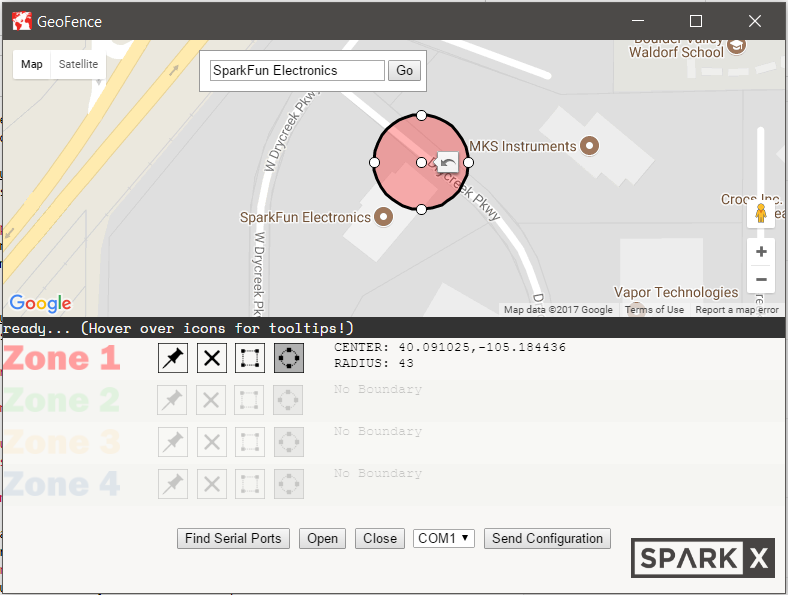
Now it's time to define Zone 1. First we'll put the zone into edit mode by clicking the push-pin button next to the Zone 1 label. You should notice that the other zones are grayed out to show that you're editing Zone 1.
Now try clicking somewhere on the map... You should have just created a circular zone! Notice that the circle is the same color as the zone label, this is how you'll be able to tell the zones apart. Next, try grabbing the anchors along the outside of the circle and drag them to make the circle larger or smaller. If you want to change the circle's location while maintaining its size, you can drag it by the center anchor. If you'd like to erase this circle and place a new one, just click anywhere on the map and a new circle will be placed where you click. Notice as you move the circle that the coordinates in the zone coordinate table change.
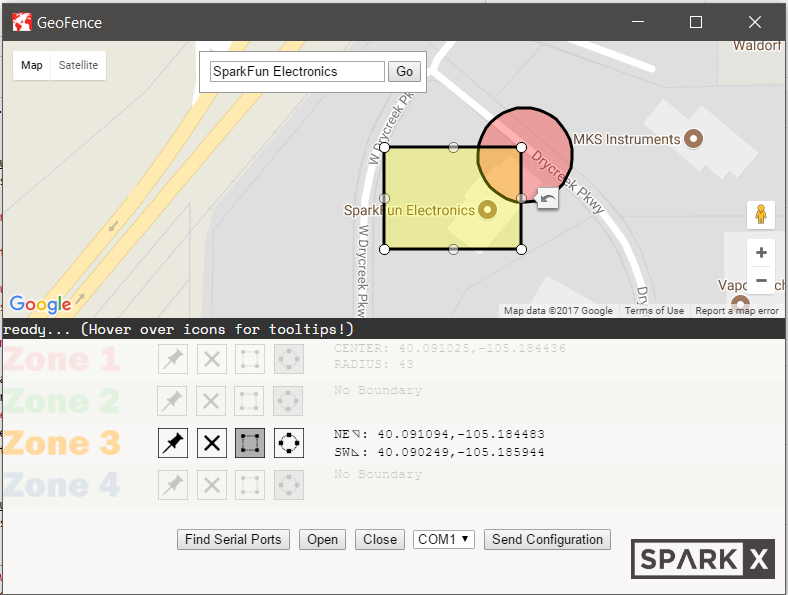
Now that we're done editing Zone 1, click the zone edit button again to exit edit mode. The anchors on your Zone 1 circle will disappear and the other zones will pop back into view. Let's select another zone and draw a rectangle this time. Click on the zone edit button beside Zone 3. Now since we want to make this zone rectangular, click on the rectangle button. Now click anywhere on the map to make a rectangular zone boundary. You can edit this rectangle the same way you edited the circle before. If you drag one corner of the rectangle into the circular boundary from before, you'll notice that zones can overlap. Because the GeoFence checks each zone separately, it's totally fine to have overlapping and nested zones!
Now press the edit zone button again to exit edit mode. Let's send these zone boundaries to the board! Connect a GeoFence board to your computer using a USB micro-B cable. If this is the first time you're connecting this board, you may need to give it a few seconds to configure. Now press the "Find Serial Ports" button to populate the drop-down list with all of the active serial ports.
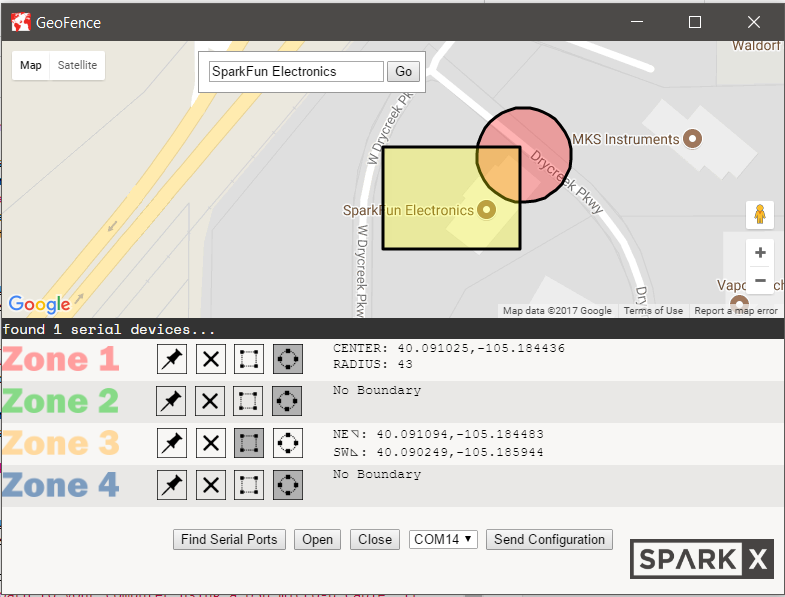
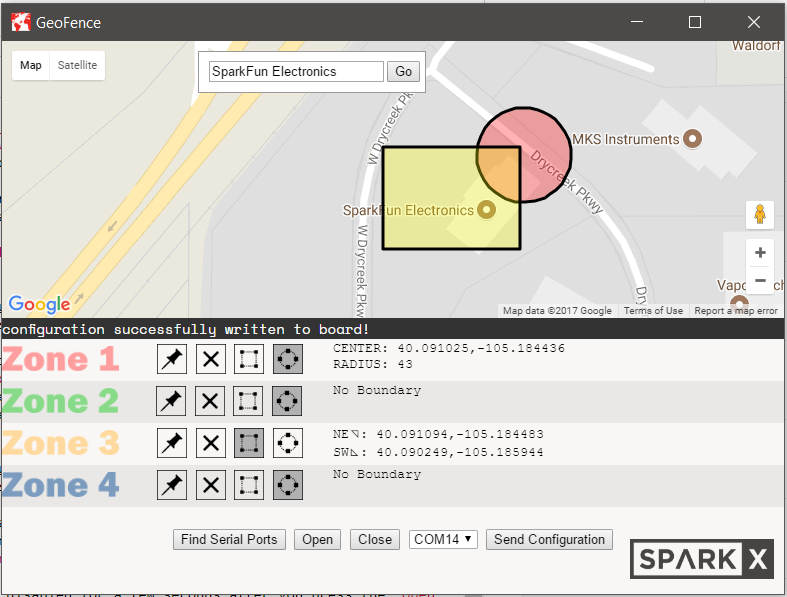
The status bar will tell you how many serial devices were found. Now select your board from the drop-down list. As you can see, mine is the only device connected, so I know it's on COM14. Press "Open" to open the serial port. This will cause the device to reset, so you'll need to give it a moment before pressing "Send Configuration". As a precaution, the "Send Configuration" button is disabled for a few seconds after you press the "Open" button. Now you can press "Send Configuration" and, if the configuration was successful, the status bar should say so after a few seconds. You may also notice the zone LEDs on your hardware flashing in order. Congratulations! You've just set up a geofence!
Now set up some zones in your own neighborhood and take your GeoFence board for a walk. Connect a lithium ion battery and walk around looking for the edge of your zone boundaries. Zones are accurate down to about 3 meters so they can be pretty small if you need them to be and very precisely placed. Here are some shots of my board with the configuration we just created:
