Getting Started with the BrickPi
This Tutorial is Retired!
This tutorial covers concepts or technologies that are no longer current. It's still here for you to read and enjoy, but may not be as useful as our newest tutorials.
 Shawn Hymel
BrickPi Assembly
You will need to build the hardware around the BrickPi in order to connect it to the Raspberry Pi and your building blocks.
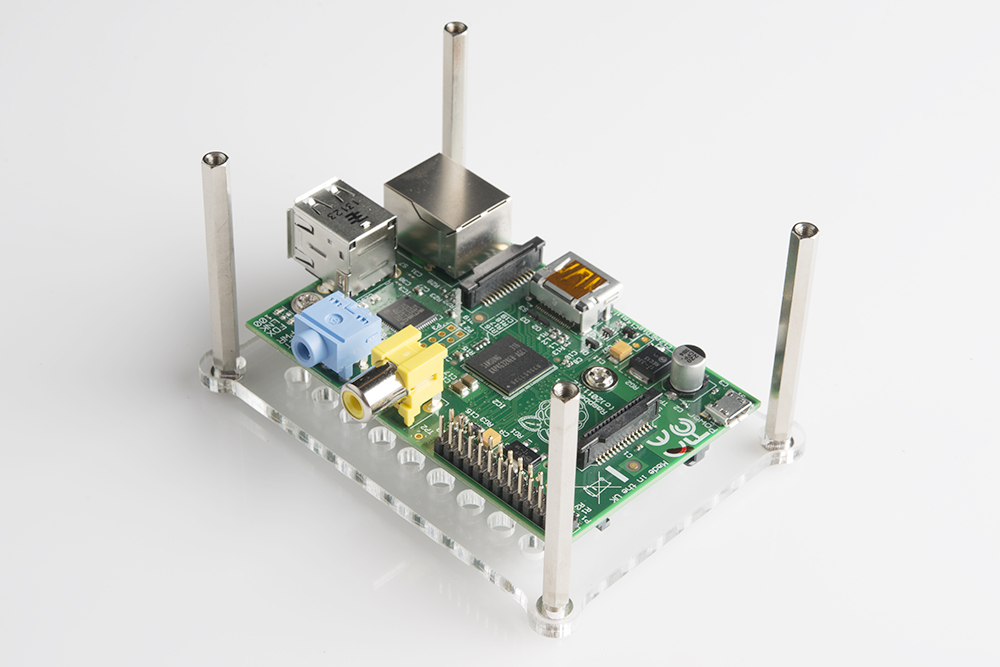
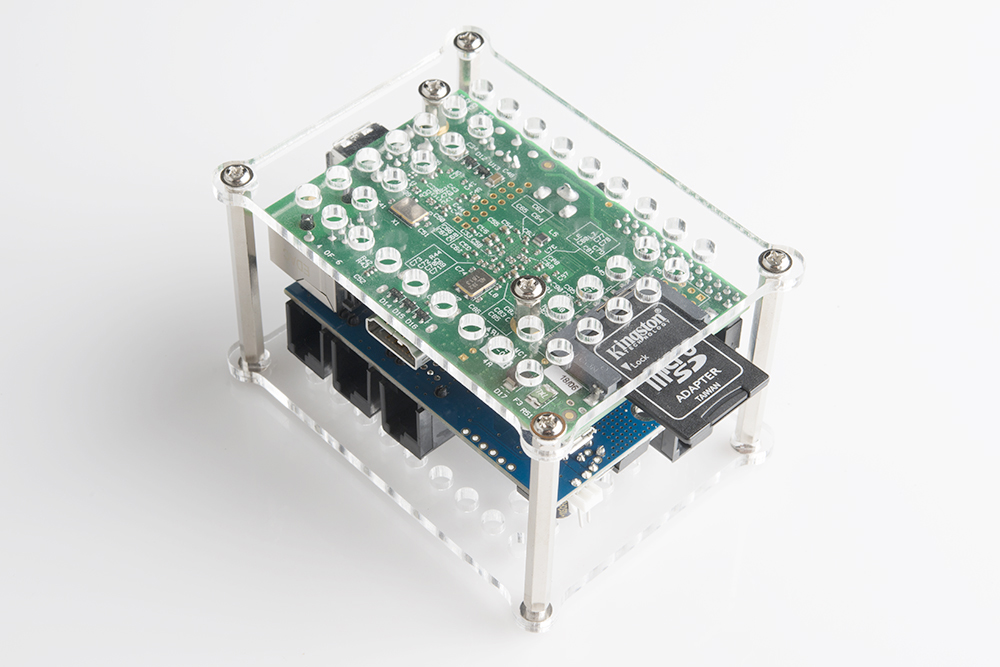
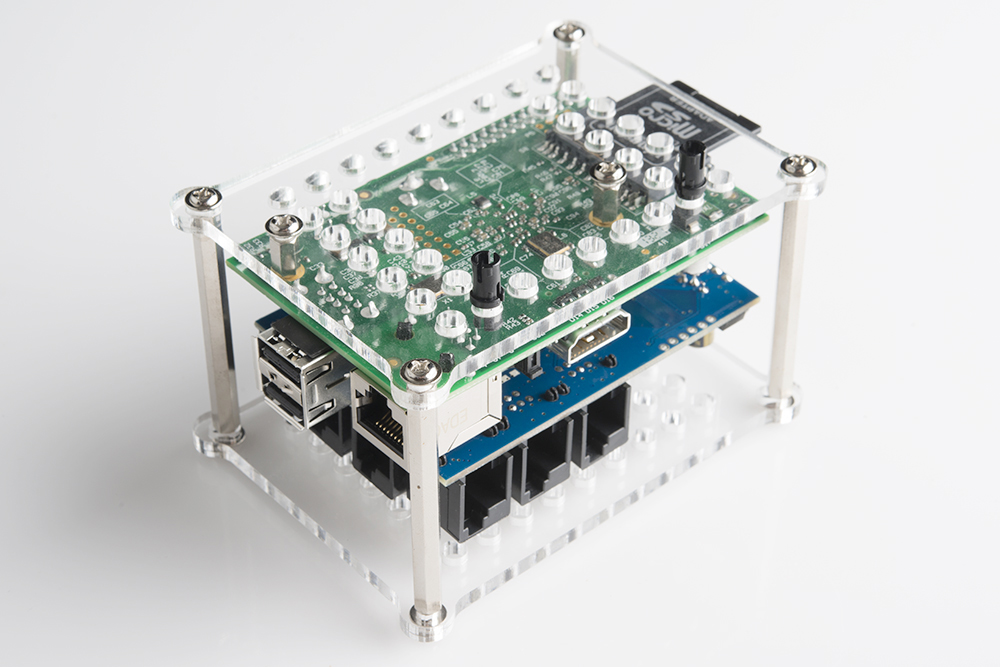
Build the Case
1) Unpack the BrickPi hardware and remove the protective paper from the case.
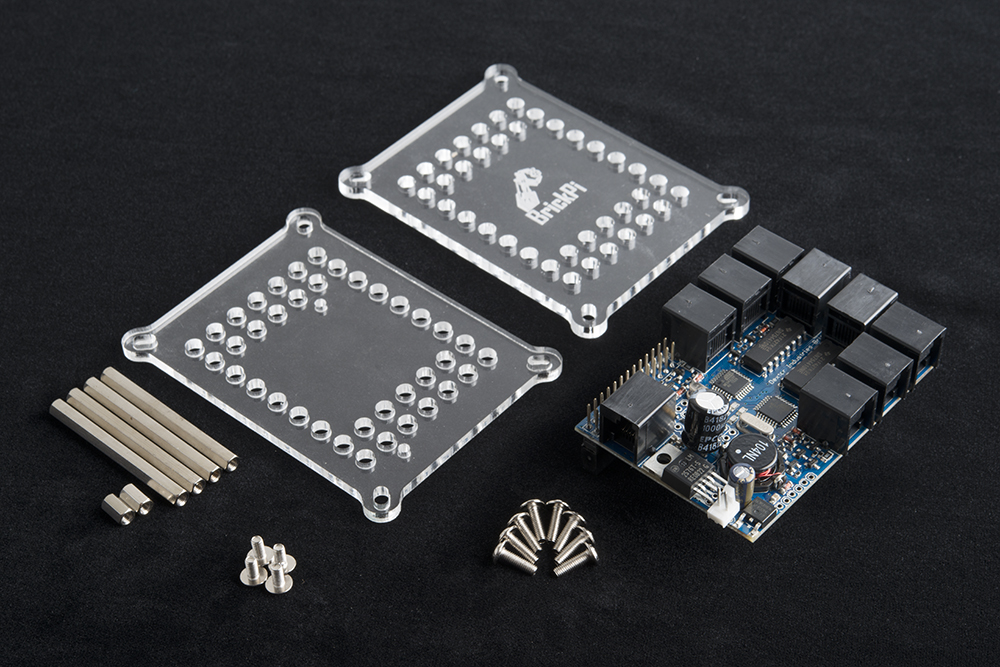
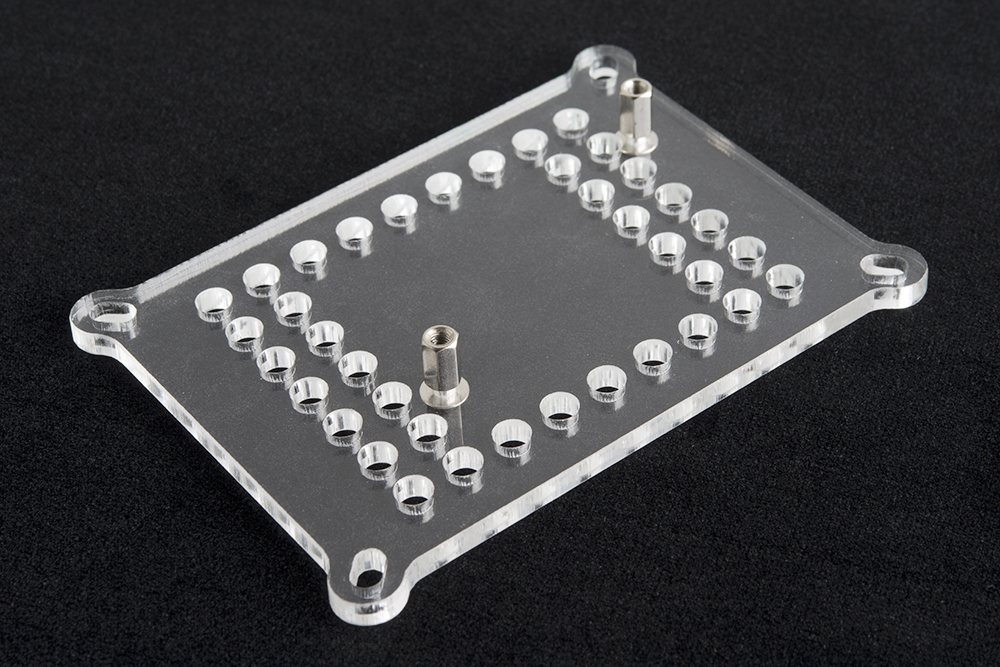
2) Screw the two small standoffs into the holes in the bottom piece of acrylic.
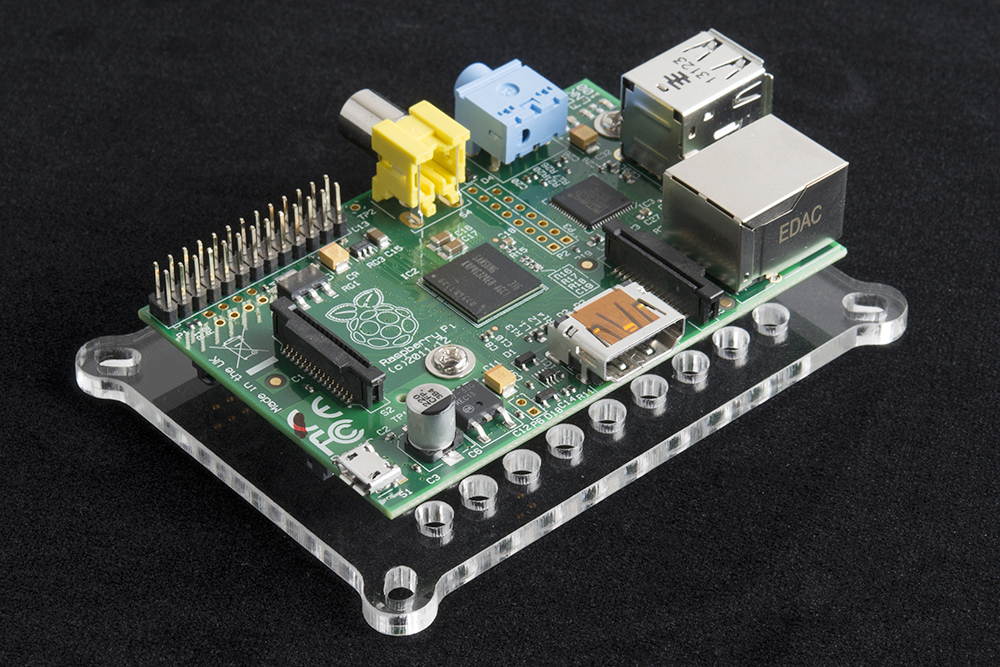
3) Screw a Raspberry Pi onto the two bottom standoffs.
4) Screw the four long standoffs into corner slots of the bottom piece of acrylic.
5) Attach the BrickPi to the Raspberry Pi by mating the BrickPi's header to the Raspberry Pi's GPIO header.
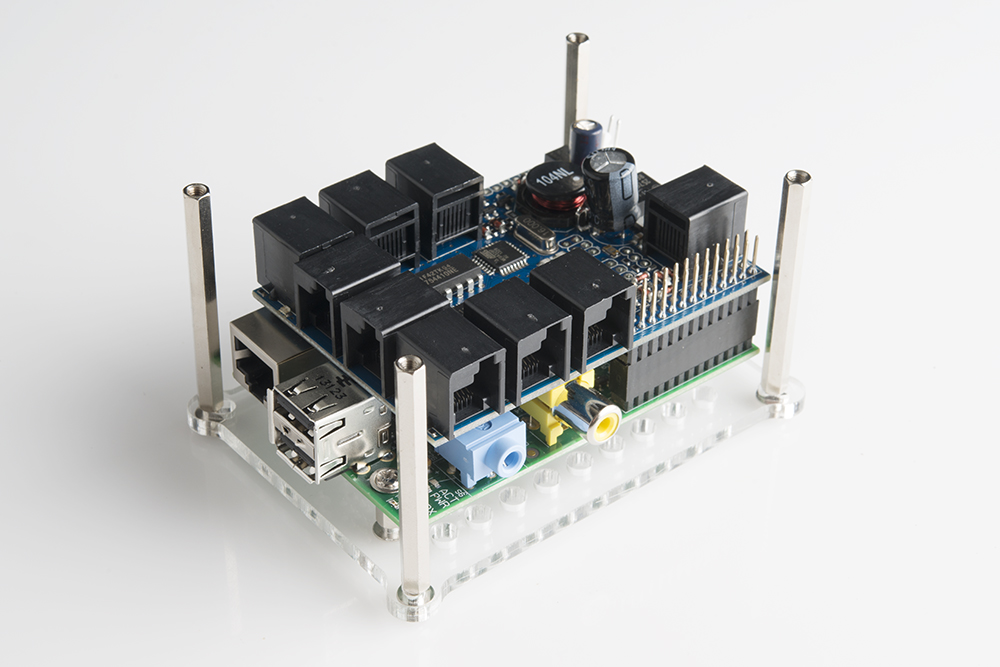
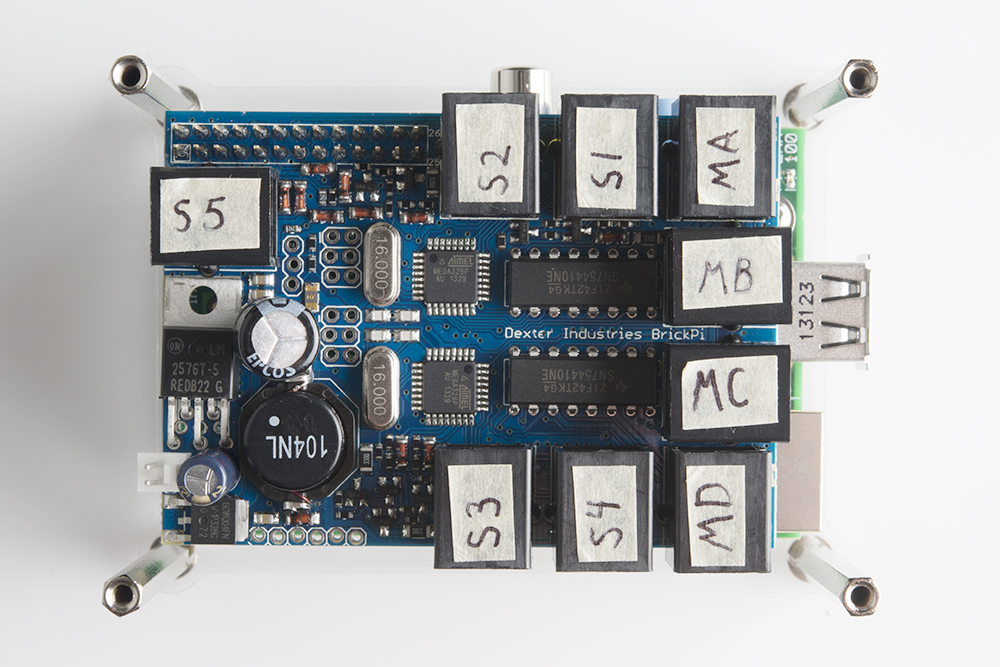
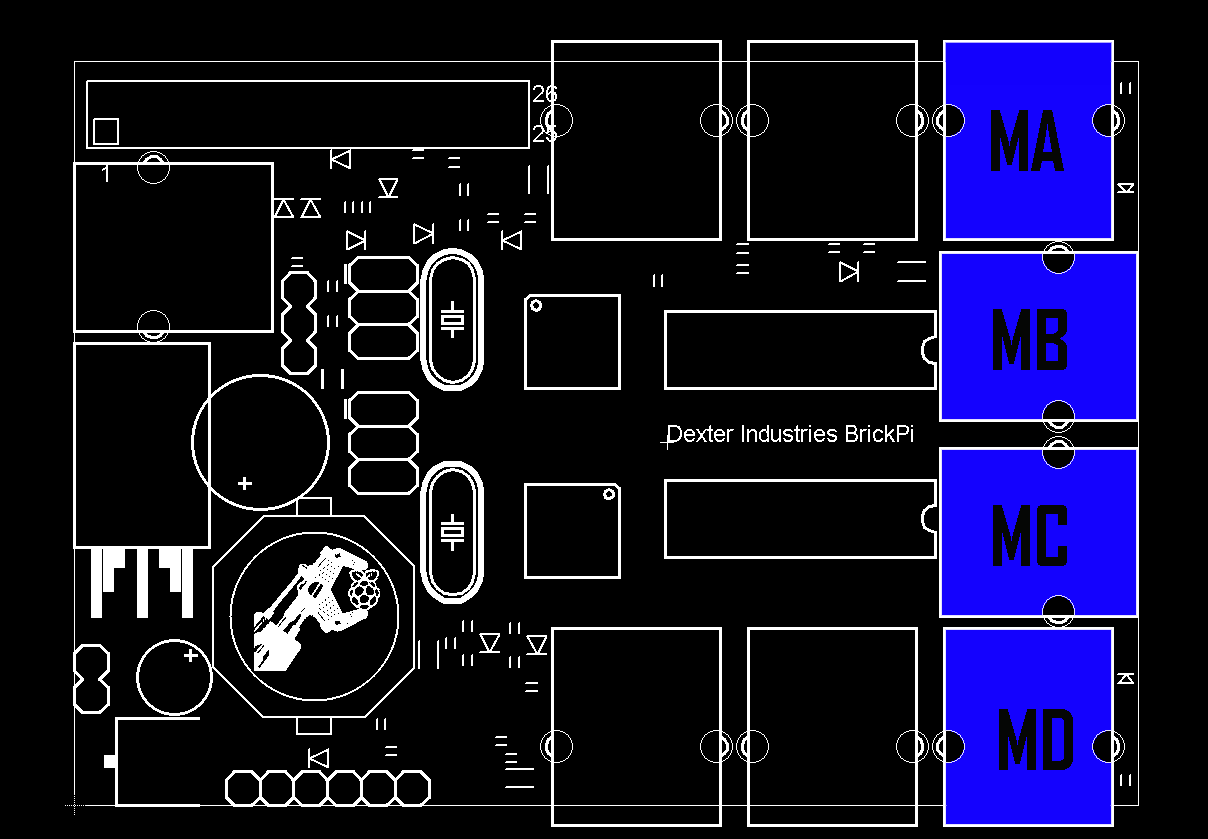
6) (Optional) Now is a good time to label the motor and sensor ports on the BrickPi. I recommend S1, S2, and so on for the sensor ports and MA, MB, and so on for the motor ports.
7) Attach the top piece of acrylic to the four posts using the remaining screws.
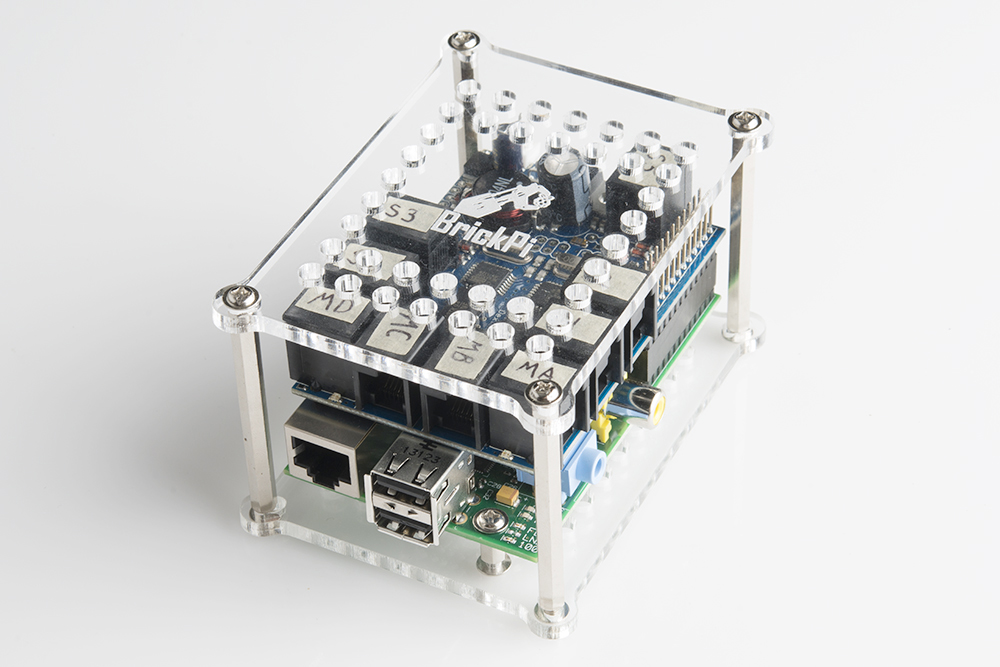
8) Insert the SD card.
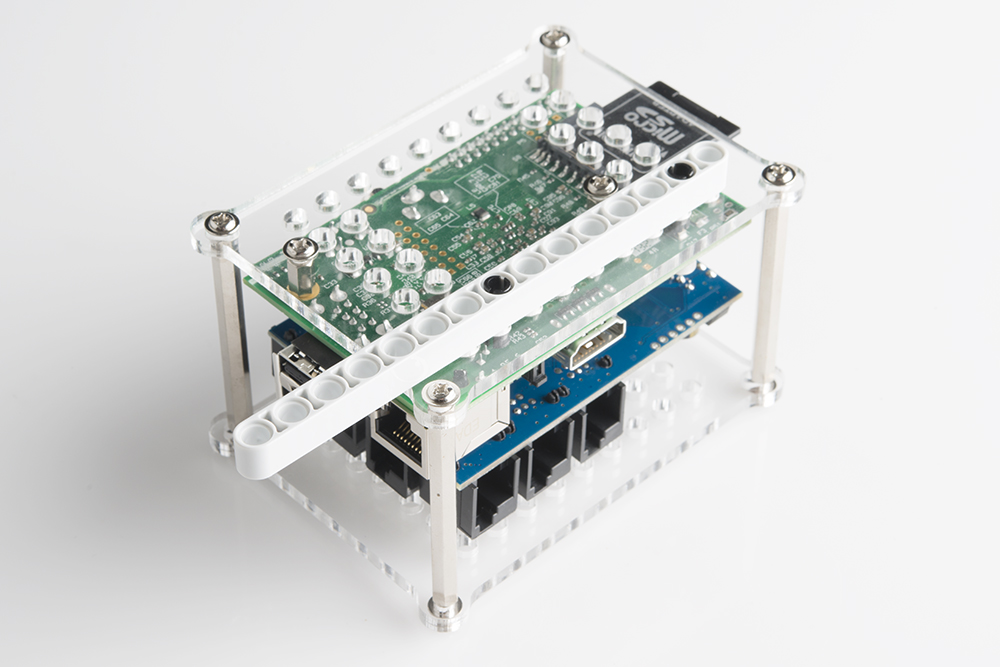
Attaching the Building Blocks
Beams can be attached to the top and bottom pieces of acrylic in order to secure the BrickPi and Raspberry Pi to your building block creation.
Any of the Mindstorms sensors can be attached to the ports labeled with an "S" followed by a number. You will need to remember the port number that you plugged your sensor into.
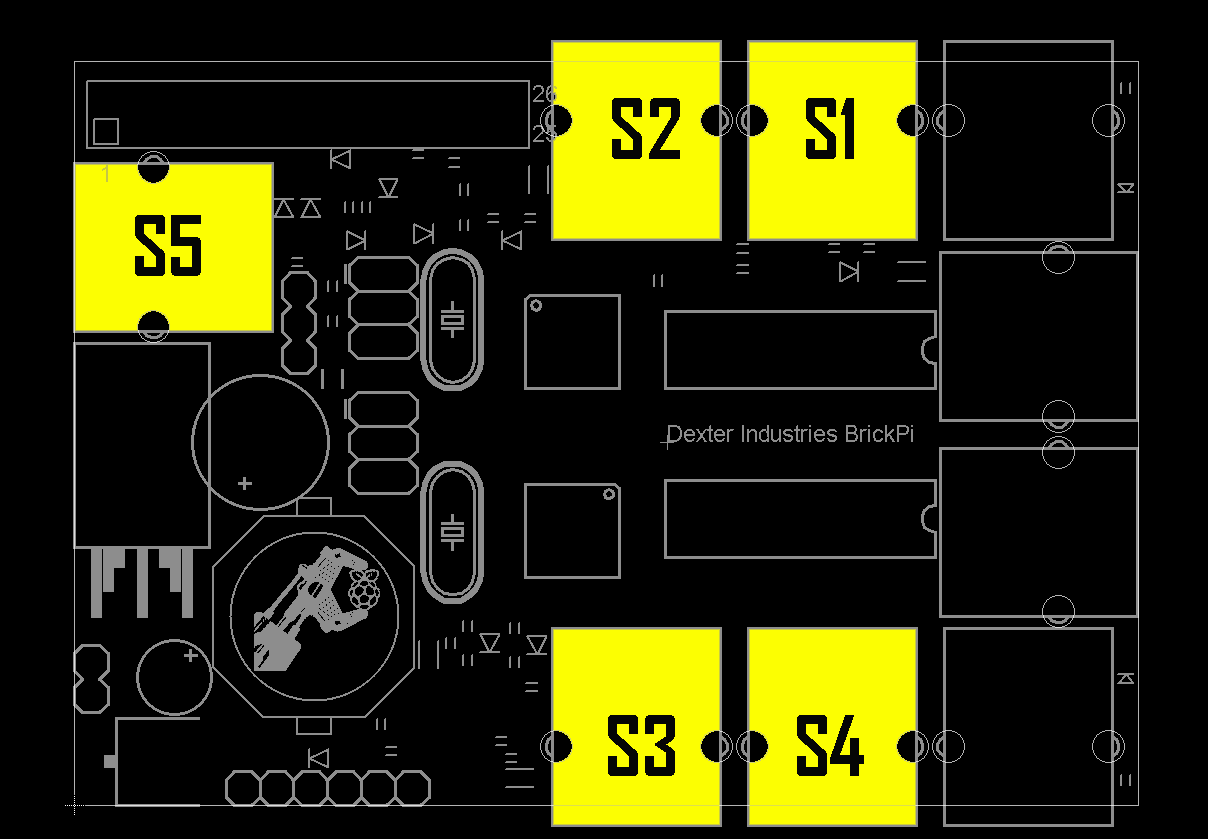
Motors can be attached to the ports labeled with an "M" followed by a letter.
For this example, connect a single touch sensor to S1 and a single servo motor to MA.

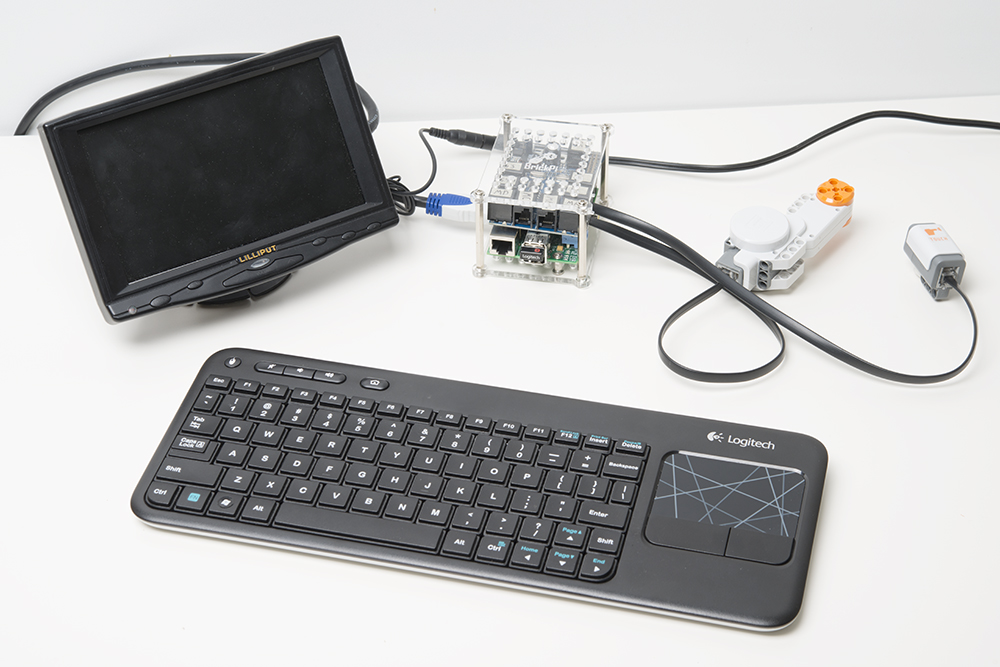
Connect Peripherals
Similar to the setting up the Raspberry Pi tutorial, we need to connect a keyboard, mouse, and monitor. Plug a keyboard and mouse into the USB ports, and connect a monitor using an HDMI cable.