Getting Started with the BrickPi
This Tutorial is Retired!
This tutorial covers concepts or technologies that are no longer current. It's still here for you to read and enjoy, but may not be as useful as our newest tutorials.
 Shawn Hymel
Powering the BrickPi
Dexter Industries recommends a few different ways to provide power to your robot.
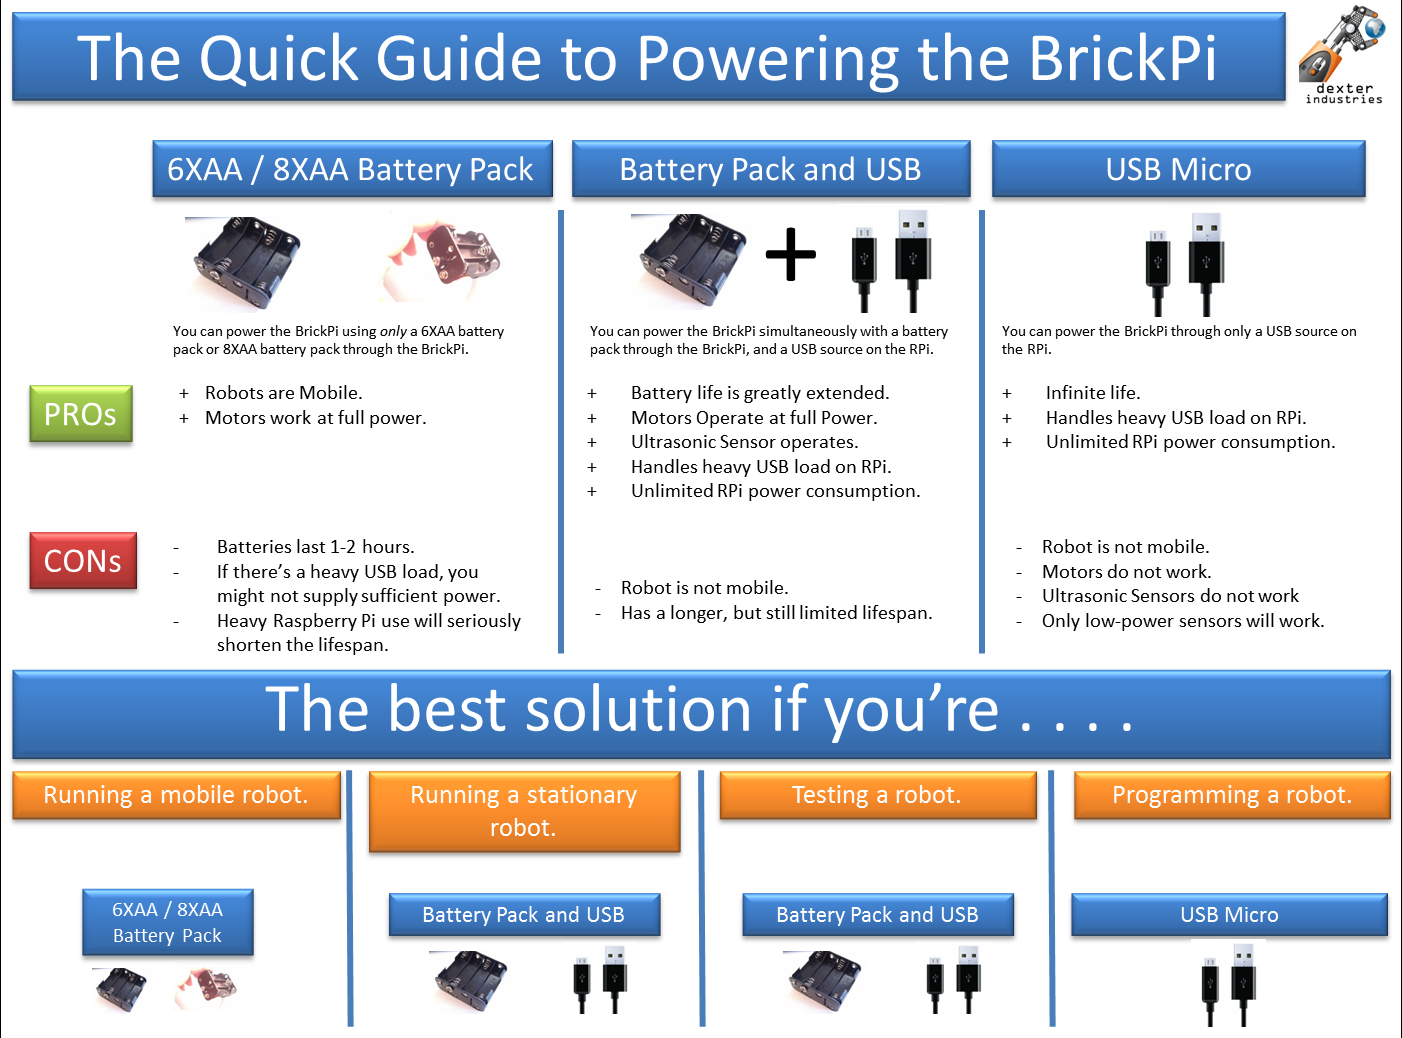
However, we will do things differently. In order to get unlimited run time and the ability to power a couple of motors, we will hack a wall power supply to attach to the BrickPi.
1) Cut the 9V battery connector off of the 9V Snap Connector and strip the ends.
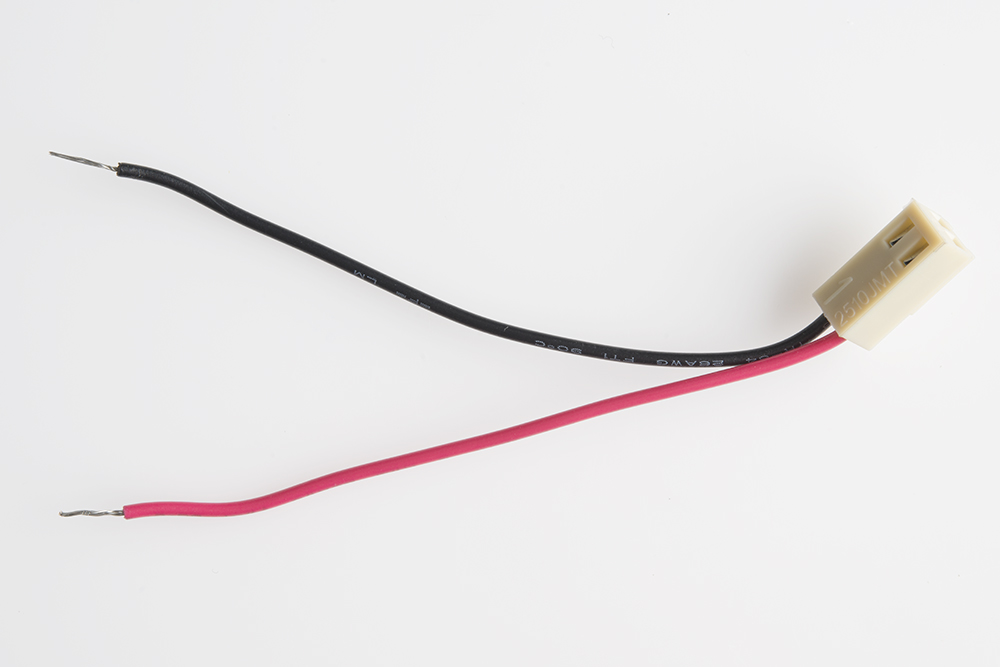
2) Attach the red wire to the positive (+) and the black wire to the negative (-) screw terminals of the DC Barrel Jack Adapter.
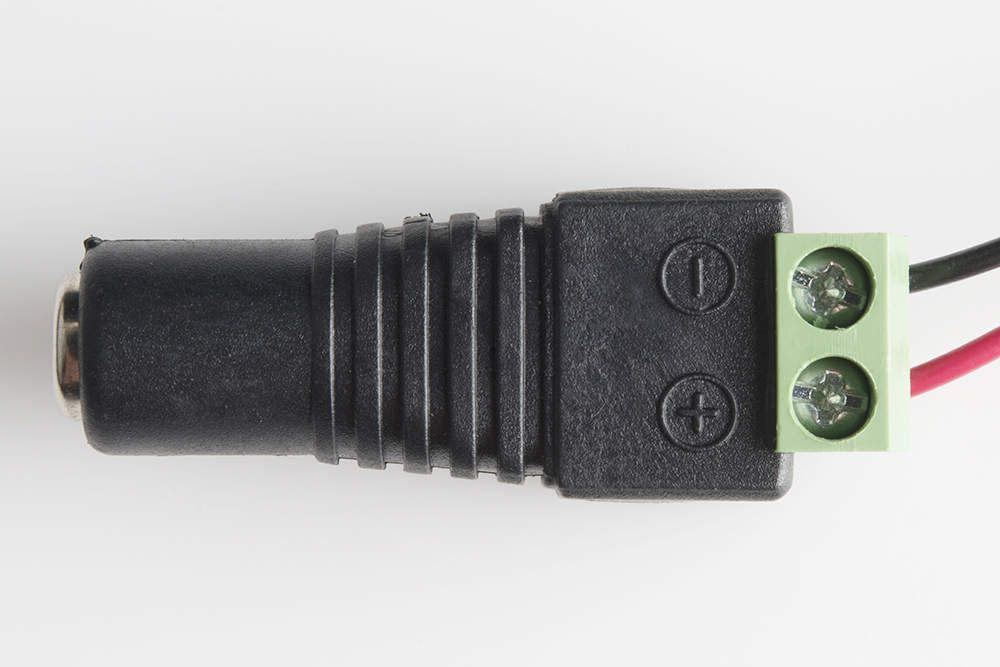
3) Plug the connector into the BrickPi.
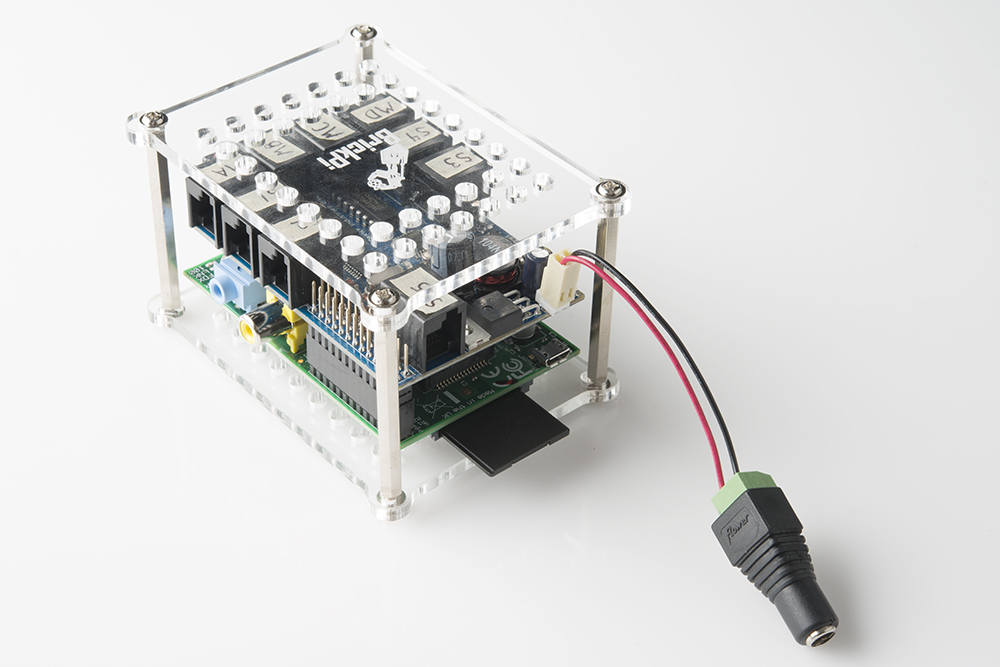
4) Plug the 9V wall adapter into the other end of the DC Barrel Jack Adapter.
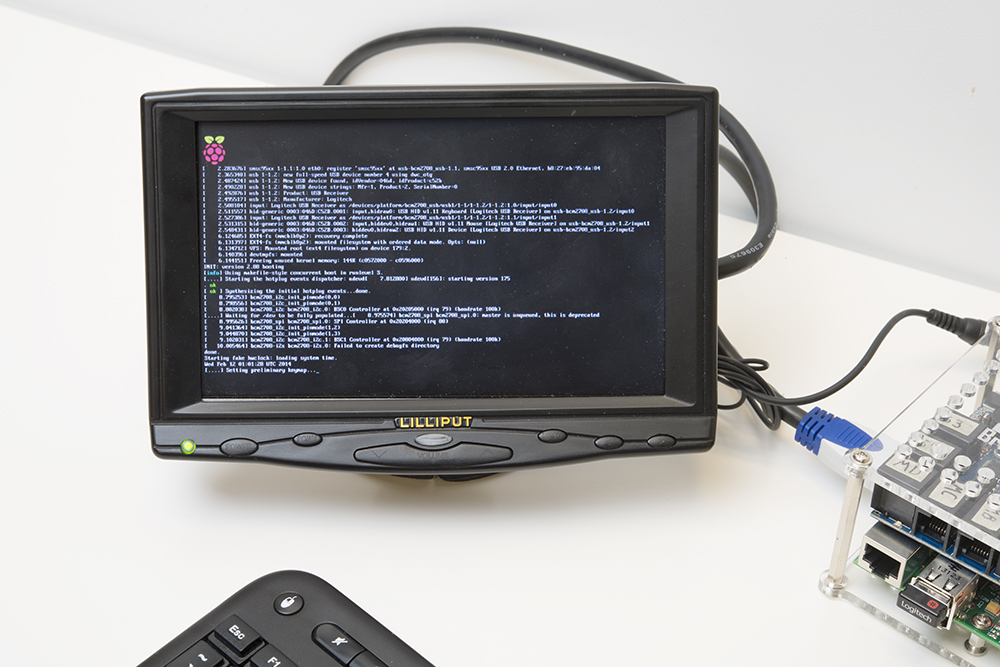
5) IMPORTANT: Make sure your monitor is connected to the Raspberry Pi and turned on!
6) Plug the wall adapter power supply into a wall outlet.
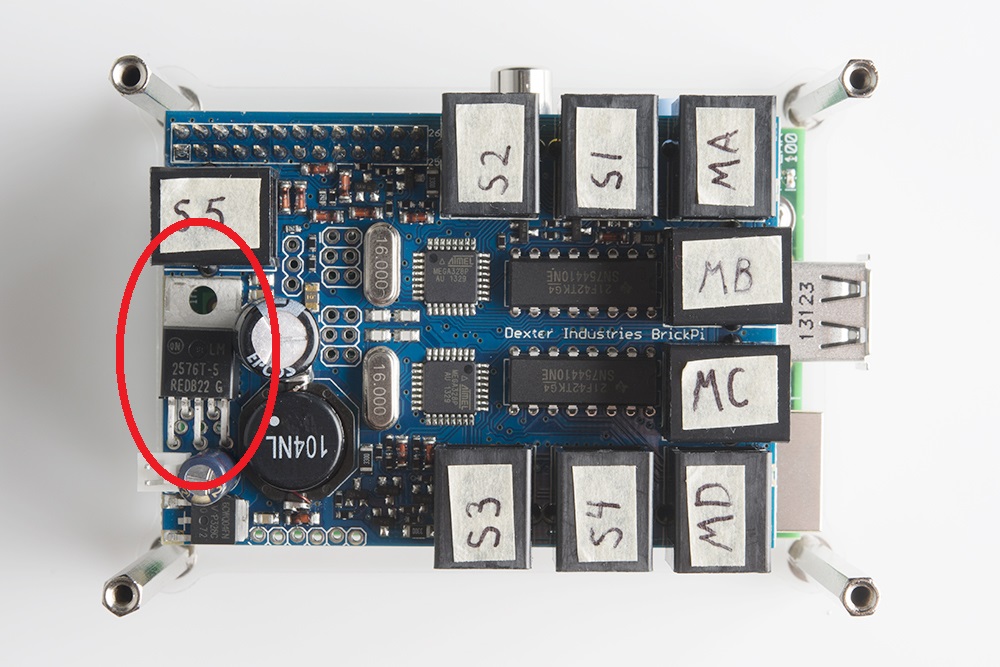
WARNING: The large power regulator (TO-220 Package) gets hot! Be careful when plugging or unplugging the power adapter.
7) Your Raspberry Pi should come to life!