Getting Started with the BrickPi
This Tutorial is Retired!
This tutorial covers concepts or technologies that are no longer current. It's still here for you to read and enjoy, but may not be as useful as our newest tutorials.
Introduction
If you're familiar with Mindstorms ®, then you are probably aware of all the cool projects that you can make and the educational value of such an easy-to-use robotics platform. Enter the BrickPi.
BrickPi
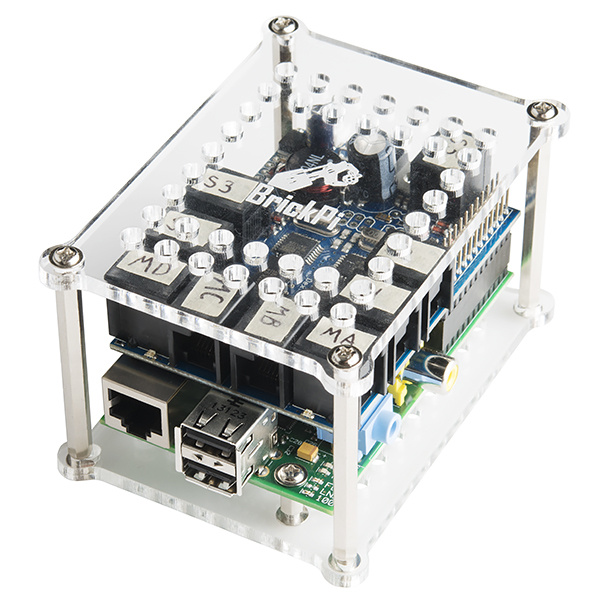
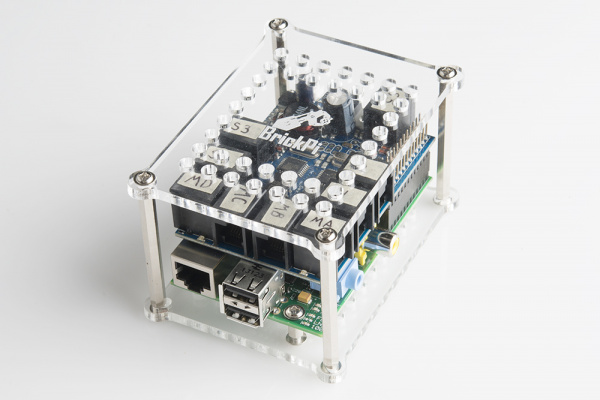
DEV-12732The BrickPi is a RasbperryPi add-on that lets you control Mindstorm parts. The BrickPi stacks on top of the Raspberry Pi and accepts Mindstorms motors and sensors.
The BrickPi allows you to control Mindstorms parts using any number of languages including C, Python, and Scratch.
Covered in This Tutorial
In this tutorial, we will cover how to get started with the BrickPi. We will show you how to connect the BrickPi to a Raspberry Pi, attach building blocks, connect motors/sensors, and write a simple Python script to control the motors/sensors.
Required Materials
- BrickPi
- Raspberry Pi
- SD Card
- Monitor of some sort
- HDMI Cable or Composite cable
- Wall Adapter Power Supply - 9VDC
- DC Barrel Jack Adapter - Female
- 9V Snap Connector
- Keyboard and mouse
- Mindstorms Servo Motor
- Mindstroms Touch Sensor
NOTE: The servo motor and touch sensor can also be found within the Mindstorms NXT set.

