Getting Started with Electroluminescent (EL) Wire
 Joel_E_B,
  bboyho
 Introduction
When it comes to creating projects that glow, nothing beats Electroluminescent wire (or EL wire for short). LEDs are fun and all, but EL wire is what all the hip kids are using. Whether you just want to light up your bicycle for an evening cruise or you're creating an entire light up costume for Burning Man, EL wire is a great solution.
In this tutorial, we will show you how to get started with EL wire. With the right parts, EL wire can be very easy to integrate into any project!
Suggested Reading
If you aren’t familiar with the following concepts, we recommend checking out these tutorials before continuing. A general understanding of electricity is necessary to understand the theory behind EL Wire operation. EL Wire is powered with AC power. It's not as dangerous as the electricity coming from you home outlets, but it does deserve the same respect. Depending on your setup, you will need to understand how a circuit works.
What is a Circuit?
What is Electricity?
Series and Parallel Circuits
Alternating Current (AC) vs. Direct Current (DC)
Suggested Videos
How EL Works
EL wire (short for electroluminescent wire) is particularly useful for many reasons. Nevertheless, there are a few characteristics to keep in mind.
EL Wire, Tape, Panel, Chasing Wire, Bendable Wire Forms
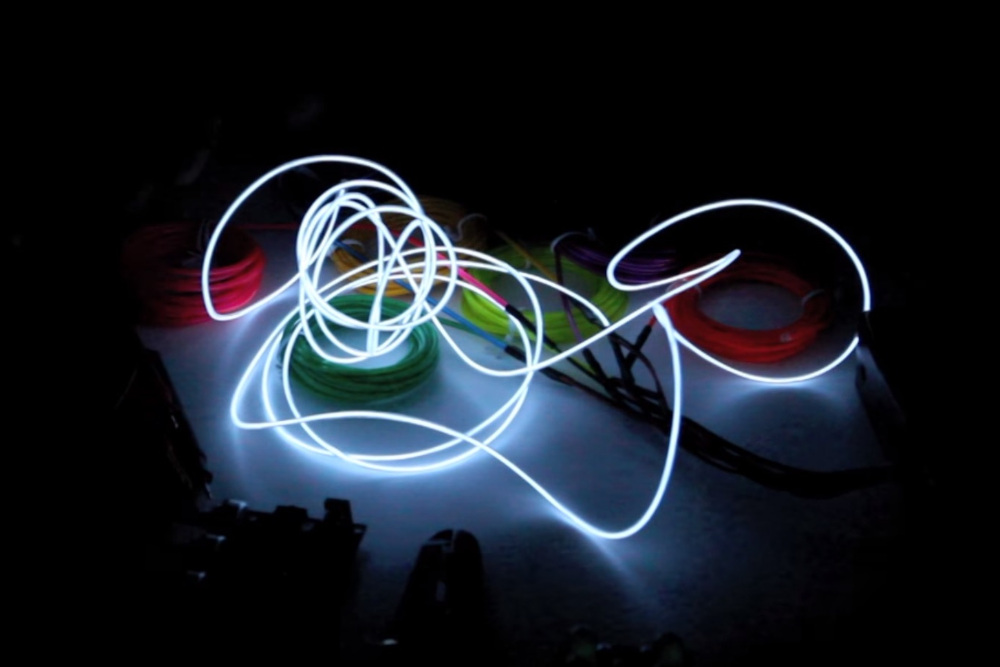
Electroluminescent products come in many different shapes and sizes. You can get it in wire (the most typical shape), tape, panels, and bendable form. All of these can be cut to any shape or size to achieve the desired effect. Just be sure to reseal the ends that have been cut.
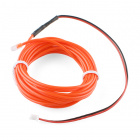
EL Wire - Red 3m
COM-10191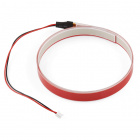
EL Tape - Red (1m)
COM-10796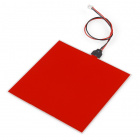
EL Panel - Red (10x10cm)
COM-10801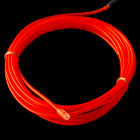
EL Wire - Red 3m (Chasing)
COM-12931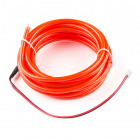
Bendable EL Wire - Red 3m
COM-14703Colors
EL also comes in many different colors. Below are a few options for standard EL wire.
EL Wire - Red 3m
COM-10191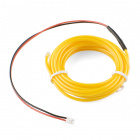
EL Wire - Yellow 3m
COM-10192
EL Wire - Orange 3m
COM-10193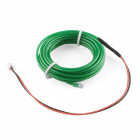
EL Wire - Green 3m
COM-10194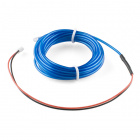
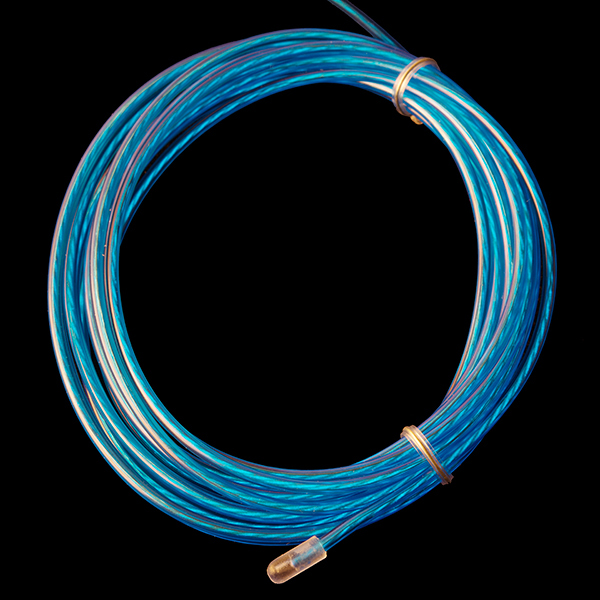
EL Wire - Blue 3m
COM-10195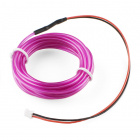
EL Wire - Purple 3m
COM-10196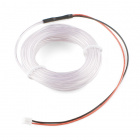
EL Wire - White 3m
COM-10197
EL Wire - Blue-Green 3m
COM-10199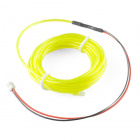
EL Wire - Fluorescent-Green 3m
COM-10200There are other options available for EL tape, panel, chasing wire, and bendable wire.
Flexible
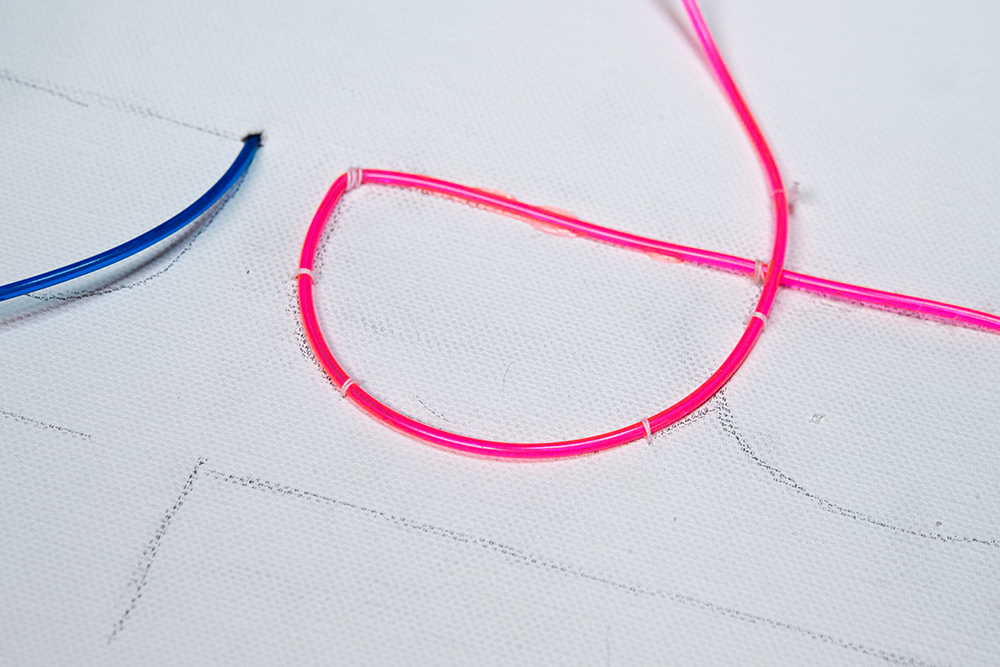
EL wire is flexible to a point. It allows you to sew it into clothing, attach it to moving parts, and bend it into any shape you desire. EL wire is more flexible than using LED strips but you will want to avoid sharp bends.
EL tape and panels can also be used in e-textile projects. However,they are not as flexible as EL wire. They are better in projects when there is reinforced fabric to support the material.
 |
 |
| EL Tape and Panels on Shirts | EL Panel Patches on a Hat, Bag, and Jacket |
Low Power Consumption
EL requires less power to operate compared to using several LEDs for a project. EL is also great because it is cool to the touch, even after being on for hours. Hence why it is often seen in clothing applications. The EL does not heat up because, rather than heating an element to achieve an optical phenomenon, the glowing in EL comes from sending an electrical current through the material, which is comprised of semiconducting mixtures. The electrons flowing through the material create photons, which create the glowing that we see as a result.

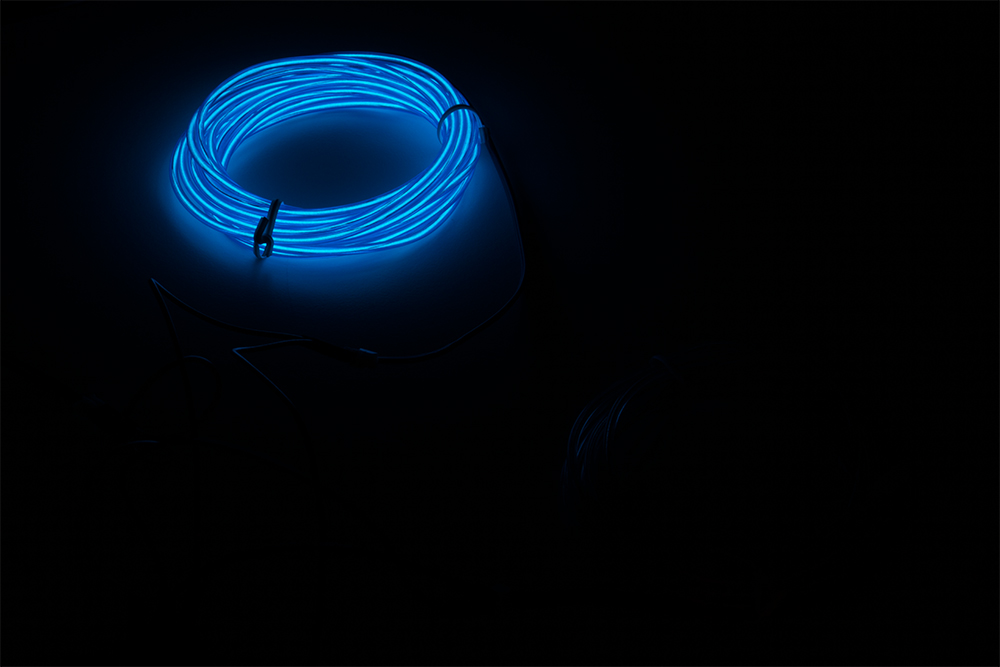
Let It Glow... In a Dark Room
While EL has a nice glowing effect, it can be hard to see in the daylight or when there is light in a room. It would be better to use EL in low light conditions for the best effect. The images below show an EL hoodie in a room with different lighting.
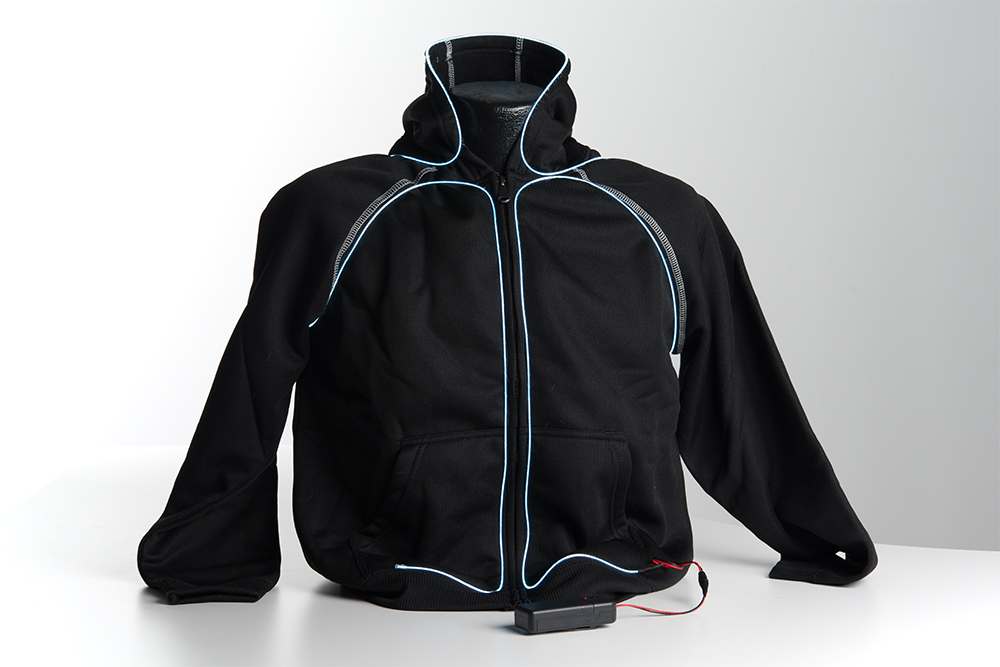 |
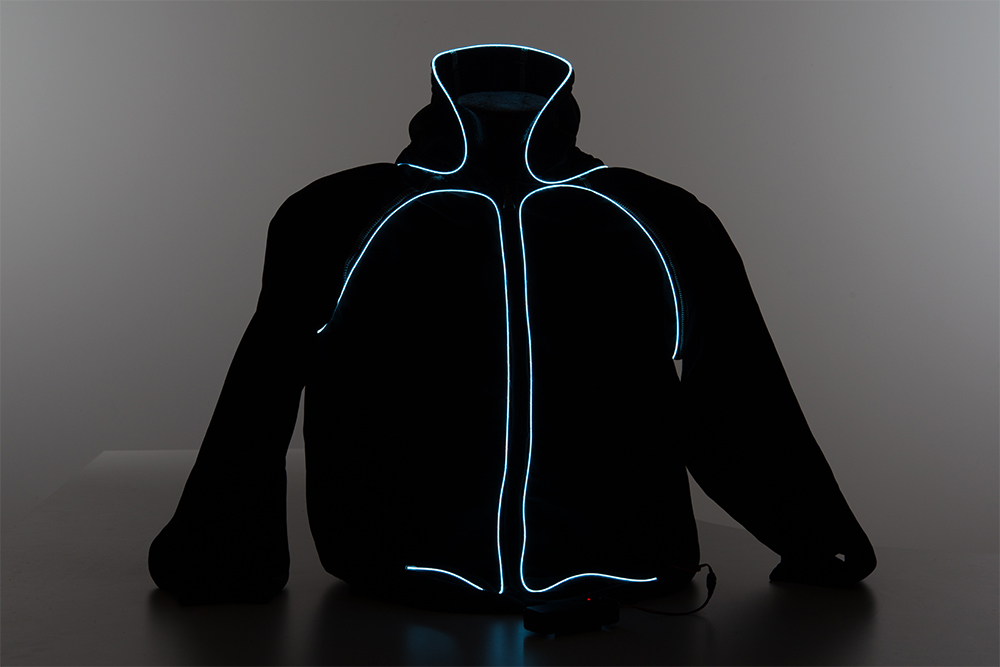 |
| EL in Bright Room | EL in Low Lighting |
AC Power
Many people ask, "Can't I just hook up EL wire to a battery?" The answer is, no! In order to operate EL wire properly, you must use AC (alternating current) power. This is similar to the power that comes out of your wall outlets at home, though outlets provide much more current than needed for EL wire. That's where the inverter comes in!
EL Inverter - 3v
COM-10201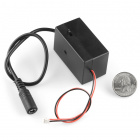
EL Inverter - 12v
COM-10469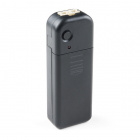
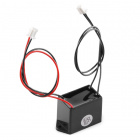
EL Inverter - Battery Pack
COM-11222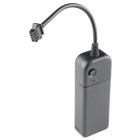
EL Inverter - 3v (Chasing)
COM-12933The battery pack included in the EL starter kit and the chasing inverter are not just a battery holder. It houses an inverter as well. This inverter takes the DC (direct current) power produced by the batteries and turns it into AC. If you listen very closely to the inverter battery pack while it's on, you will hear a slight hum, similar to what you would hear if you stand under power lines or close to transformer boxes. Compared to the battery pack however, the 3V and 12V inverters do not have a battery holder build in.
With that, it's important to mention that the AC power coming from the inverter is not enough to hurt or kill you. However, it is enough to give you a good shock. Be careful when handling EL products and any exposed circuits that are powered on the AC side. You can cut EL to any length or shape, but you must reseal the ends you cut. If you do not have an end cap for the EL wire, you can still seal the ends with hot glue or epoxy to seal cut wire. If you don't reseal, you could end up getting a good jolt.
Anatomy of EL
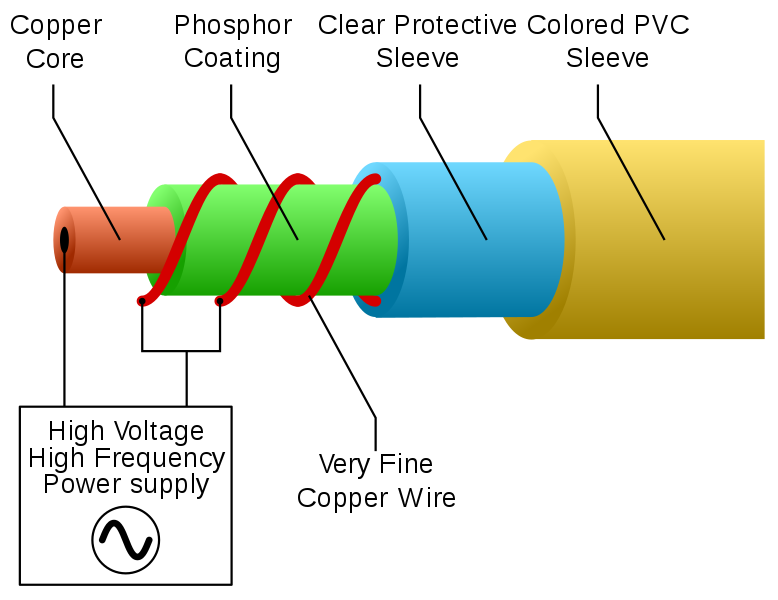
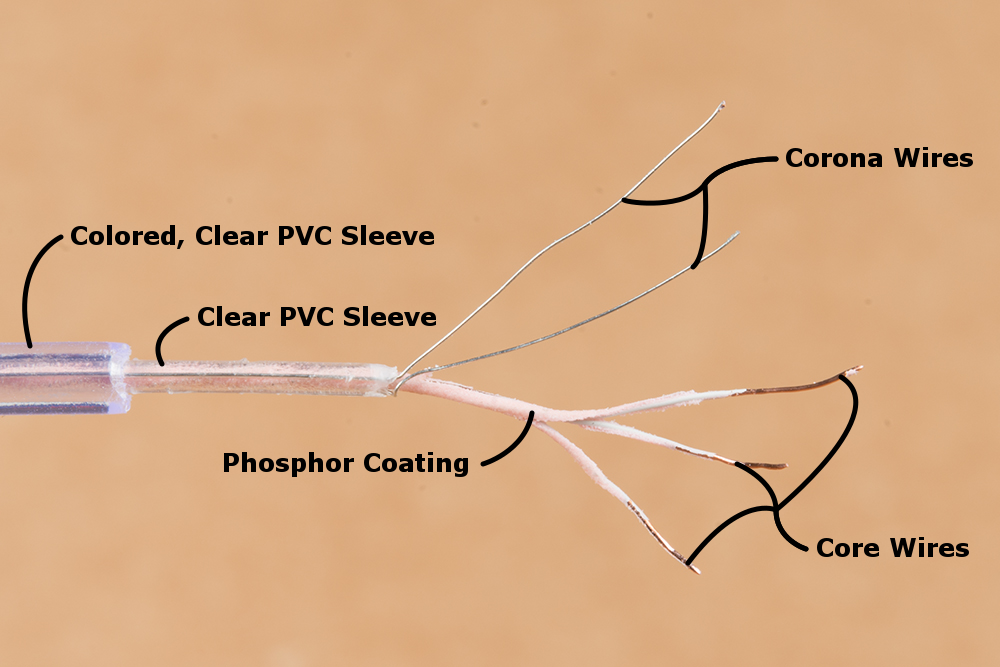
EL consists of a few layers. Let's take a look at the anatomy of standard EL wire.
- Colored, Clear PVC Sleeve -- On the outside is a colored PVC sleeve. Depending on the manufacturer and color, this may be clear or translucent.
- Clear PVC Sleeve -- A second layer is yet another PVC sleeve. This sleeve is not as thick as the outer layer and is also clear.
- Corona Wires -- There are two thin wires that wrap around and extend to the end of the EL wire. These are very fine and can sometimes be referred to as angle wires. The wire pair is isolated from the center core.
- Phosphor Coating -- Applying AC power around the coating creates that nice glowing effect from the phosphor being excited. It also separates the corona wires and core.
- Core Wire -- At the center of EL wire is another wire.
On the left is a physical diagram of EL wire. On the right is a close up of white EL wire opened up. Regardless of the labels in the images, each component functions the same.
 |
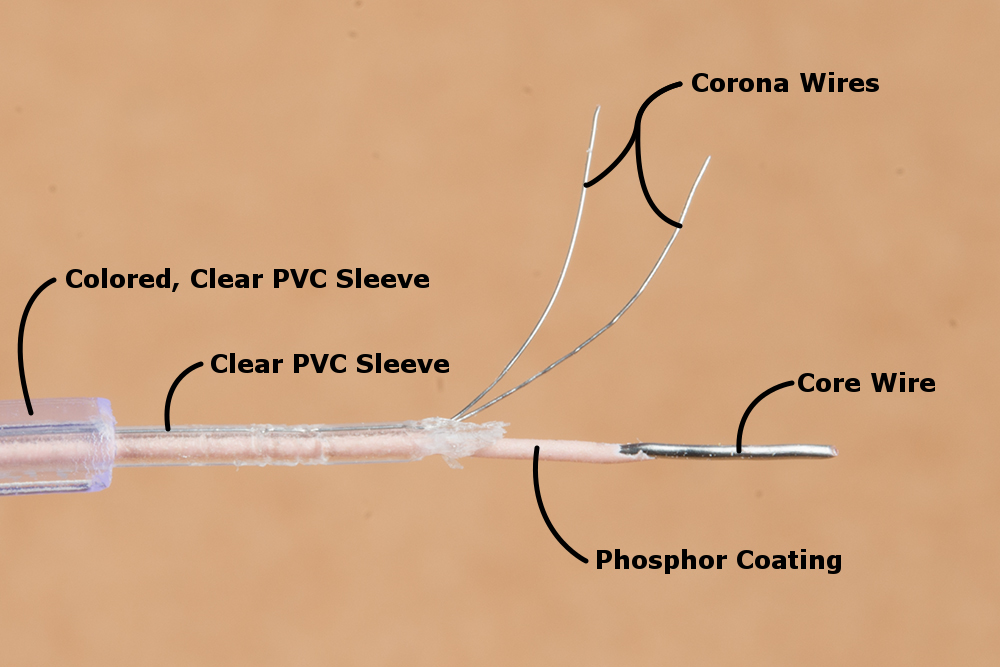 |
| Image courtesy of LogiNevermore from Wikipedia: Electroluminescent Wire | Closeup of Standard EL Wire |
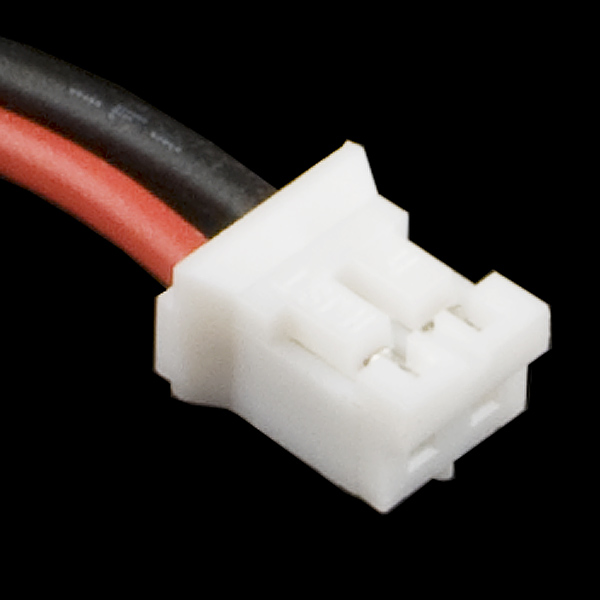
Polarized Connector
The end of the EL wire is usually terminated with a polarized 2-pin JST-PH connector (with the exception of the polarized 4-pin chasing EL wire). The mating connector is populated on EL inverters and boards sold in the SparkFun catalog.
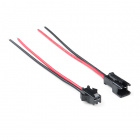
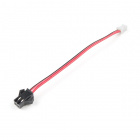
If you ordered EL wire from a different supplier, they could be terminated with a polarized 2-pin JST-SM connector. You could use the following adapters connect to the EL inverters and EL boards. PRT-14998 is used to connect EL wire from a different supplier to the SparkFun inverters and boards. PRT-14999 is used to connect SparkFun EL wire to inverters and boards sold from other supplies.
Hardware Hookup - EL
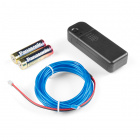
Recommended Materials
At a minimum, you'll need the following to power EL. We will be using the following components to get started. You may not need everything though depending on what you have. Add it to your cart, read through the guide, and adjust the cart as necessary.
- EL Component -- 1x-2x Strands of EL Wire of any color
- Inverter -- 1x EL Inverter Battery Pack.
- Power -- 2x AA Batteries is required to power the inverter pack.
Depending on your inverter, you may also need the following:
- Wires (Optional) -- Depending on your setup and inverter being used, you may need wires.
- Insulation (Optional) -- Electrical tape, heat shrink, hot glue, or epoxy to seal the exposed pins and wires connected to the AC side.
EL Wire Starter Kit
RTL-11421EL Inverter - Battery Pack
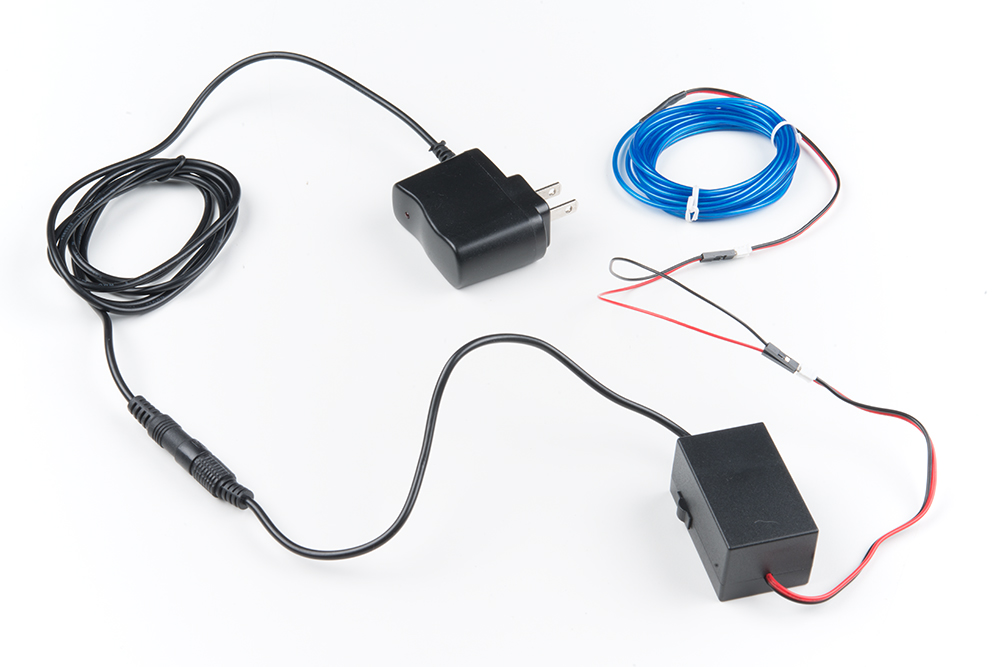
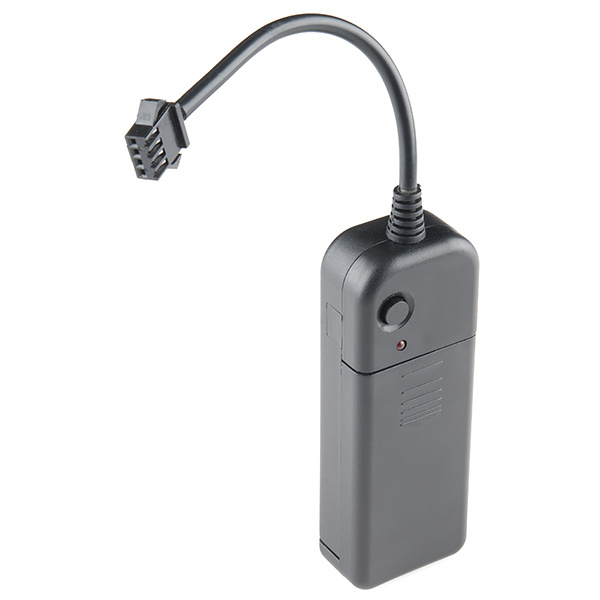
Using the EL is about as simple as it gets when using the EL inverter battery pack.
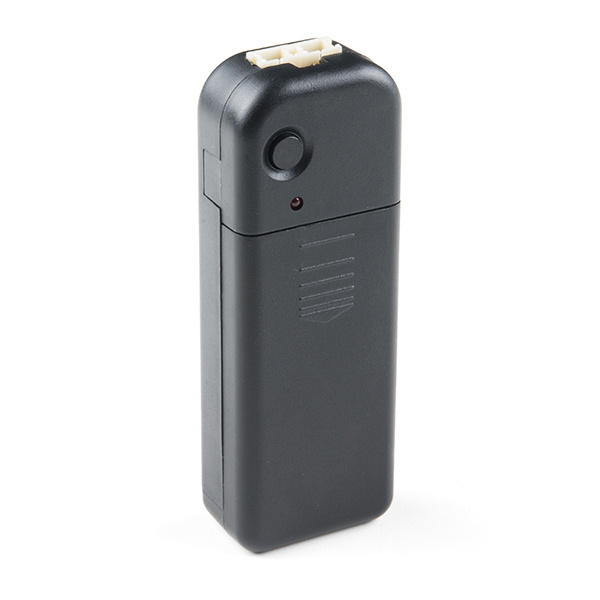
EL Inverter - Battery Pack
COM-11222Take the battery cover off by sliding in the direction indicated on the pack. Place your two AA batteries in the battery pack inverter, and put the cover back on. Plug in the male JST connector from your EL wire into one of the two female JST connectors on the inverter battery pack. Make sure there is a solid connection between the two.
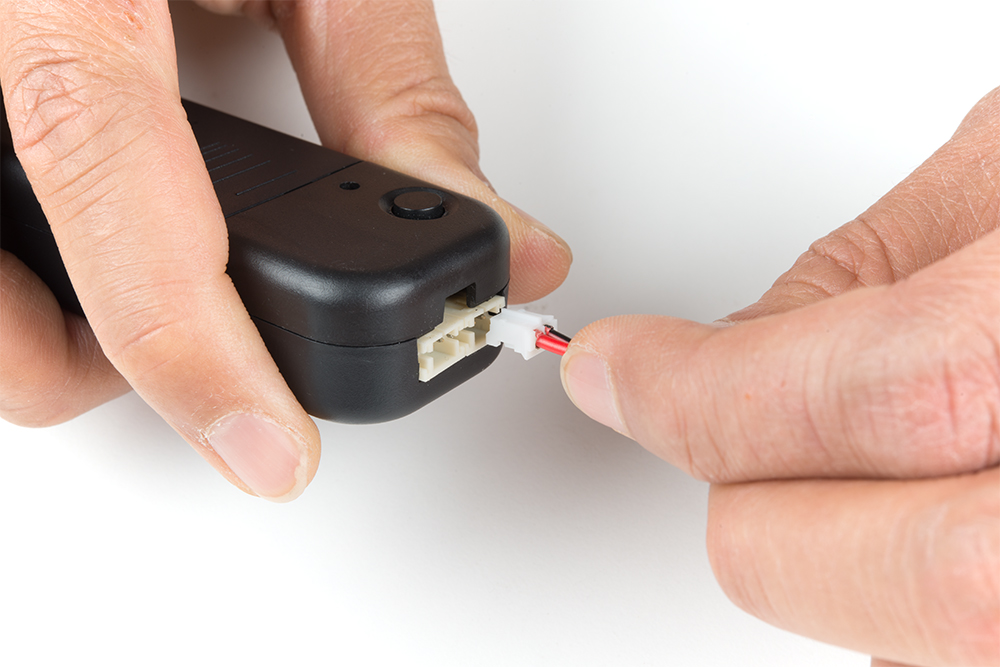
Press the button on the case and your EL wire should illuminate. Press it again for a slow blinking effect, and press it once more for a fast blink. This inverter pack allows you to connect two EL products of your choice at a time. You can mix and match colors as well as shapes. You could have a red panel with blue wire, green tape with a pink wire, or two yellow and purple wires. The possibilities are endless!

- Single Strand Always On: 190mA to 260mA
- Single Strand Blinking: 90mA to 120mA
- Two Strands Always On: ~300mA
- Two Strands Blinking: ~150mA
Different color strands were used but the lengths were identical. Your mileage may vary.
EL Inverter - 3V
We also have a 3V inverter. The wires are terminated at the end with JST PH connectors. These require a little bit more work to get started since they are designed to plug directly into our EL Escudo Dos or EL Sequencer. They are ideal for small EL displays.

EL Inverter - 3v
COM-10201This particular EL inverter accepts an input (on the red/black pair of wires for +Vcc and GND, respectively) anywhere from 2.5V-4.2V, so you can use them with batteries. Once powered, it can output up to 110VAC (on the black/black pair of wires) to drive EL wire.
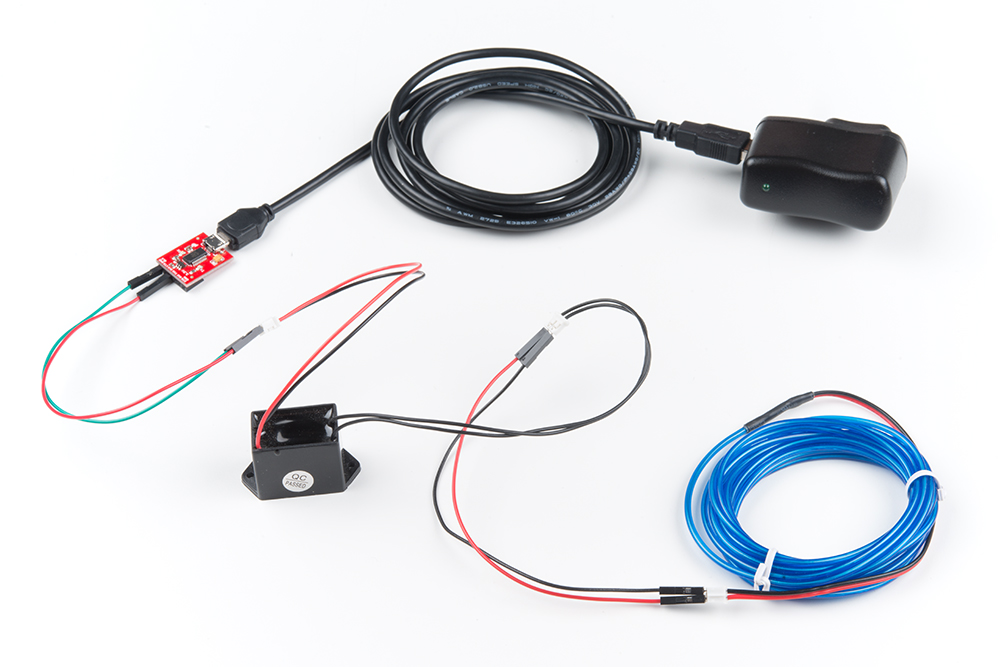
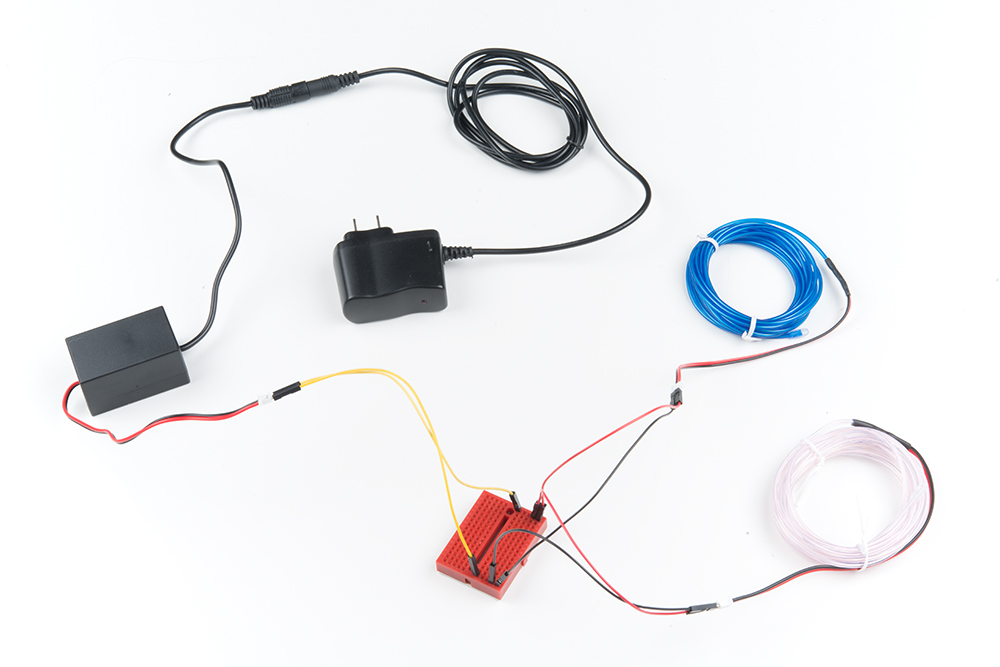
With the 3V inverter, you can drive EL wires directly without using an EL Escudo Dos or EL Sequencer. However, you may need to re-terminate them, make an adapter, or possibly regulate the voltage down from your power supply. Below is a simple connection if you are just powering one strand for an installation using a 5V USB power supply, 3.3V FTDI to regulate the voltage down, M/M jumper wires, and one strand EL wire. The pins of the jumpers are small enough to be inserted into a JST connector.
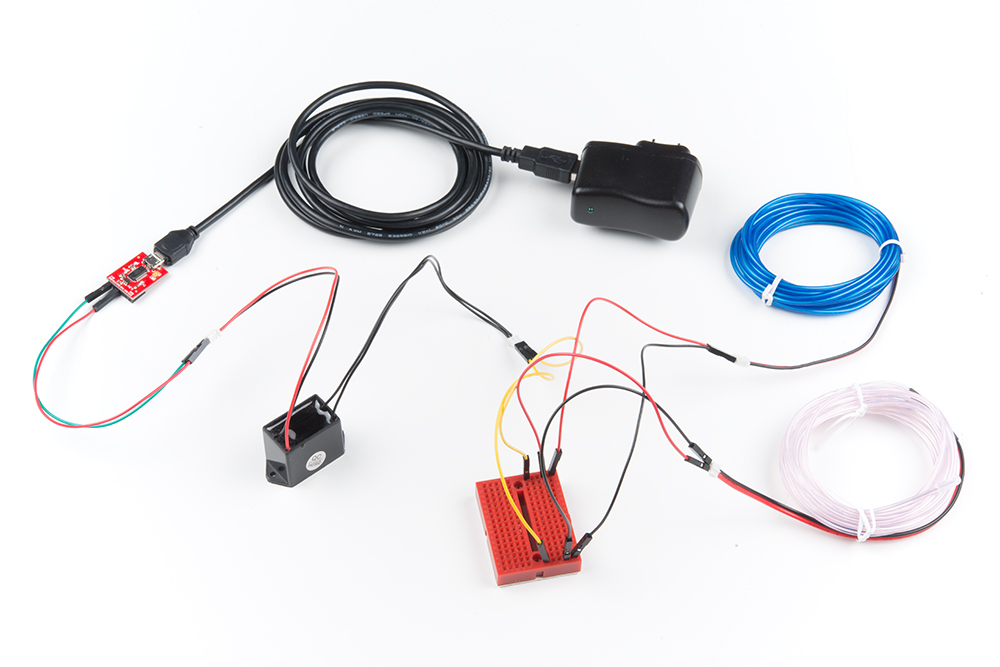
You can even connect two strands together by making a parallel connection. For testing purposes, the circuit was placed on a breadboard. It should not matter what color of wire is connecting on the inverter's output since it is AC. The wire colors were connected together for consistency.
As you can see from the images below, connecting more EL wire in parallel with the 3V inverter will cause both EL wires to dim. The brightness can depend on the length of EL you are using, how you are wiring the EL, and the type of inverter.
 |
 |
| One 3m EL Wire Lit Up | Two 3m EL Wires Lit Up But Dimmer |
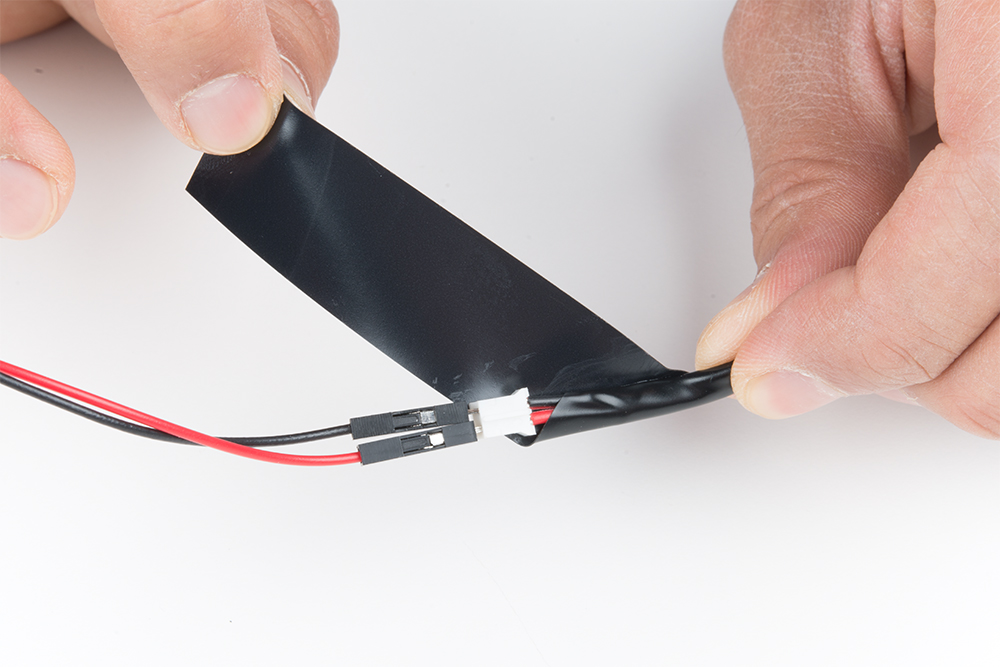
When you are done testing and integrating the EL wire in a project, make sure to seal any exposed EL wire or connections on the AC side. Electrical tape is a good option to secure the connection and insulate any exposed pins should you decide to continue using M/M jumper wire between an inverter and EL wire.
EL Inverter - 12V
When using several strands of EL, you may want to consider using the 12V inverter. The inverter consists of a barrel jack connector and a pair of wires terminated with a JST PH connector. These are ideal for the biggest, brightest display possible!

EL Inverter - 12v
COM-10469This particular EL inverter accepts an input via the 5.5mm x 2.1mm barrel jack connector. Simply connect a power source with a center positive barrel jack connector. The output (red/black pair or wires) was designed to connect to a mating JST connector on the EL Escudo Dos or EL Sequencer board. There is also a small switch on the side which allows you to switch between "on", "blink", and "off" settings.
As with the 3V inverter, you can drive EL wires with the 12V inverter directly. However, you may need to re-terminate them or make an adapter. Below is a simple connection if you are just powering one strand for an installation using a 12V power supply, M/M jumper wires, and one strand EL wire.
Again, you can connect two strands together by making a parallel connection. For testing purposes, the circuit was placed on a breadboard. It should not matter what color of wire is connecting on the inverter's output since it is AC. The wire colors were connected together for consistency.
Remember to seal any exposed EL wire or connections on the AC side when you are done.
How EL Chasing Wire Works
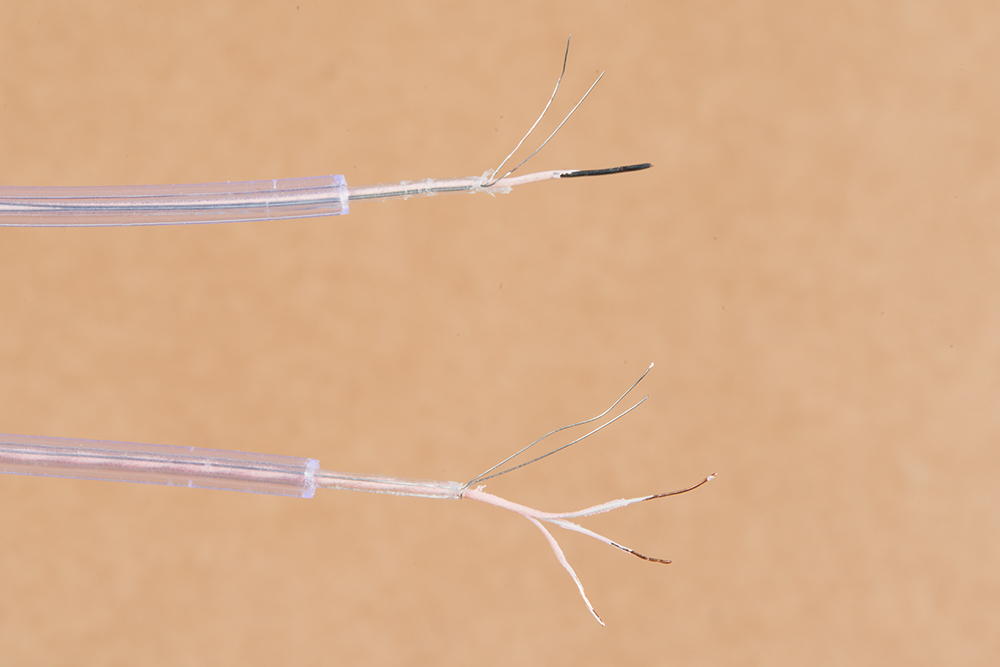
EL chasing wires work in a similar fashion to standard EL wire. Instead of one core wire, there are three thin wires coated in phosphor. Basically, you can think of three strands of standard EL wire smashed into one EL chasing wire. As a result, EL chasing wire requires 4x connections: three for each strand and one for common ground. By sequencing each strand inside by turning them on and off, we have a cascading or "chasing" effect.
Let's take a look at the anatomy of EL chasing wire.
- Colored, Clear PVC Sleeve -- On the outside is a colored PVC sleeve. Depending on the manufacturer and color, this may be clear or translucent.
- Clear PVC Sleeve -- A second layer is yet another PVC sleeve. This sleeve is not as thick as the outer layer and is also clear.
- Corona Wires -- There are two thin wires that wrap around and extend to the end of the EL wire. These are very fine and can sometimes be referred to as angle wires. The wire pair is isolated from the center core wires.
- Phosphor Coating -- Applying AC power around the coating creates that nice glowing effect from the phosphor being excited. It also separates the corona wires and core wires.
- Core Wires -- At the center of EL chasing wire are three thin wires coated and twisted at the center.
If you compare the size of EL standard wire and chasing wire, you will not notice the difference until you are modifying and repairing the core wire. As you can see, EL chasing wire uses three thin wires at the core.
Hardware Hookup - EL Chasing
EL Inverter - 3v (Chasing)
The EL chasing inverter works similar to the 3V EL inverter battery pack.
EL Inverter - 3v (Chasing)
COM-12933Simply take the battery cover off by sliding it off, insert two AA batteries for power, slide the cover back on, and connect one EL chasing wire to the 4 pin mating connector. Press the button to turn on and begin sequencing the three strands of EL wire in one. Continue pressing the button to cycle through the three modes: slow, fast, and super-duper fast chase!
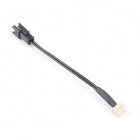
EL Wire Extension Cables
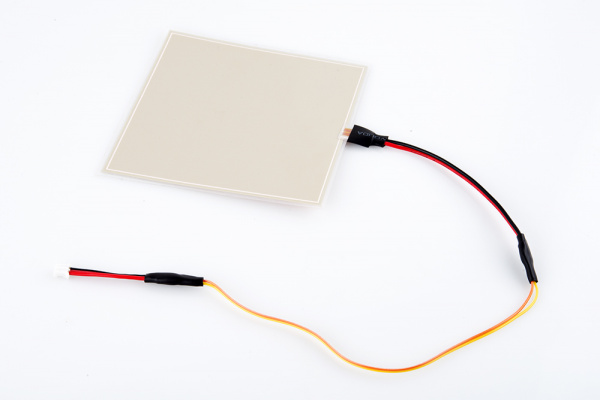
Splicing Wires
Need just a little more length in between your JST connector and EL? There are few methods to extend the wires to your EL. One method is splicing the wires leading to the EL material. Below is an example of extending the wires to an EL panel but it can be used for wires leading to any EL. For more information about how to extend the wires, head over to the Pokémon Go Patches with EL Panels: Adding EL Extension Cables tutorial.
Custom Extension Cable
Looking for an alternative to splicing wires? You can also make a custom EL Wire extension cable with a PCB and JST connectors to easily disconnect EL wire from an inverter if it is in an enclosure or attached to a separate piece of clothing.
How to Make a Custom EL Wire Extension Cable
Controlling and Sequencing EL
Working with a just a few EL products is fairly straight forward. However, if you are looking for more of a challenge, fear not. EL projects can become very complex, very quickly. You may have noticed that the effects are somewhat limited on the inverter, and both products hooked up behave the same when plugged into it.
Let’s say you want one color to blink while the other stays solid. You could purchase another inverter battery pack, or you could get one of the many boards out there that are specifically designed to work with EL products. SparkFun carries two such boards, the EL Sequencer and the EL Escudo Dos. Both of these boards are designed to handle many EL products hooked up to them at once, and there are many different effects you can create with both.
For more information, check out the hookup guide on those products.
EL Sequencer/Escudo Dos Hookup Guide
Resources and Going Further
Thanks for checking out our tutorial! Now that you've successfully got your EL wire/panel/strip up and running, it's time to incorporate it into your own project! For more information, check out the resources below:
- Technical Information and Specifications
- Wikipedia
- SFE Product Showcase
Need some inspiration for your next project? Check out some of these related tutorials:
EL Wire Hoodie
EL Wire Pants
How to Make a Custom EL Wire Extension Cable
Modifying Your EL Wire Inverter
Looking for more ideas, check out these related blog posts:
Or check out this additional project tutorials for more information.