Gator:color ProtoSnap Hookup Guide
Introduction
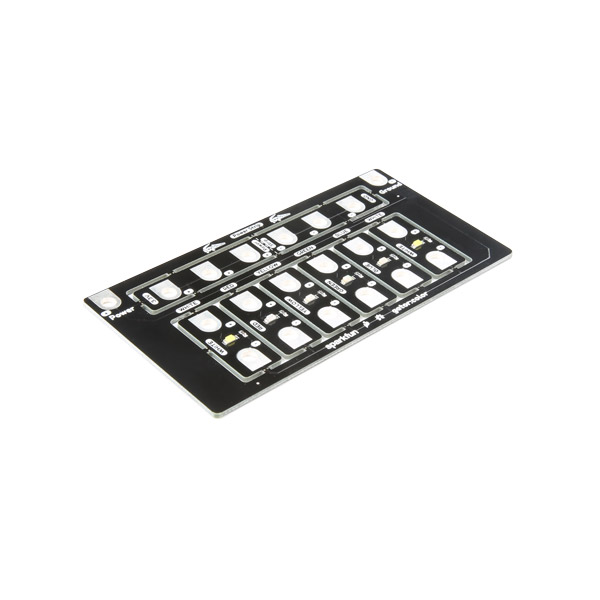
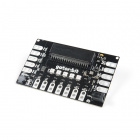
The gator:color is one of a series of gator-clippable boards called gator:boards that SparkFun has created to interface with the micro:bit and gator:bit v2 expansion for micro:bit. The gator:color has a smattering of a different color LEDs that can be used either in place or broken away from the main board. In this hookup guide we'll go over how to light up our LEDs, both by simply turning them on and also by dimming them using a process called Pulse Width Modulation (PWM).
SparkFun gator:color ProtoSnap
COM-14890Required Materials
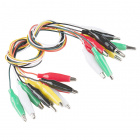
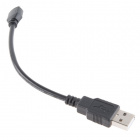
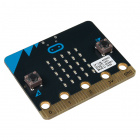
For this activity, you'll of course need a micro:bit. You'll also need some alligator clips to connect everything together, and a micro usb cable to program your micro:bit. All of these things are shown below, so grab them if you haven't already. You can go ahead and grab a gator:bit v2 as well to create some more robust projects, but you'll be able to get along fine with just a micro:bit.
micro:bit Board
DEV-14208Suggested Reading
If this is your first time using a gator:bit, check out the SparkFun gator:bit v2 Hookup Guide.
SparkFun gator:bit v2 Hookup Guide
Also, if you're starting out with electronics and aren't familiar with the following concepts, we recommend checking out these tutorials before continuing.
What is a Circuit?
Voltage, Current, Resistance, and Ohm's Law
What is Electricity?
Light-Emitting Diodes (LEDs)
Analog vs. Digital
Getting Started with the micro:bit
Hardware Overview
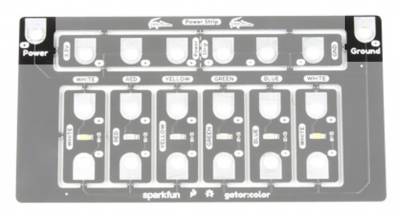
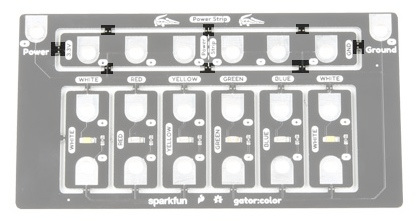
The gator:color is perfect if you want to add a low-profile glowing component to your project. The gator:color contains 6 monochrome LEDs, which means that each light only emits one color. On board there are two white LEDs, along with one each of red, green, blue, and yellow LEDs. The board has power tabs broken out on the edges so that the board doesn't have to be broken apart to light up the LEDs.
Powering your LEDs
The LEDs can be powered through either of two ways. The first simply turns the LEDs on, and is done by clipping the - side of the LED to ground on the micro:bit and connecting the + to 3V on the micro:bit. The other way to control these LEDs would be to connect the gator:color's Power to pins 0, 1 or 2 on the micro:bit (with Ground connecting to Ground). This method gives you more control over your LEDs, allowing you to turn the LEDs on and off with the micro:bit, as well as change the brightness level using Pulse width modulation (PWM).
If and when you choose to incorporate your gator:color LEDs into a project, there is also a breakout power strip at the top of the board that you can use.
Breaking Apart Your Board
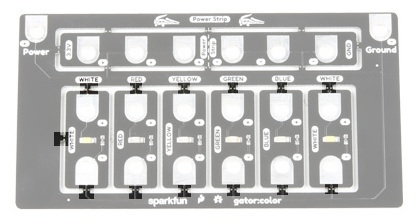
Each of the LEDs can be broken away from the board to be lit individually. To do so, twist the LED board gently from side to side until it pops out. The connection points are highlighted in the image below.
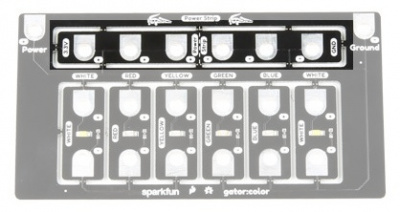
The Power Strip breaks out in a similar manner as the LED boards. Break points are highlighted below.
Hardware Assembly
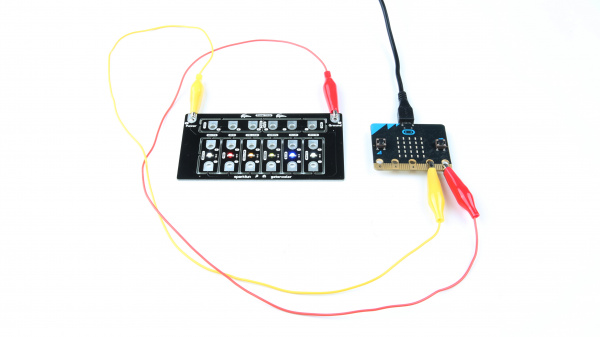
Let's start by simply turning the LEDs on. Using your alligator clips, connect the - side of the LED to ground on the micro:bit and connect the + to 3.3V on the micro:bit. You should see all of the gator:color's LEDs light up. This type of setup is shown in the photo below.
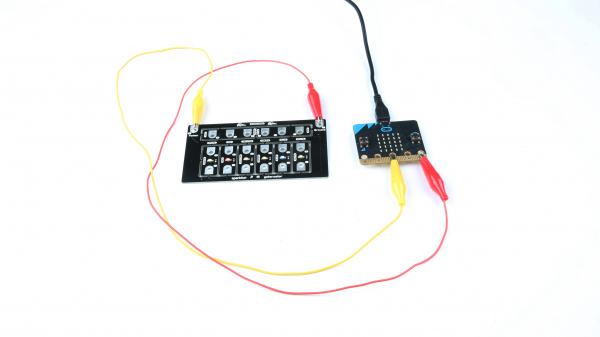
If you want to dim the LED or control it with the micro:bit, you can connect the + on the LED to any of pins 0, 1 or 2. LEDs are either on or off, with no brightness in between, so we control brightness by turning the light on and off very fast in a process known as PWM. Connect your pins as you see in the image below and we'll go over the code necessary to dim your LEDs in the next section.
Using MakeCode
As you've seen, it's pretty simple to get your LEDs to simply light up; just connect power to power and ground to ground. However, if you want to do some fancy dimming or flashing effects, you'll need to upload some code to your micro:bit.
If you've never used MakeCode before, refer to the Using MakeCode section of our Getting Started with the Micro:Bit.
Getting Started with the micro:bit
Dimming LEDs is done using Pulse Width Modulation. To use PWM in MakeCode, go to Advanced->Pins and select the analog write block, shown below.
The analog write block defaults to a value of 1023, or 100%. If you wanted to turn the light down to 50% brightness, you'd plug a value of 511 into your analog write function. Of course, you also want to make sure that whichever pin is selected in the MakeCode block is the pin that is clipped to the + pin on the LEDs. This can be done with any of the LEDs to create patterns with different brightnesses or even flashing LEDs.
Example: LED Pulse
The following example will gradually turn the LEDs up to full brightness, then gradually go back down. This will fade the LED's on and off. To do this, we write the value LightValue (Which we initialize to 0 in our on start function) to our analog pin P0 (3.3V from the LED's should be connected to this pin). We then add lightStep (which we set to 5 in our on start function) to LightValue, which changes the brightness by a tiny amount. Once LightValue reaches its maximum (1023) we multiply lightStep by -1, changing the value of lightStep to -5. This means that when we add lightStep to LightValue, LightValue will decrease. We do the same thing (multiply by -1) when LightValue reaches 0 to flip the direction around again. Finally, we add a delay of our choosing from Advanced->Control in to slow our fade down a little bit. The whole program is shown below.
Resources & Going Further
Now that you have the hang of the gator:color, what will you light up? Have a look at some of the resources below for more information and inspiration!
- gator:color
- gator:bit v2
- microbit.org
- About micro:bit - Information about the micro:bit foundation.
- Getting Started - Getting started with the micro:bit.
- Activities - Ideas from the micro:bit website.
- Projects - Projects that you can build with your micro:bit.
- Apps - The micro:bit apps let you send code to your micro:bit wirelessly using Bluetooth. No leads needed!
- SparkFun micro:bit Landing Page
- SparkFun micro:bit Series - Video tutorials to get started using the micro:bit or using it with MicroPython.
For additional SparkFun tutorials, check out some of these related micro:bit tutorials:
