FreeSoC2 Hookup Guide V14
 SFUptownMaker
Introduction
The FreeSoc2 is SparkFun's PSoC5LP development board features a full onboard debugger, support for 5V and 3.3V IO voltages, and a CY8C5888AXI-LP096 processor with 256kB of flash, 64kB of SRAM and 2kB of EEPROM. The onboard oscillator can drive the processor at up to 80MHz, and the Cortex-M3 core provides superior performance.
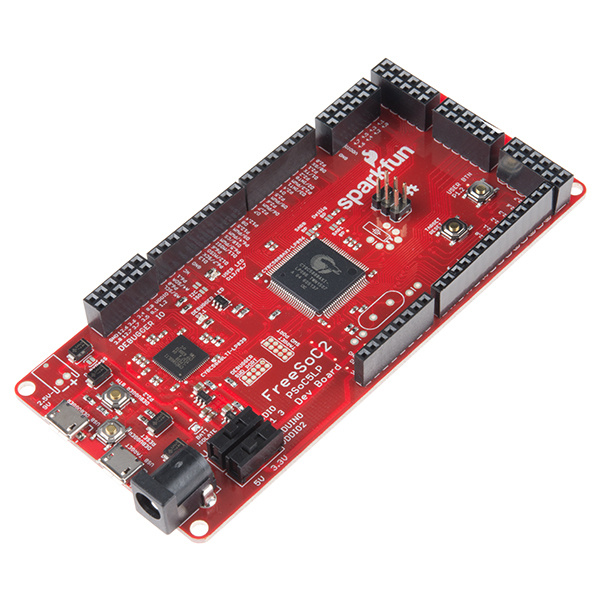
FreeSoC2 Development Board - PSoC5LP
DEV-13714The real power of the PSoC5LP isn't in the processor, however. Wrapped around the processor is a rich analog and digital programmable fabric, which can be configured to provide many functions that would otherwise need to be realized in code (lowering system performance) or external circuitry (adding cost and board size). In addition, the highly flexible fabric means that most any function can be routed to most any pin, which makes this a wonderful tool for development and allows board layout errors to be solved, at least temporarily, pretty easily. Conceptually, this fabric is similar to an FPGA or CPLD.
Covered in This Tutorial
We're going to discuss two different ways to tap the power of the PSoC. We've ported the Arduino core to the PSoC5LP, so you can write code for the board in the standard Arduino IDE. The board duplicates the functionality of an Arduino Uno R3's various hardware peripherals on the pins, so many examples, libraries, and shields will work out of the box.
The drawback of using the Arduino IDE, however, is that it lacks any means of configuring the programmable fabric (at the moment, at least). To get the most out of the device, you'll need to use the PSoC Creator IDE, which is free of charge with no code limits from Cypress Semiconductor. Sadly, the PSoC Creator software is Windows-only at this time. If you want to see that change, consider piping up on the Cypress forums!
In this tutorial, we're going to go over the detailed specifications and layout of the board, how to add support for the board to the Arduino IDE, and how to get started with a simple blink project on the PSoC Creator IDE.
Required Materials
We're going to keep it simple; the FreeSoC2 has an onboard LED and user-accessible pushbutton. We'll use those for our lessons. That means you'll only need the FreeSoC2 board and a micro-B USB cable. You may, however, find it useful to have a second USB cable, as that will allow you to connect to both the debugger and the target at the same time.
Suggested Reading
If you're unfamiliar with the Arduino IDE, but want to learn, check out our tutorial on installing the Arduino IDE.
As with any development platform, it's always wise to read the datasheet. Check out the datasheet for the PSoC5LP CY8C58LP before continuing.