Flex Sensor Hookup Guide
 jimblom,
  bboyho
 Introduction
This flex sensor is a variable resistor like no other. The resistance of the flex sensor increases as the body of the component bends. Sensors like these were used in the Nintendo Power Glove. They can also be used as door sensors, robot whisker sensors, or a primary component in creating sentient stuffed animals.
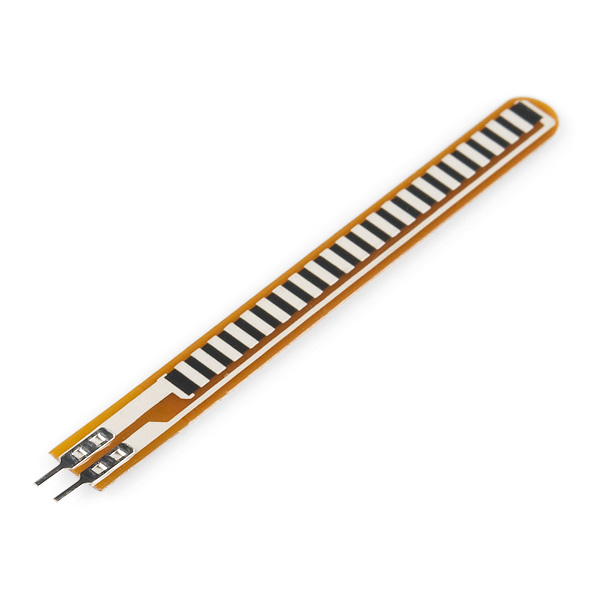
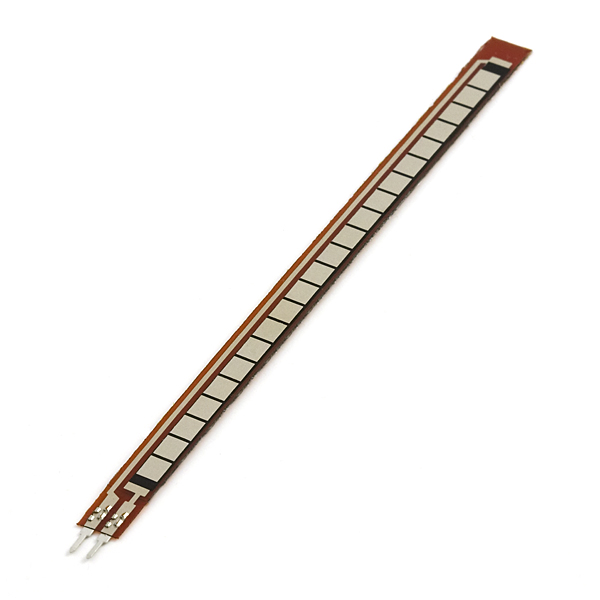
Flex sensors are available in two sizes: one 2.2" (5.588cm) long and another coming in at 4.5" (11.43cm) long.
Left flat, these sensors will look like a 30kΩ resistor. As it bends, the resistance between the two terminals will increase to as much as 70kΩ at a 90° angle.
By combining the flex sensor with a static resistor to create a voltage divider, you can produce a variable voltage that can be read by a microcontroller's analog-to-digital converter.
Suggested Materials
This tutorial serves as a quick primer on flex sensor's, and demonstrates how to hook them up and use them. Aside from the sensor, the following materials are recommended:
Arduino Uno -- We'll be using the Arduino's analog-to-digital converter to read in the variable resistance of the sensor. Any Arduino-compatible development platform -- be it a RedBoard, Pro or Pro Mini -- can substitute.
Resistor Kit -- To turn the flex sensor's variable resistance into a readable voltage, we'll combine it with a static resistor to create a voltage divider. This resistor kit is handy for some trial-and-error testing to hone in on the most sensitive circuit possible.
Breadboard and Jumper Wires -- The flex sensor's terminals are breadboard-compatible. We'll stick that and the resistor, then use the jumper wires to connect from breadboard to Arduino.


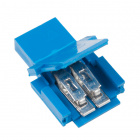
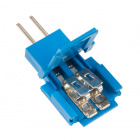
Force Sensitive Resistor Adapter -- While the FSR terminals are breadboard-compatible, we've found that it may be loose in the breadboard. For those looking for a way to make a more secure connection without soldering, try looking at the associated Amphenol pin adapters. You will need a pair of needle nose pliers to clamp the the adapter down.

Suggested Reading
Analog components, like these flex sensor's, are a great sensor-reading entry-point for beginners, but there are a few electronics concepts you should be familiar with. If any of these tutorial titles sound foreign to you, consider skimming through that content first.