Electronic E-craft Terrarium
Introduction
Introduction
People put plants (both plastic and real) in terrariums to create small, concentrated natural environments. What makes these terrariums interesting to me is that the glass enclosure isolates the ordinary objects from the real world and frames the objects for people to take a closer look. For this project, I included electronic components into a terrarium for people to appreciate the aesthetic aspects of technology. Also, I also wanted to express that technology is alive in another way.
In this tutorial, I will be creating an interactive, electronic terrarium. When the edge of the terrarium is touched, the lights start to breathe, and a leaf appears in the sand. To see the terrarium in action, check out the video below.
ReplaceMeOpen
ReplaceMeClose
Materials Required
You will need the following materials to follow along with this project.
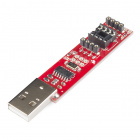
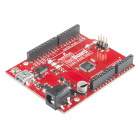
You will need one of the following to program the ATtiny.
Tiny AVR Programmer
PGM-11801Additionally, you will need the following materials:
- An ATtiny Microcontroller - This project uses the ATtiny45. You could also use the ATtiny85.
- TIP120 Transistor
- Paint
- Sand
- Fabric
- Crimp Beads
- Glass Vase
Suggested Reading
If you aren't familiar with the following concepts, we recommend reading over them before proceeding.
Arduino Code
Before we begin building this project, we need to first program the ATtiny, because we will be soldering directly to its legs, making it much more difficult to reprogram afterwards. If you would like to not solder directly to your ATtiny so as to be able to reprogram it or to reuse it in a later project, you can use a DIP Socket as well, soldering all the parts to it and then inserting the ATtiny into it.
Program the code onto the ATtiny using the Arduino or ISP Programmer shown above. If you have never programmed an ATtiny using the Arduino IDE before, have a look at this tutorial about how to work with ATtiny. Alternatively, if you are using the TinyAVR Programmer, take a look at this tutorial.
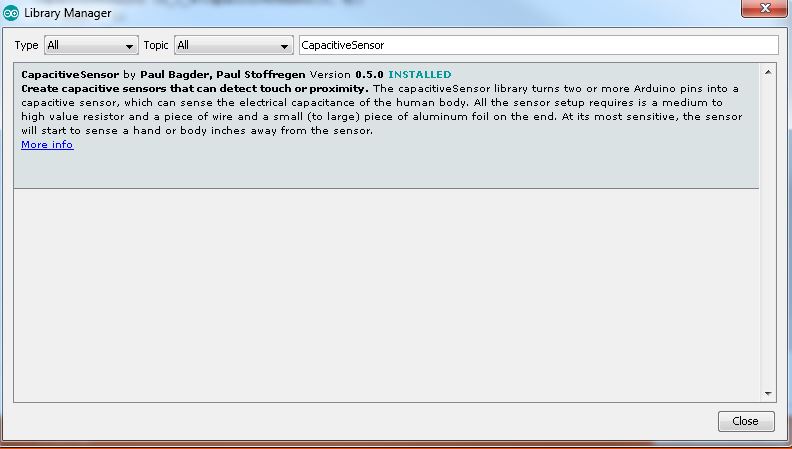
You will also need to add the Capacitive Sensor library to your Arduino IDE in order to compile the sketch. This can be added using the Library Manger.
Copy and paste the code from below.
language:c

/*Electronic Terrarium
Code by Kehui Liu
December 2015
From the Performative Sculpture class of Parsons DT
Project tutorial available here: https://learn.sparkfun.com/tutorials/electronic-terrarium
Released under the MIT License (https://opensource.org/licenses/MIT)
*/

#include <CapacitiveSensor.h>

CapacitiveSensor cs_3_4=CapacitiveSensor(3, 4);
int heat = 0;
int led = 1;
long total;
void setup(){
    cs_3_4.set_CS_AutocaL_Millis(0xFFFFFFFF);
    pinMode(heat, OUTPUT);
    pinMode(led, OUTPUT);
}

void loop(){
    long start = millis();
    total = cs_3_4.capacitiveSensor(30);
    if(total>200){
        digitalWrite(heat, 255);
        for(int i = 0; i<255;i++){
        delay(10);
        }
        for(int i = 0; i<255;i++){
            analogWrite(led,255-i);
            delay(10);
        }
    }else{
        analogWrite(led,255);
        digitalWrite(heat, 0);
    }
    delay(300);
}
Assembly
Dye the Sand
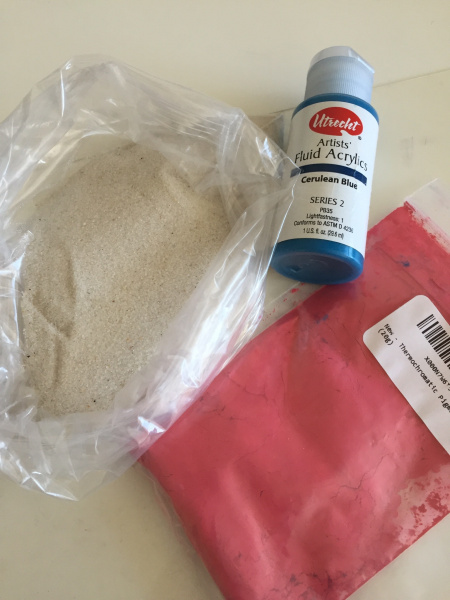
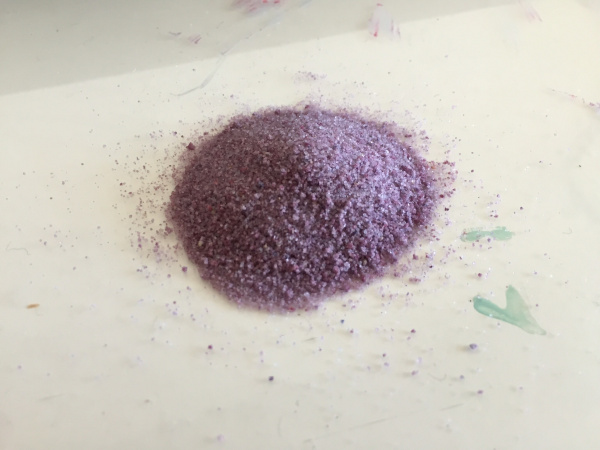
Mix thermochromic pigment with regular paint. Add the mixture to the sand and let dry. The color of thermochromic dye will fade when heated.
Mixing and matching paints and thermochromatic pigment will result in different colors of the sand in a neutral state. Remember that the color will fade the base paint color when heated.
Sew the Flexinol
Draw a shape of your choice on a piece of fabric that you'd like to display once heated. Sew the Flexinol onto the fabric. Seal the two end with crimp beads.
To test the result, cover the shape in a small amount of sand. Using a 9v battery, hook one end of the Flexinol to the positive (+) terminal and the other end to the negative (-) terminal. You should see the sand change color on top of the Flexinol shape.
Tape the Vase
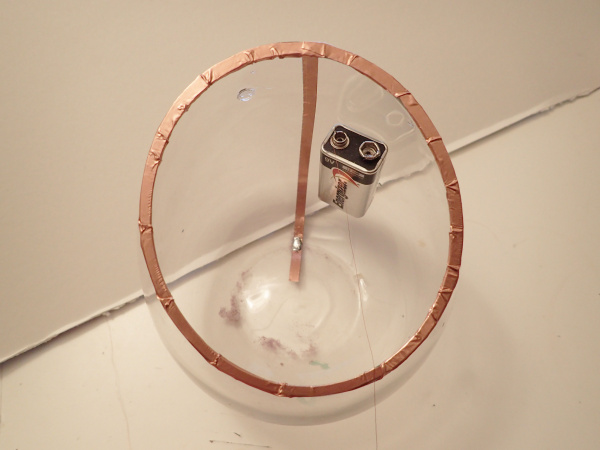
Use copper tape to outline your desired touching point. You will also need a spot on the copper tape to solder to your ATtiny.
Solder Everything Together
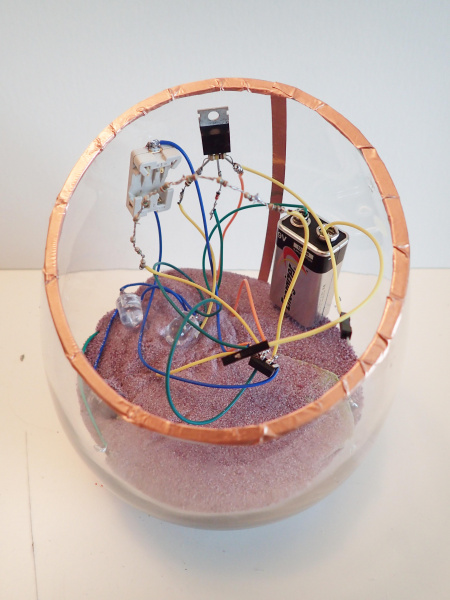
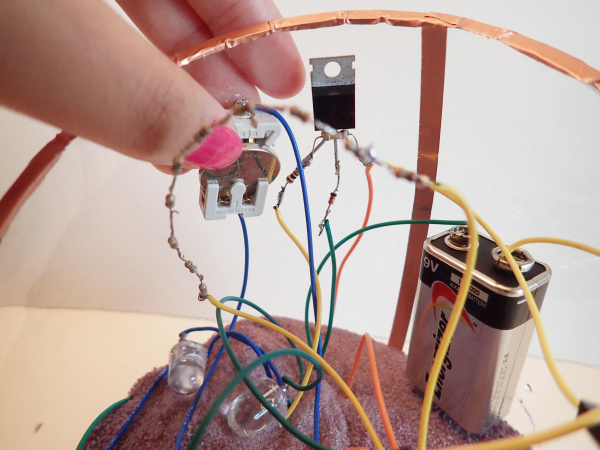
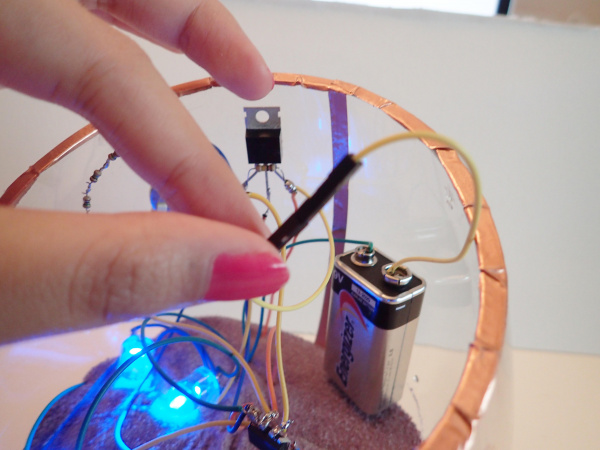
Connect your circuit together. Use the image below as a guide.
Put Everything Into the Vase
Arrange the parts as you like. Gluing some components to the side of the enclosure may be necessary. Last, add the sand, and leave a thin layer on the heating part.
Connect the Batteries and Done!
Insert the CR2032 battery into the holder. Make sure the positive (+) side of the battery is facing out.
Finally, connect your 9V battery to the system.
Now, when the edge is touched, you should see the image light up in the sand!
Resources and Going Further
You should now have a functioning Electronic Terrarium! If you have any feedback, please visit the comments or contact our technical support team at TechSupport@sparkfun.com.
For additional inspiration, take a look at the following projects tutorials.
