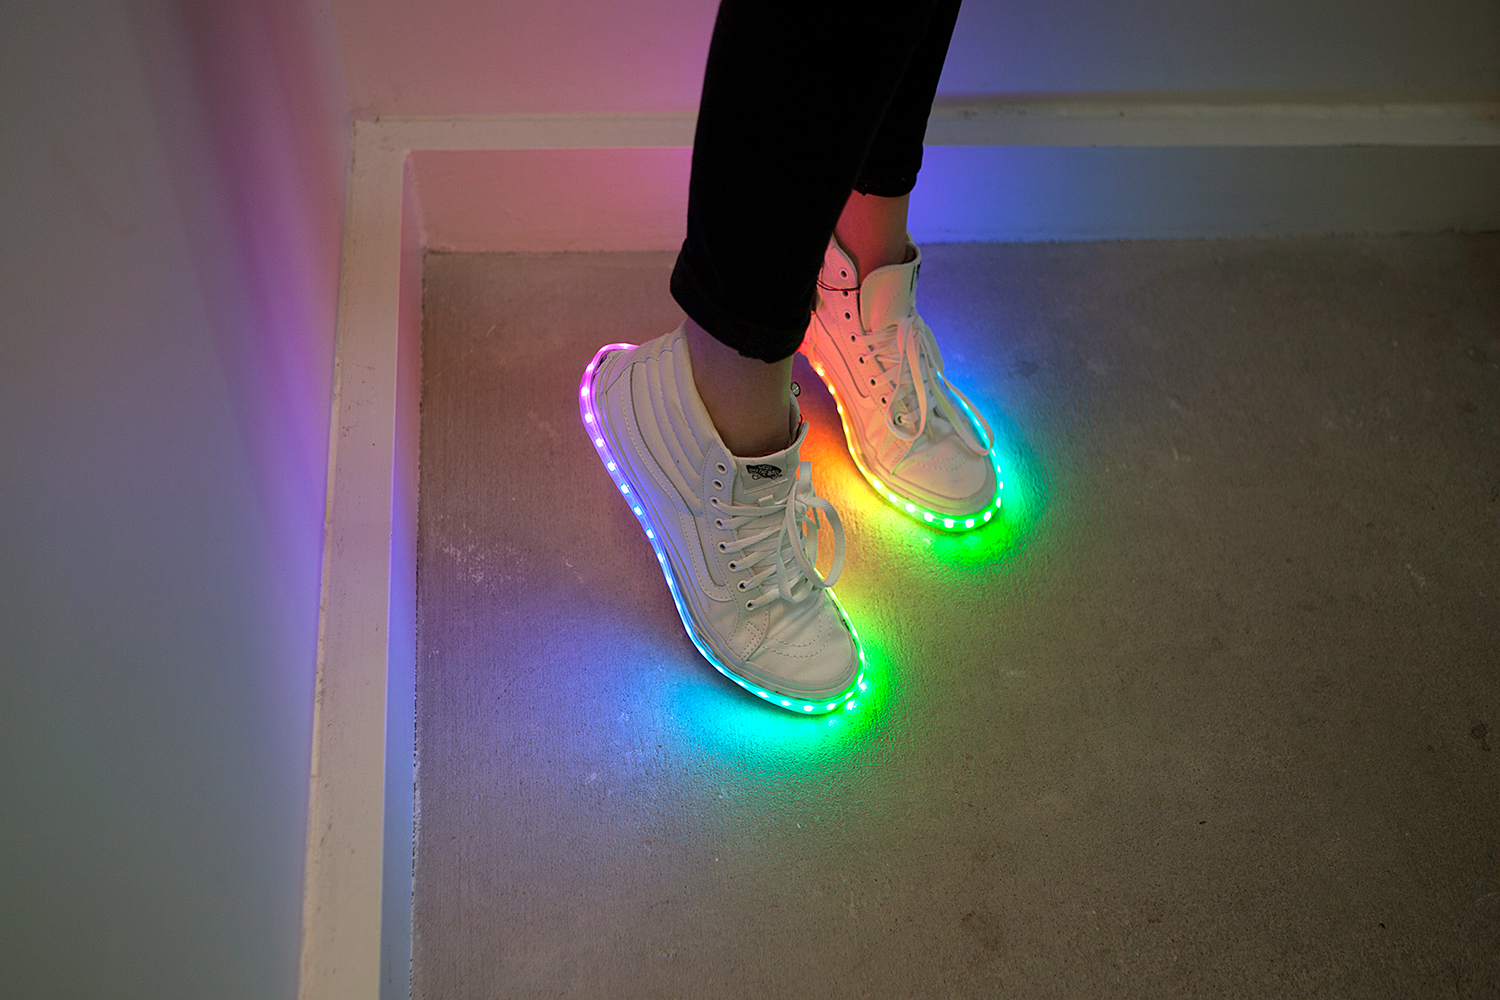
DIY Light-Up Shoes
 Feldi
Feldi 
Putting It Together
Now that we have tested our program with our parts, it's time to put everything together.
STEP 1:
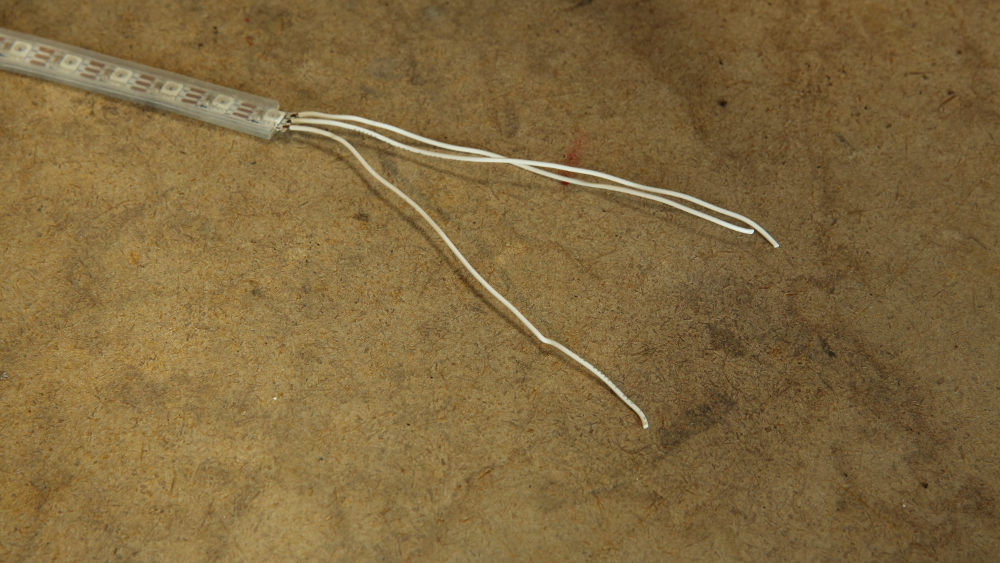
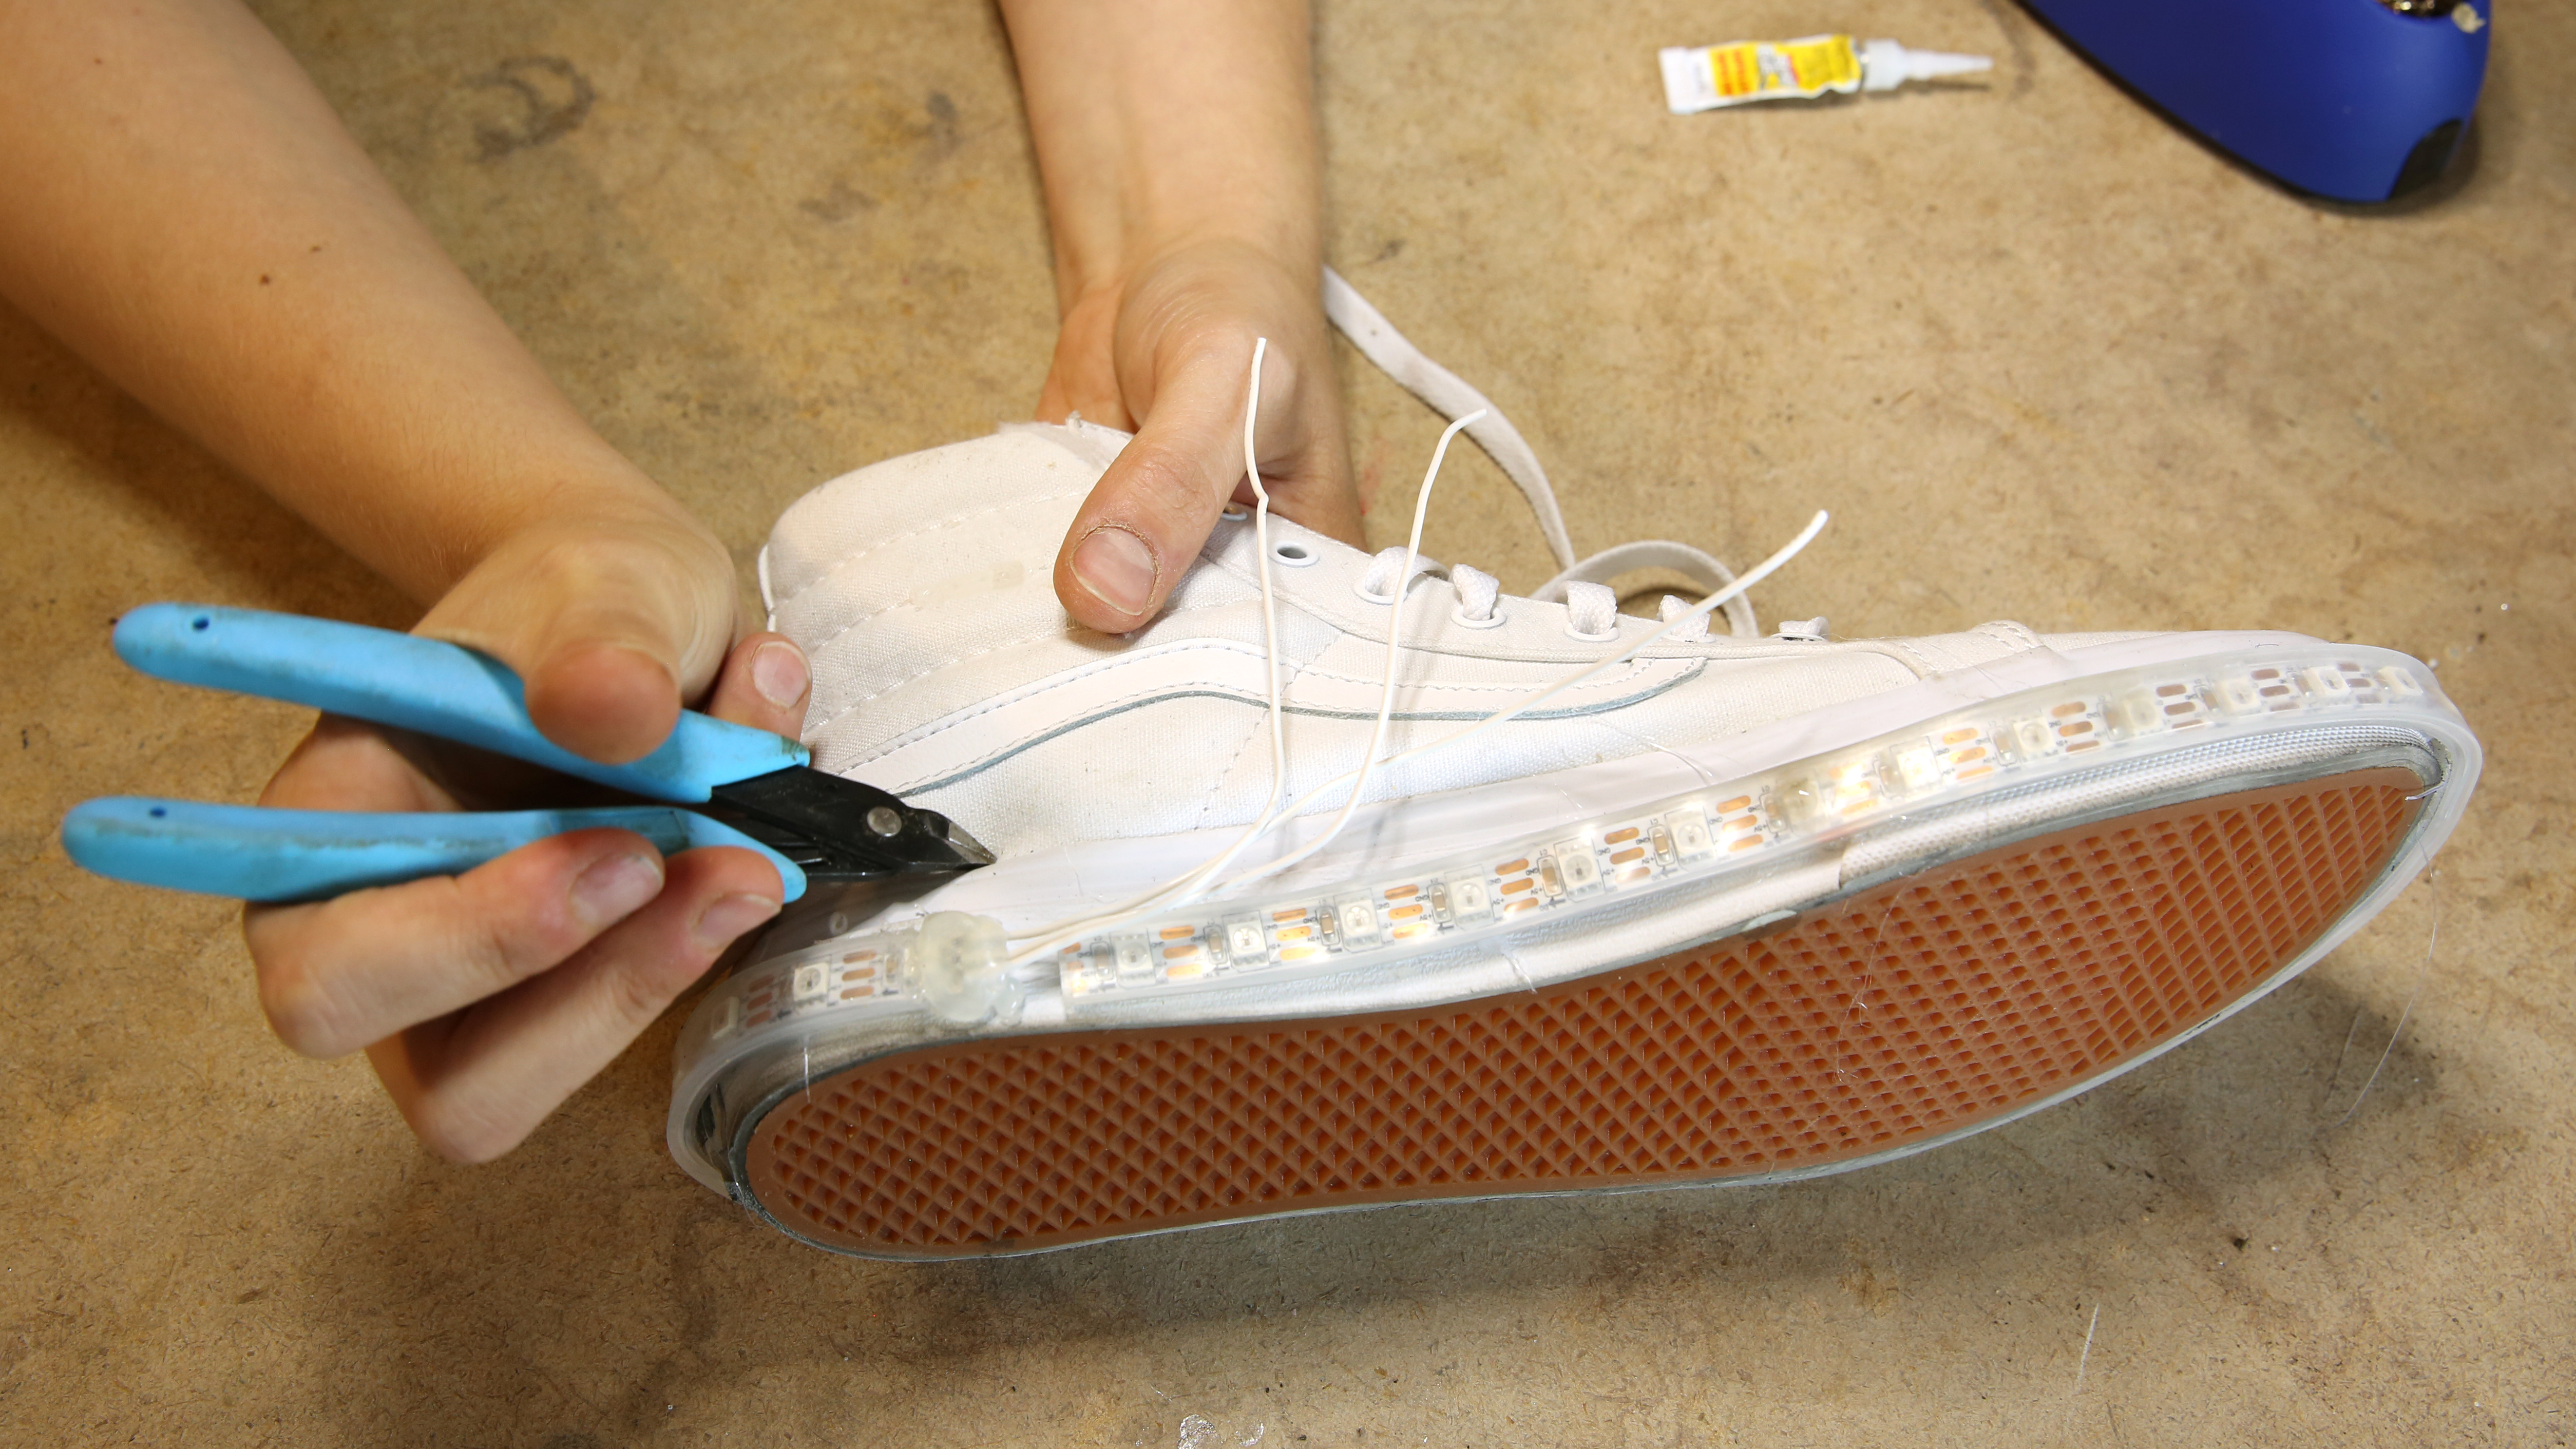
Measure the length of your shoe's sole with the LED strip. While taking note of the length, cut one LED strip to the desired shoe length between the gold pads. Cut part of the flexible silicon jacket that is used to seal the addressable LED strip so that there is room to solder to the pads.
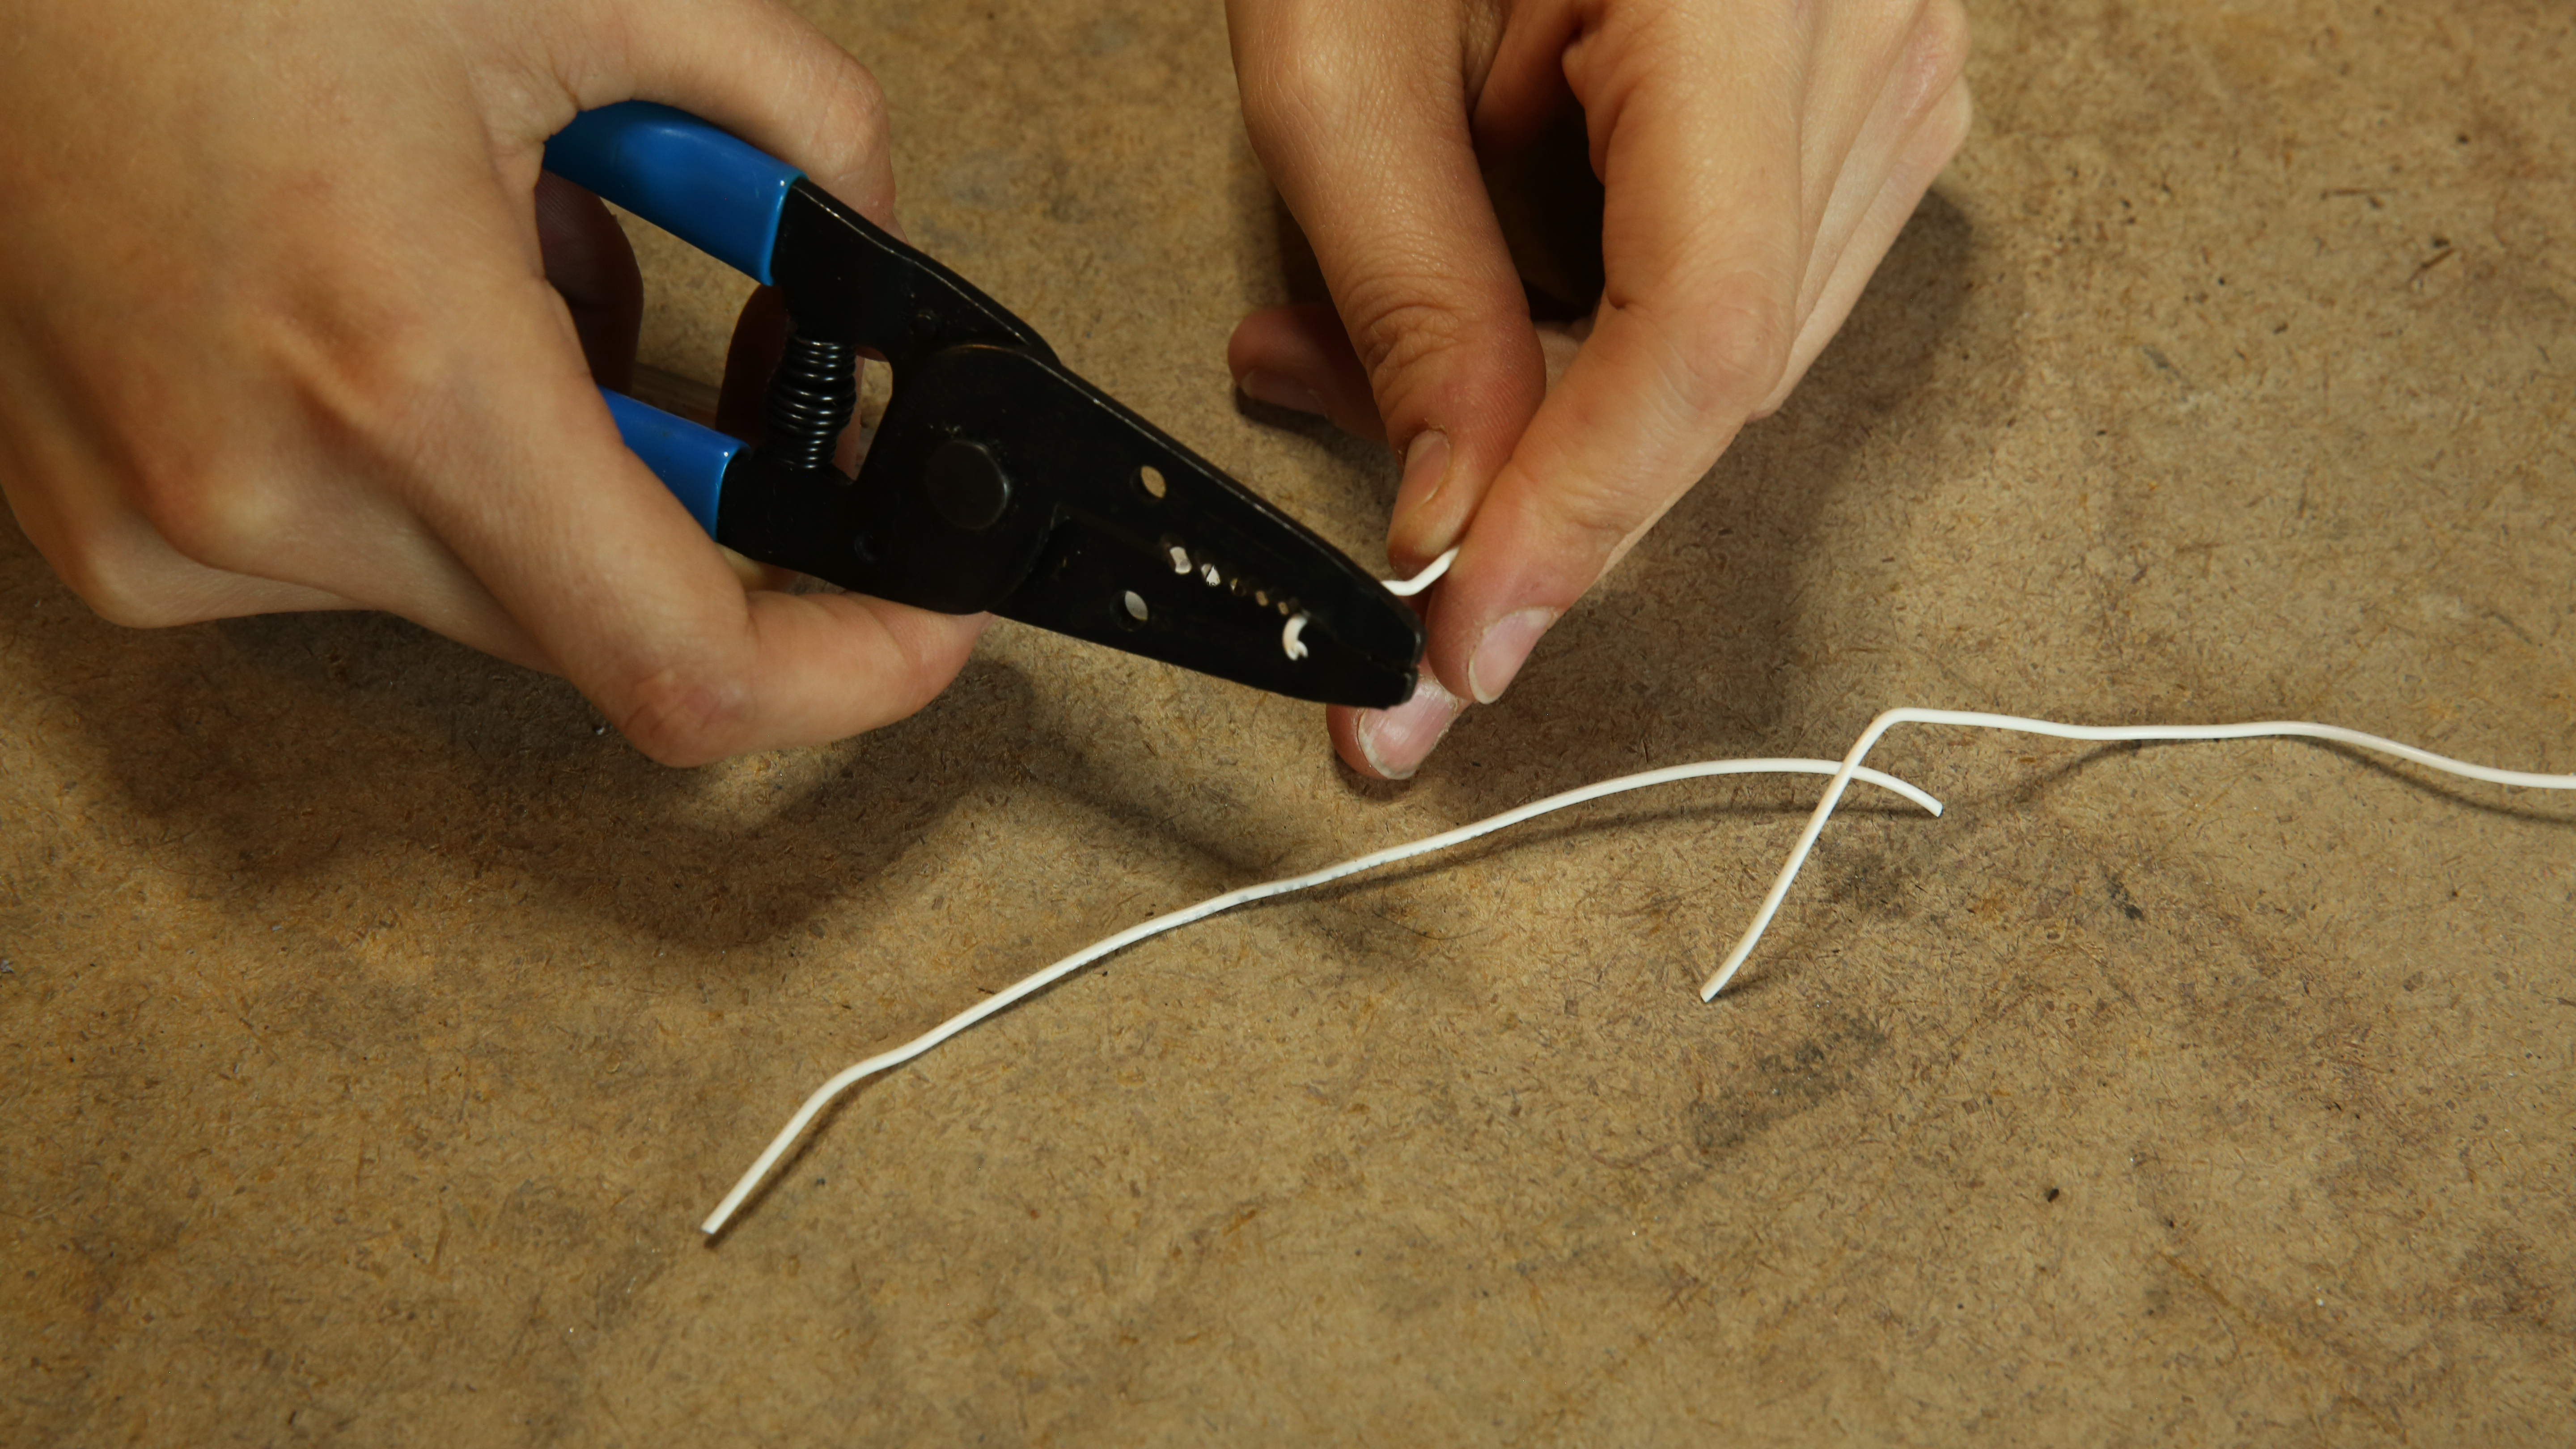
Then cut three pieces of hook-up wire, around 3-4 inches each. Strip a tiny bit at one end of each piece.
Solder each wire to each of the three pads on the LED strip.
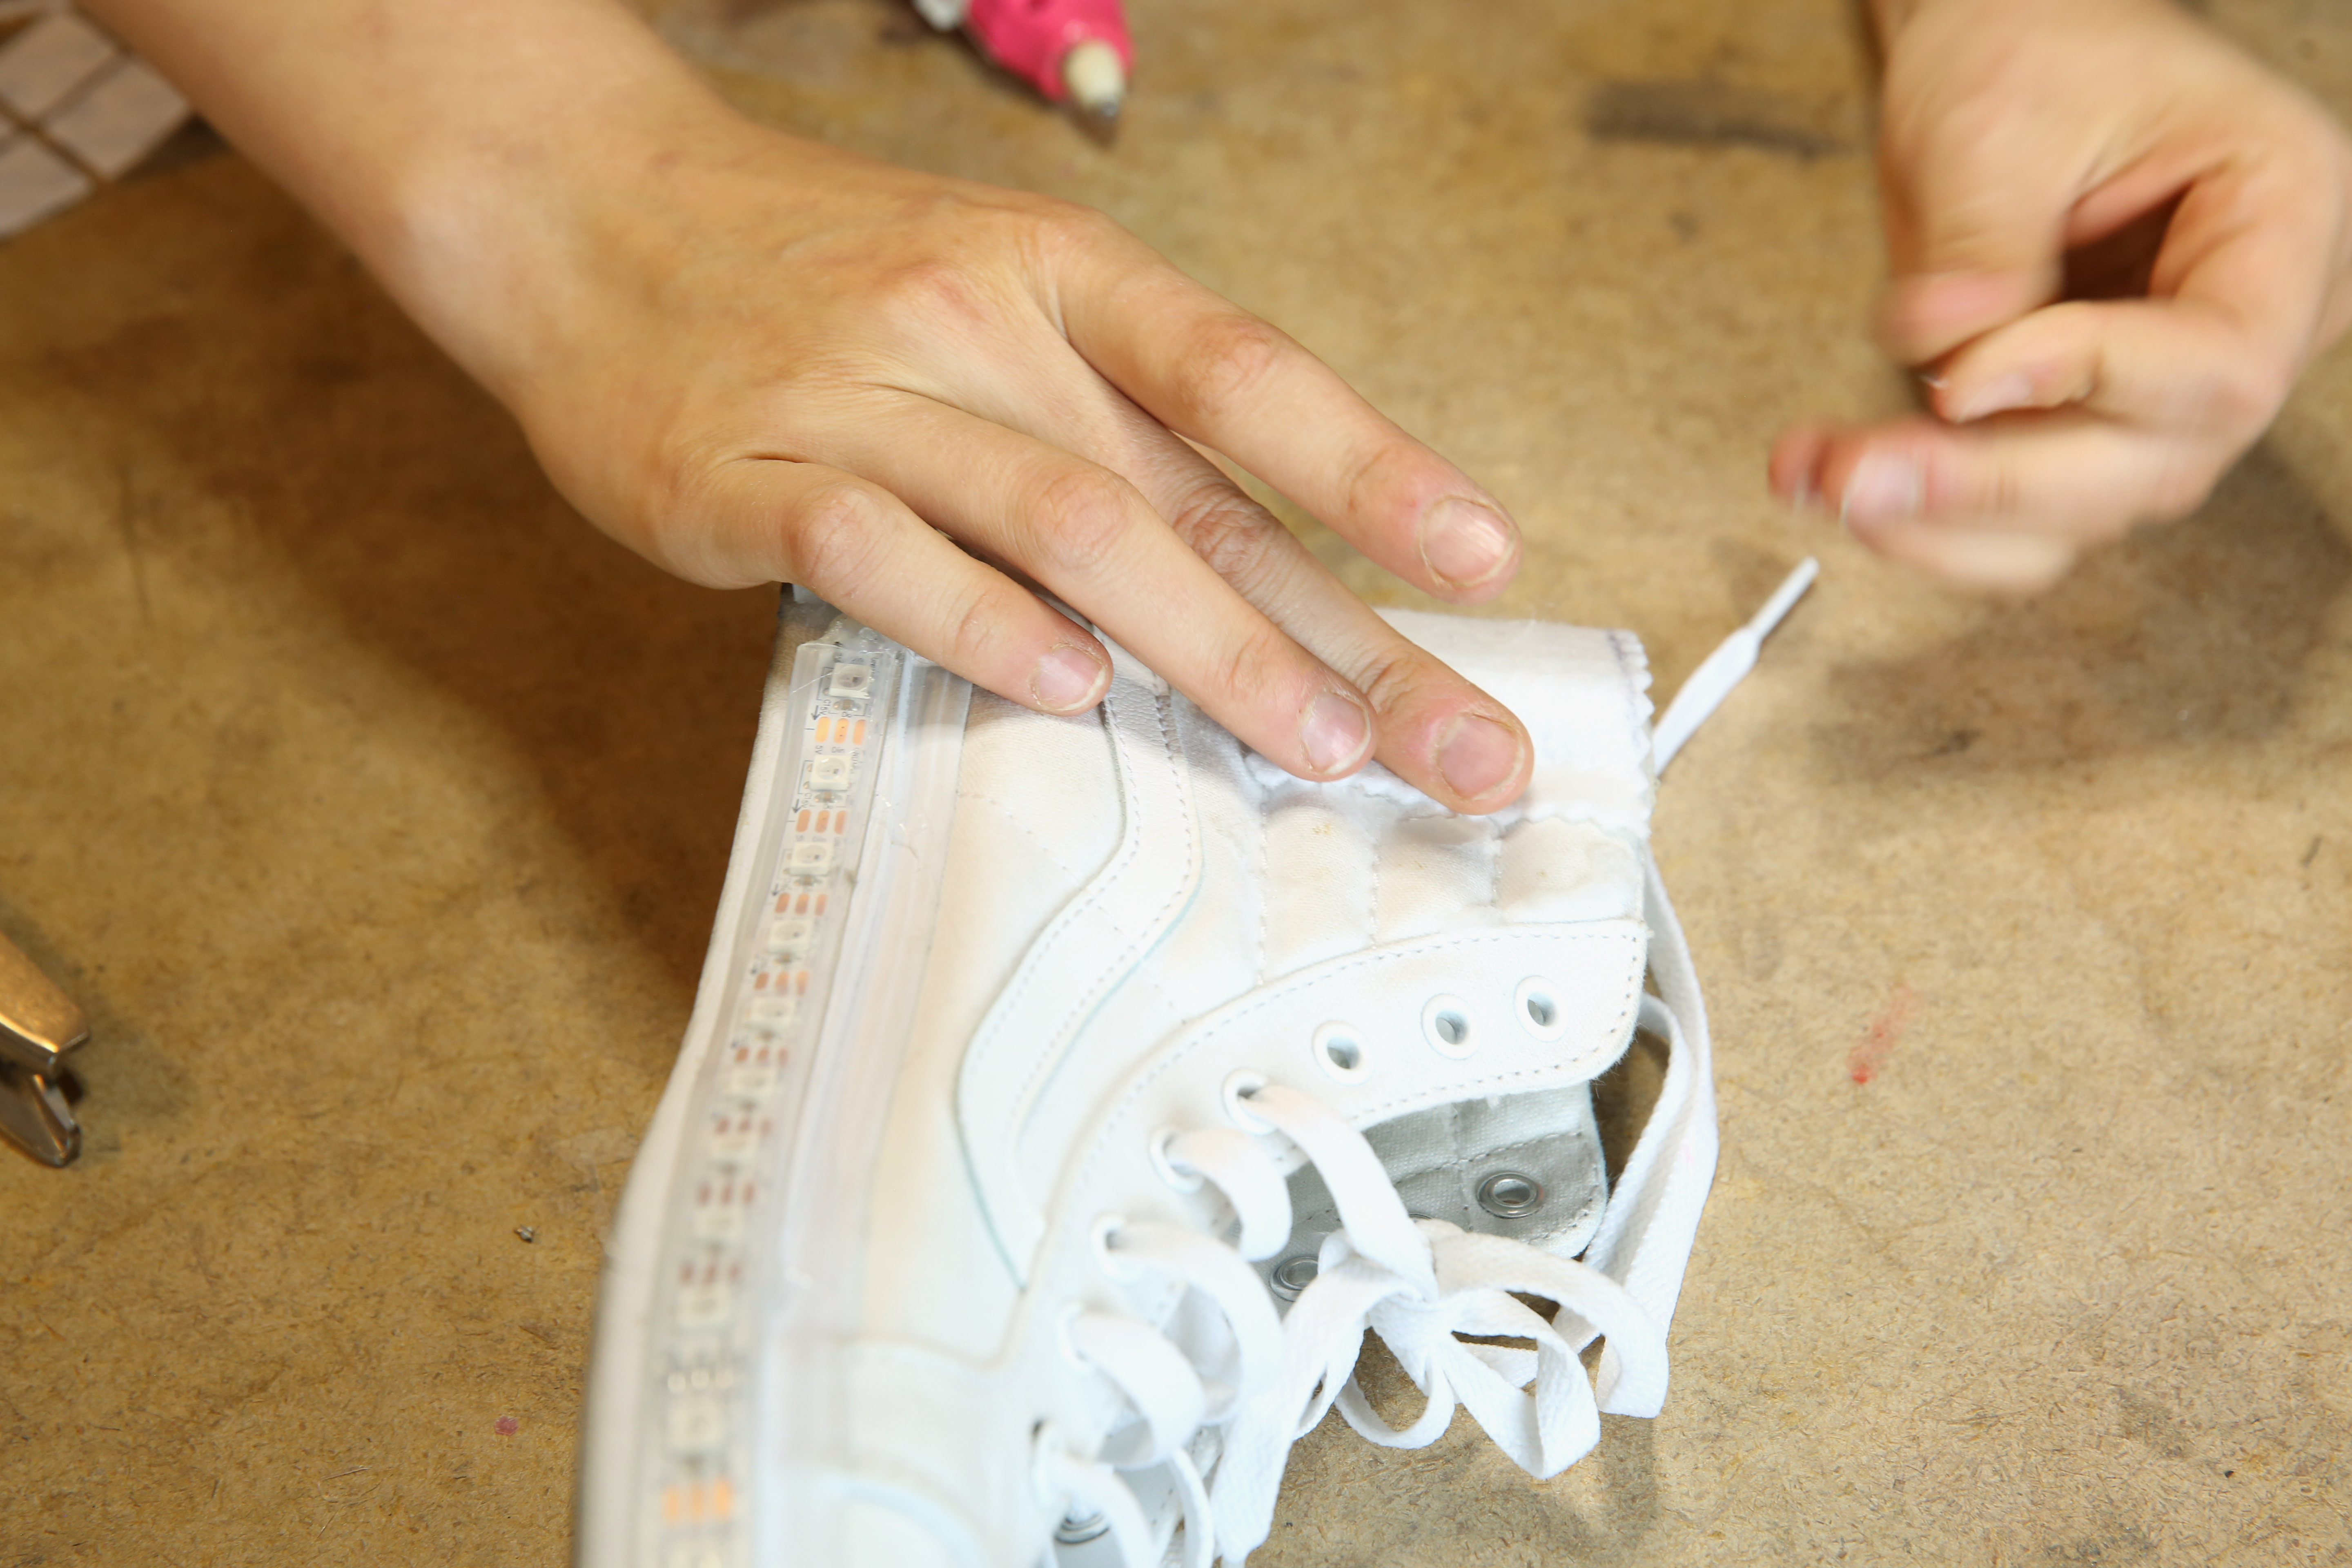
STEP 2:
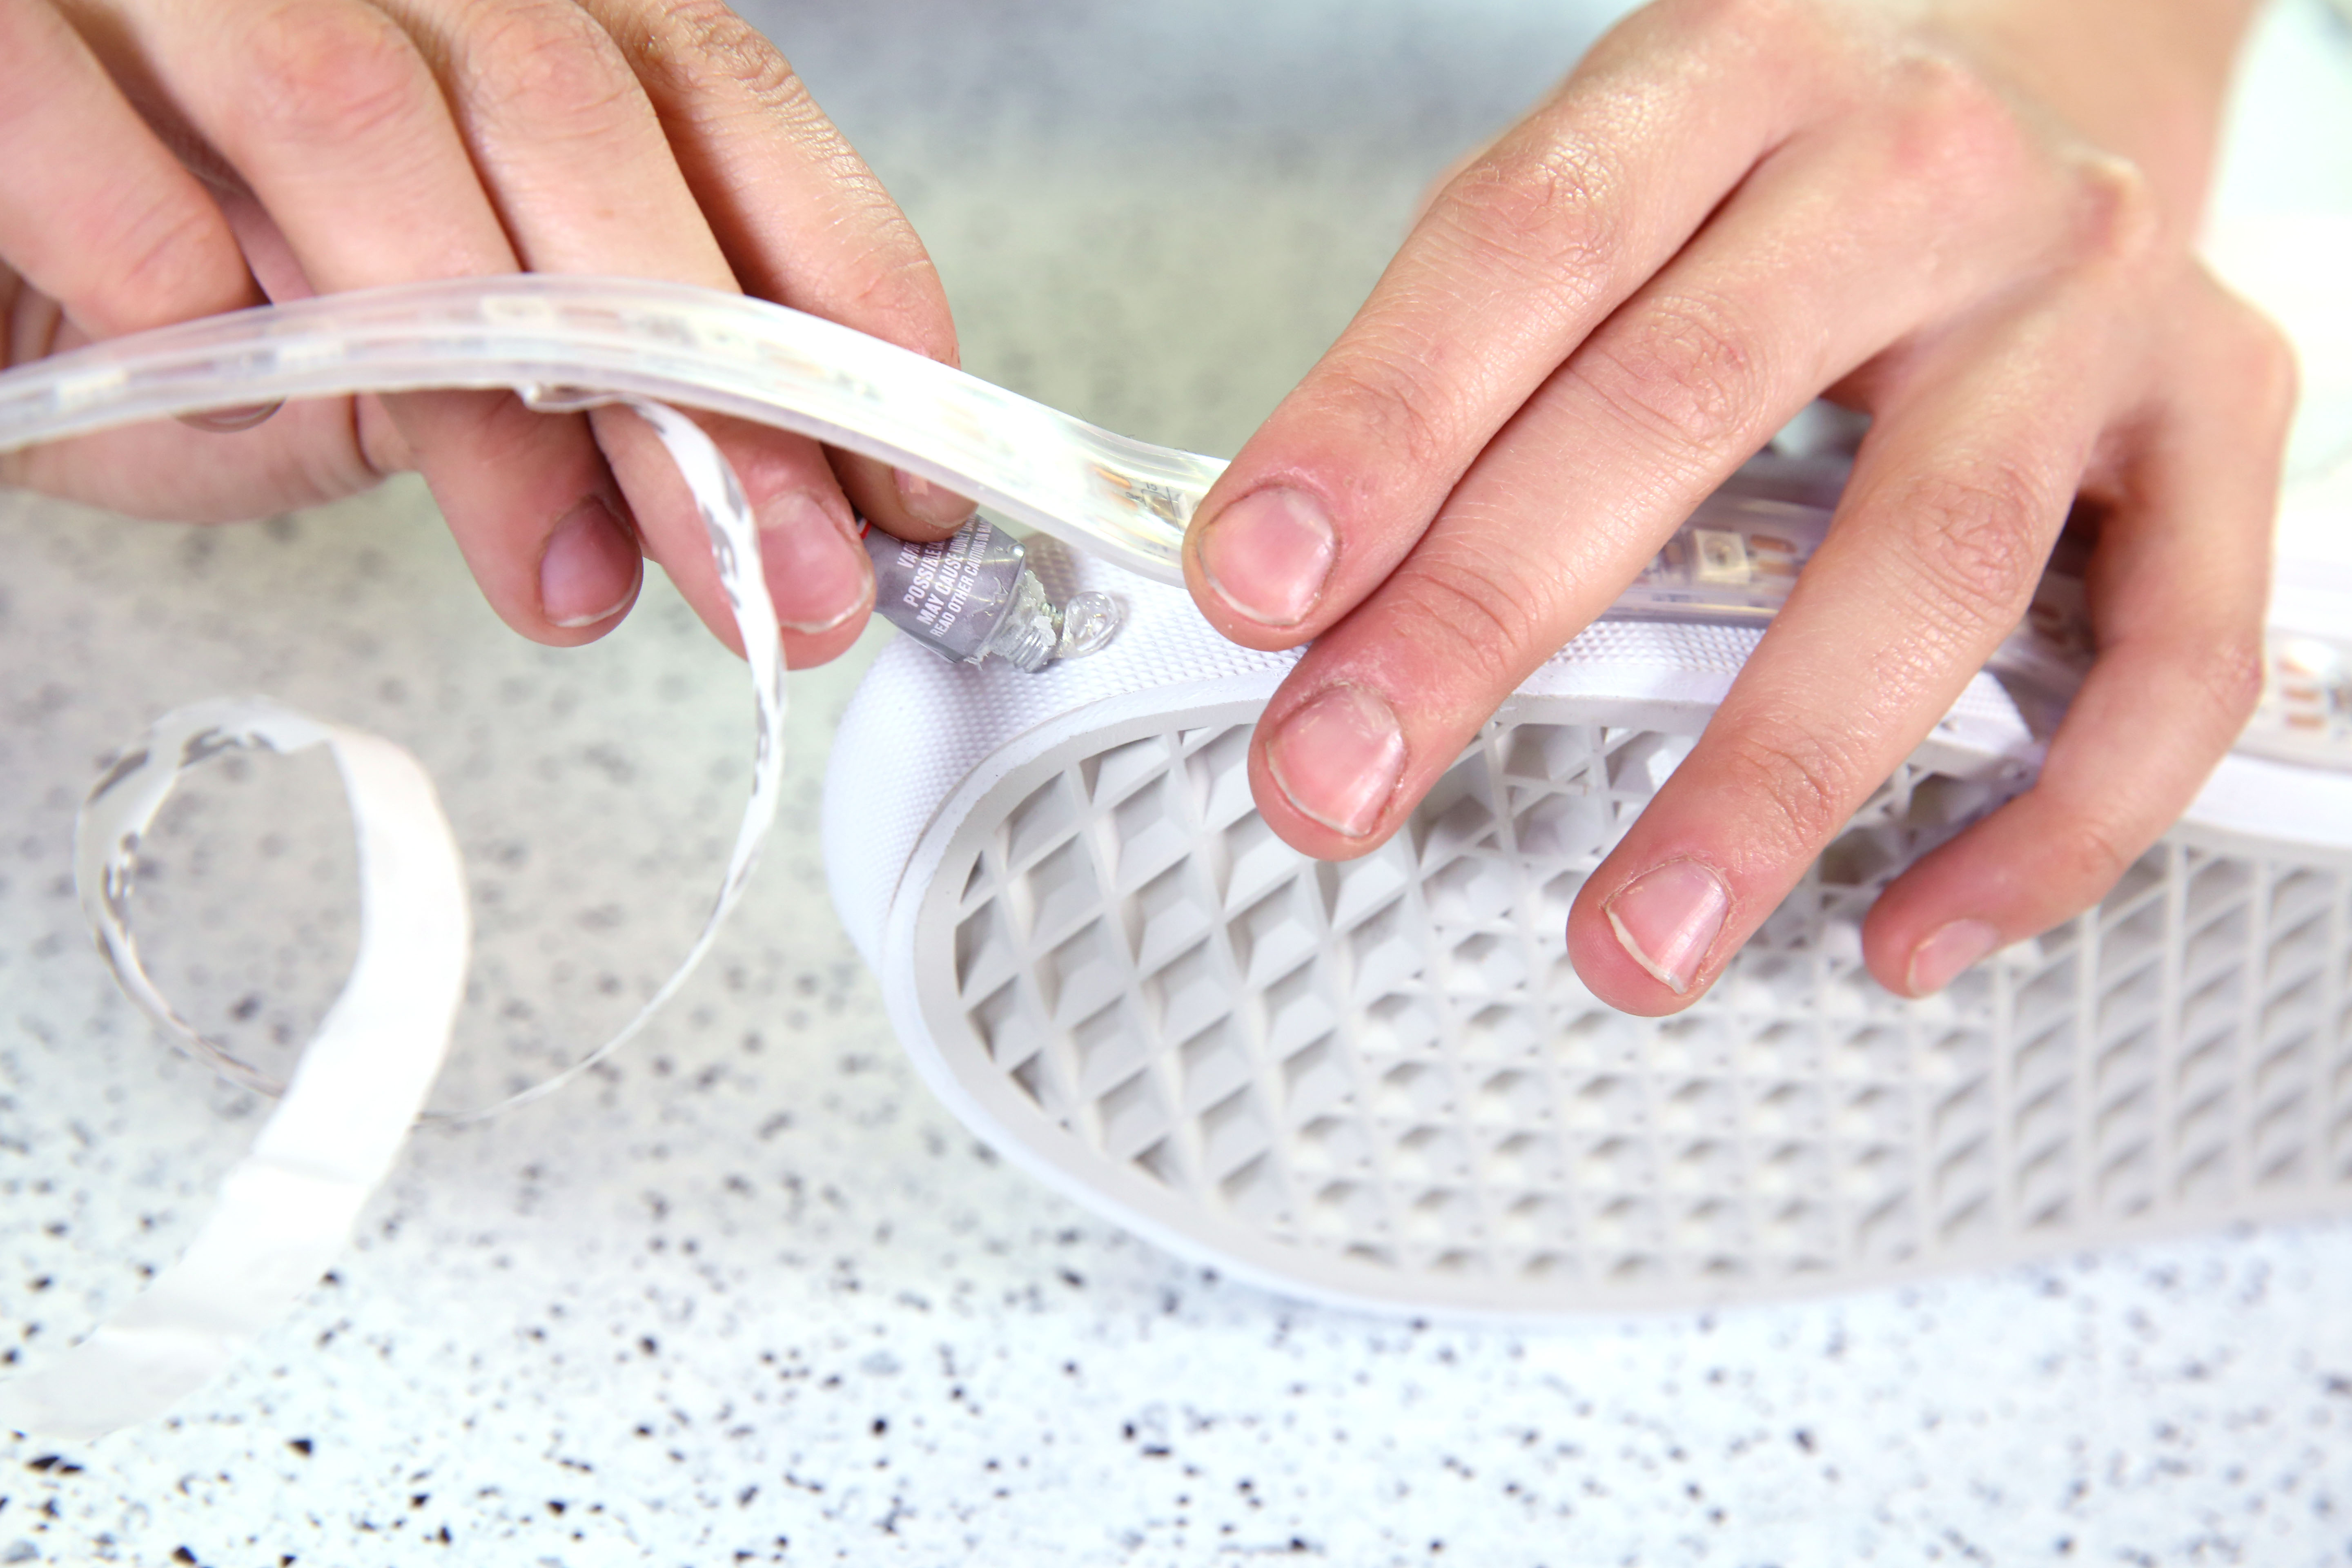
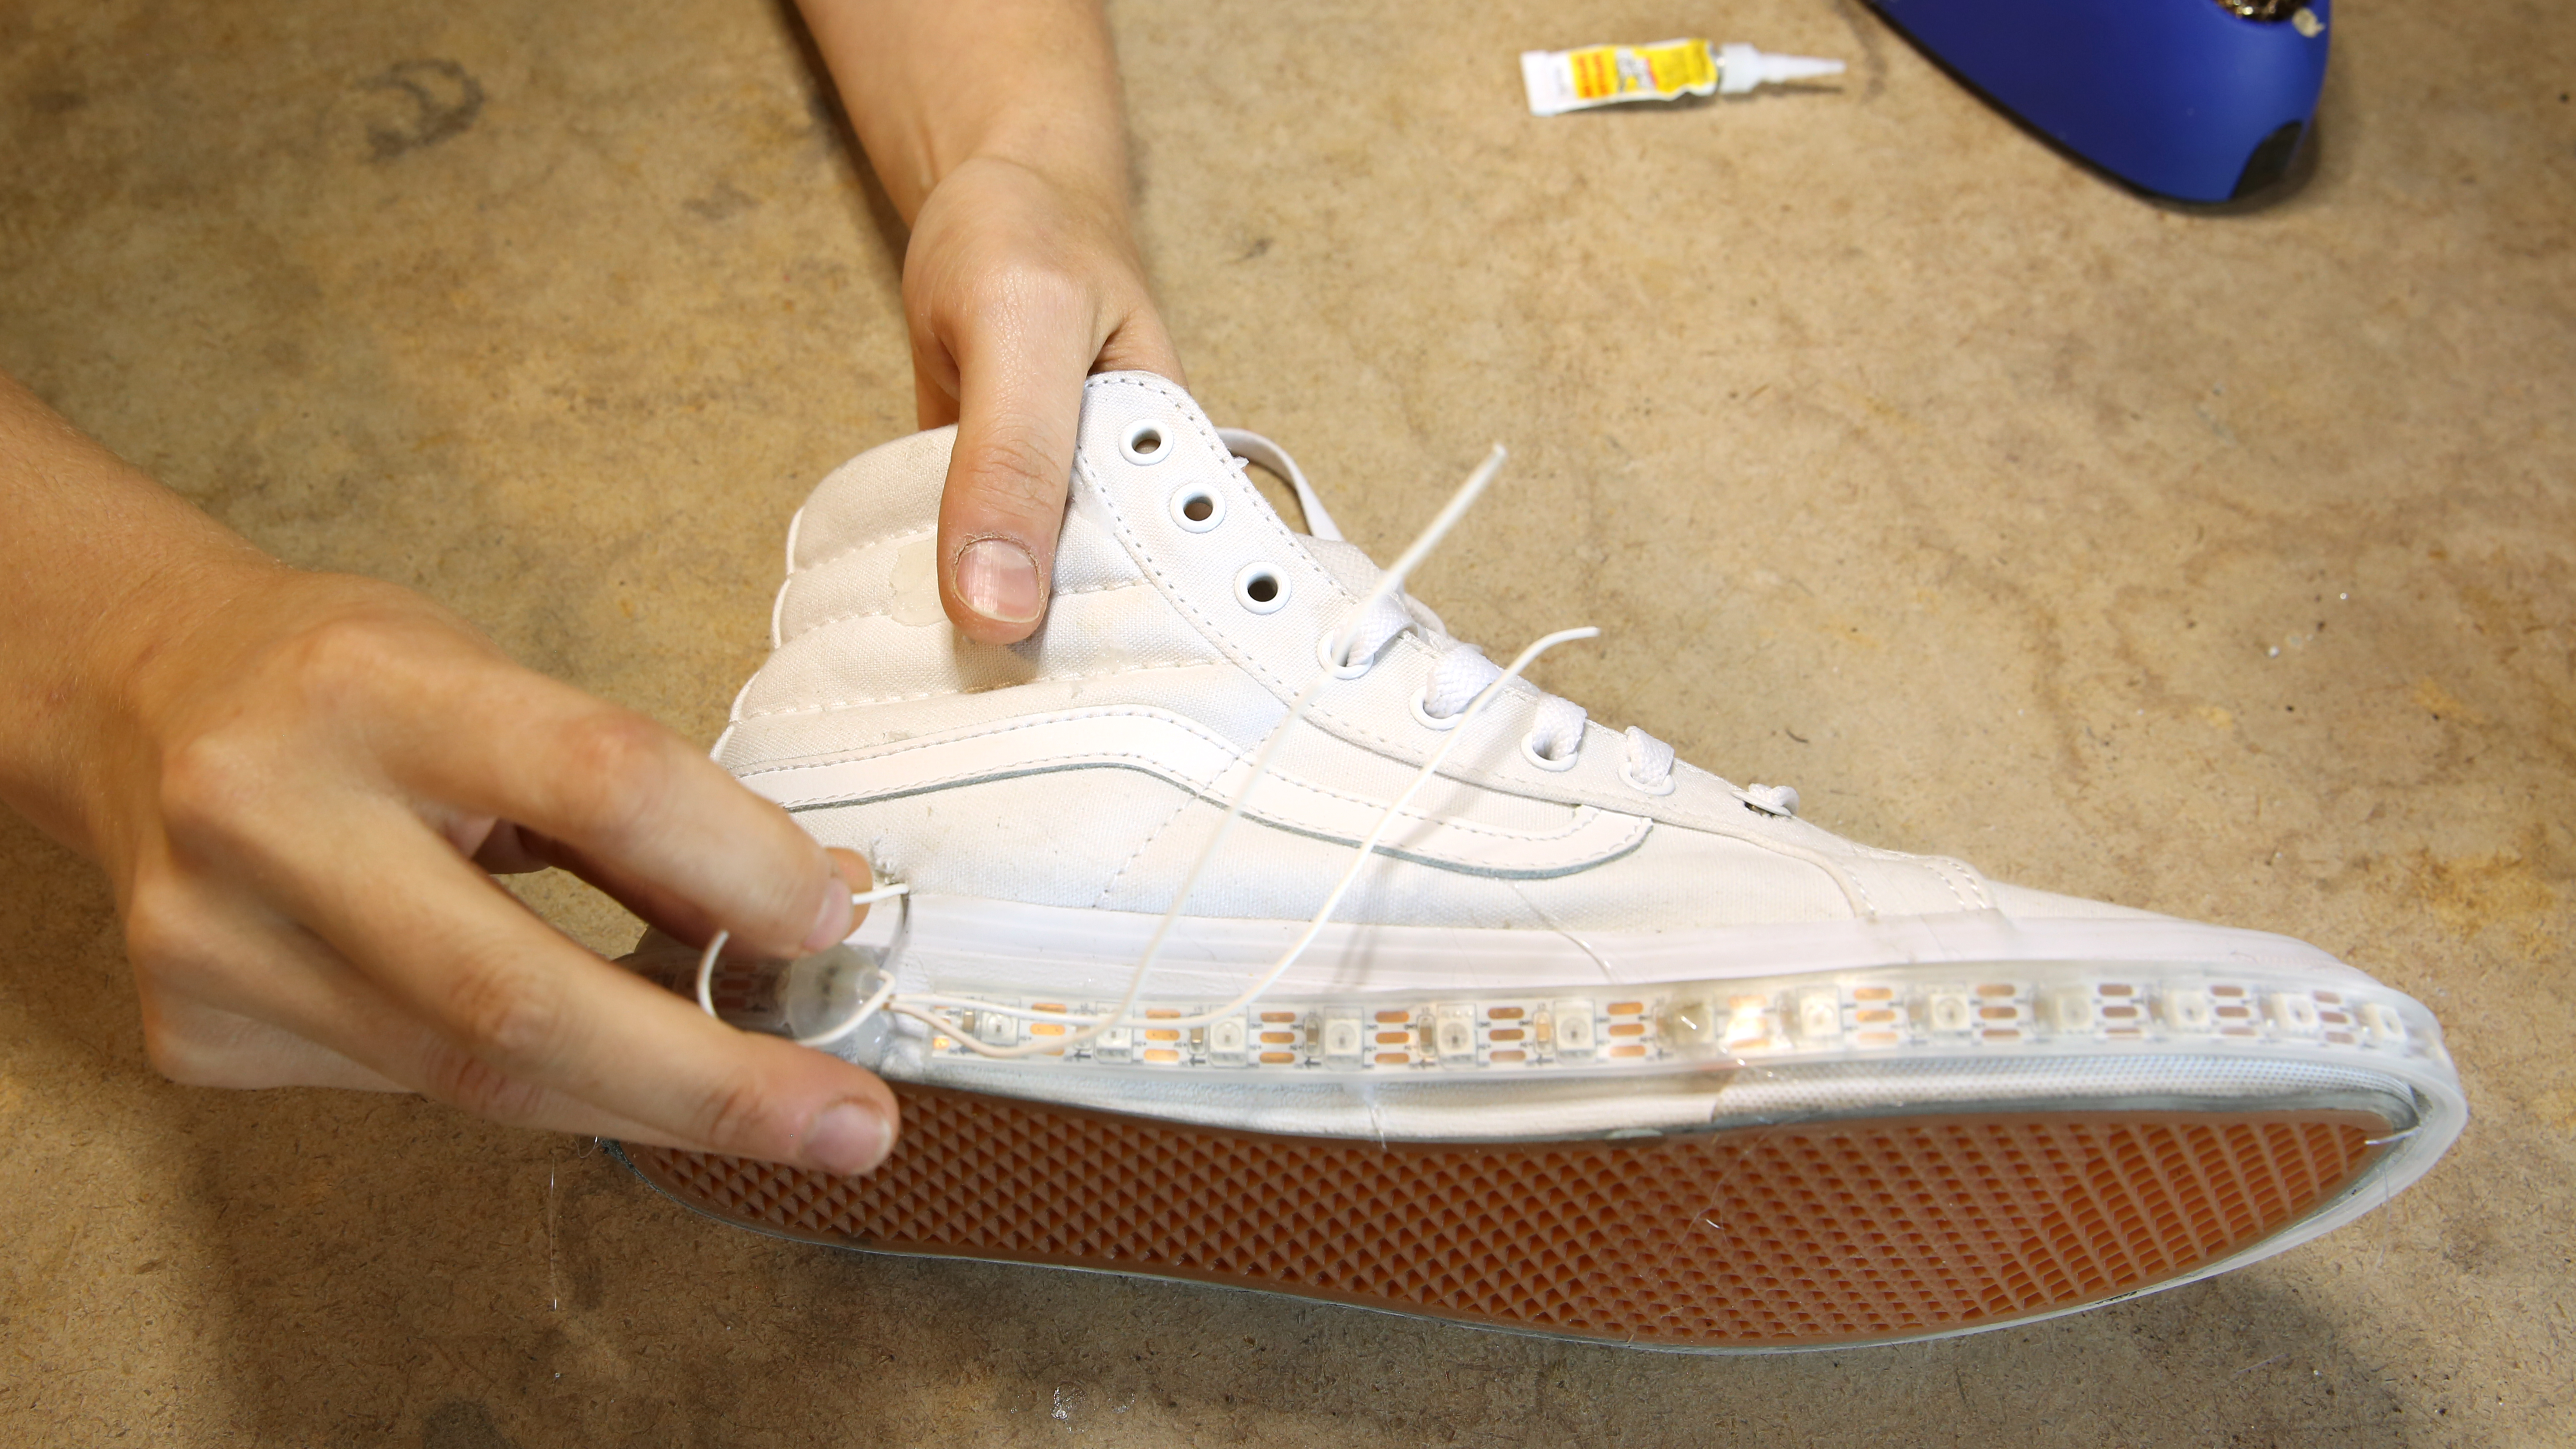
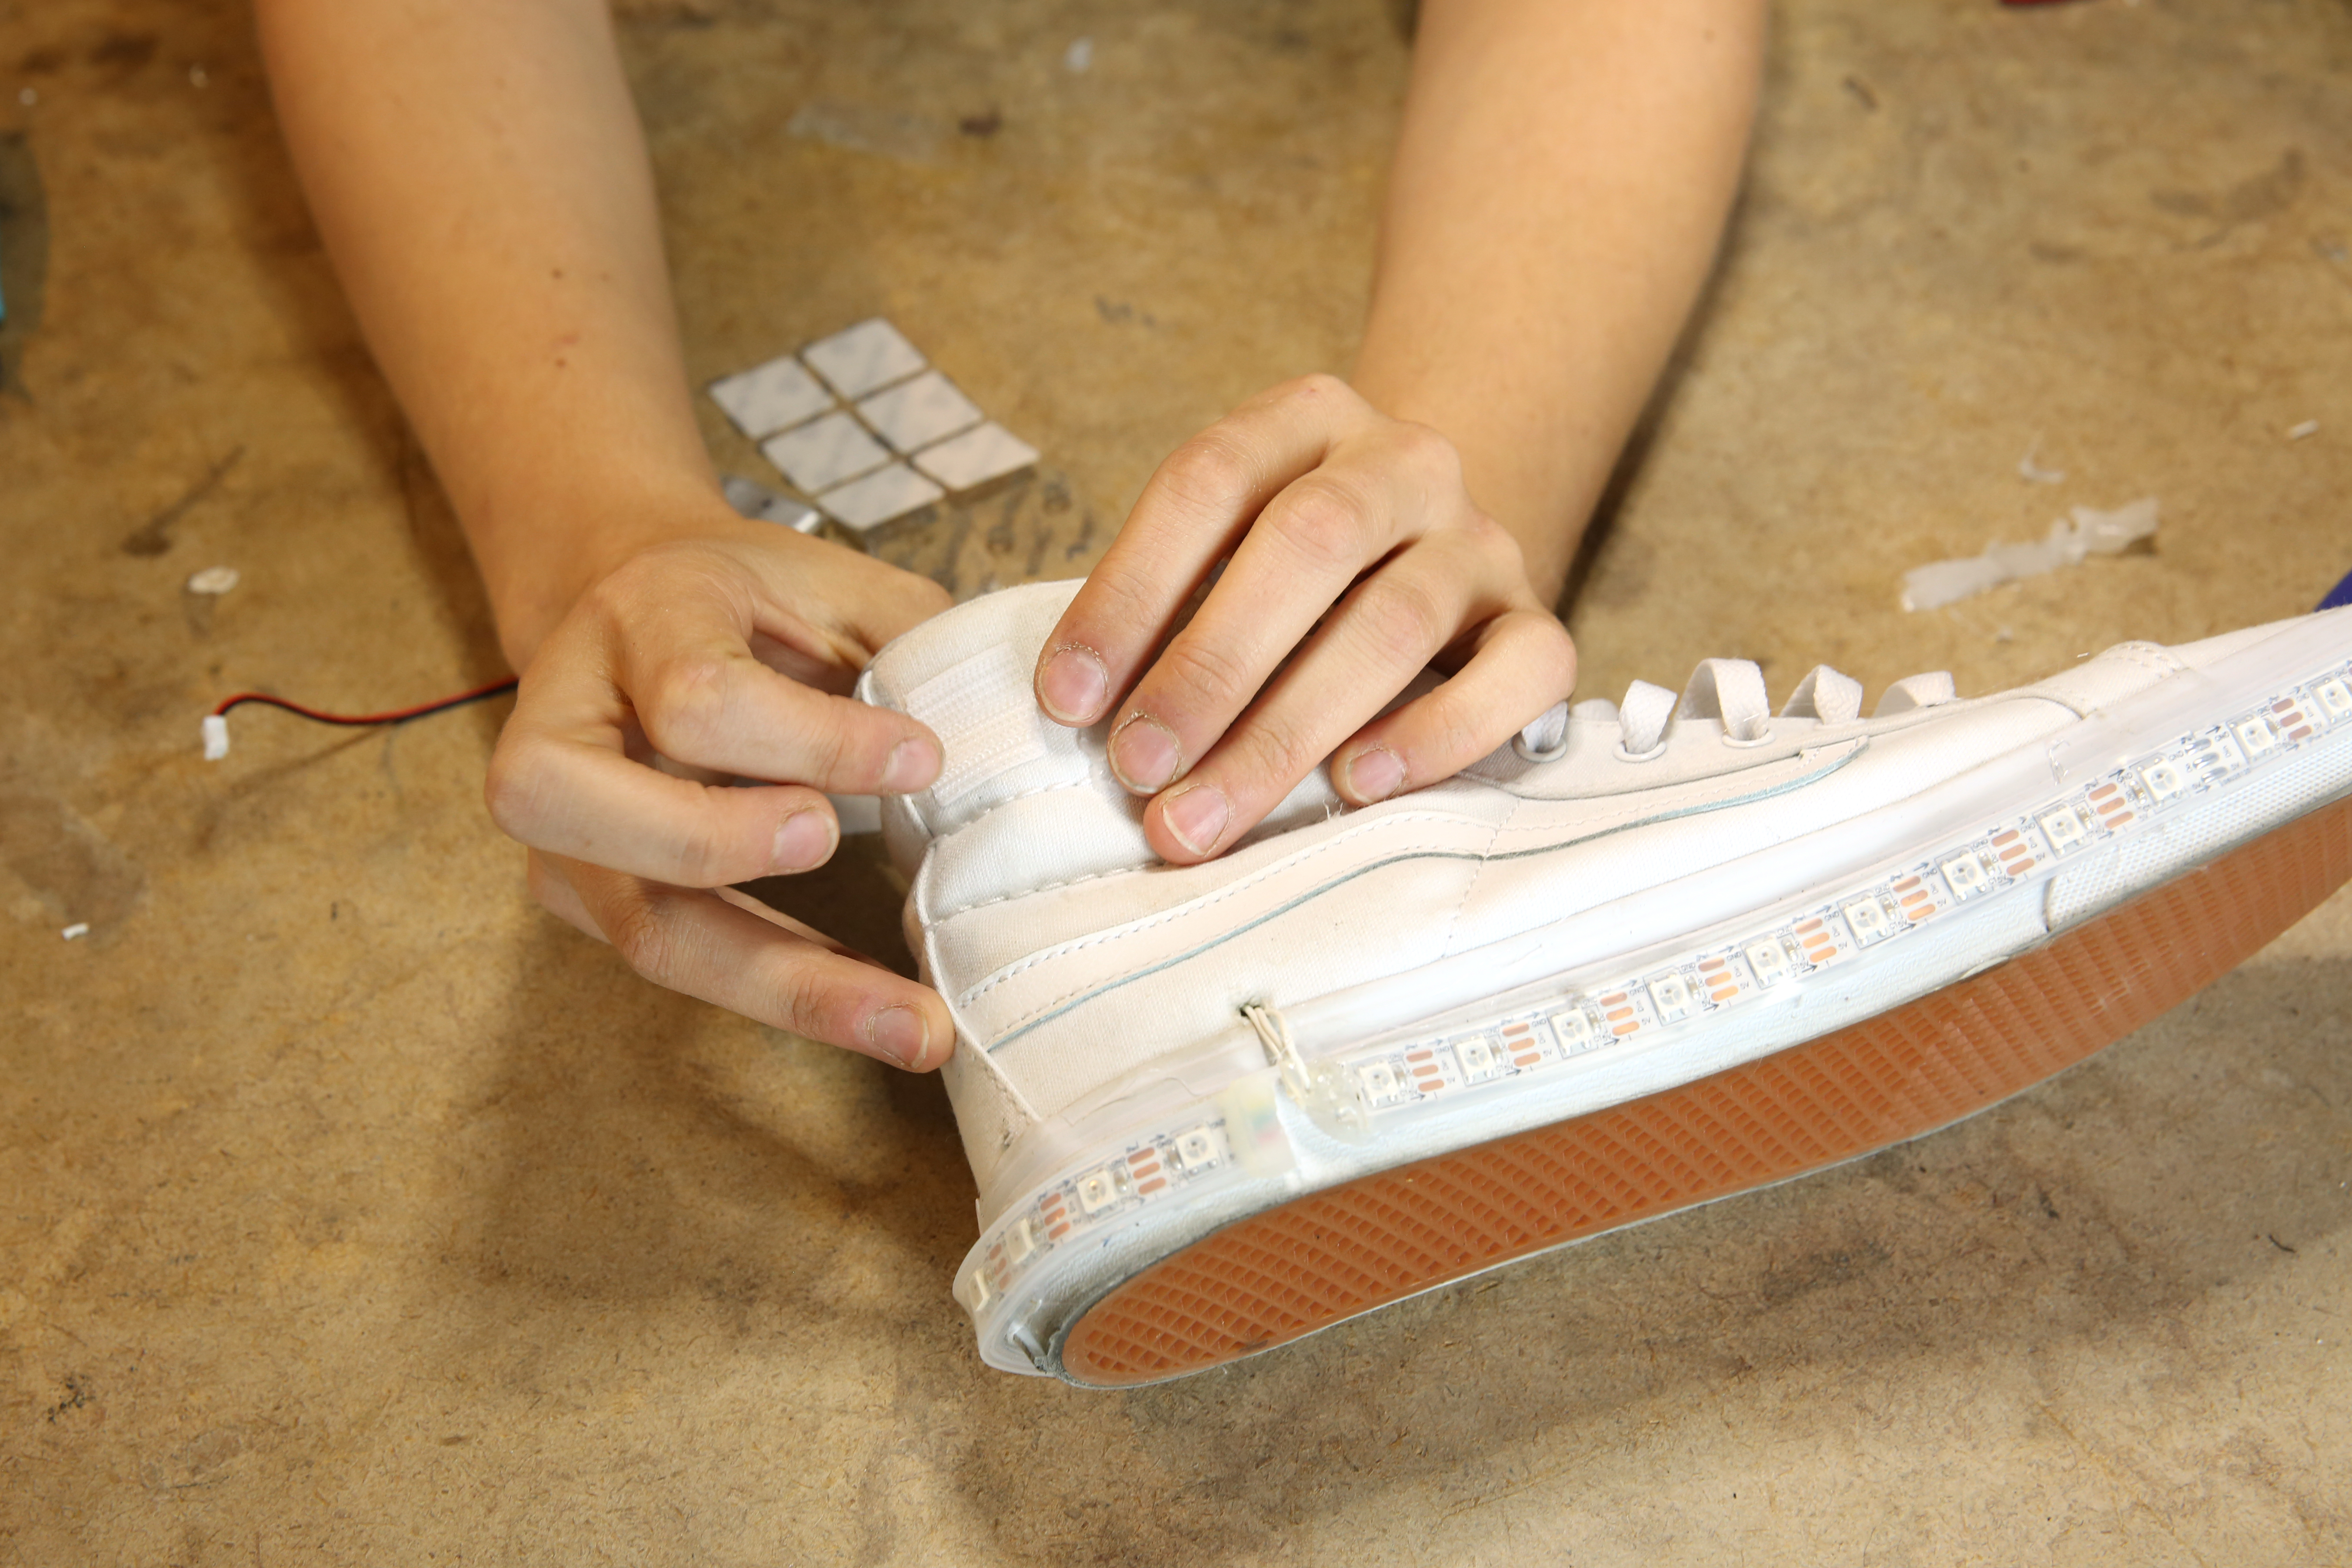
Remove the backing from the clear rubber protection around the LED strip. Starting with the soldered pads at the inner heel, begin to wrap the strip around the shoe sole. While the clear rubber does have some adhesive on the back - it is not enough to weather walking. Use super glue to make sure the LED strip is secured to the shoe sole.
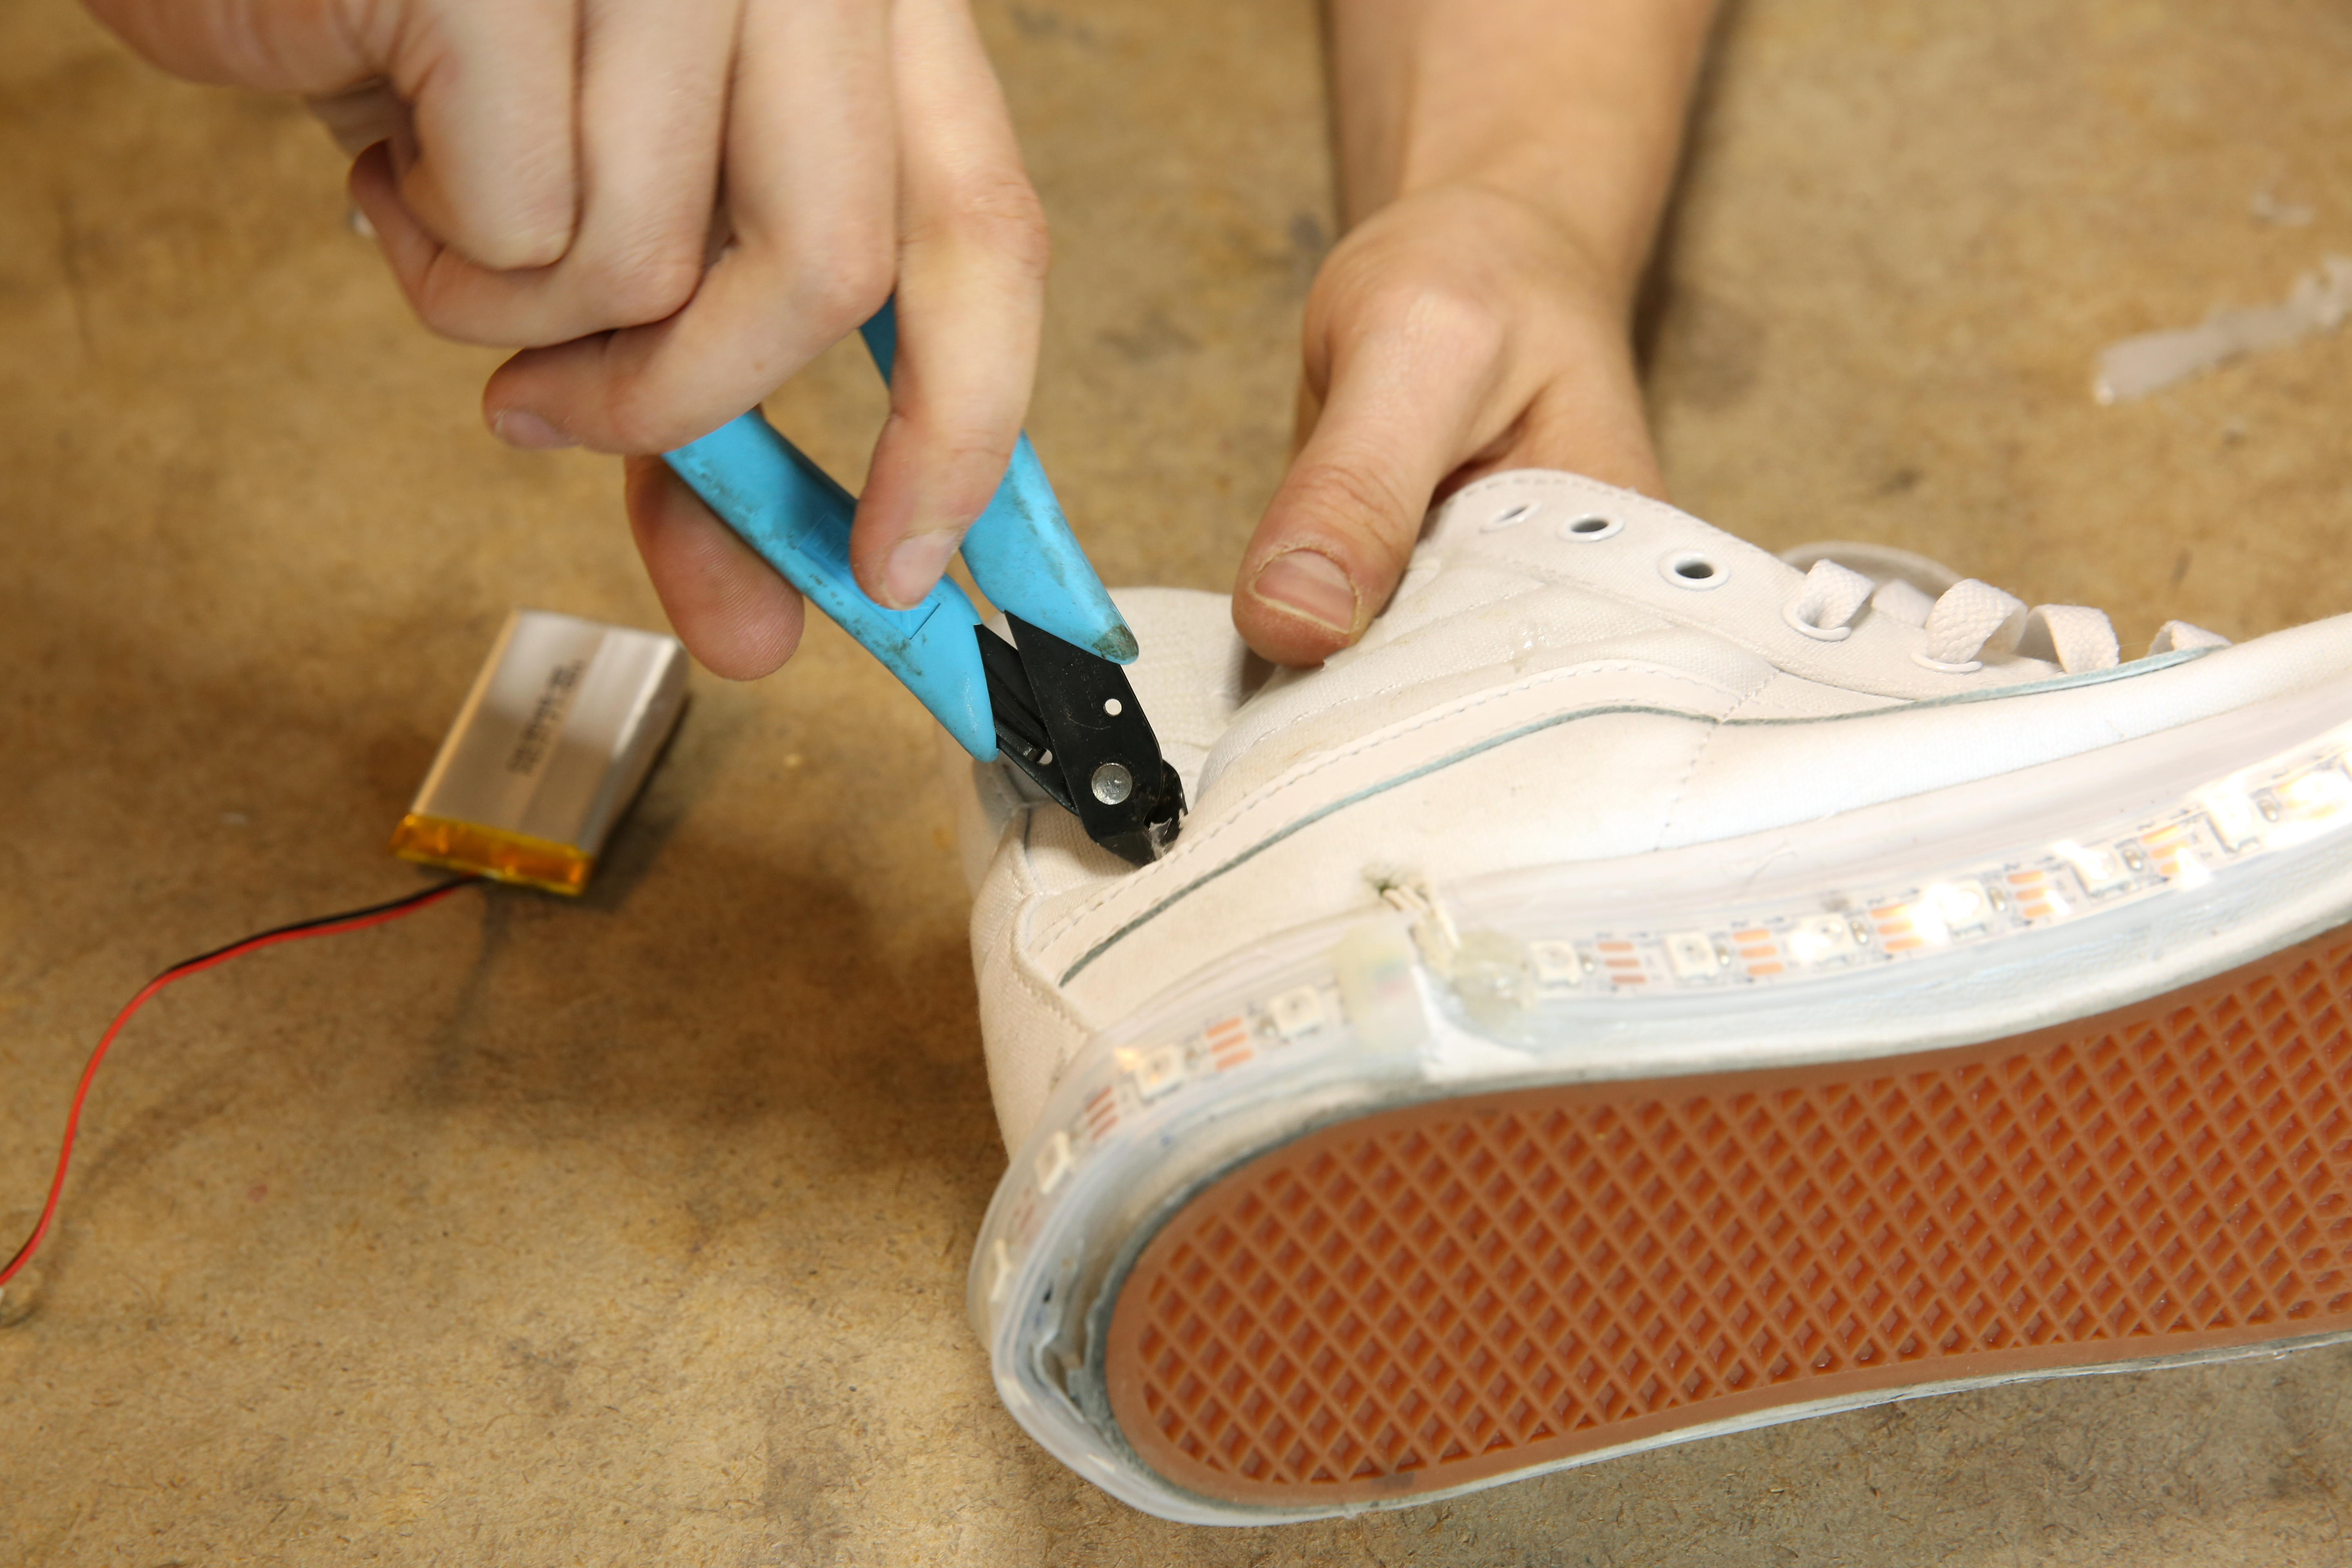
STEP 3:
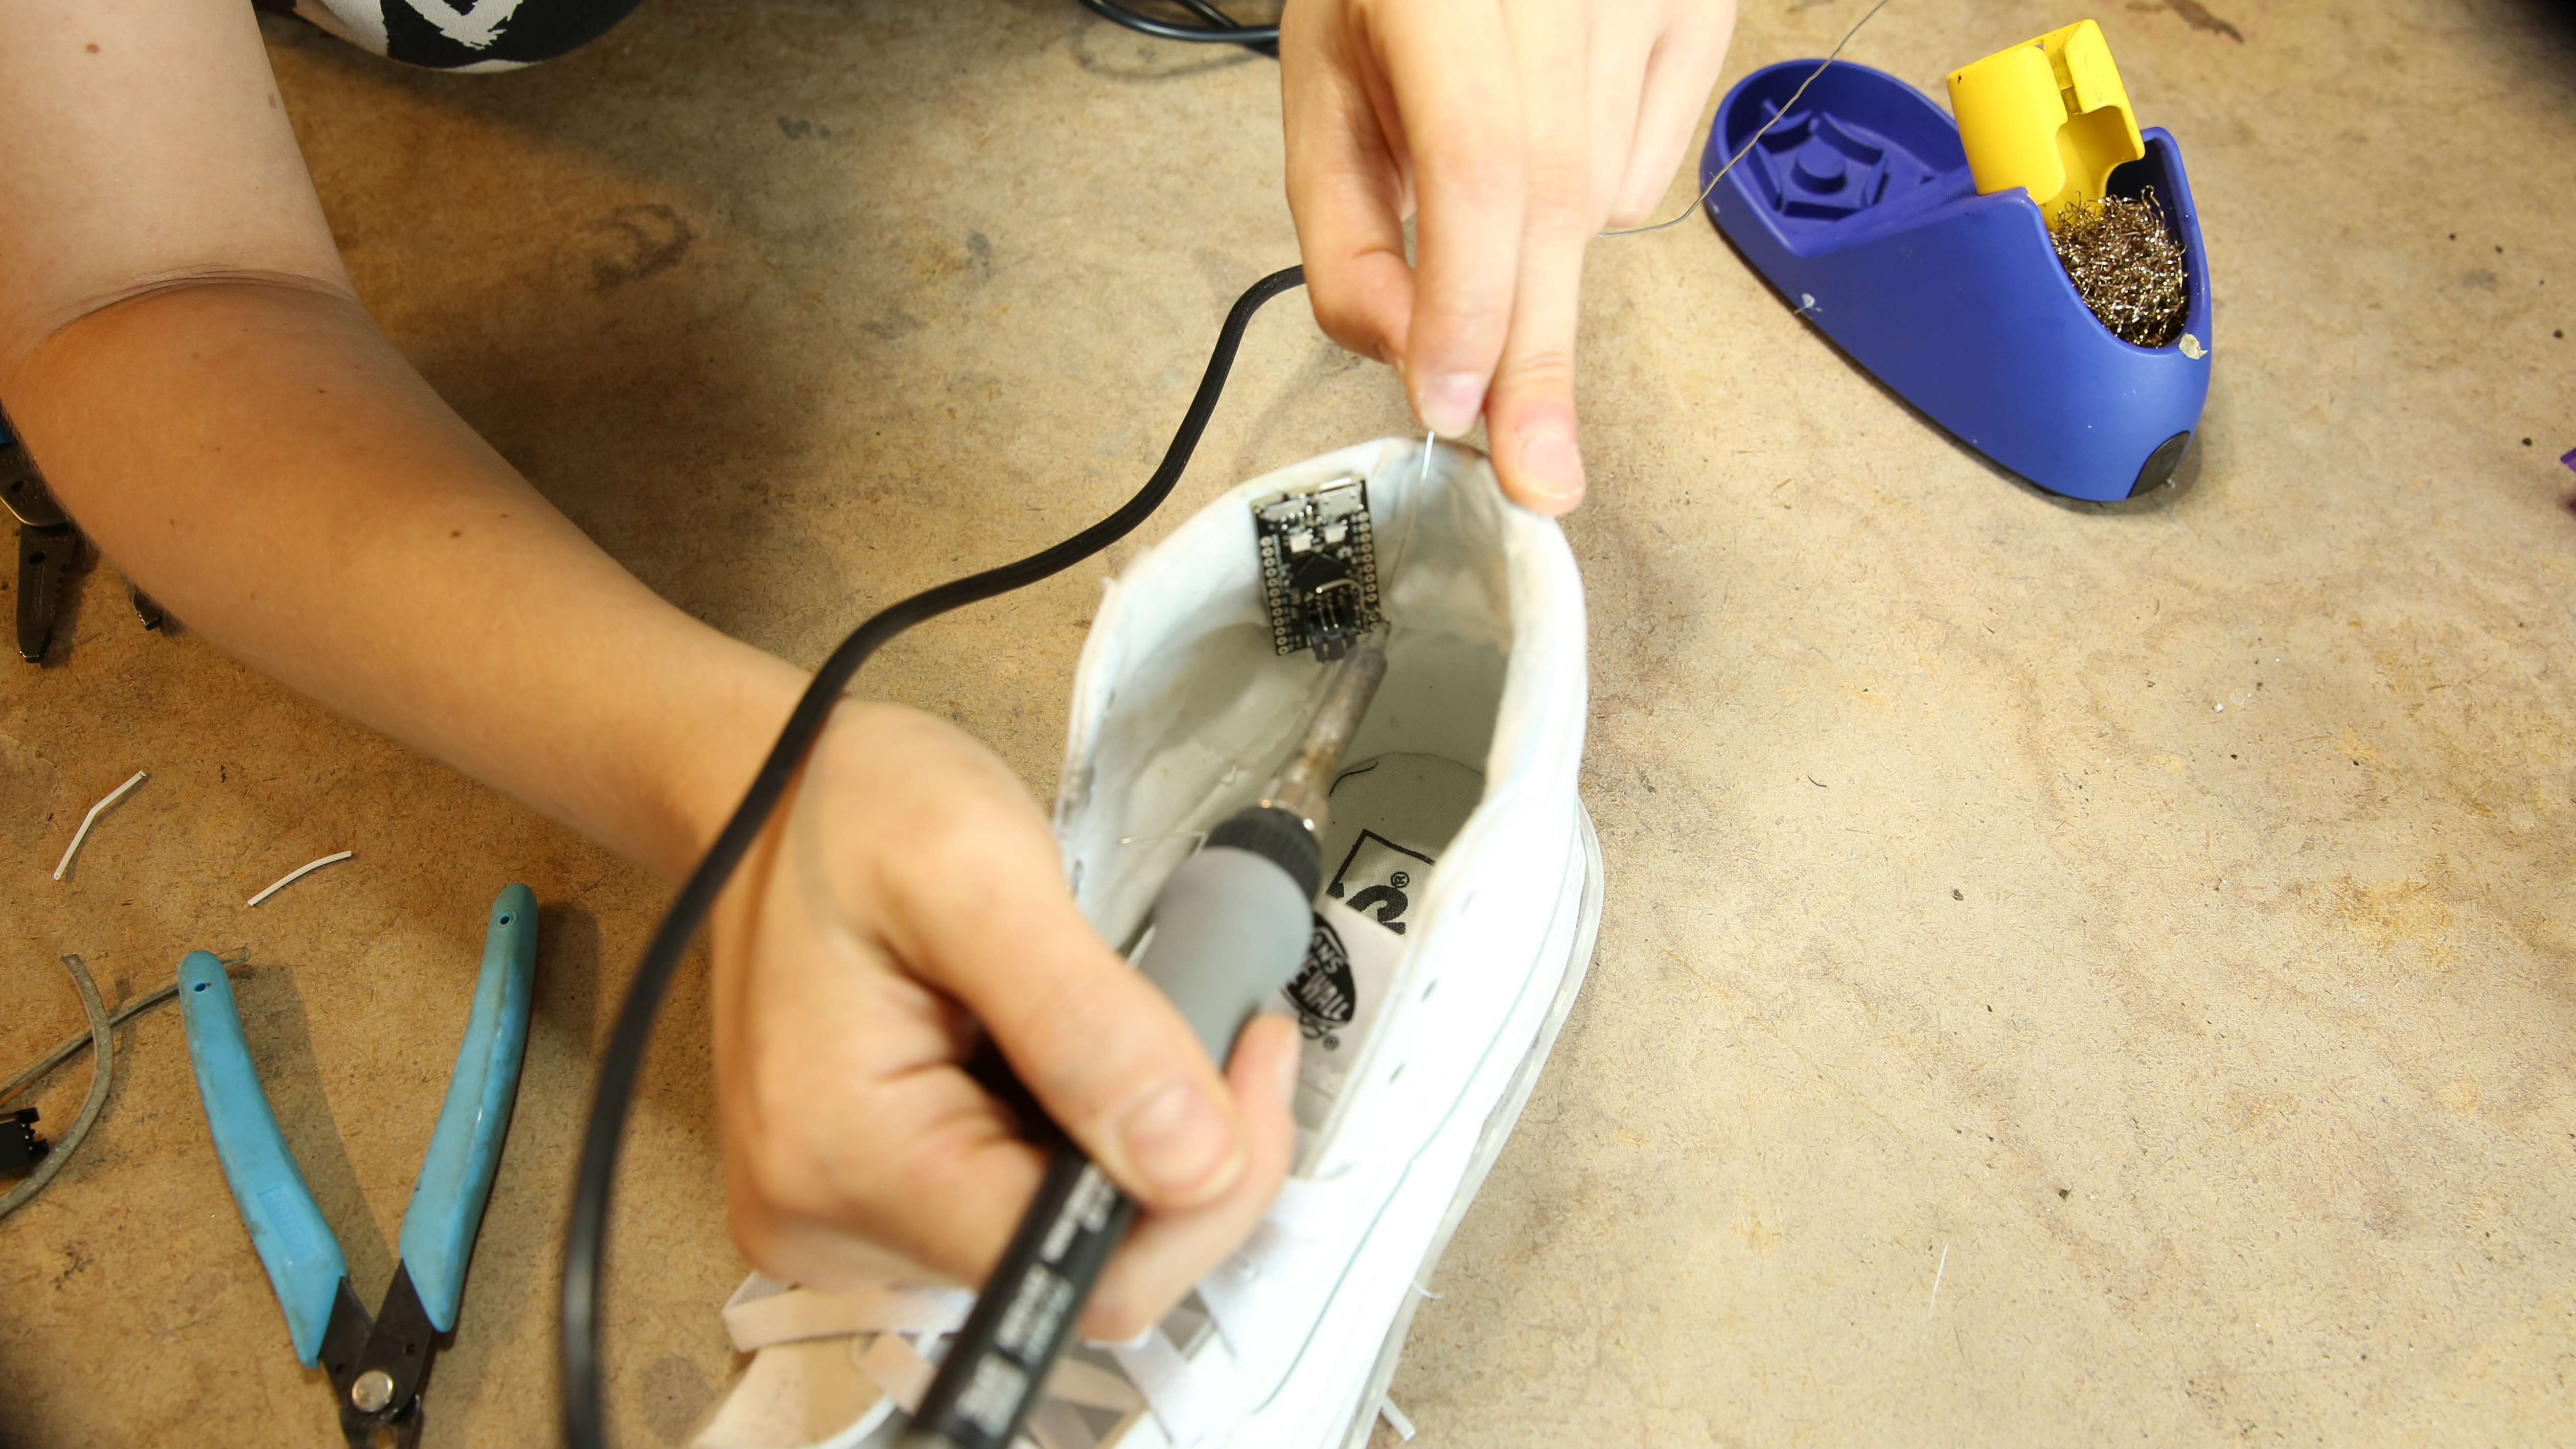
Make a small hole in the shoe directly above the end of the strip with the leads attached.
STEP 4:
Thread the soldered leads through the hole from the outside to the inside of the shoe.
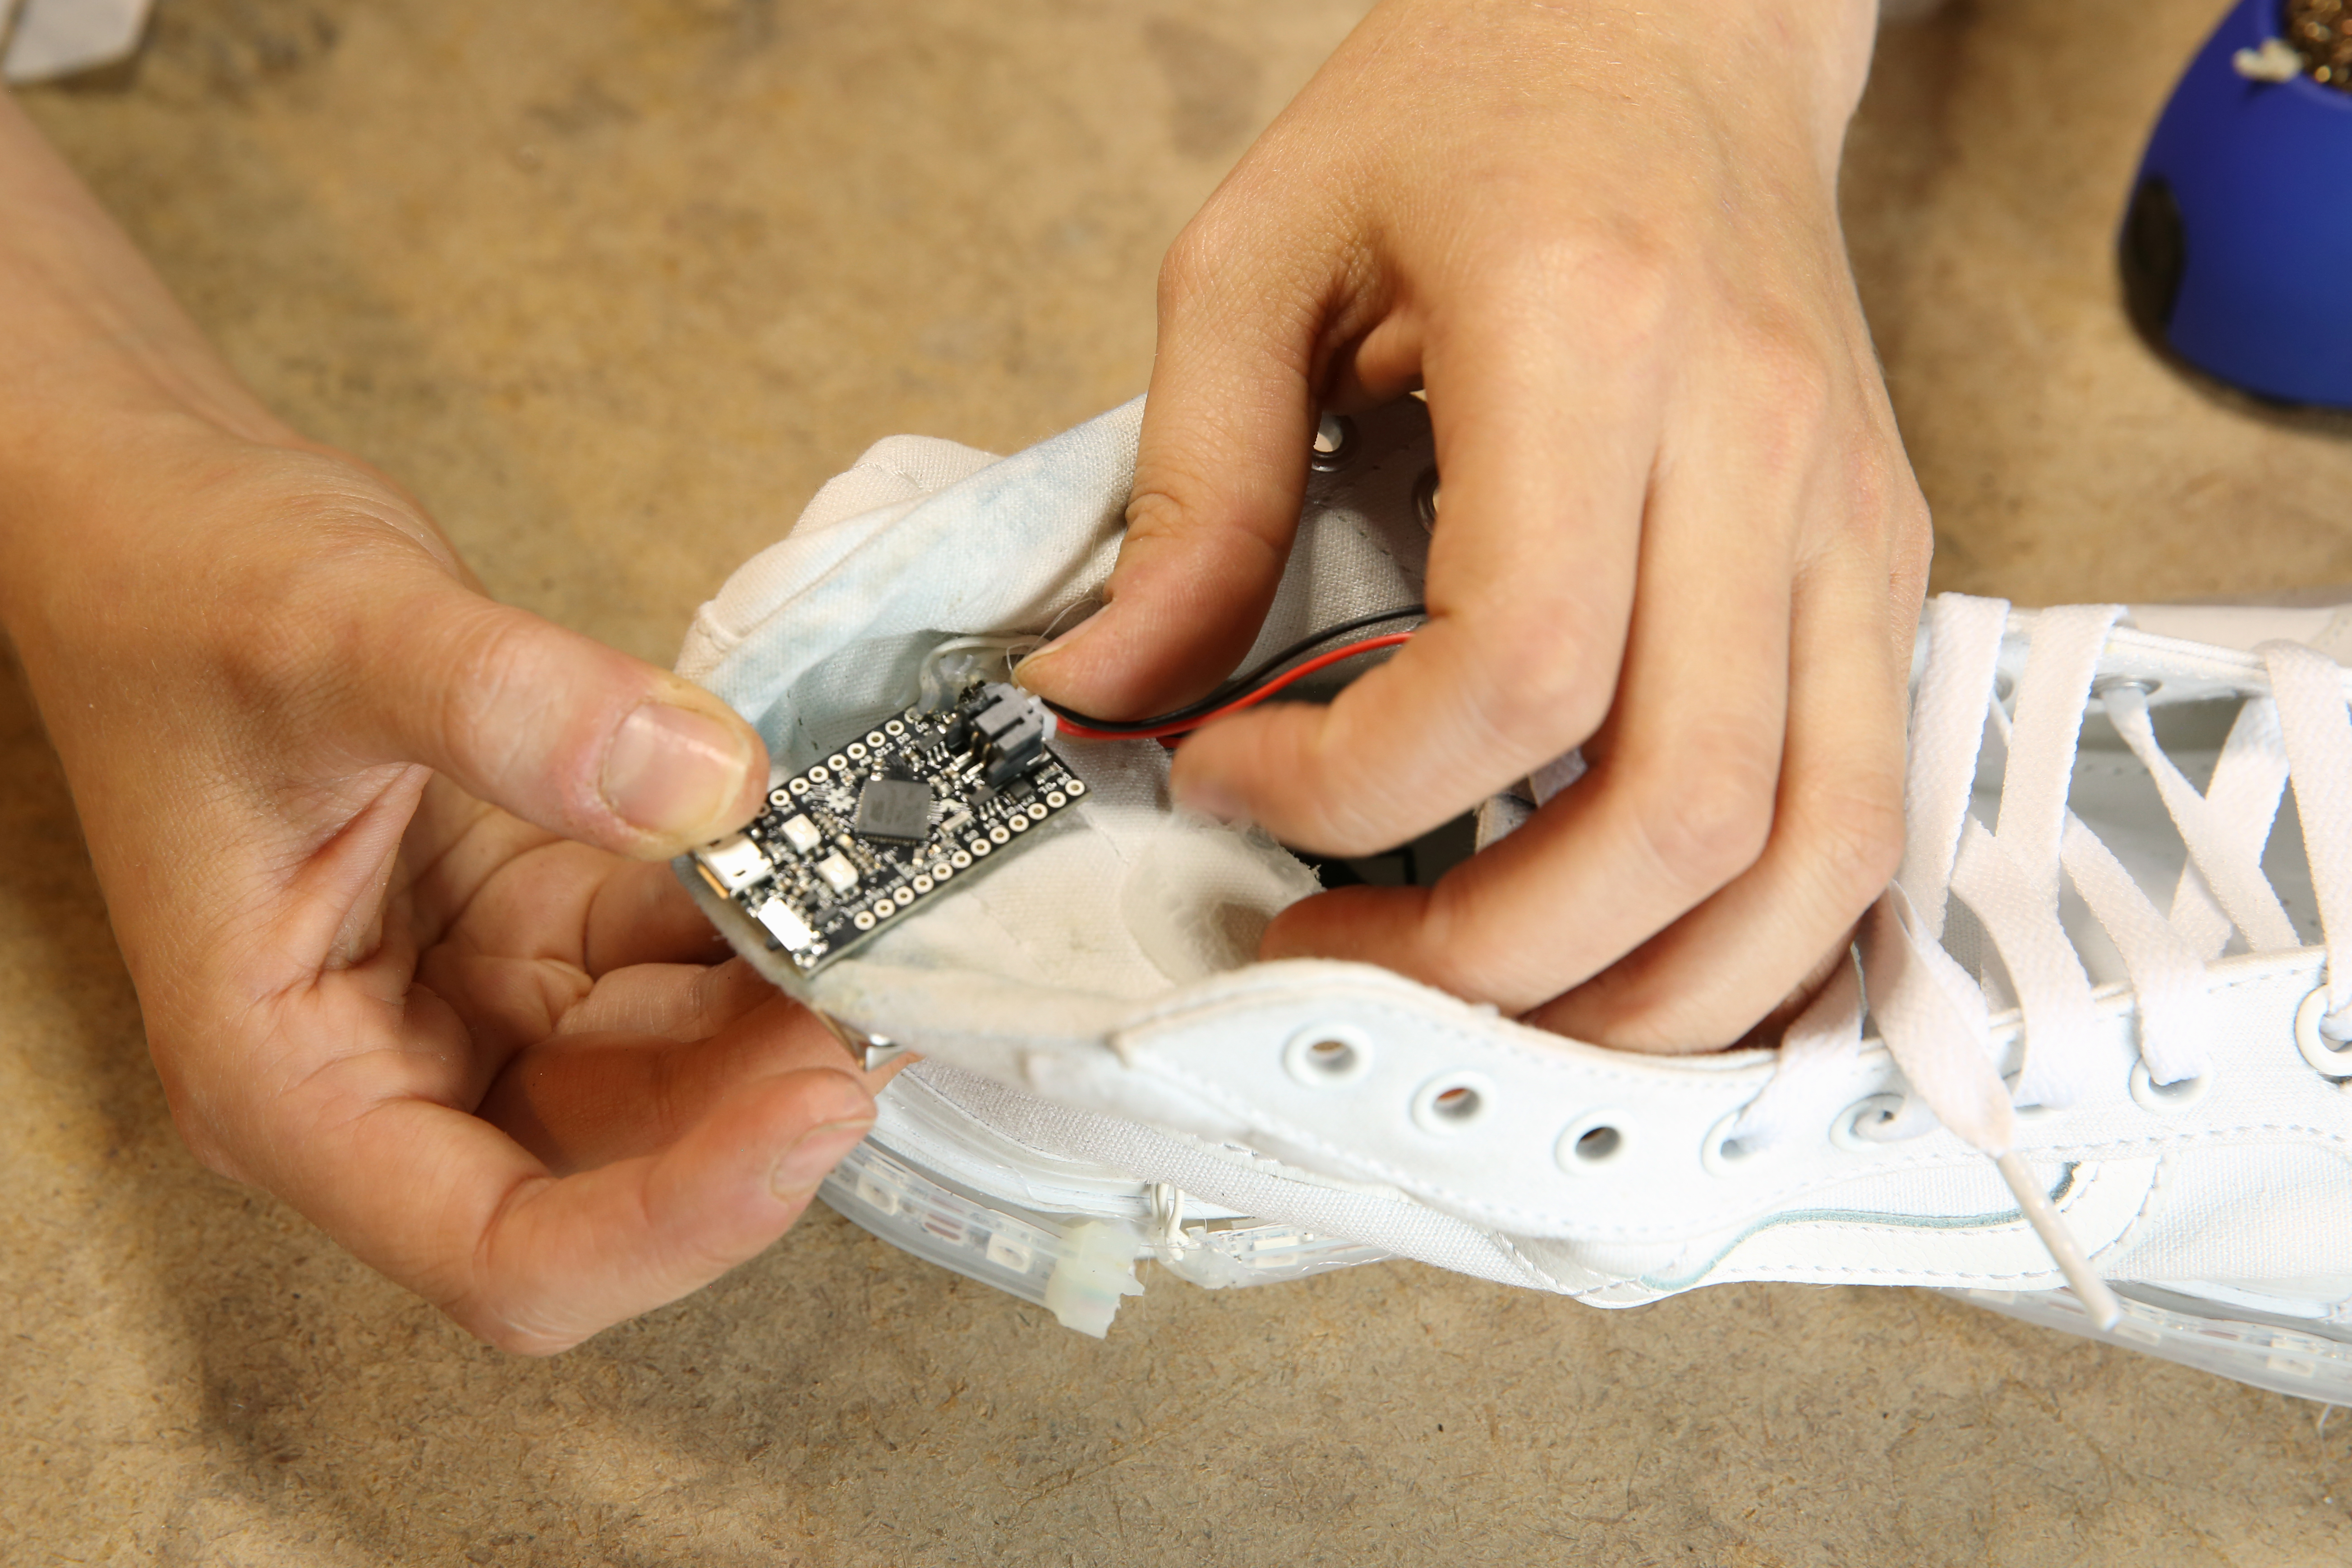
STEP 5:
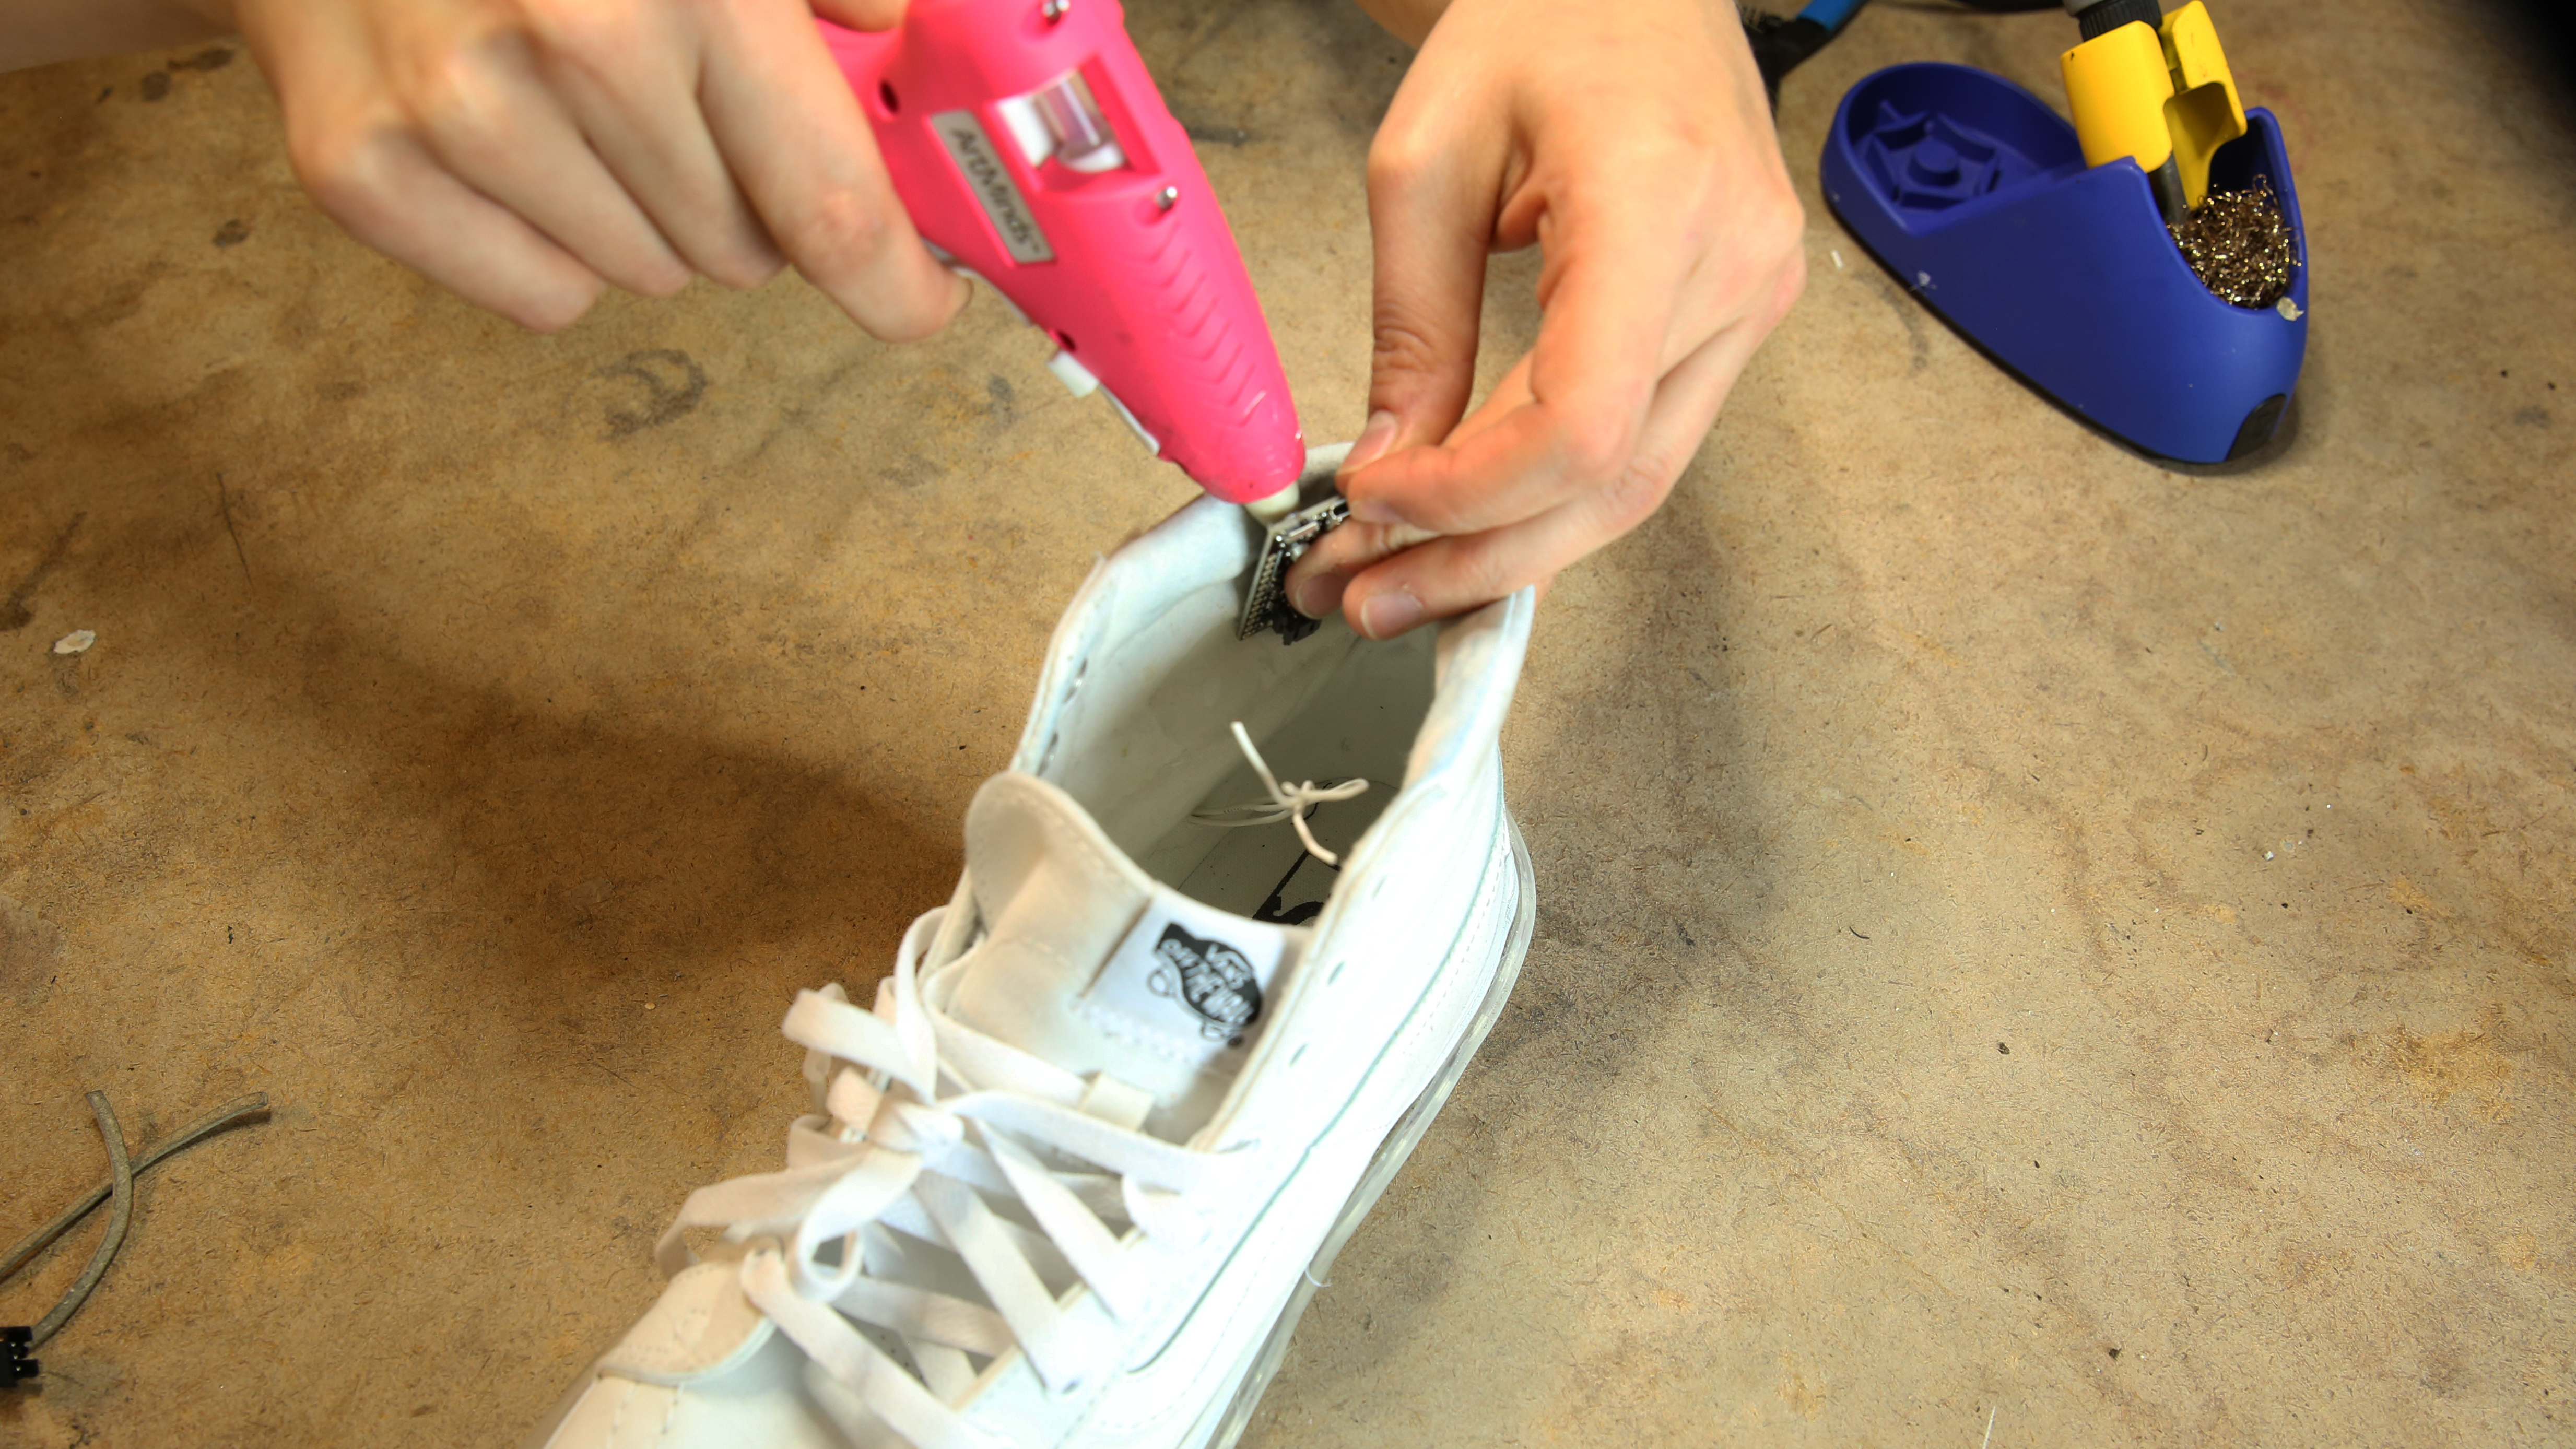
Glue the programmed Qduino to the inner ankle area, making sure to place it in a way that it will not rub against your body.
STEP 6:
The following diagram illustrates the circuit we will be putting together visually.
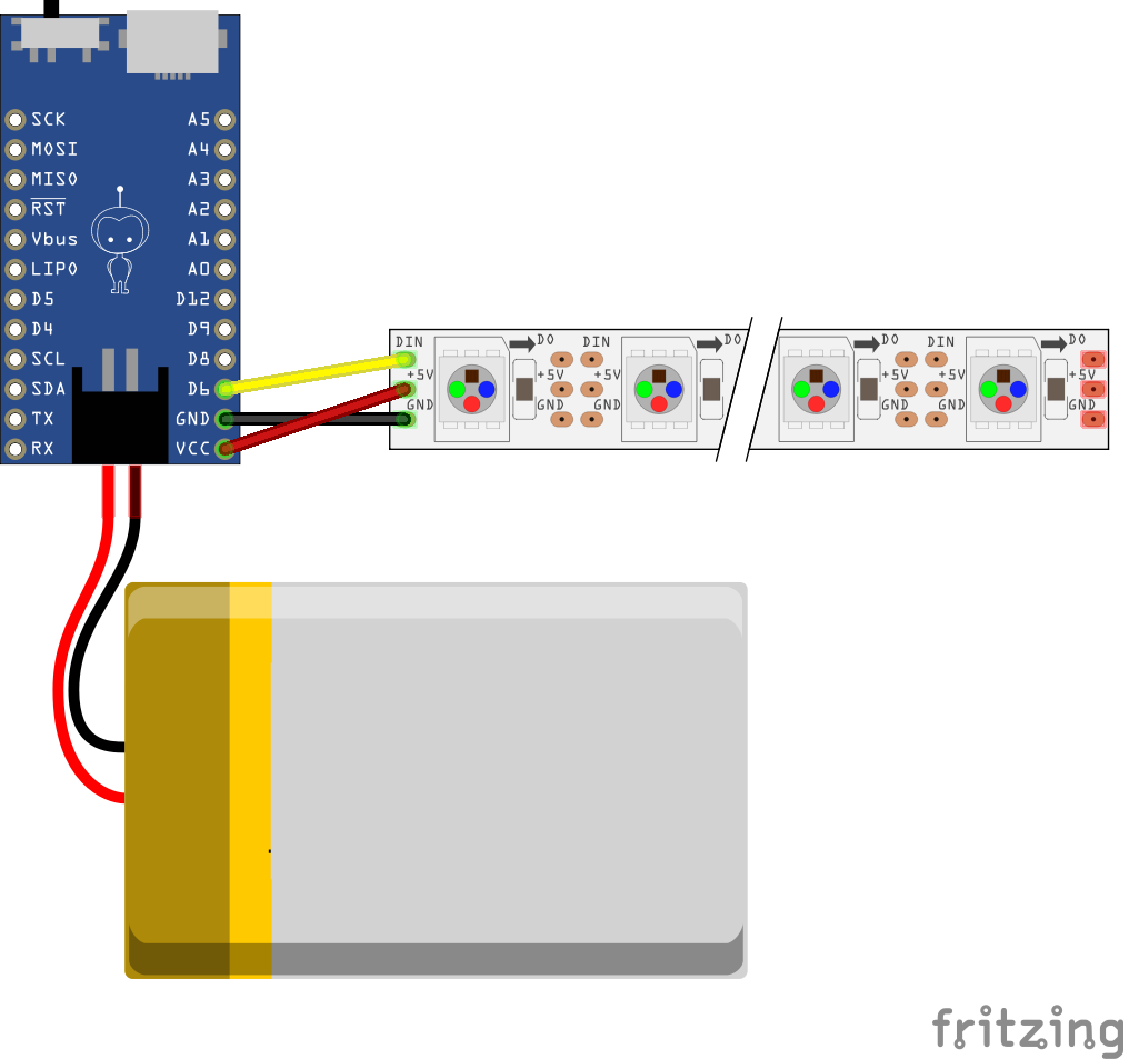
Carefully solder the LED strip leads to the Qduino.
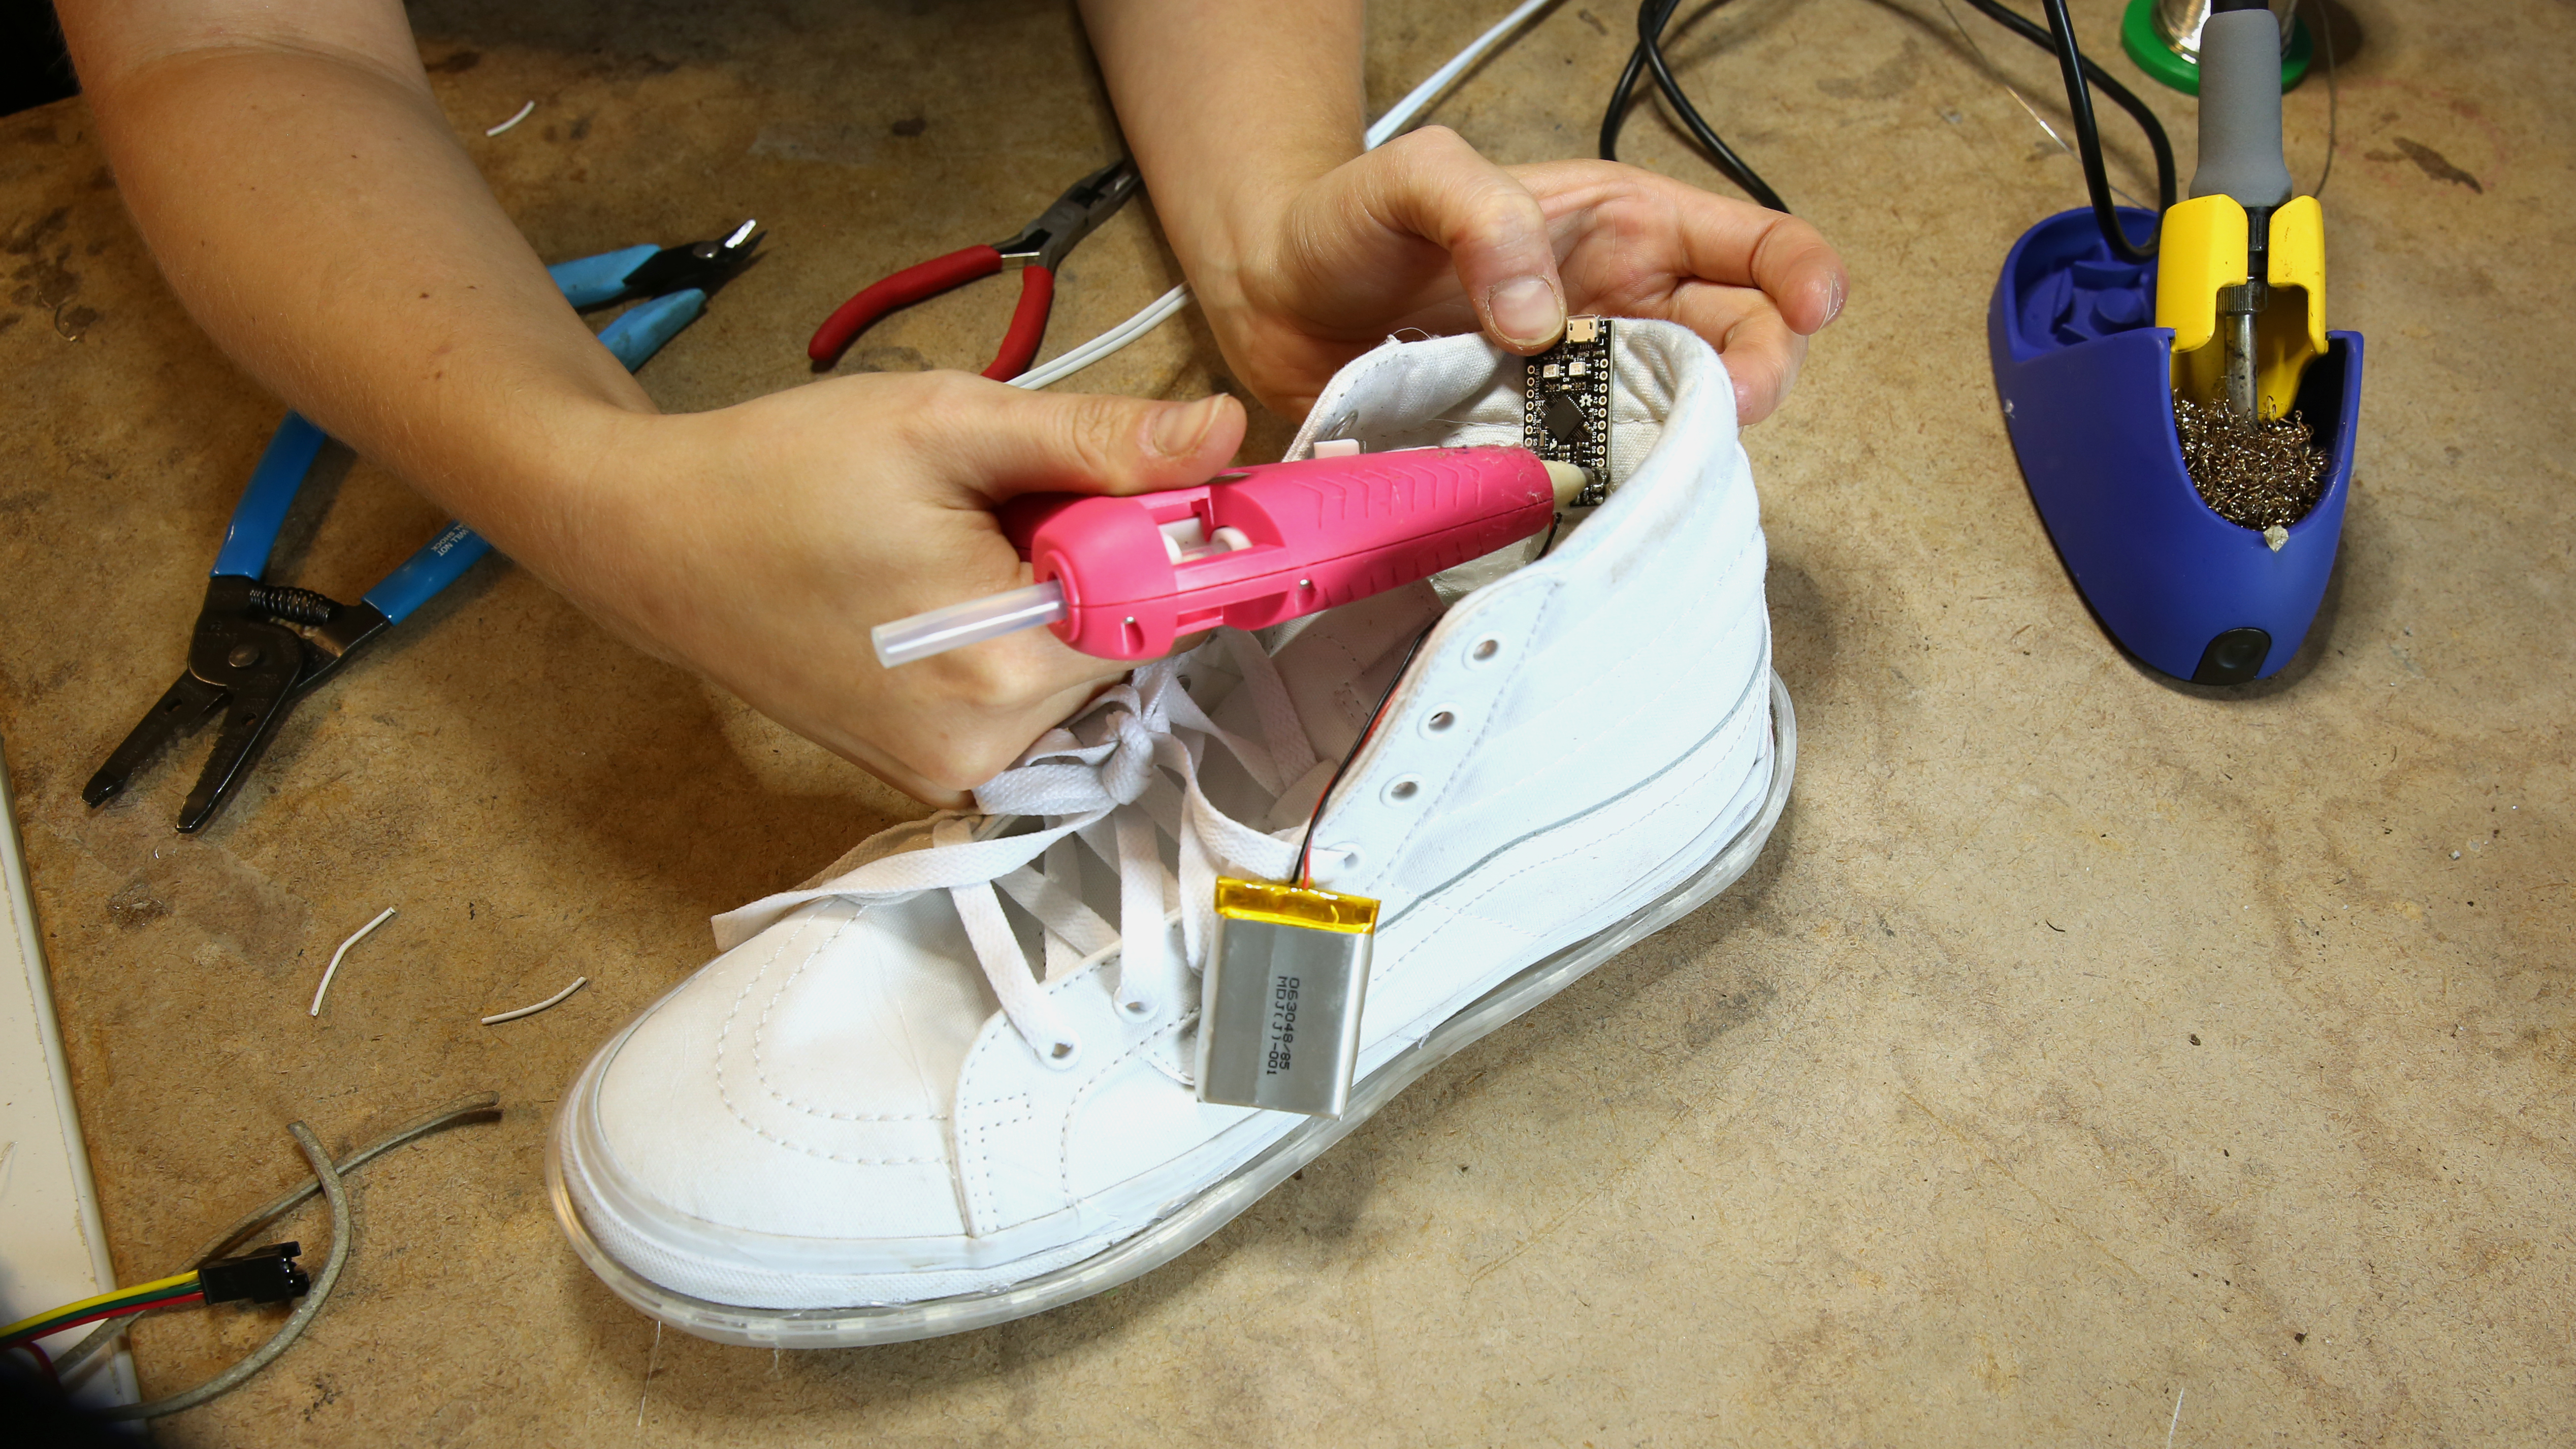
STEP 7:
Insulate all exposed wire and solder with hot glue.
STEP 8:
Add a small piece of Velcro to the outer side of the shoe, directly on top of the area with the Qduino glued on the other side.
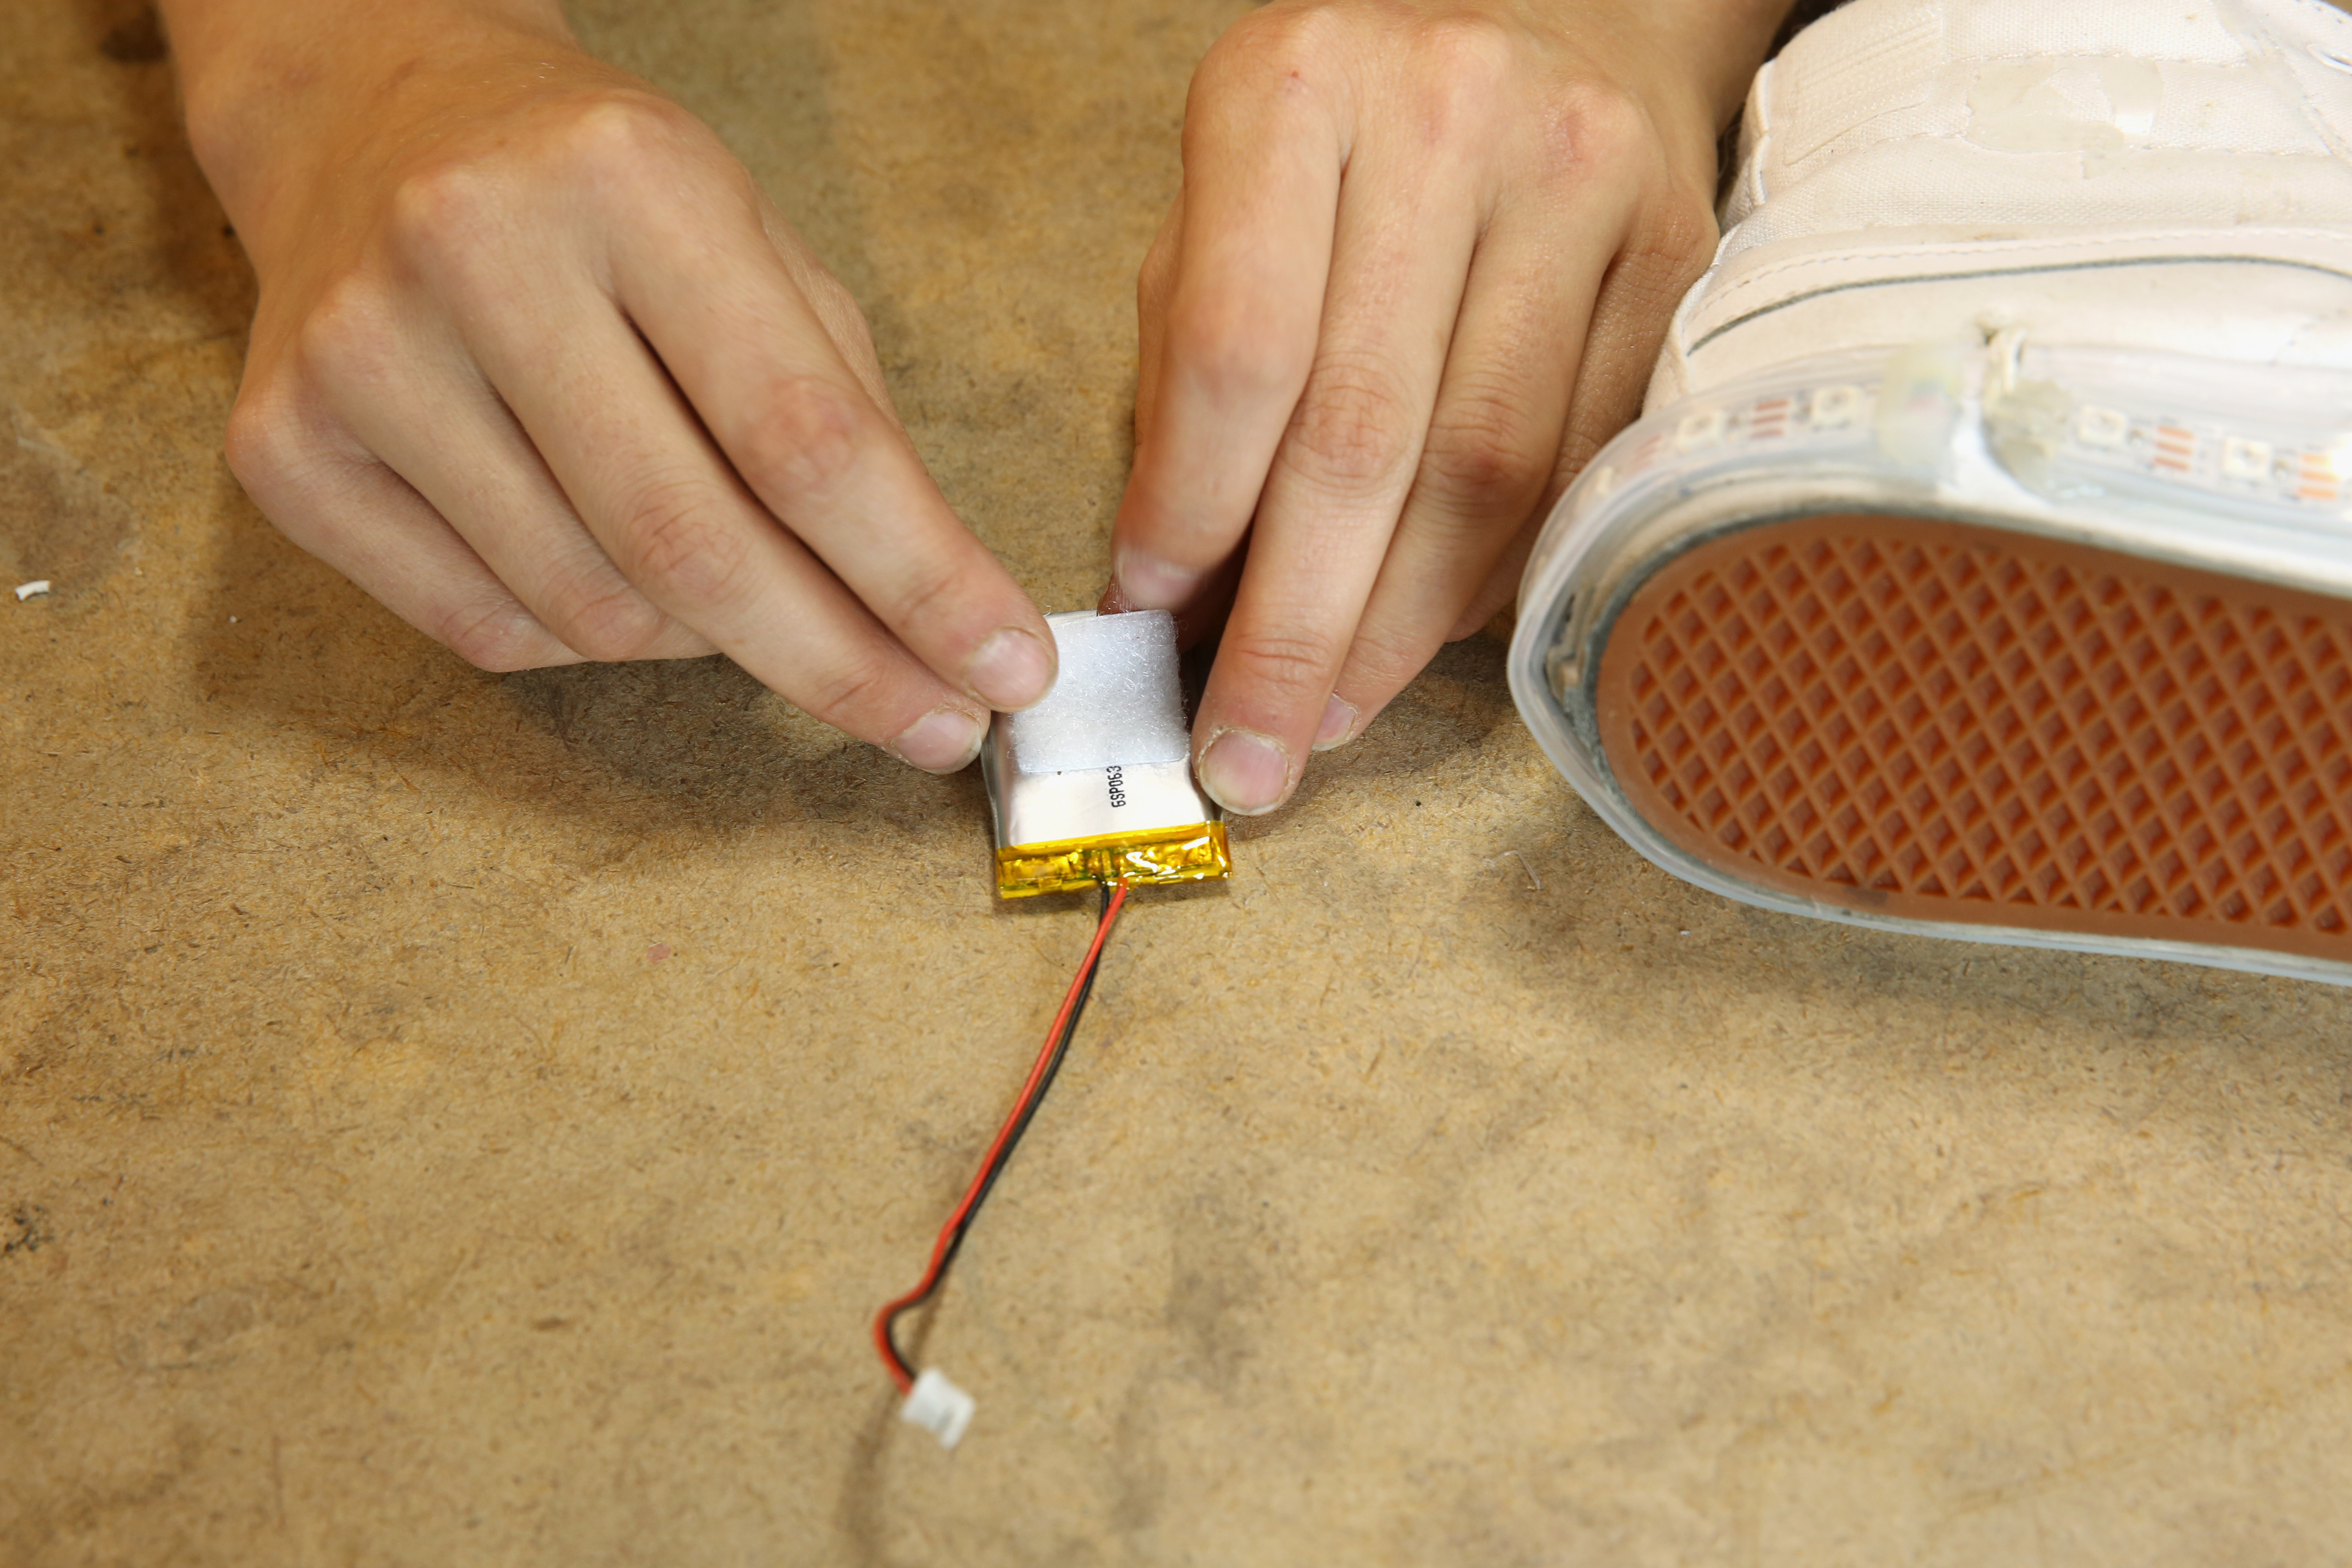
STEP 9:
Add the complimentary piece of Velcro to one side of your battery.
STEP 10:
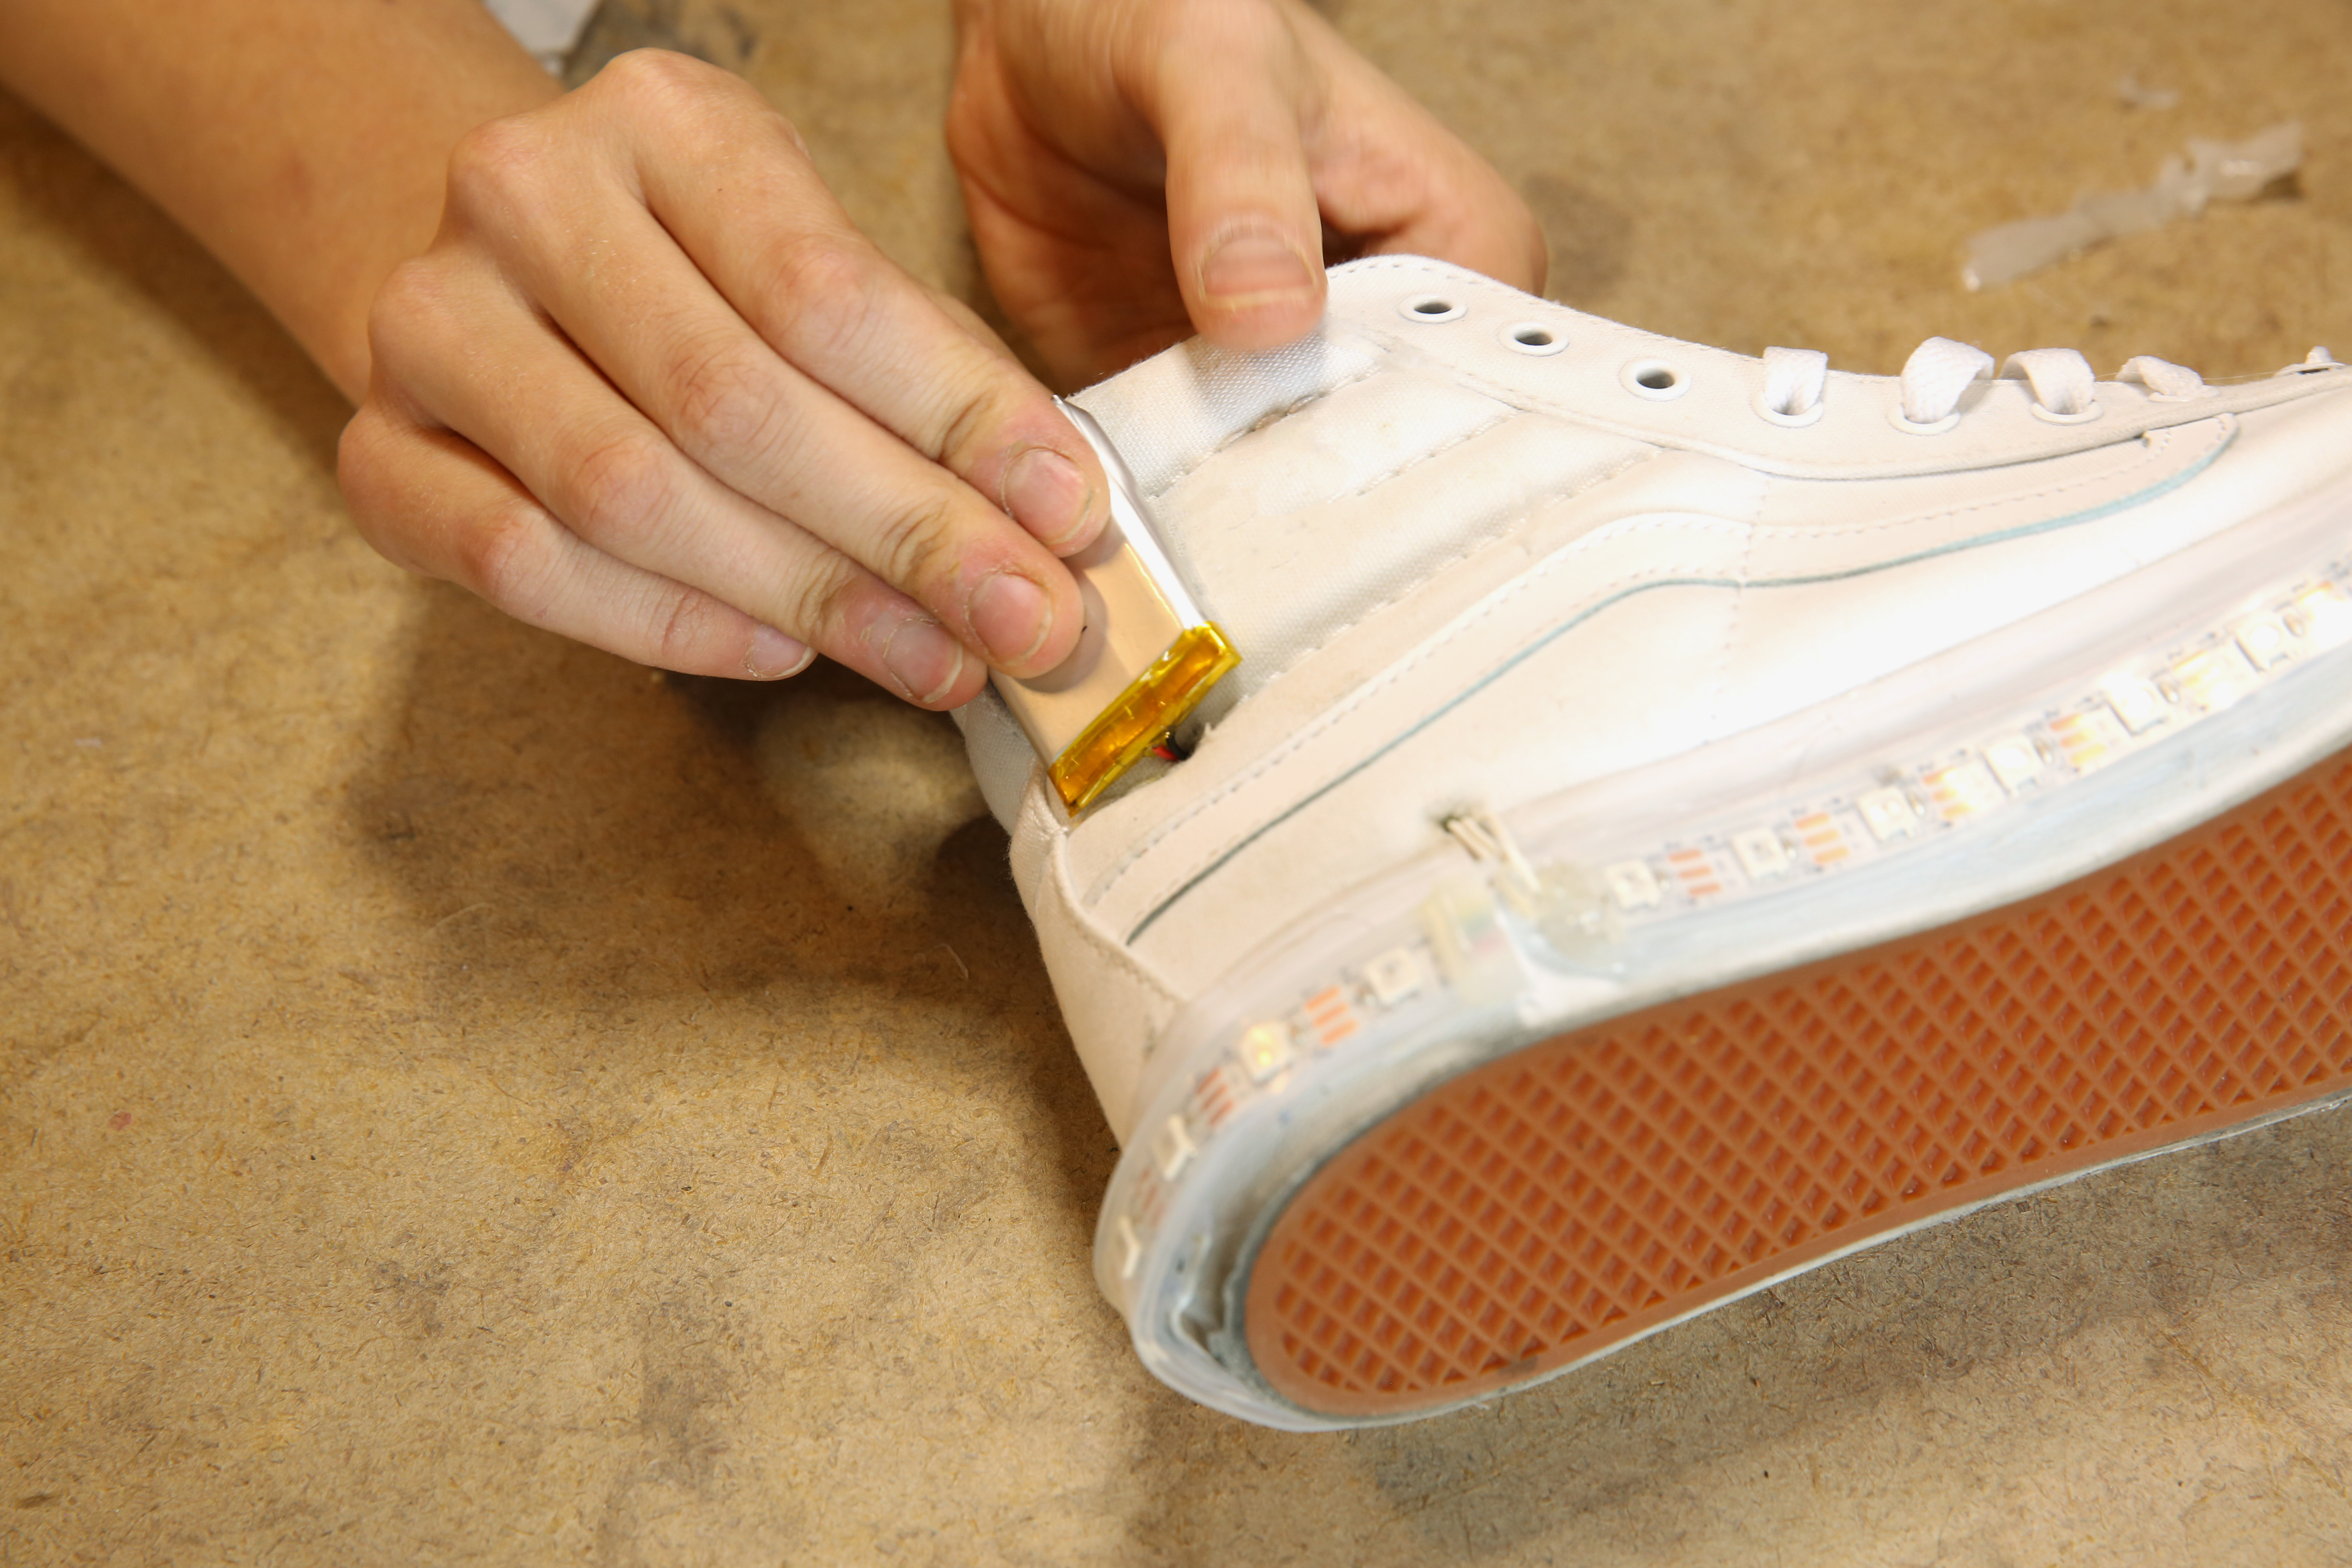
Poke another hole in the shoe, this time right below your Qduino.
STEP 11:
Thread the battery leads through the new hole from the outside to the inside.

STEP 12:
Attach the battery to the outer side of the shoe via the Velcro.
STEP 13:
Connect the battery to the Qduino via the JST connector.
STEP 14:
Cut out two small patches of white felt. One should be slightly larger than the Qduino and one slightly larger than the battery.
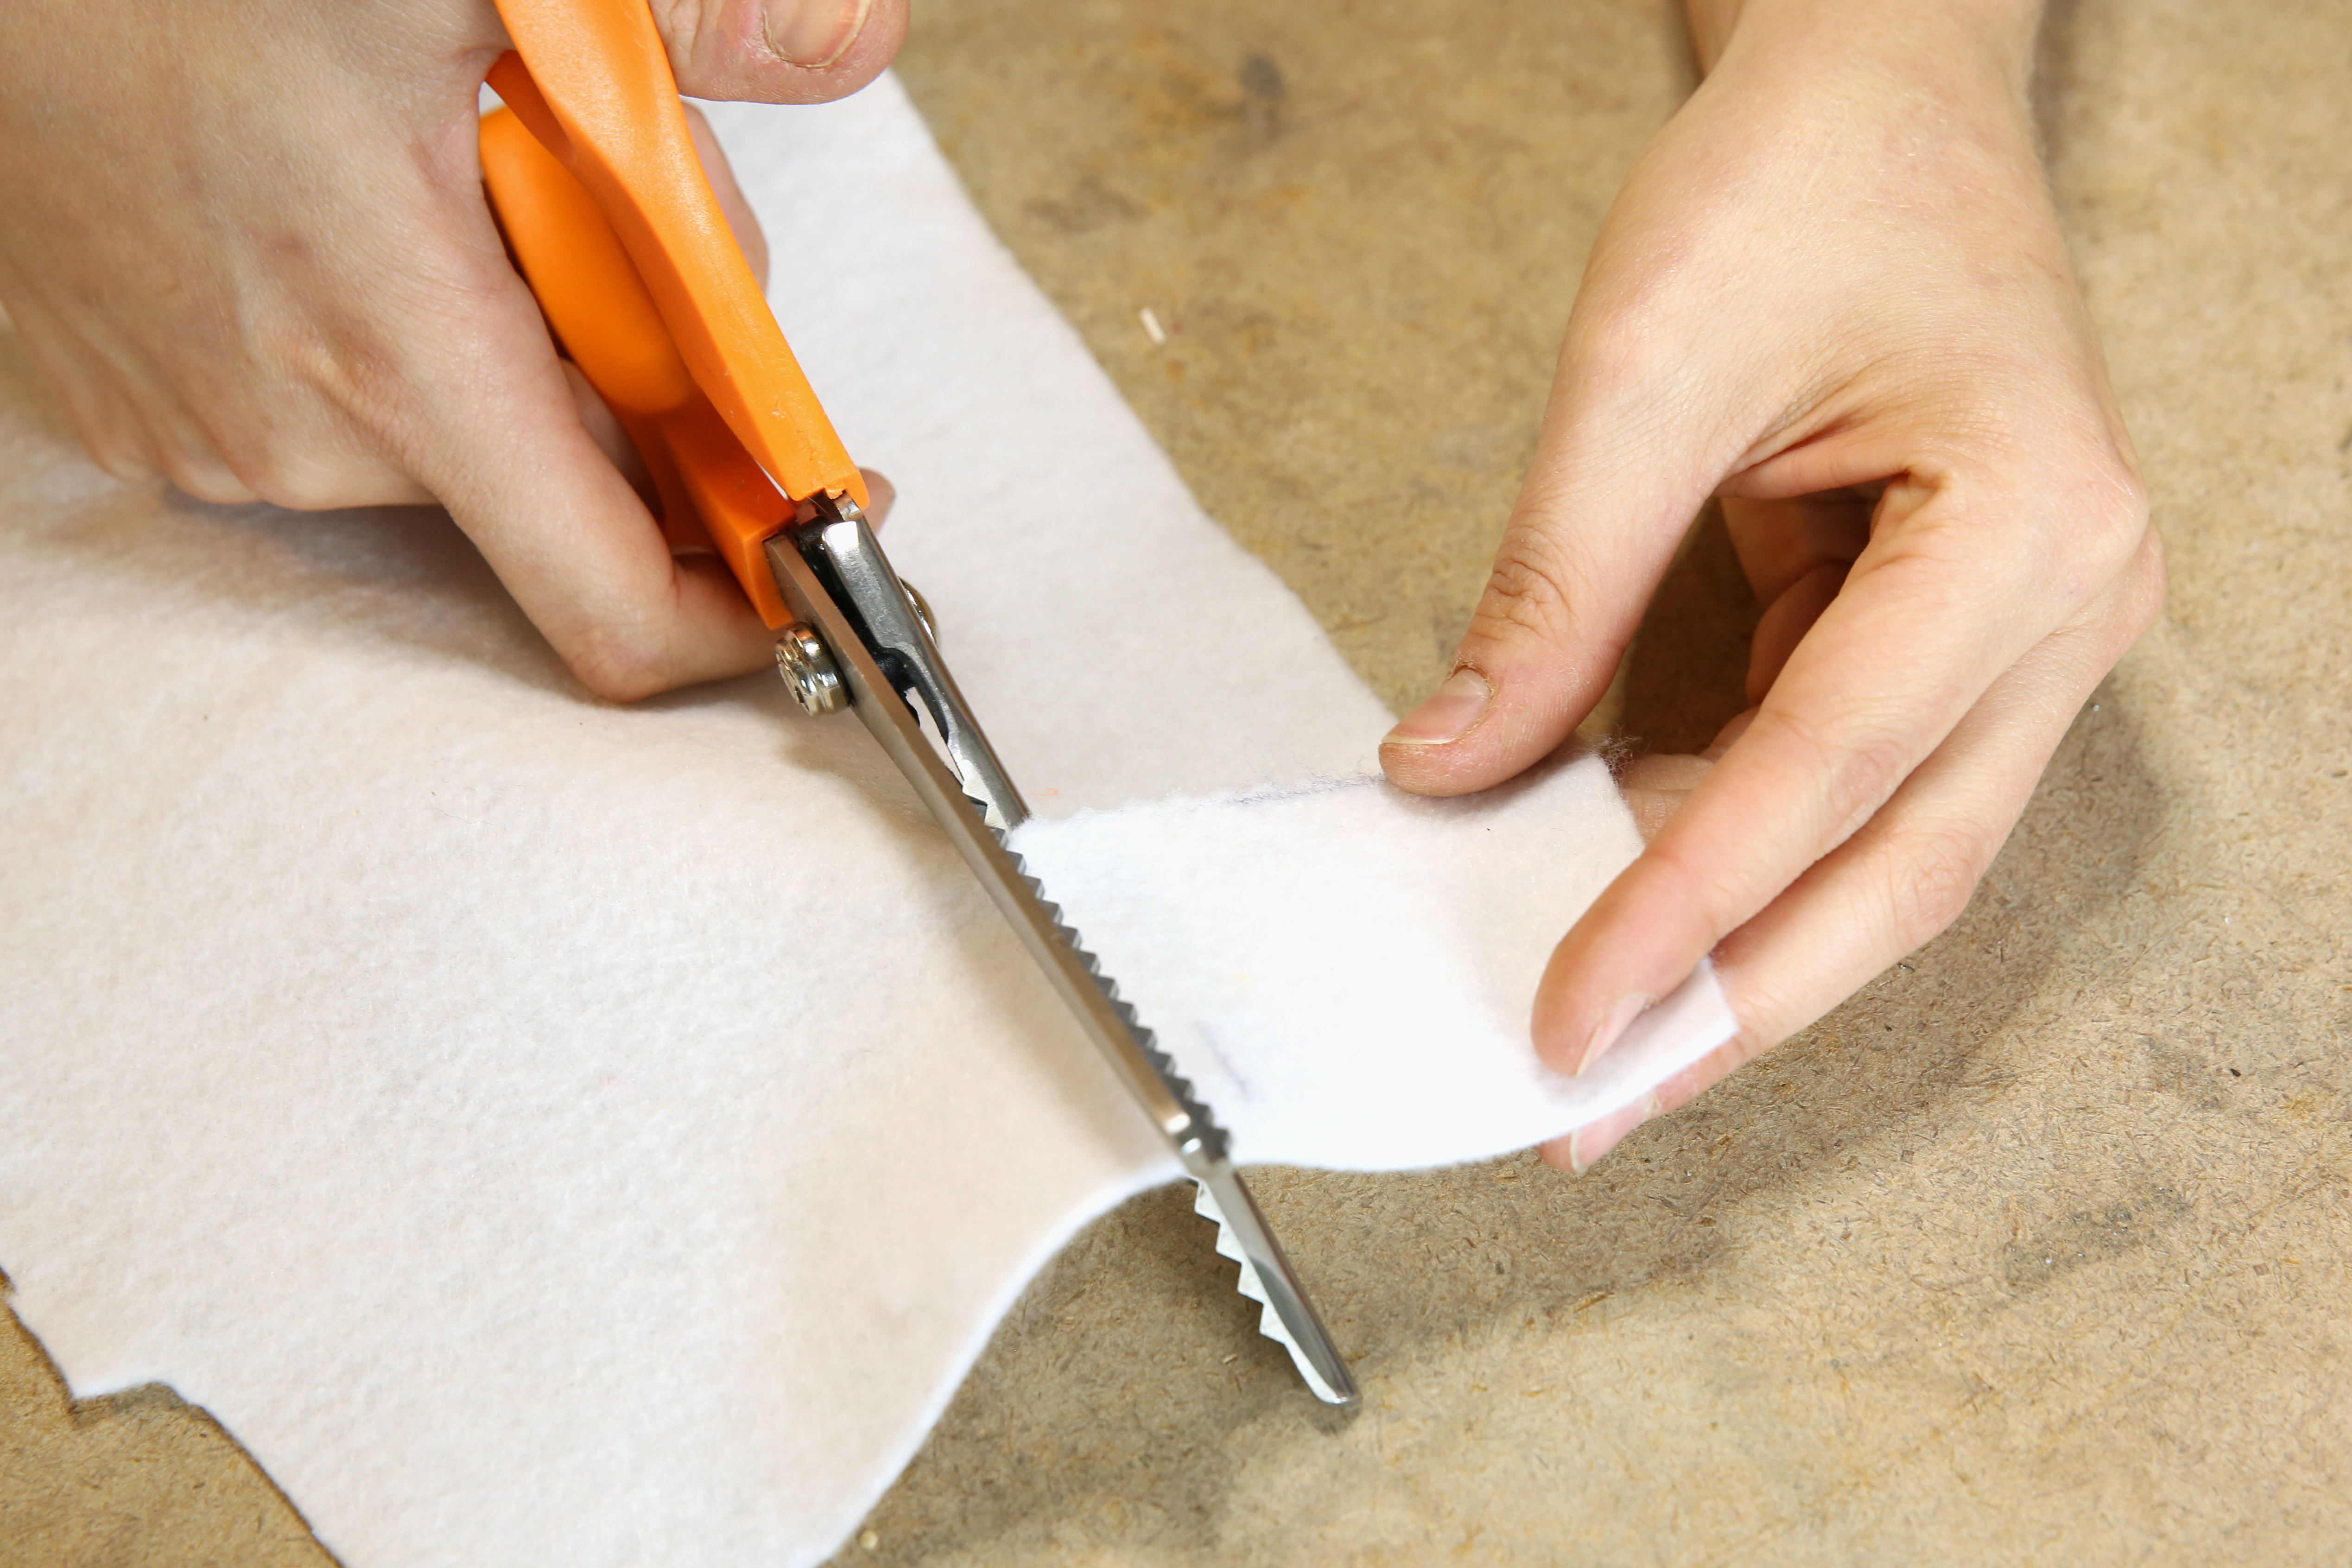
STEP 15:
Sew or super glue the felt patched over your electronics, protecting them from the elements as well as protecting your ankles from scratching against the hardware.
STEP 16:
Repeat steps 1-16 for the other shoe.
STEP 17:
Use the switch on the Qduino to turn your shoes on, and enjoy!