Craft a Holiday Greeting with Love to Code
Introduction
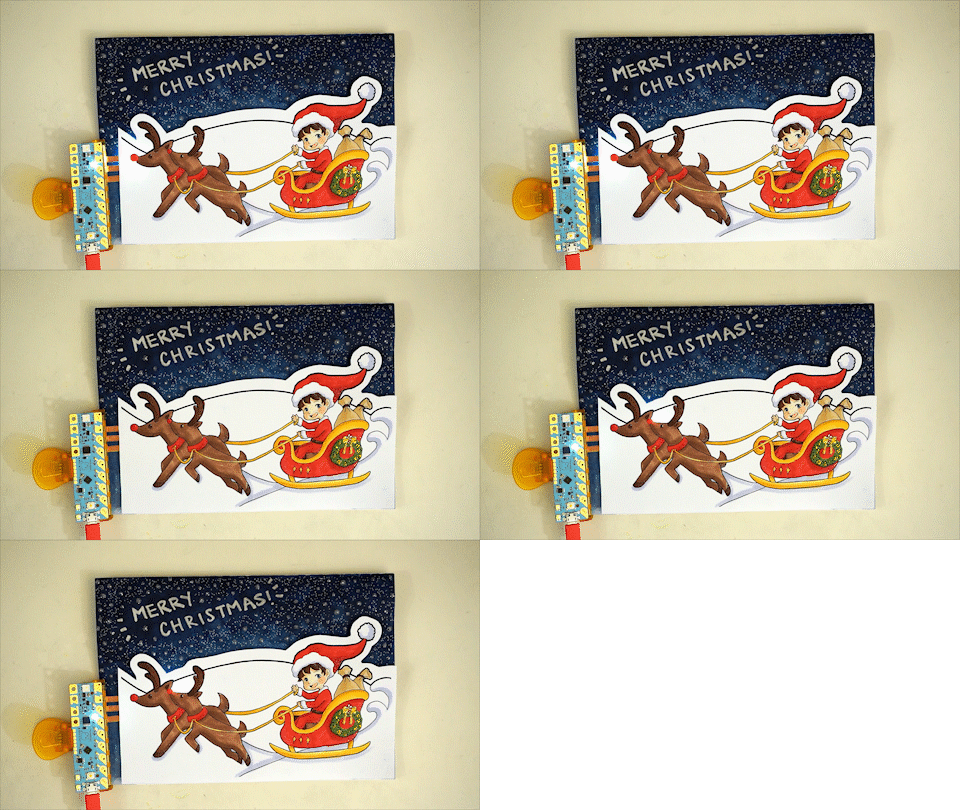
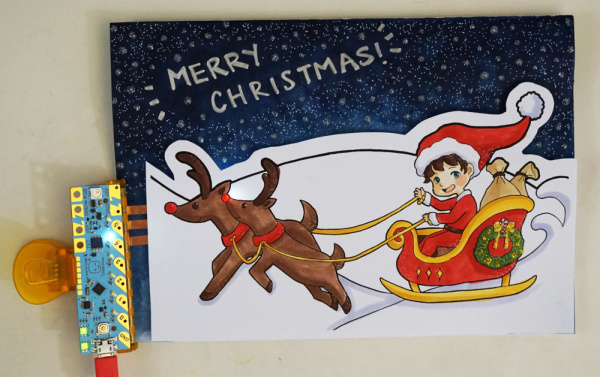
Shicheng Lim (@caligomartia on Instagram) from Chibitronics, designed a fun color-in, light-up holiday card template activity so you can craft your own holiday greeting using the Chibi Chip and Love to Code!
Suggested Video
If you’re looking for inspiration on how to create your holiday card, check out the time-lapse video of Shicheng creating her holiday card!
Making of the Love to Code Holiday Card from Chibitronics on Vimeo.
Suggested Reading
The Great Big Guide to Paper Circuits
Getting Started with Chibi Chip and Clip
Materials and Tools
To follow along with this tutorial, you will need the following materials. You may not need everything though depending on what you have. Add it to your cart, read through the guide, and adjust the cart as necessary. Anyone with the Love to Code Creative Code Kit will have the electronic parts to do this project. You can also purchase the parts separately.
- Chibi Chip Programmable Microcontroller Board
- Chibi Clip Mounting Accessory
- 5mm Copper Tape (Regular or Conductive Adhesive)
- Chibitronics LED Stickers (RYB or White)
- Programming Cable with USB and Audio Connectors
- USB Power Supply
- (i.e. Computer, Wall Plug or Portable USB Battery Charger)
- Programming Device with 3mm Audio Jack
- (i.e. Computer, Phone, or Tablet)
- Internet Connection
You will also need:
- Favorite Art Supplies to Color in the Scene
- i.e. Markers, Pencil, Pen, or Crayons
- Scissors
- Tape (preferably Double-Sided Foam Tape)
- Card Stock
Step 1: Print Template
First, download the Chibitronics holiday card template. The card template consists of two parts: a foreground scene and a background scene. The background scene contains the lights and sky/horizon colors, both of which are used to accent the foreground scene.
Then print out the two pages of the template, preferably on heavy paper or card stock.
Step 2: Decorate
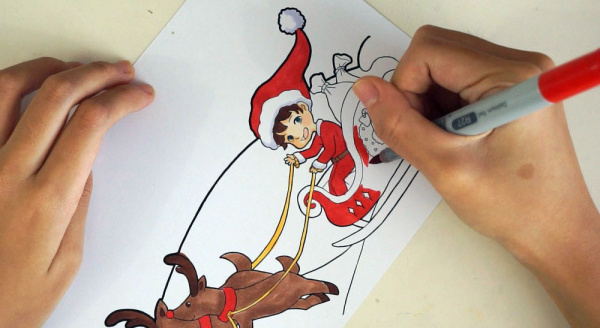
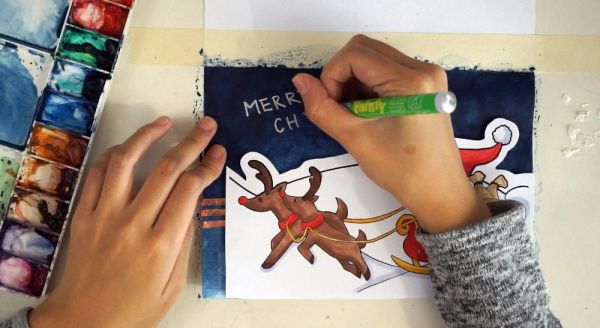
Color in the foreground scene.
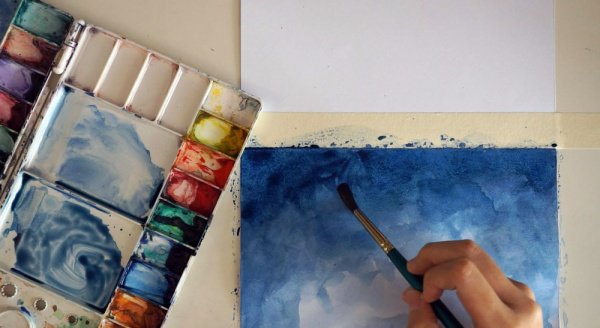
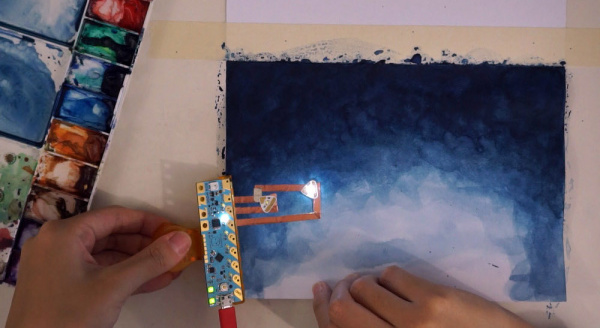
Next, paint the background scene. The background is the “sky” of the template, so in this case Shicheng is using watercolor to paint a nighttime sky.
Step 3: Cut Out
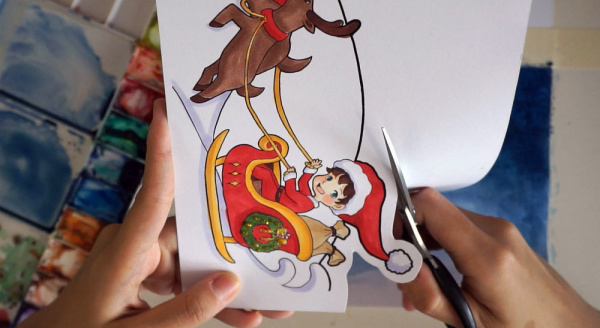
Cut out the foreground scene, so that it can be pasted onto the background scene without blocking out the sky!
Step 4: Create Copper Traces
Craft the circuit on the background. In this picture, Shicheng is ad-libbing the circuit. However, your template has simplified circuit template to help you out! This is also a good time to test out the circuit by programming and clipping on the Chibi Chip before pasting on the foreground scene.
Step 5: Program the Chibi Chip
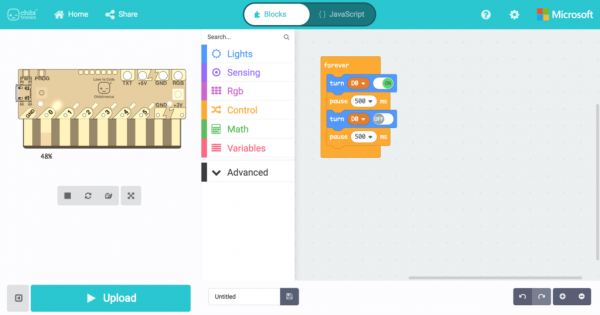
If you need a simple example of how to put lighting effects on the LEDs, try out this MakeCode example based on the circuit template's pin locations.
You can also create your own code in Microsoft MakeCode or ChibiScript Arduino Editor.
 |
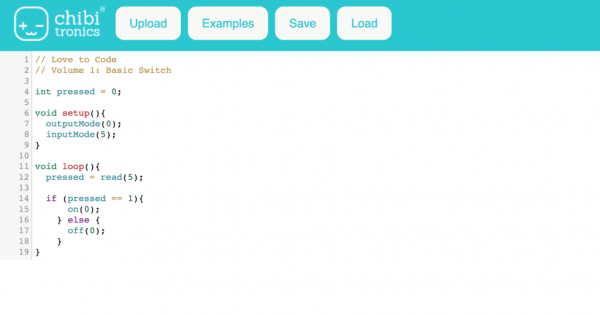 |
| Chibi Chip's MakeCode Online Editor | ChibiScript Arduino Online Editor |
Step 6: Add Tape to Foreground
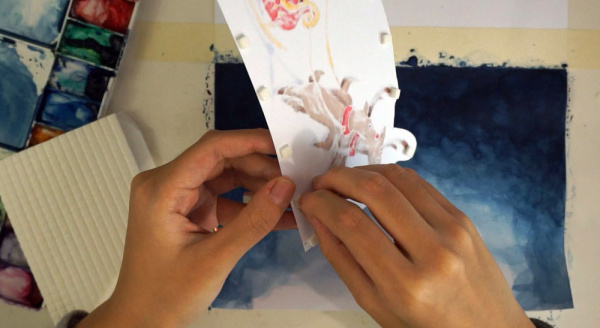
Add double-sided tape to the back side of the foreground scene. If available, use a thick foam tape to create a 3-D effect while diffusing the light of the LED slightly.
Step 7: Finish Customizing
Paste down the foreground scene and finish personalizing your holiday card.
Clip on your Chibi Chip with a power supply.
Enjoy your holiday greetings!
Resources and Going Further
Thanks for trying out Chibitronics Love to Code board in a project. They would love your feedback to make the experience even better! Do you have ideas or comments for us? Please send them our way at info@chibitronics.com. Happy making!
For more information, check out the resources below:
- Chibitronics Holiday Card Template
- MakeCode Chibi Chip Example Code
- Vimeo - Making of the Love to Code Holiday Card - Timelapse video of holiday card being created.
Need some inspiration for your next project? Check out some of these related tutorials:
