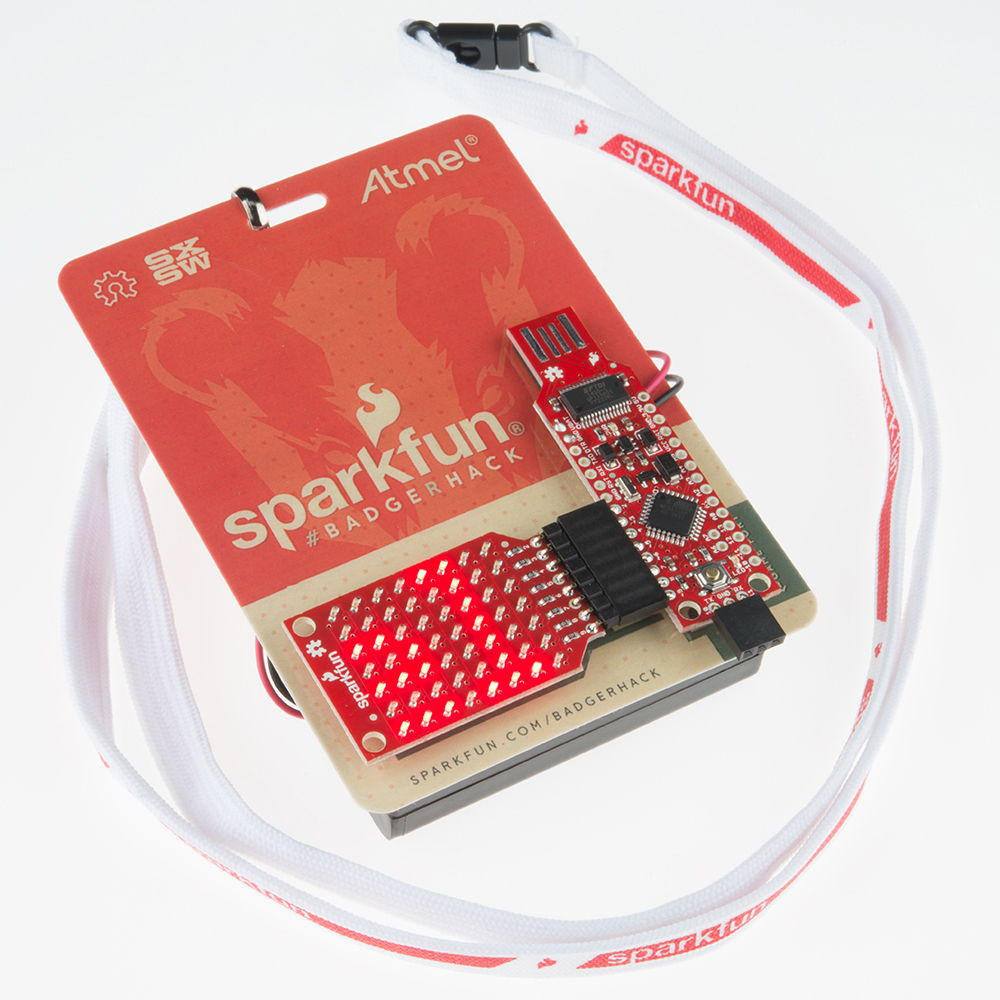
BadgerHack
 Shawn Hymel
Hack Your Badge
What do you do with your badge after the event? Well, you can hack it!
Install the BadgerStick Drivers into the Arduino IDE
Install the Arduino IDE, and download the BadgerStick Repository.
Unzip the files, and copy the "badgerstick" directory into $Arduino Installation Directory/hardware. Restart Arduino, and you should see "BadgerStick" as an available board under "Tools -> Board".
Example 1: Hello World
You will need to install the LED Array 8x7 Arduino Library into your IDE in order to use the following examples.
Note: This example assumes you are using the latest version of the Arduino IDE on your desktop. If this is your first time using Arduino, please review our tutorial on installing the Arduino IDE.
If you have not previously installed an Arduino library, please check out our installation guide.Plug your BadgerStick into an available USB port. Make sure "BadgerStick" and the associated COM port are selected in the Arduino IDE. Upload the following ScrollText.ino sketch to your BadgerStick.
language:c
    /****************************************************************
ScrollText.ino
LED Array 8x7 Charlieplex
Shawn Hymel @ SparkFun Electronics
February 3, 2015
https://github.com/sparkfun/LED_Array_8x7_Charlieplex

Scrolls text across the LED array for 10 seconds.

Hardware Connections:

IMPORTANT:  The Charlieplex LED board is designed for 2.0 - 5.2V!
            Higher voltages can damage the LEDs.

 Arduino Pin | Charlieplex Board
 ------------|------------------
      2      |         A
      3      |         B
      4      |         C
      5      |         D
      6      |         E
      7      |         F
      8      |         G
      9      |         H

Resources:
Include Chaplex.h, SparkFun_LED_8x7.h
The Chaplex library can be found at:
http://playground.arduino.cc/Code/Chaplex

Development environment specifics:
Written in Arduino 1.6.7
Tested with SparkFun RedBoard and BadgerStick (Interactive Badge)

This code is released under the [MIT License](http://opensource.org/licenses/MIT).

Please review the LICENSE.md file included with this example. If you have any questions
or concerns with licensing, please contact techsupport@sparkfun.com.

Distributed as-is; no warranty is given.
****************************************************************/

#include <SparkFun_LED_8x7.h>
#include <Chaplex.h>

// Global variables
static byte led_pins[] = {2, 3, 4, 5, 6, 7, 8, 9}; // Pins for LEDs

void setup() {

  // Initialize LED array
  Plex.init(led_pins);

  // Clear display
  Plex.clear();
  Plex.display();
}

void loop() {

  // Scroll text 2 times (blocking)
  Plex.scrollText("Hello. :)", 2, true);

  // Scroll text until we stop it
  Plex.scrollText("Let's scroll!");
  delay(10000);
  Plex.stopScrolling();
  delay(1000);
}
Your badge should scroll "Hello: Let's Scroll!."
Now the fun begins! Edit the string "Let's Scroll!" on line 65 to say your name (don't forget the quotes!). Run it on the BadgerStick and watch your name scroll across the LEDs.
Example 2: Shapes
Once you have had enough scrolling text, try making some shapes. Upload the `DrawShapes.ino' sketch to the BadgerStick.
language:c
    /****************************************************************
DrawShapes.ino
LED Array 8x7 Charlieplex
Shawn Hymel @ SparkFun Electronics
February 9, 2015
https://github.com/sparkfun/LED_Array_8x7_Charlieplex

Draws lines, rectangles, and circles on the LEDs.

Hardware Connections:

IMPORTANT:  The Charlieplex LED board is designed for 2.0 - 5.2V!
            Higher voltages can damage the LEDs.

 Arduino Pin | Charlieplex Board
 ------------|------------------
      2      |         A
      3      |         B
      4      |         C
      5      |         D
      6      |         E
      7      |         F
      8      |         G
      9      |         H

Resources:
Include Chaplex.h, SparkFun_LED_8x7.h
The Chaplex library can be found at:
http://playground.arduino.cc/Code/Chaplex

Development environment specifics:
Written in Arduino 1.6.7
Tested with SparkFun RedBoard and BadgerStick (Interactive Badge)

This code is released under the [MIT License](http://opensource.org/licenses/MIT).

Please review the LICENSE.md file included with this example. If you have any questions
or concerns with licensing, please contact techsupport@sparkfun.com.

Distributed as-is; no warranty is given.
****************************************************************/

#include <SparkFun_LED_8x7.h>
#include <Chaplex.h>

// Global variables
byte led_pins[] = {2, 3, 4, 5, 6, 7, 8, 9}; // Pins for LEDs
byte i;

void setup() {

  // Initialize and clear display
  Plex.init(led_pins);
  Plex.clear();
  Plex.display();
}

void loop() {

  // Draw a dot (x, y)
  Plex.clear();
  Plex.pixel(1, 2);
  Plex.display();
  delay(1000);

  // Draw a line (x0, y0, y1, y1)
  Plex.clear();
  Plex.line(1, 2, 5, 5);
  Plex.display();
  delay(1000);

  // Draw a rectangle (x, y, width, height)
  Plex.clear();
  Plex.rect(1, 2, 5, 4);
  Plex.display();
  delay(1000);

  // Draw a filled rectangle (x, y, width, height)
  Plex.clear();
  Plex.rectFill(1, 2, 5, 4);
  Plex.display();
  delay(1000);

  // Draw a circle (x, y, radius)
  Plex.clear();
  Plex.circle(3, 3, 3);
  Plex.display();
  delay(1000);

  // Draw a filled circle (x, y, radius)
  Plex.clear();
  Plex.circleFill(3, 3, 3);
  Plex.display();
  delay(1000);
}
You should see a basic square, line, and filled circle appear on the LED array. What other fun shapes and pictures can you make?