BadgerHack
 Shawn Hymel
Make Your Badge
Now that you have the Badger kit, let's make a badge! When we ask you to solder a pin, you will want to keep a few tips in mind (click for larger image):
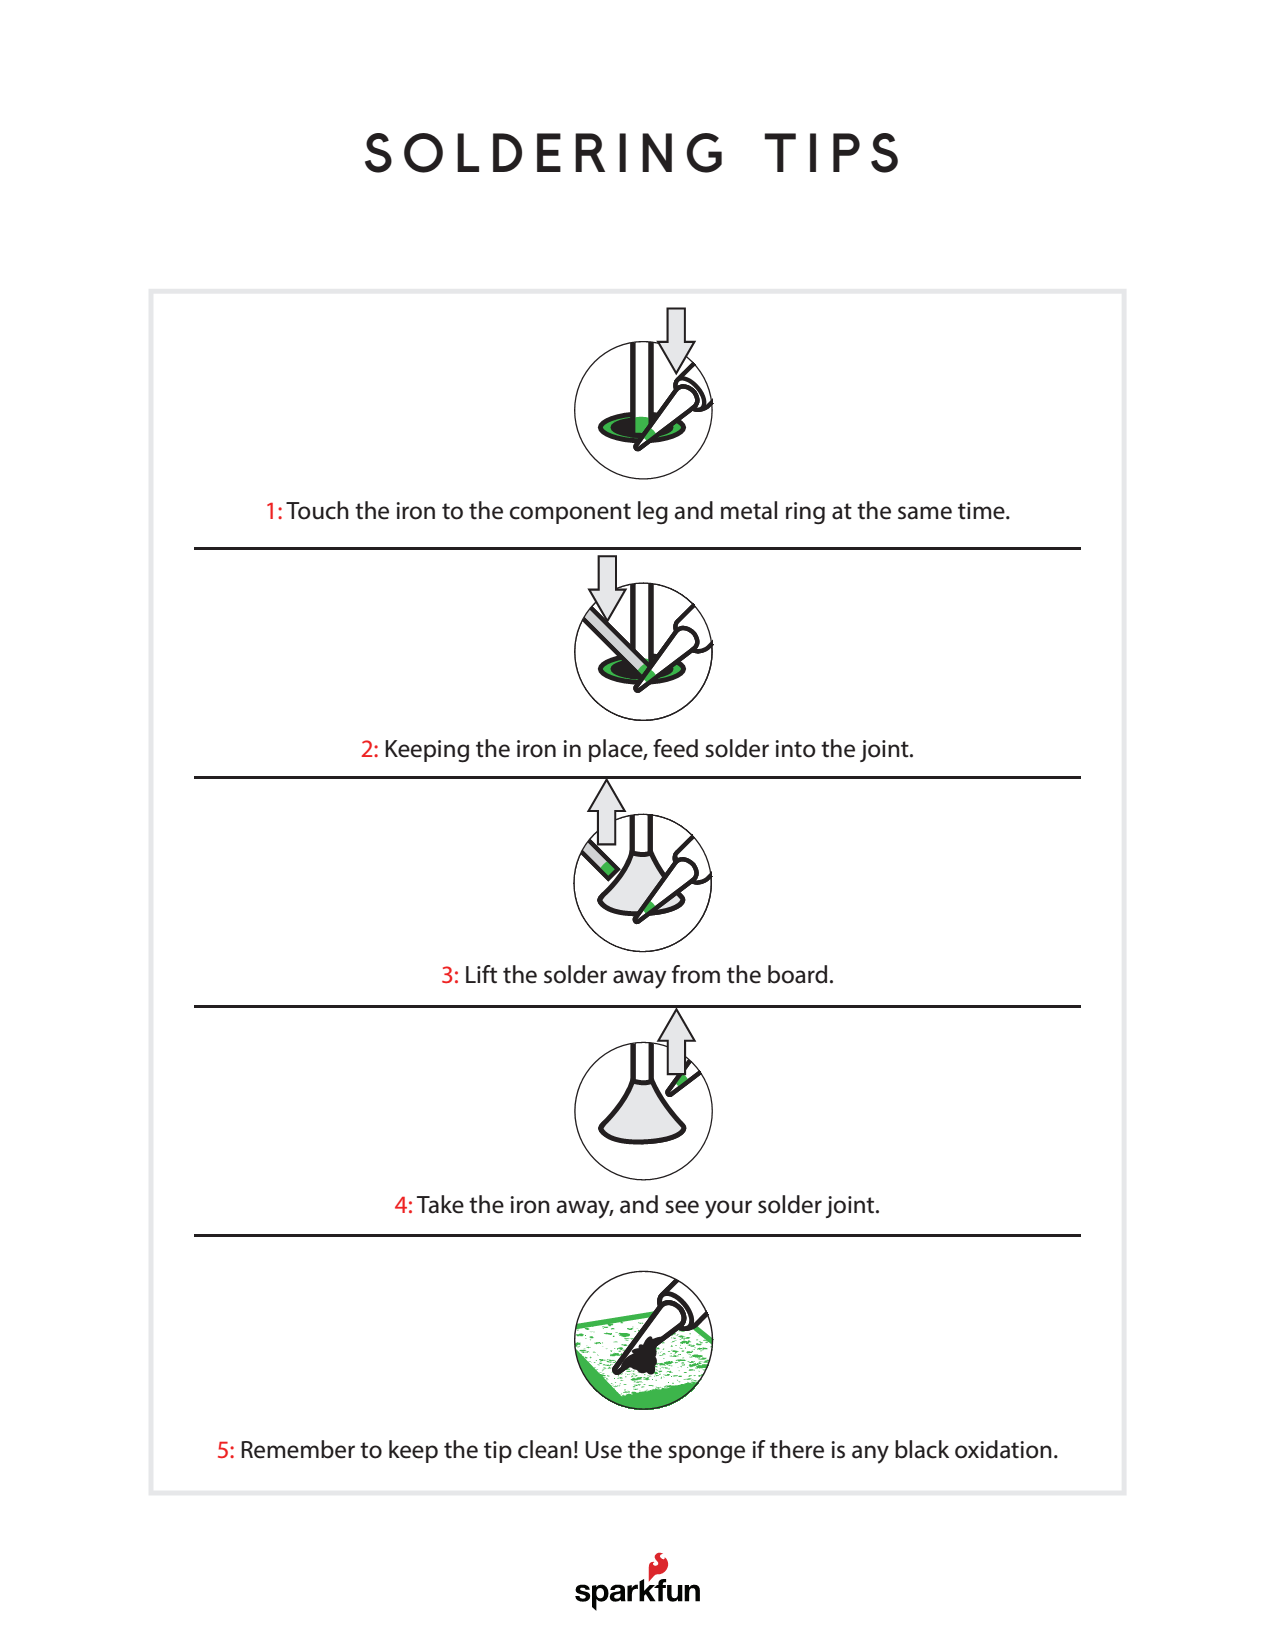
If you need a refresher on how to solder, we recommend the How to Solder guide.
1. Solder the 8-pin male header to the LED board
Insert the 8-pin male header into the LED board with the pin ends facing out. Note that the pins are coming out of the top of the board (the side with the LEDs).

Flip the board over and solder all the pins.

2. Solder the 8-pin female header to pins 2-9 on the BadgerStick
Insert the 8-pin female header into the holes labeled 2, 3, 4, 5, 6, 7, 8, 9 on the BadgerStick. Make sure that the pins are coming out of the top of the board (the side with all the electronics).

Flip the board over, and ensure that only the holes in the white box labeled "LED Array" are used. Solder all 8 pins.

3. Solder the 3-pin female header to the game port on the BadgerStick
Insert the 3-pin female header into the holes labeled TX, GND, RX on the bottom of the board. The header should be coming out of the top of the board.
Flip the board over, and solder all 3 pins.

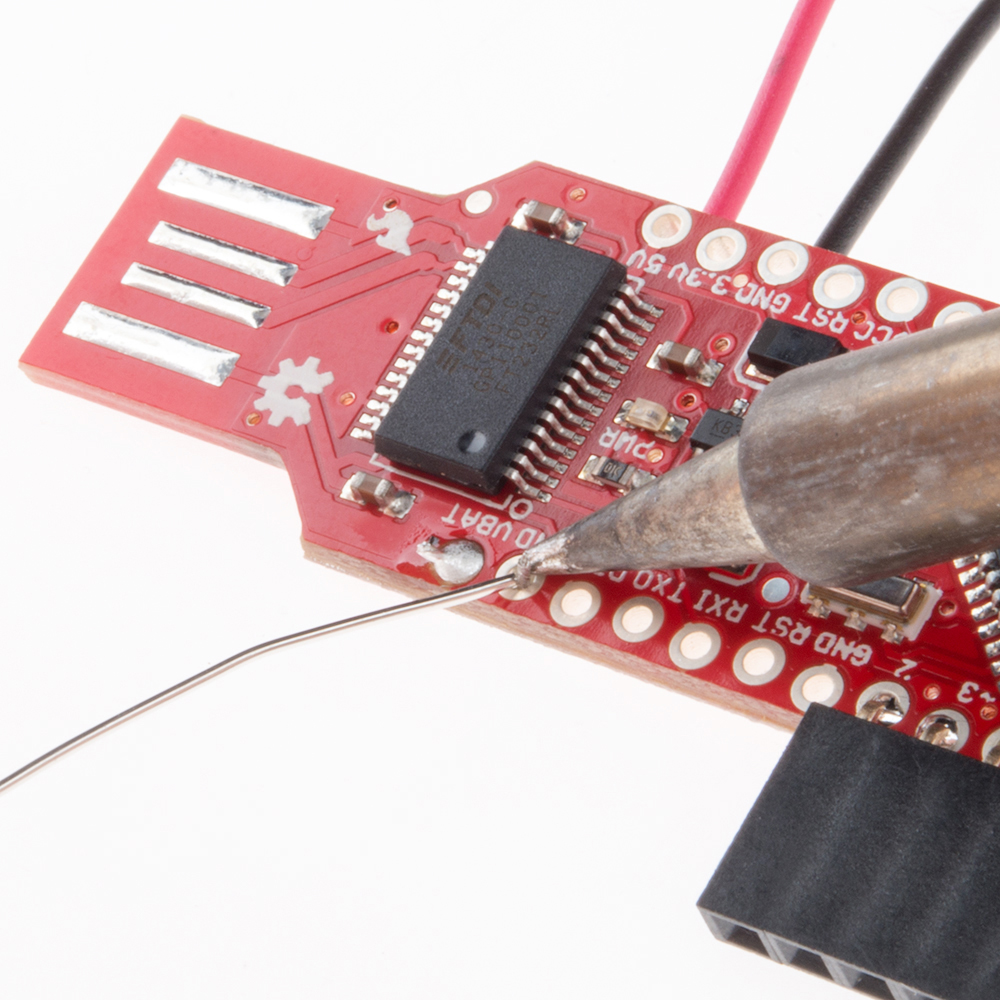
4. Solder the the red battery wire to the + battery pin (VBAT)
Poke the red battery wire through the backside of the BadgerStick on the pin labeled VBAT ("+" on the backside).
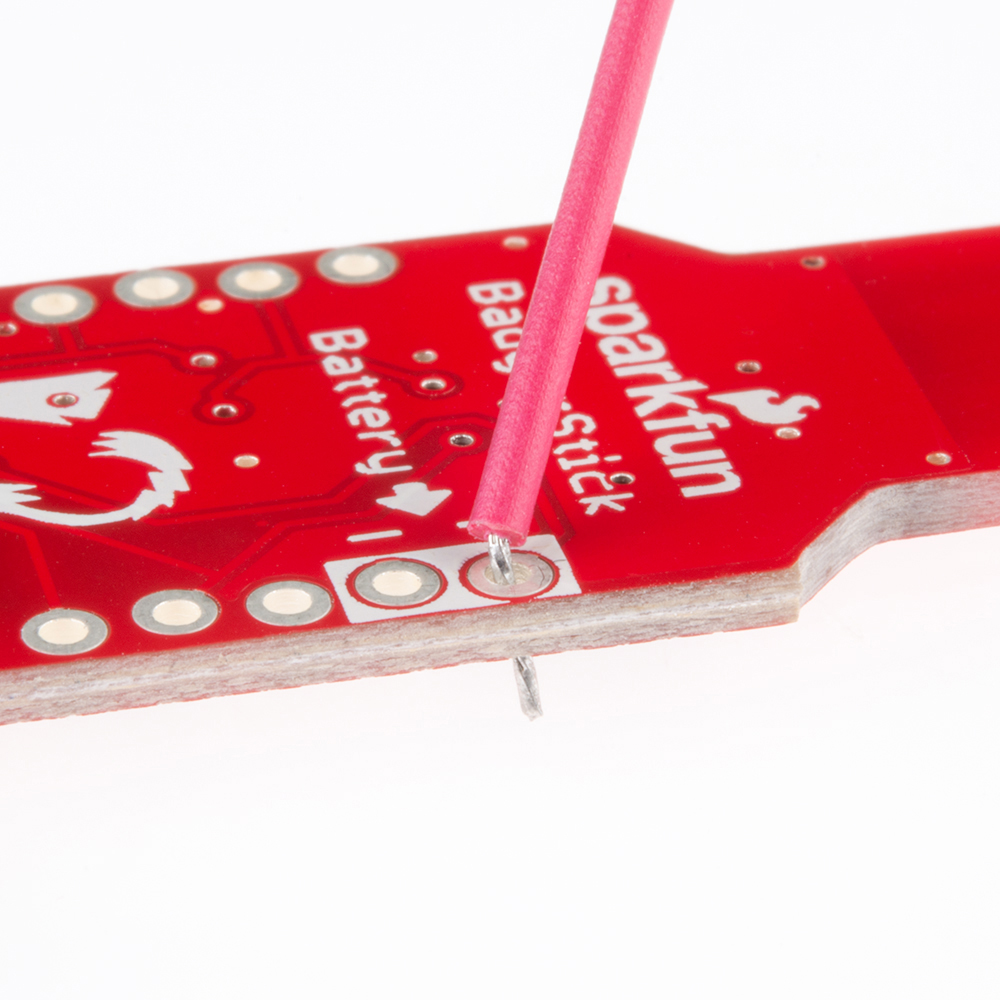
Solder the red wire to the hole.

5. Solder the black battery wire to the - battery pin (GND)
Poke the black battery wire through the backside of the BadgerStick on the pin labeled GND ("-" on the backside).
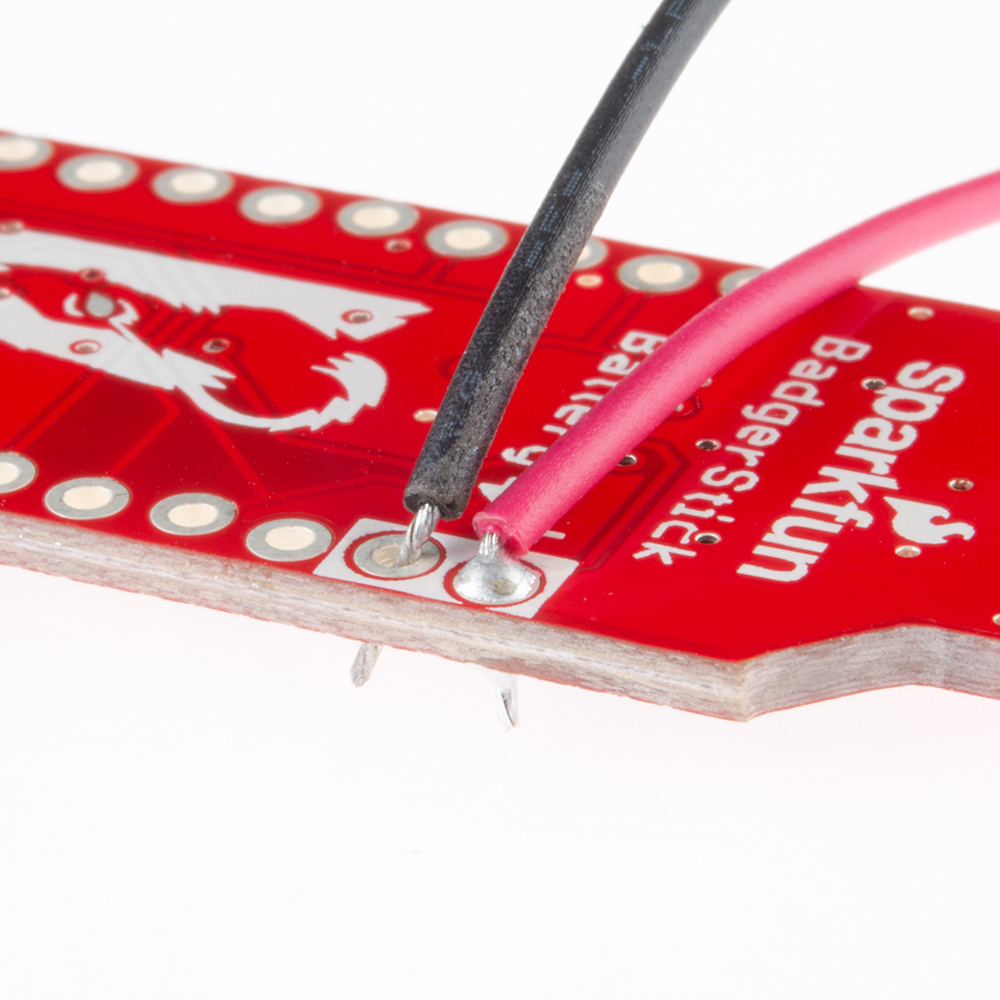
Solder the black wire to the hole.
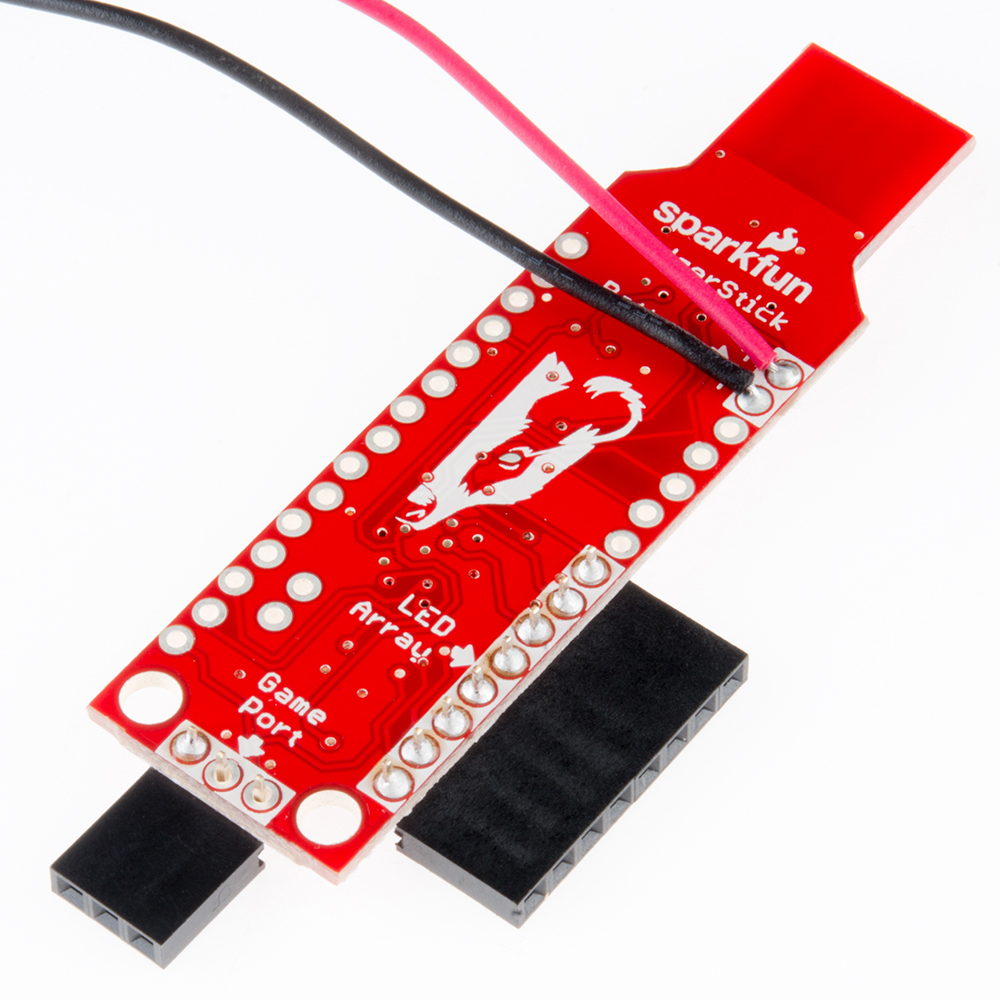
Flip the BadgerStick over, and verify that the red wire is going to the hole labeled '+' on the underside and that the black wire is going to the hole labeled '-'.
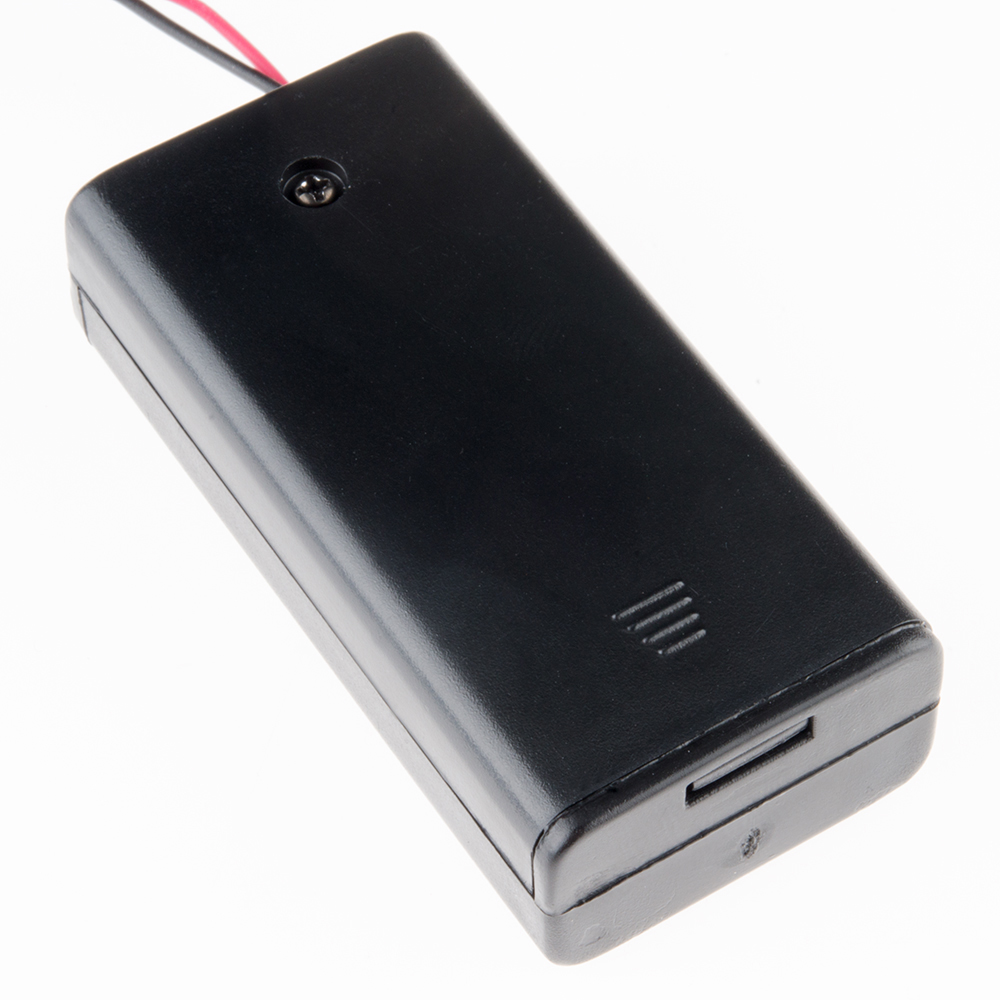
6. Add batteries
Using a Phillips screwdriver, remove the screw from the battery pack.

Open the battery pack cover, and take note of the battery markings in the pack.
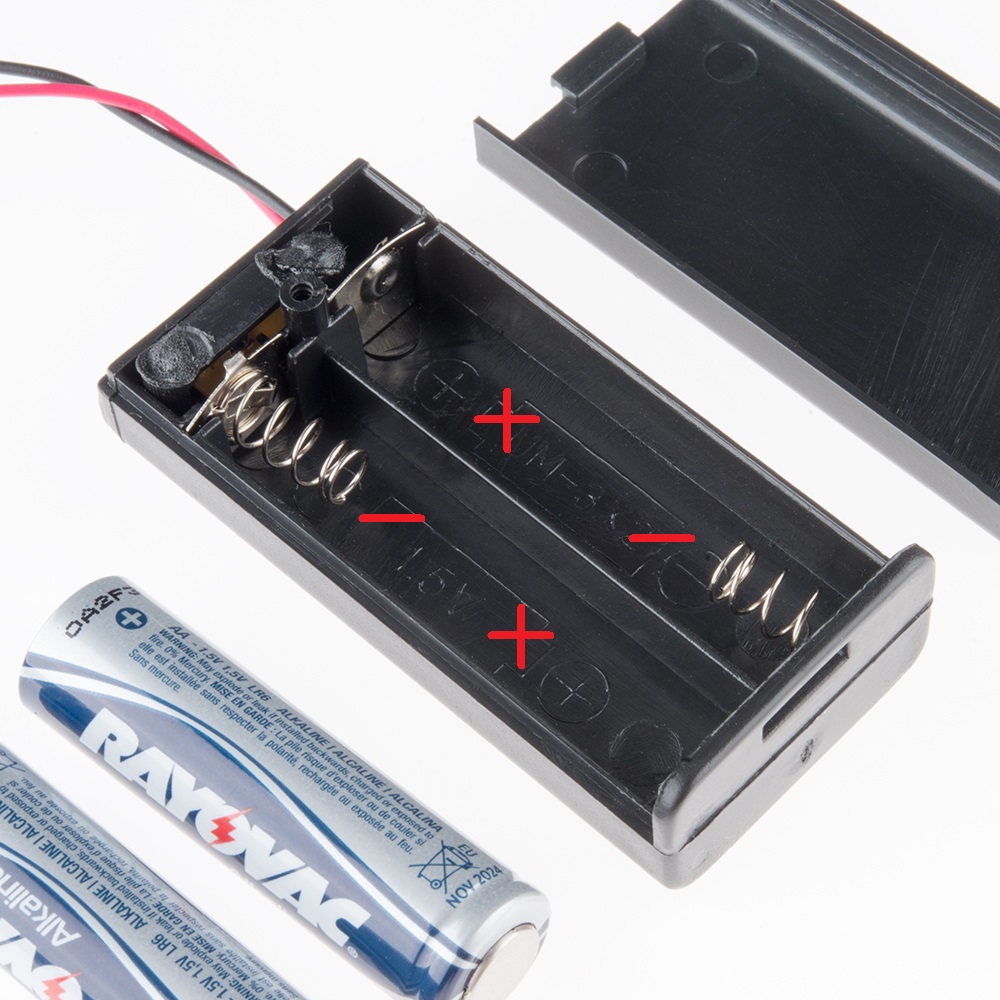
Put the batteries in the pack as noted by the markings. The bumped end of the battery is + and the flat end is -.
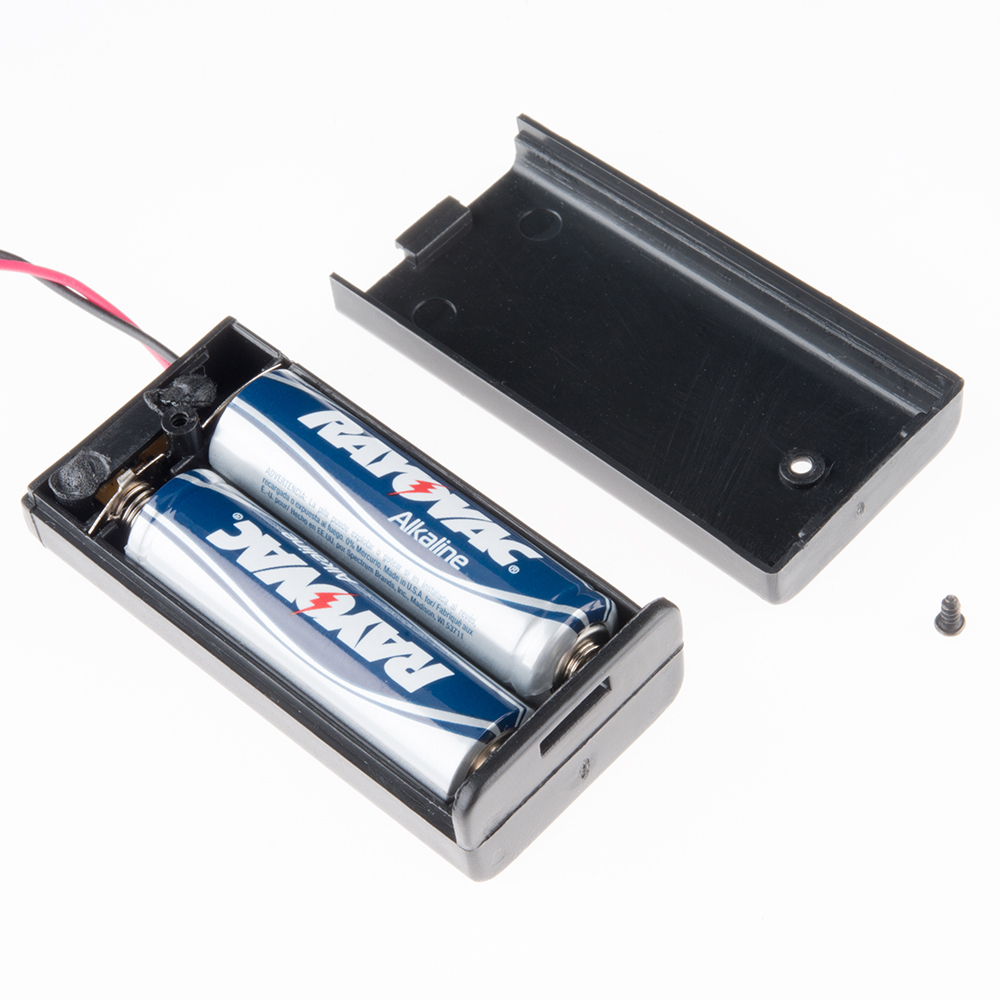
Put the battery pack cover back on, and secure it with the screw.
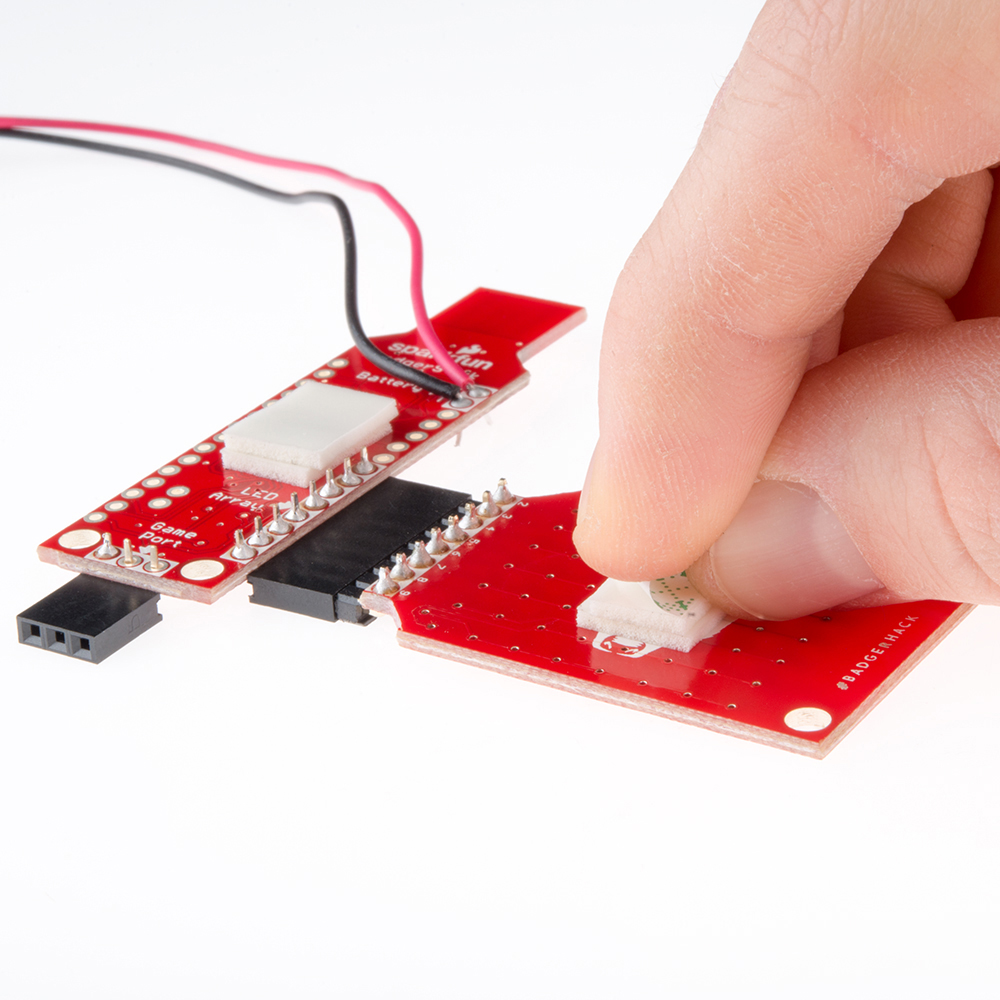
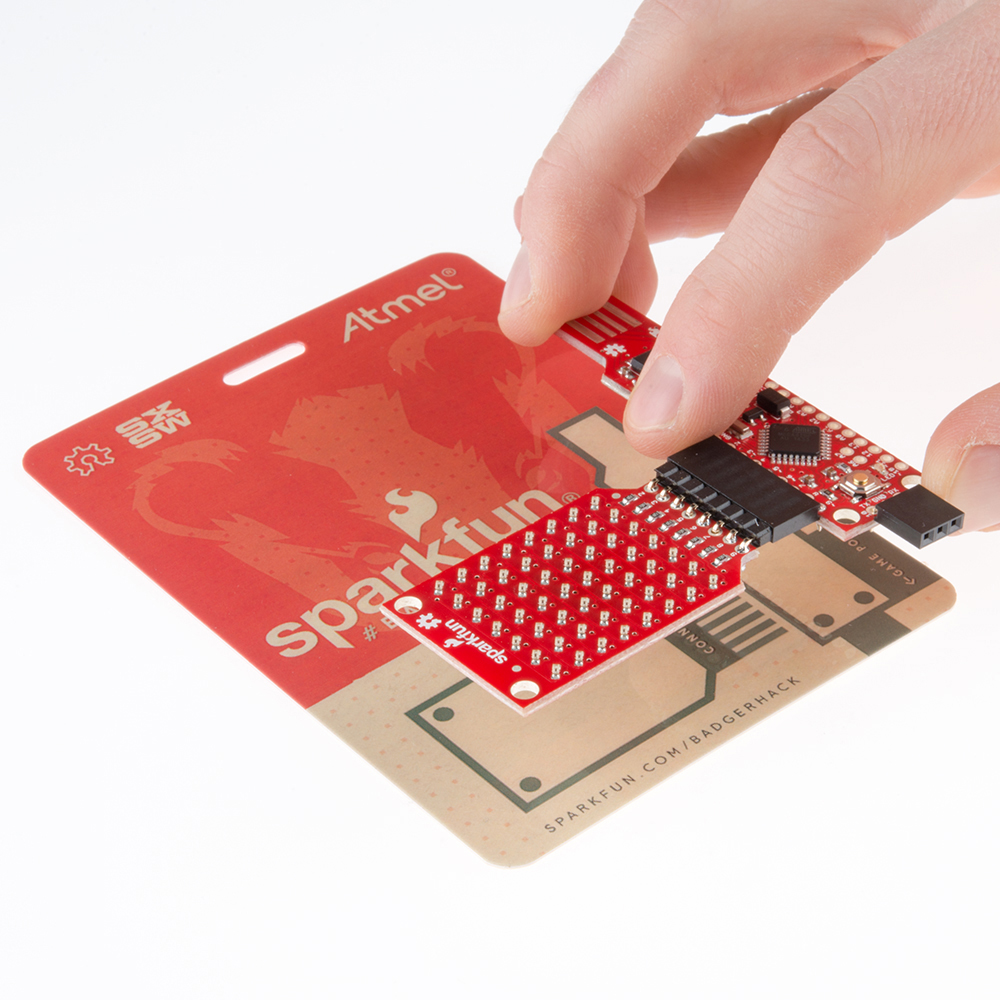
7. Connect the LED board to the BadgerStick
Connect the LED board and BadgerStick, by sliding the headers together. Ensure the LEDs and electronics on the BadgerStick are facing the same direction.
Flip the boards over, and double-check your solder connections:
- 8-pin male header soldered to the pins in the white box on the LED board
- 8-pin female header soldered to the pins in the white box on the BadgerStick labeled "LED Array"
- 3-pin female header soldered to the pins in the white box on the BadgerStick labeled "Game Port"
- Red battery wire soldered to + Battery pin
- Black battery wire soldered to the - Battery pin

Before you stick your electronics to the badge, turn on the battery pack to make sure everything is working. Troubleshooting your board will be a lot easier if it's not adhered to the badge.
8. Affix the components to the badge
Add one piece of double-sided foam tape to the LED board and another piece to the BadgerStick.
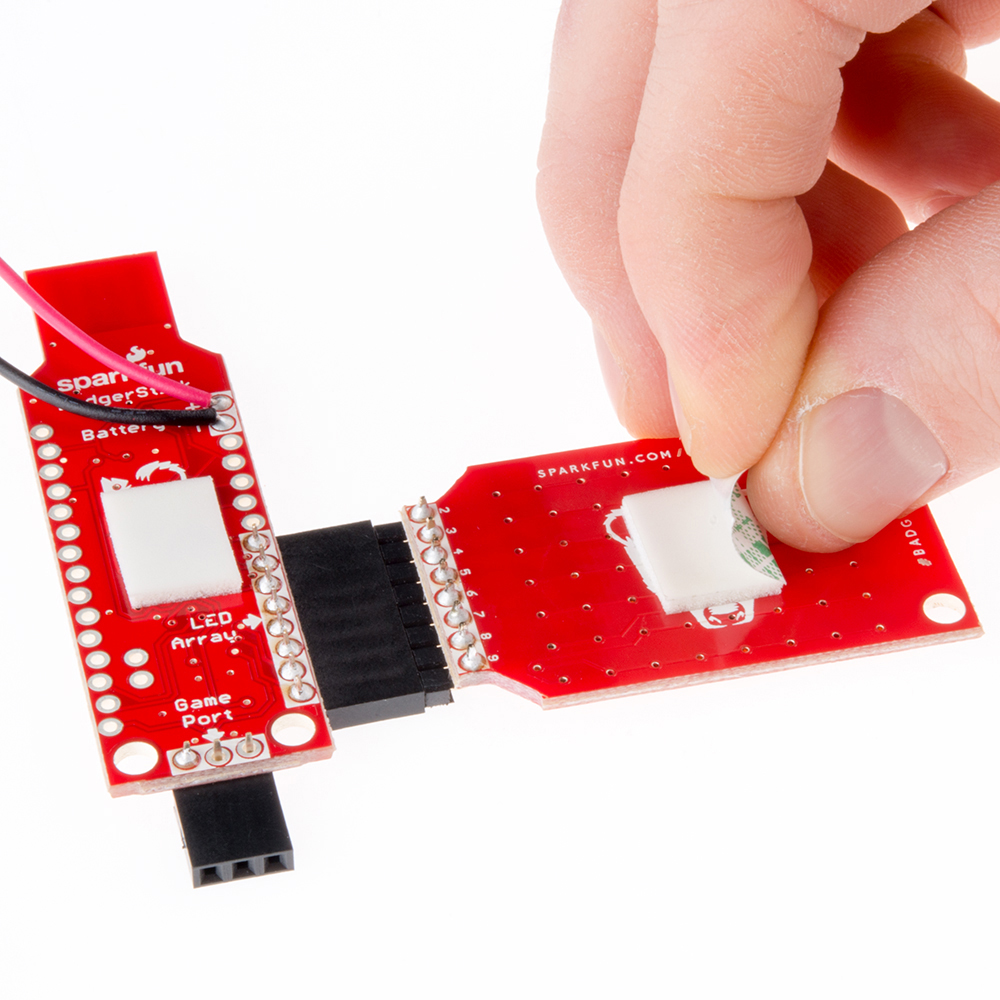
Add another two pieces of foam tape on top of the existing foam tape.
Stick the LED board and BadgerStick to the front of the plastic badge.
Put one more piece of foam tape on the battery pack on the side with the screw.
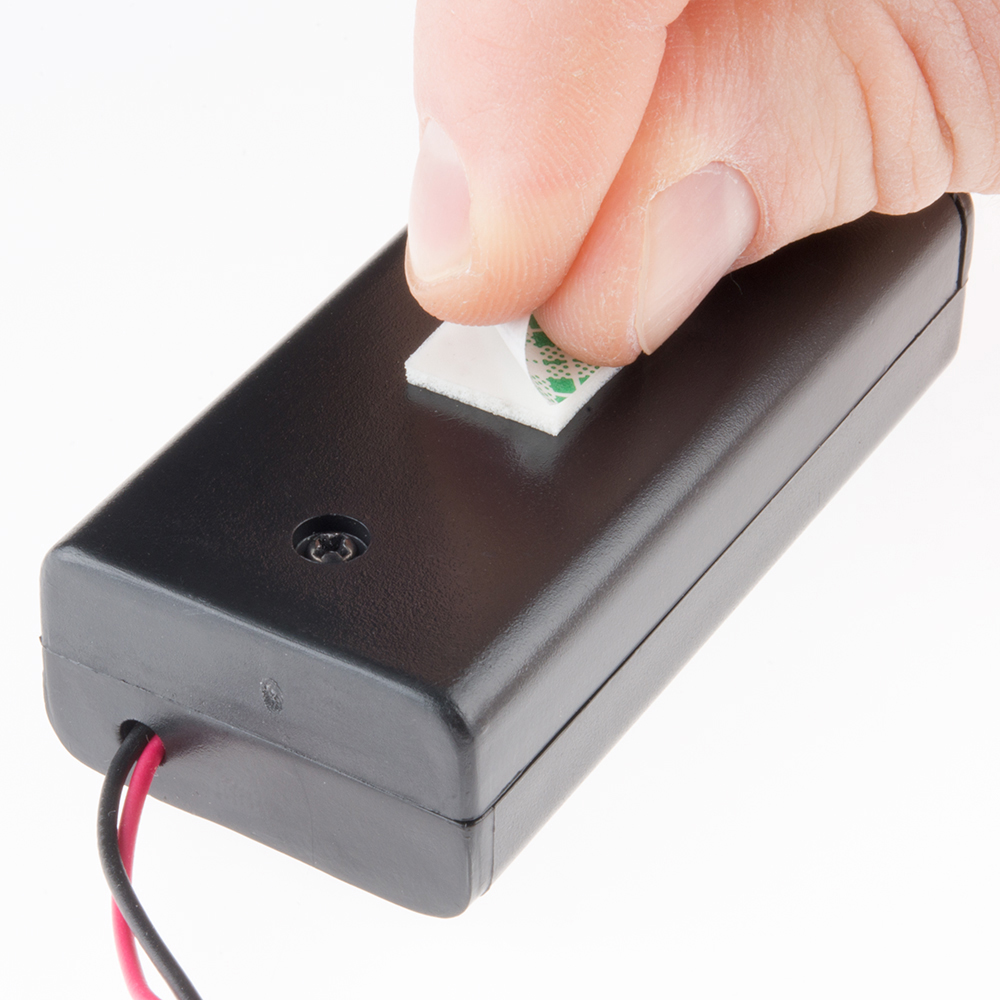
Stick the battery pack to the back of the plastic badge. To prevent the wires from hanging out, wrap them around the side of the badge as in the picture.
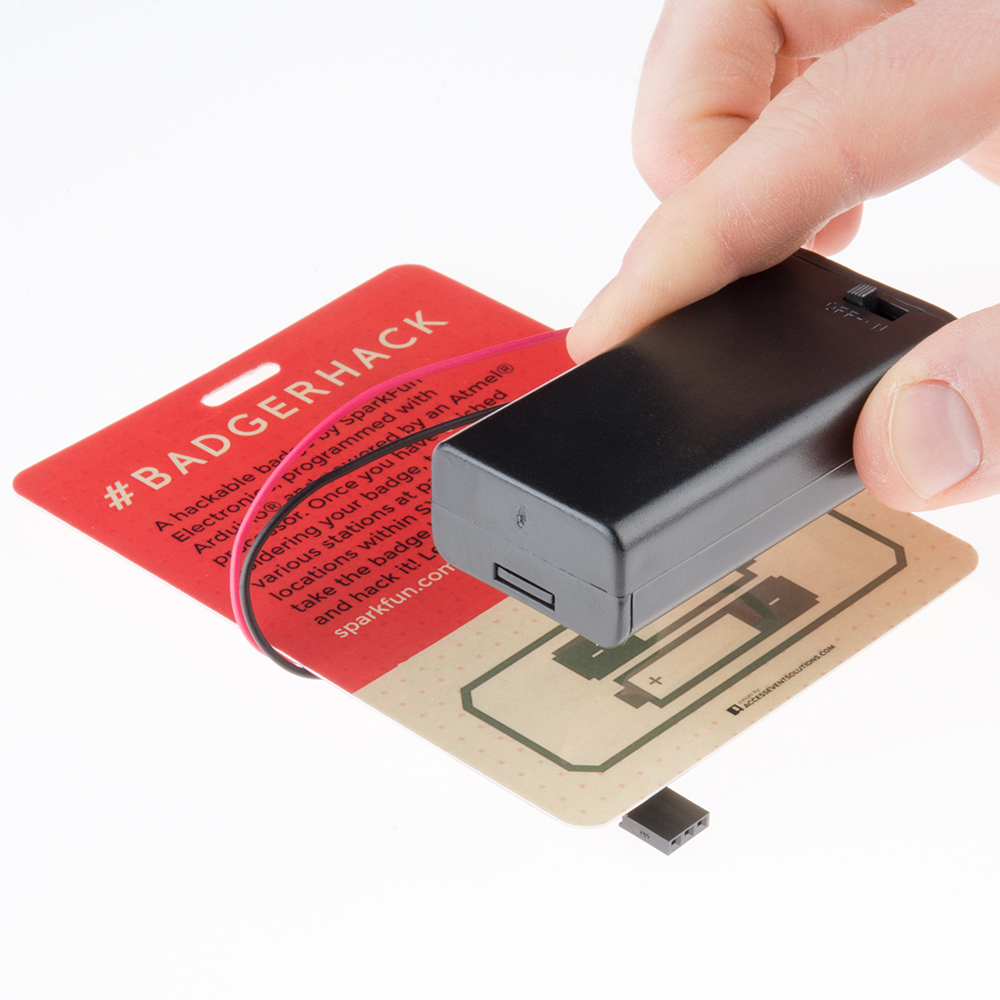
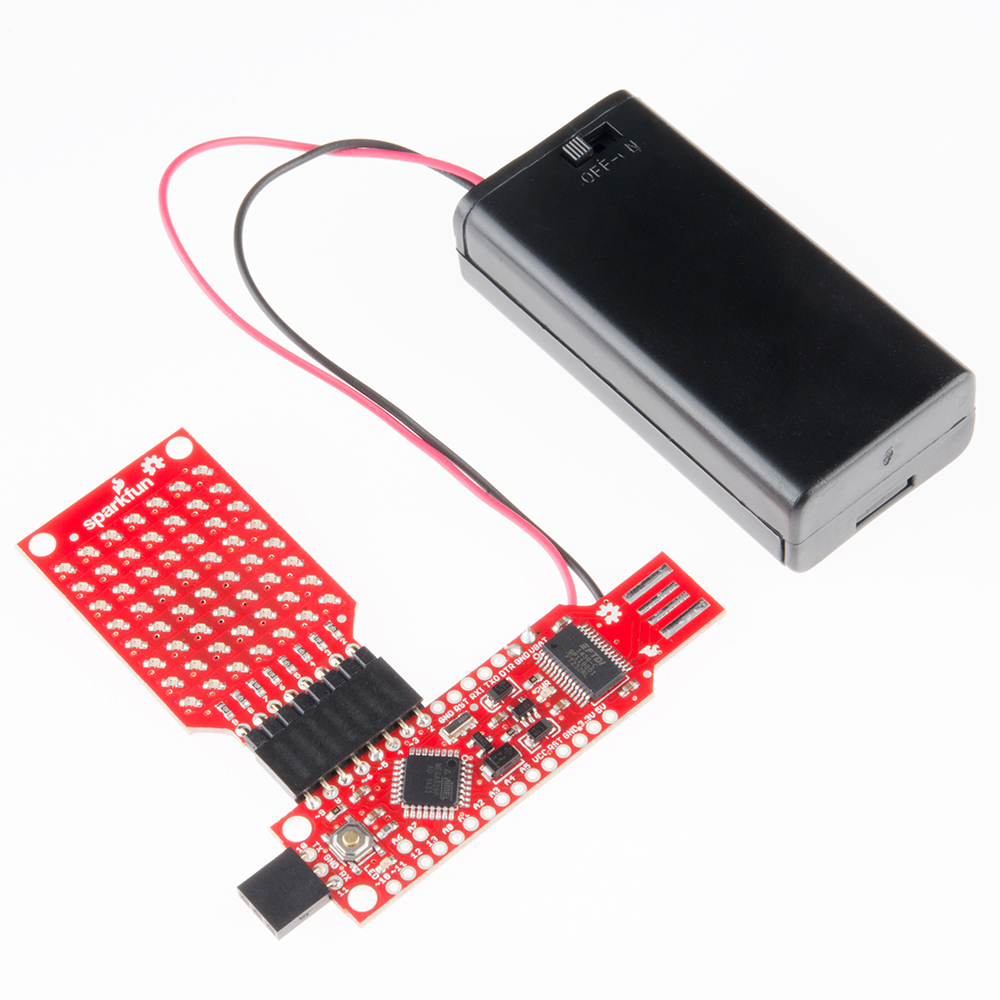
9. Turn it on
Turn your badge over, and find the little switch on the battery pack. Flip it to "ON."

Flip your badge back over. Wait about 3 seconds, and you should see the LED matrix activate!
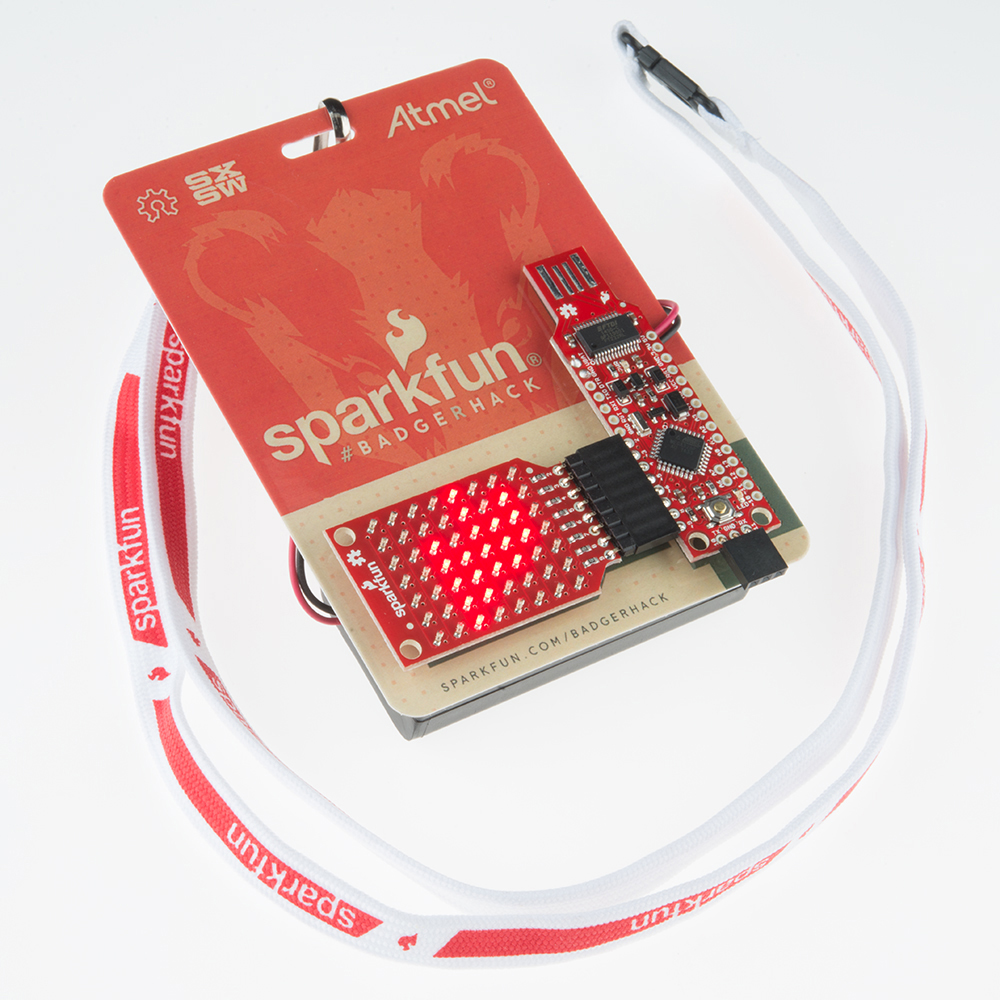
10. Badger it up!
You are now the proud owner of a SparkFun Badger badge! Attach a lanyard...
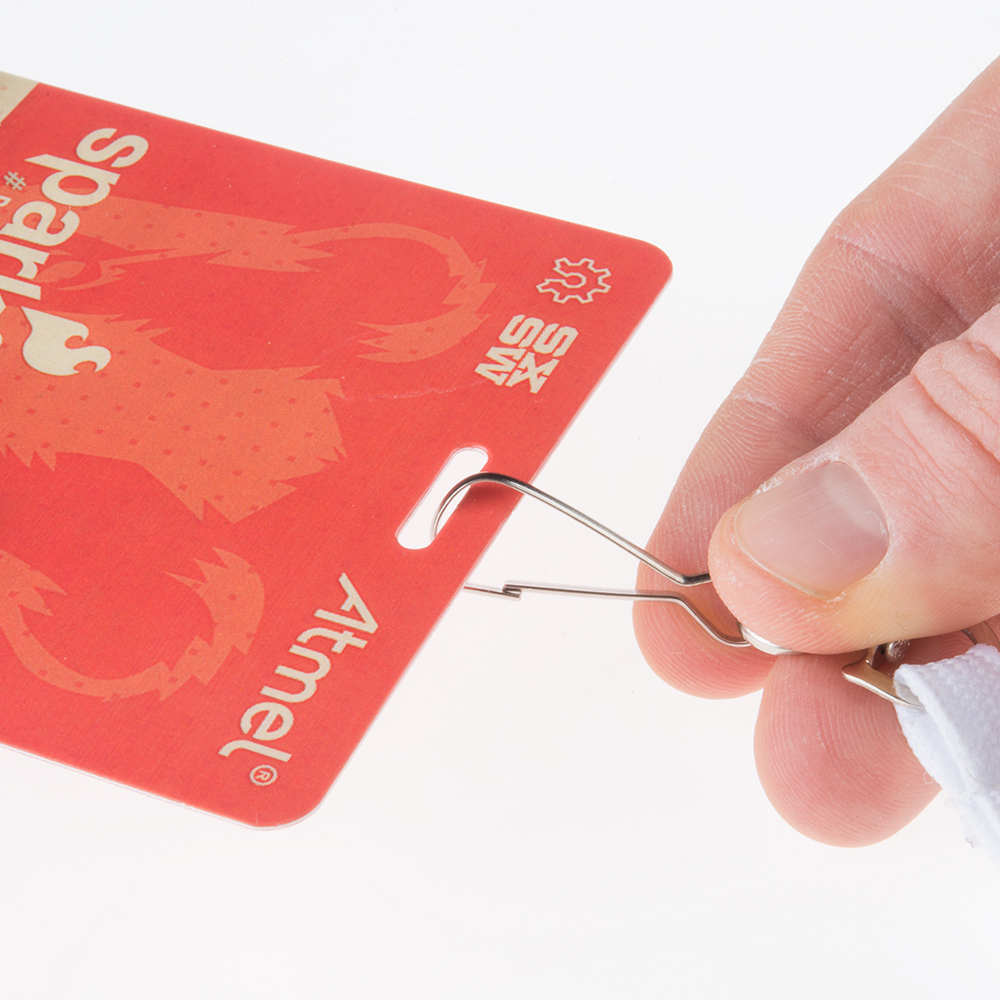
...and wear it with pride.