AT42QT101X Capacitive Touch Breakout Hookup Guide
Introduction
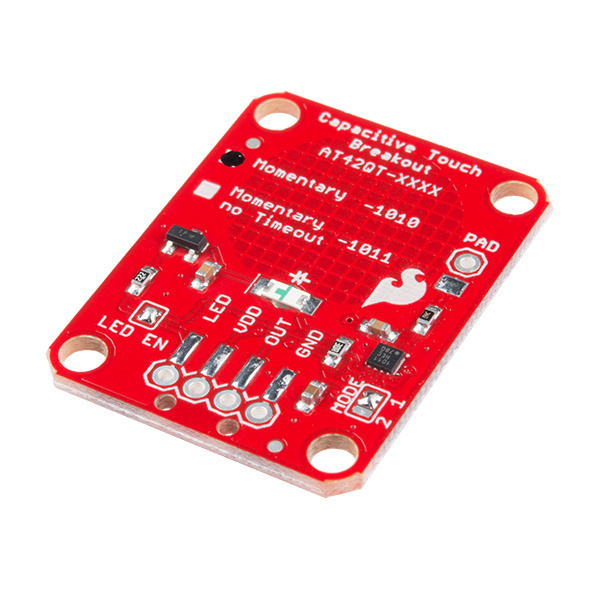
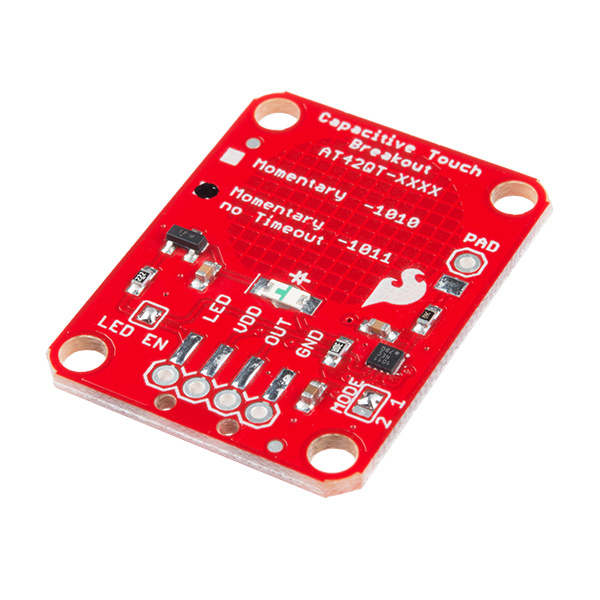
If you need to add user input without using a button, then a capacitive touch interface might be the answer. The AT42QT1010 and AT42QT1011 Capacitive Touch Breakout boards offer a single capacitive touch button with easy-to-use digital I/O pins. For convenience I'll refer to both versions of this board as "AT42QT101X" but I'll refer to each individual version when talking about their differences.
The AT42QT101X is a dedicated, single-button capacitive sense chip. The chip handles monitoring a conductive area for touch. As long as a touch (e.g. from a finger) is detected, the AT42QT101X keeps the output line high. Otherwise, the line is kept low. You just need to provide a power source (1.8V - 5V) and ground for the AT42QT101X to work. SparkFun's breakout board contains an on-board electrode capable of detecting touches. Additionally, a PAD pin is available if you would like to create your own external electrode.
Covered In This Tutorial
This tutorial will show you how to connect the AT42QT101X Breakout Board to an Arduino along with some example code to read the board's output. Additionally, alternative ways to use the board will be shown, such as mounting it to an acrylic panel and creating your own capacitive sensing pad.
Required Materials
- An AT42QT1010 or AT42QT1011 Capacitive Touch Breakout Board
- RedBoard or any Arduino-compatible board.
- 4-Pin Male SMD header or Male PTH headers to make the board breadboard compatible.
- Jumper wires to connect from breadboard to Arduino.
- Breadboard to tie everything together.

