AT42QT101X Capacitive Touch Breakout Hookup Guide
 Elias The Sparkiest,
  Shawn Hymel
Hardware Hookup
Assembly
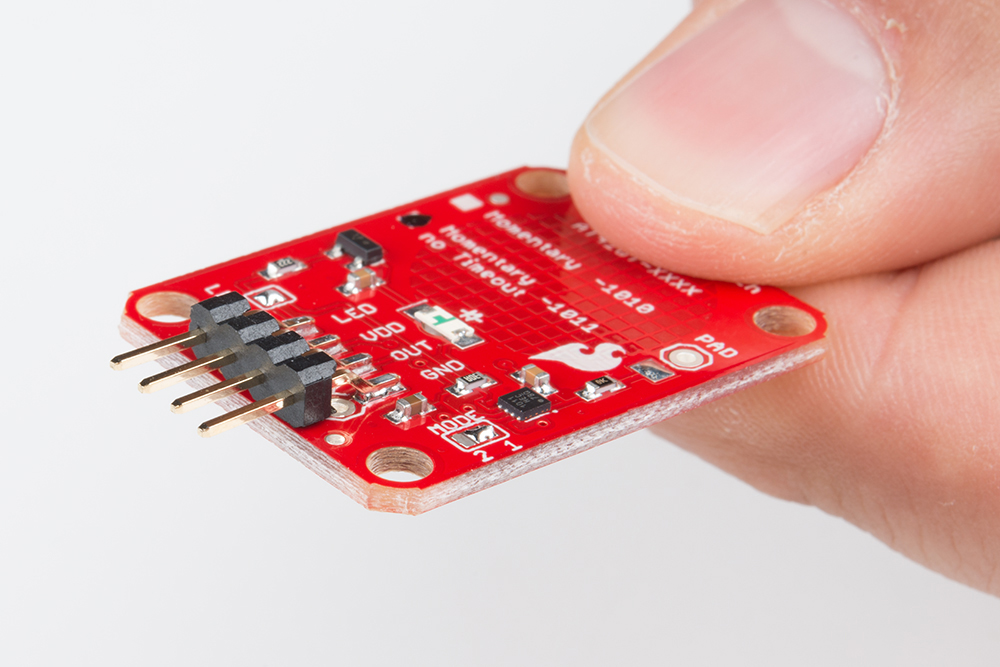
If you are not planning to mount the board flush to a panel, you can solder either wires or break away headers to the 4 header holes on the board.
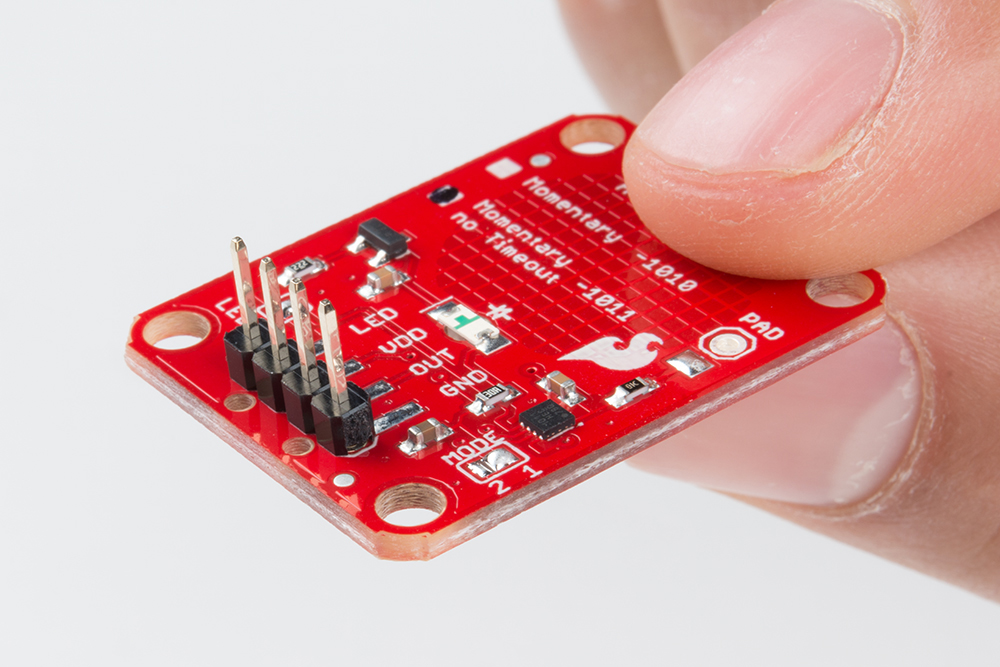
On the other hand, if you wish to mount the AT42QT101X to a panel, you can solder a 4-pin male header to the SMD pads.
Connecting the AT42QT101X Breakout Board
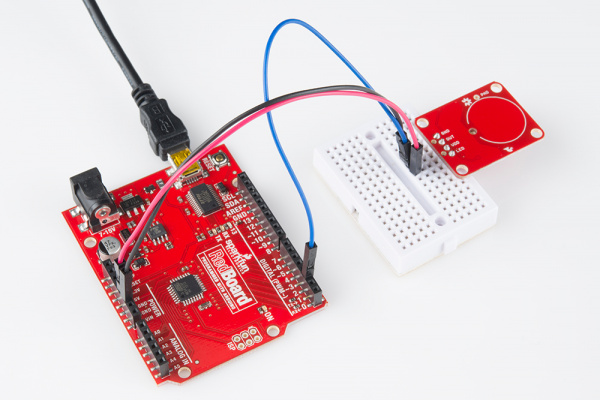
For an Arduino, make the following connections with jumper wires:
| AT42QT101X | Arduino |
|---|---|
| VDD | 5V |
| OUT | 2 |
| GND | GND |
Mounting the AT42QT101X Breakout Board
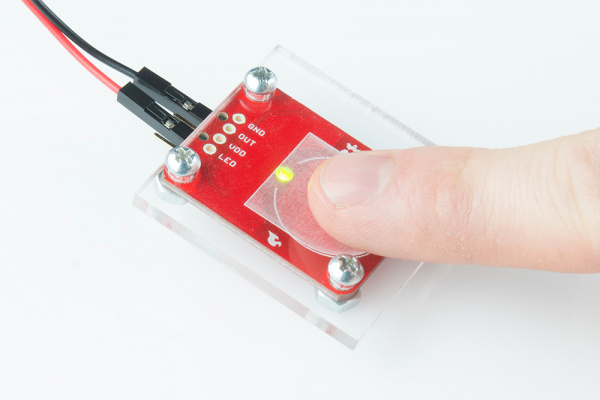
One advantage of capacitive touch boards is their ability to be mounted to panels and detect touch through thin plastic, cardboard, etc. Using a drill or laser cutter, cut four 0.125 inch holes in the same pattern as the mounting holes on the breakout board.
Attach the board to the panel using #4-40 screws and #4-40 nuts.
External Electrode
You can create your own electrode by using foil, copper tape, or any other conductive material. Cut or shape the electrode and attach a wire between the electrode and the PAD pin on the AT42QT101X breakout board. For a secure connection, make sure to solder the external electrode together. The electrode can be almost any shape and size.
