Ardumoto Shield Kit Hookup Guide
This Tutorial is Retired!
This tutorial covers concepts or technologies that are no longer current. It's still here for you to read and enjoy, but may not be as useful as our newest tutorials.
View the updated tutorial: Ardumoto Kit Hookup Guide
 jimblom
Motor and Wheel Assembly
This is where the shield assembly gets very project-specific. Have you picked out which motors you'll be driving with the shield? Do you know how long the wires need to be trimmed? There's a lot to be answered here before continuing on...
Wiring the Motors
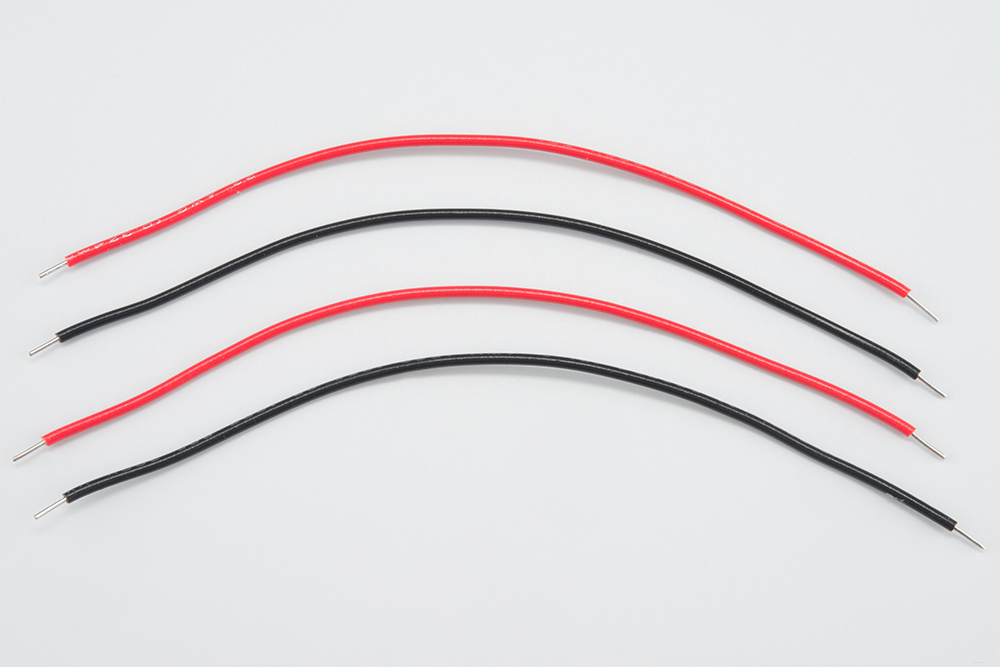
If you have the kit, you already have a couple pairs of wires, but they still need to be stripped. Grab your Wire Strippers, and remove about 1cm of insulation from each end of each wire.
Then it's time to solder the wires to your motors. Slide a black wire through the "eyelet" connector on a motor, then use a pair of pliers to crimp it around creating a decent mechanical connection.
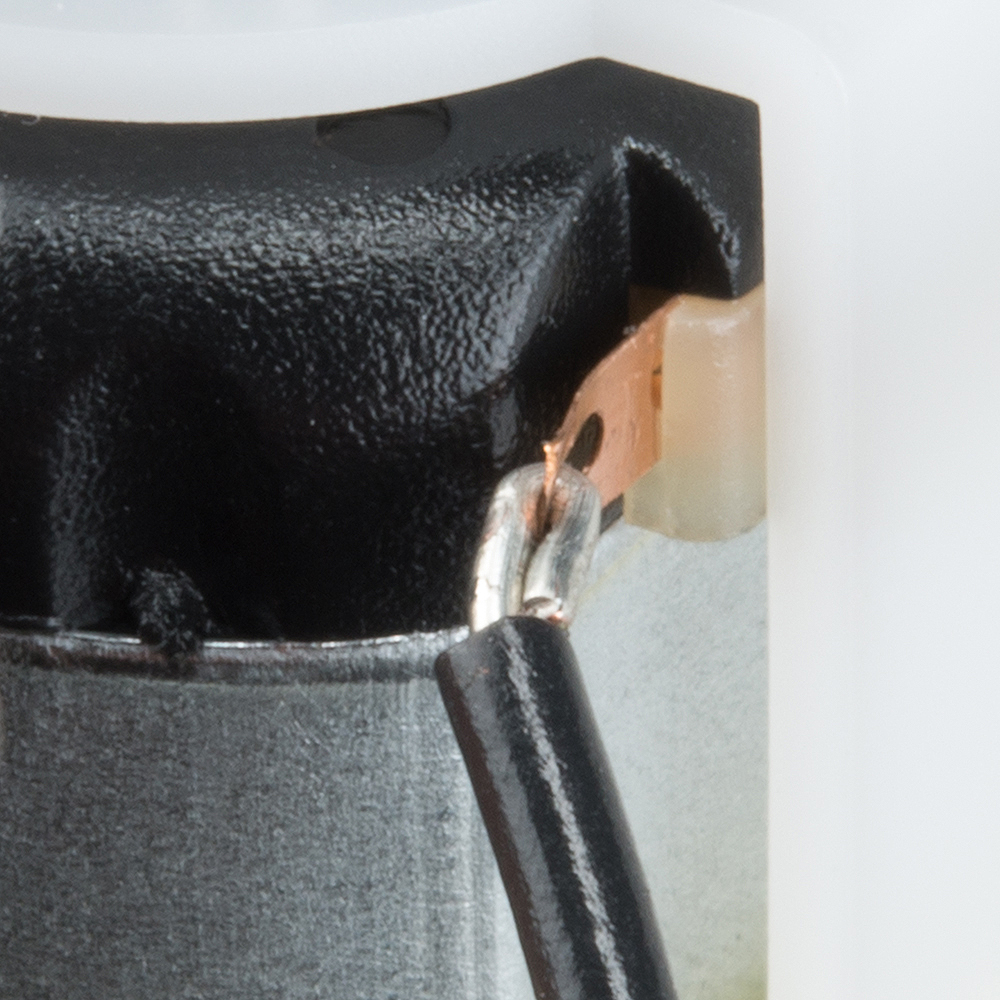
Then coat it with a warm blob of solder. Repeat the same set of steps for the red wire and the motor's opposite connector.
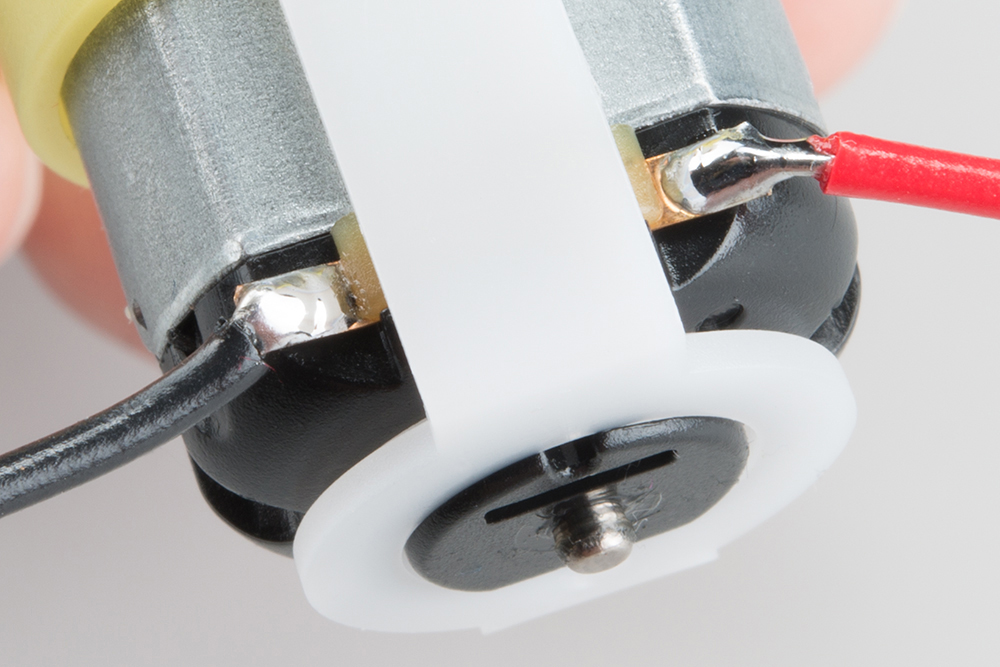
Make sure the wires don't short on the motors nearby metal body.
Repeating the same set of steps on the other motor, try to match the positions of the red and black wires.
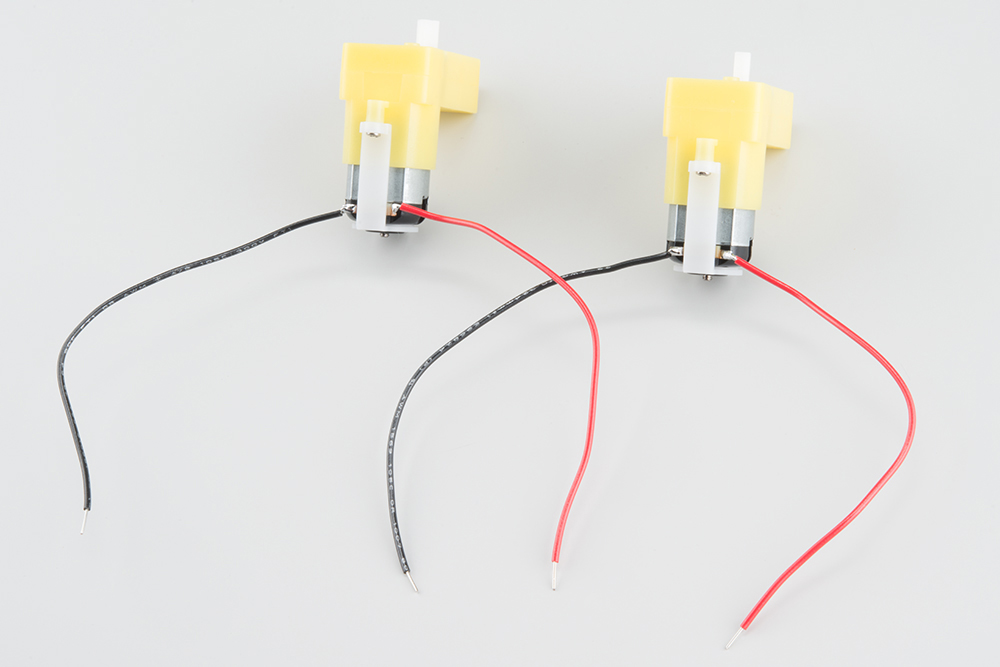
And make sure you don't yank the wires too hard now -- those motor terminals are rather delicate.
Connecting Motors
Connecting the motors to your shield is much easier -- especially if you have screw terminals. If you added screw terminals in the last step, break out your screw driver, slide the wires in, and tighten the terminals down
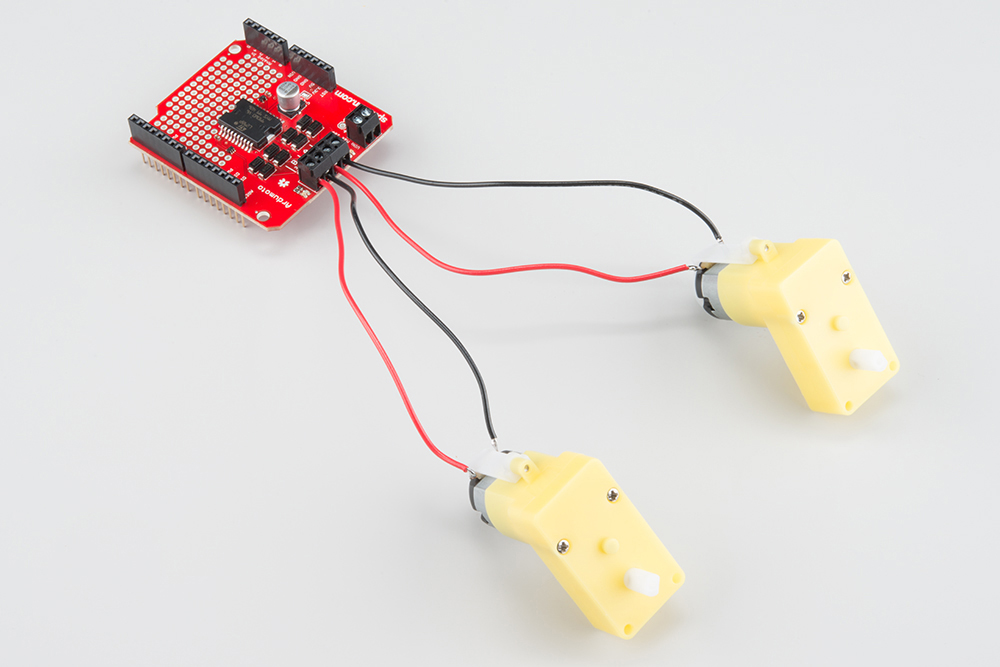
In lieu of screw terminals, you can solder the motor wires into either the 0.1" header or the screw terminal header.
Upcycling the SparkFun Box
If you have the Ardumoto Shield Kit, you probably also have a robust, resplendently red SparkFun box. These SparkFun boxes come in handy for all sorts of projects -- including robot chassis!
With some measured hobby knife incisions, you can cut out some mounts for the motors and tie your Arduino/shield combo down as well:
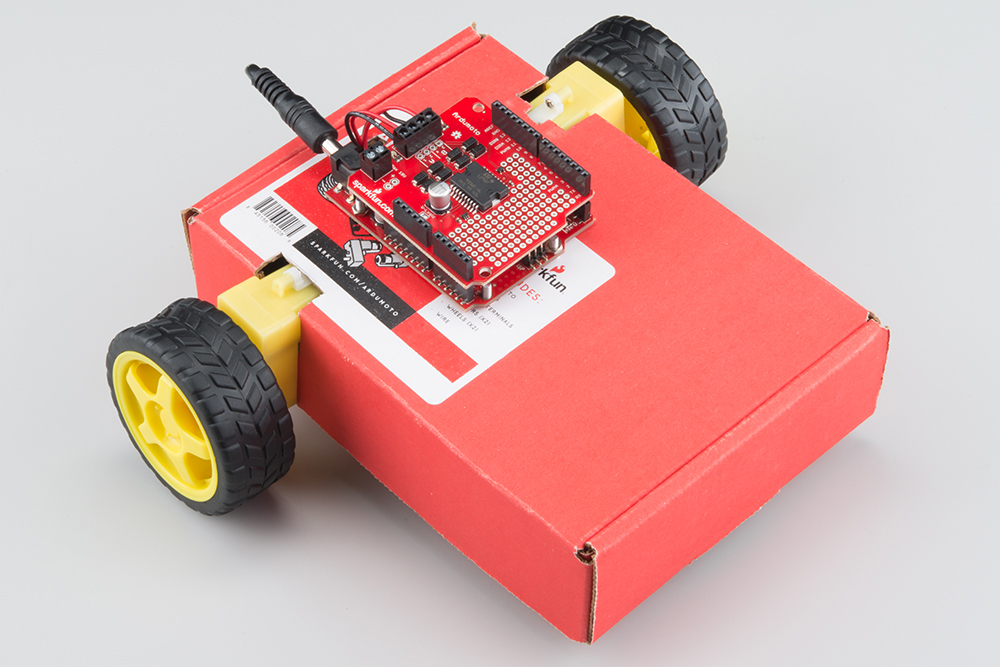
You may want to add a Ball Caster to the front, to keep the box from scraping against the floor. Now time to program the Arduino and make your RedBox-bot mobile.