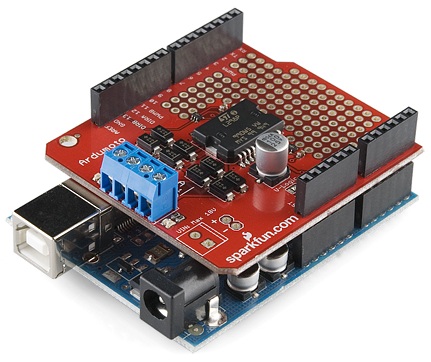
Arduino Shields
This Tutorial is Retired!
Note: This tutorial is for reference only. Most of the shields covered in the "Shieldstravaganza" video series and section are no longer carried by SparkFun. For an updated version of this tutorial, follow the link below.
View the updated tutorial: Arduino Shields v2
 jimblom
Installing Headers (Assembly)
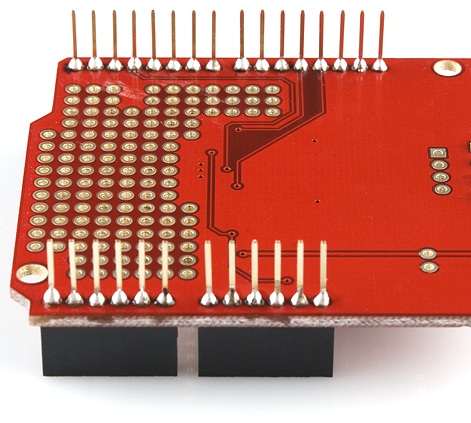
Step 1: Insert All Four Headers
Plug all four headers into the shield. Make sure you insert them in the correct direction. The male pins of the header should enter the top side of the shield and extend out the bottom. This orientation is of utmost importance. Don't solder anything until you've got the headers going the right way!
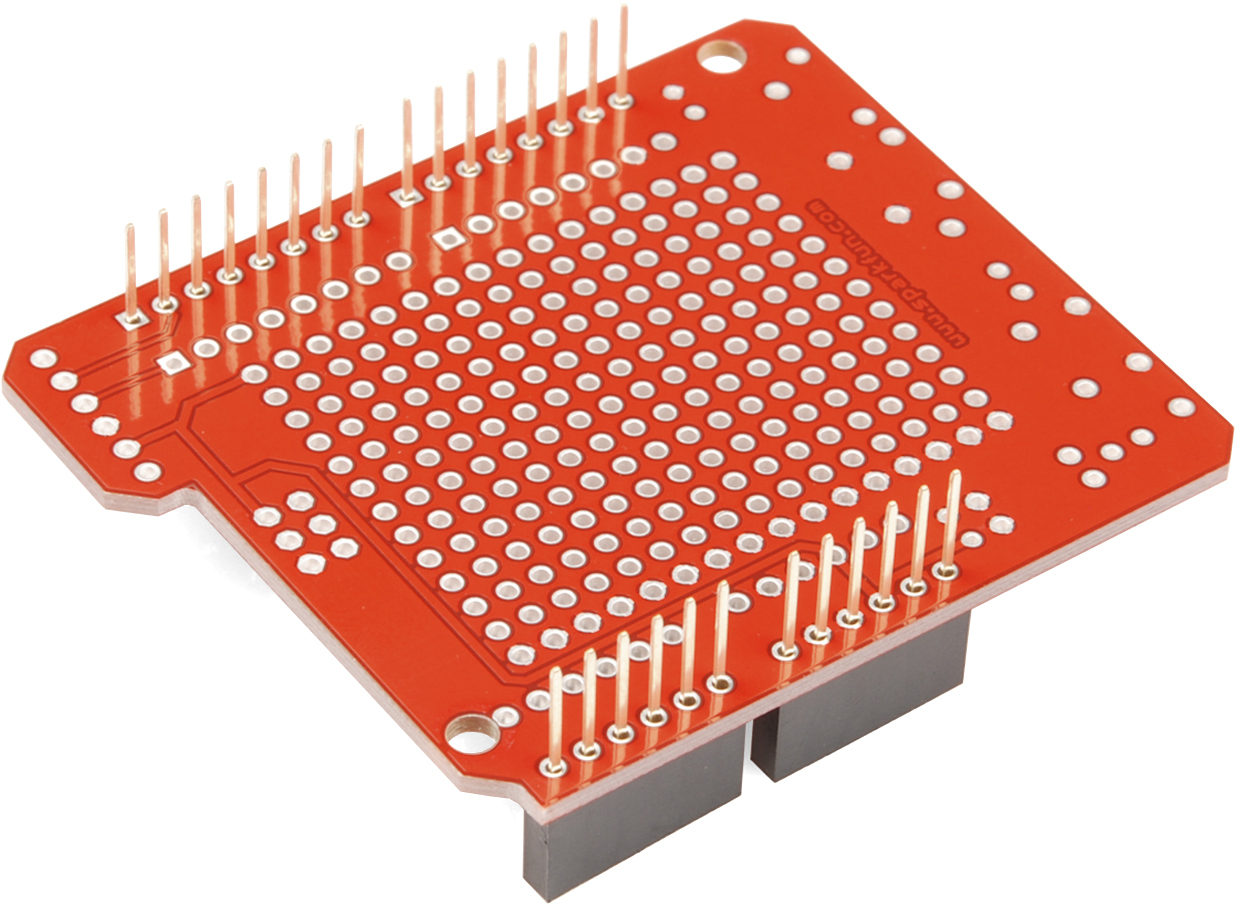
With the headers inserted, flip the shield on its top-side to rest on the black, female side of the headers. Hopefully you've got a nice flat workspace to lay it on. Try to align all headers so they're precisely perpendicular to the shield PCB.
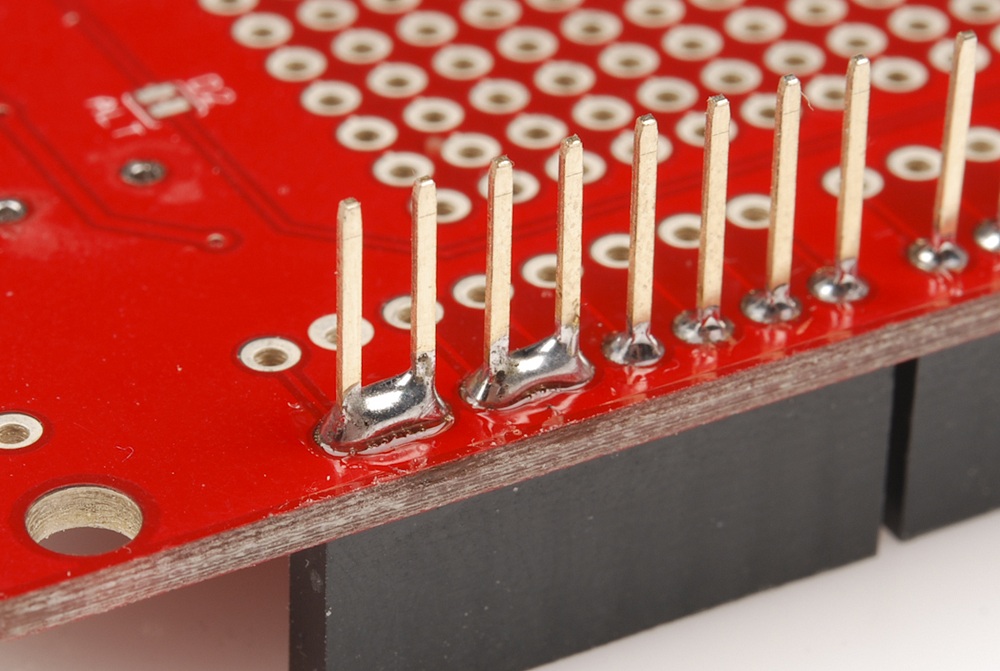
Step 2: Solder One Pin On Each Header
Finally, soldering time! It's important that each of the headers is at a nice, 90° angle to the PCB. This will ensure that the shield slides straight onto your Arduino, and you won't have to bend any pins in doing so.
In order to guarantee that each header is straight, start by soldering just a single pin on each. If they're at a weird angle, it'll be much easier to re-heat just a single pin, while adjusting the alignment.
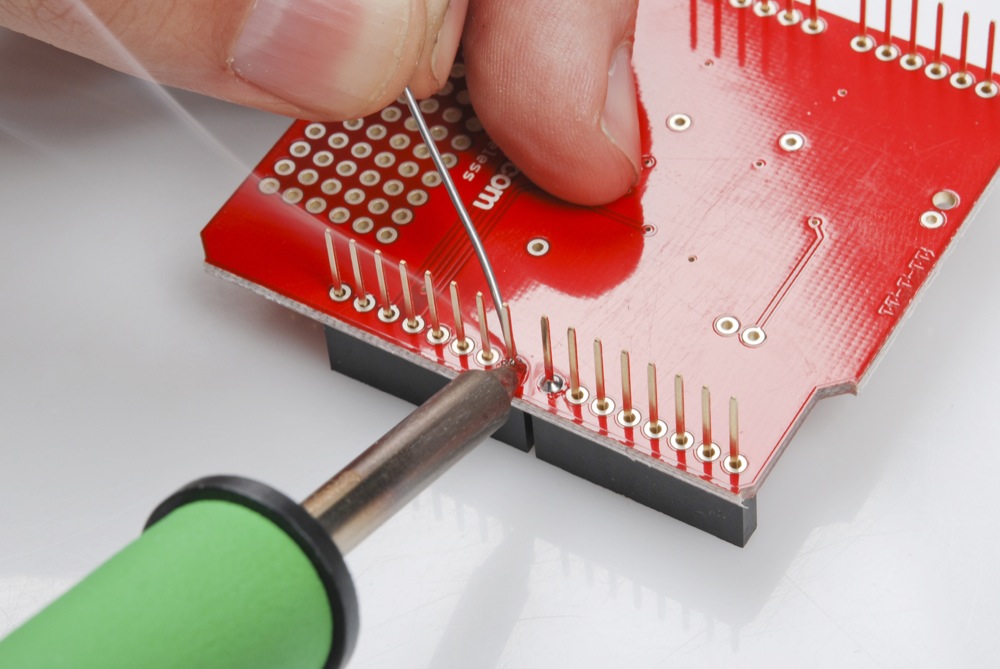
Four solder joints down, only 24 (to 28) to go!
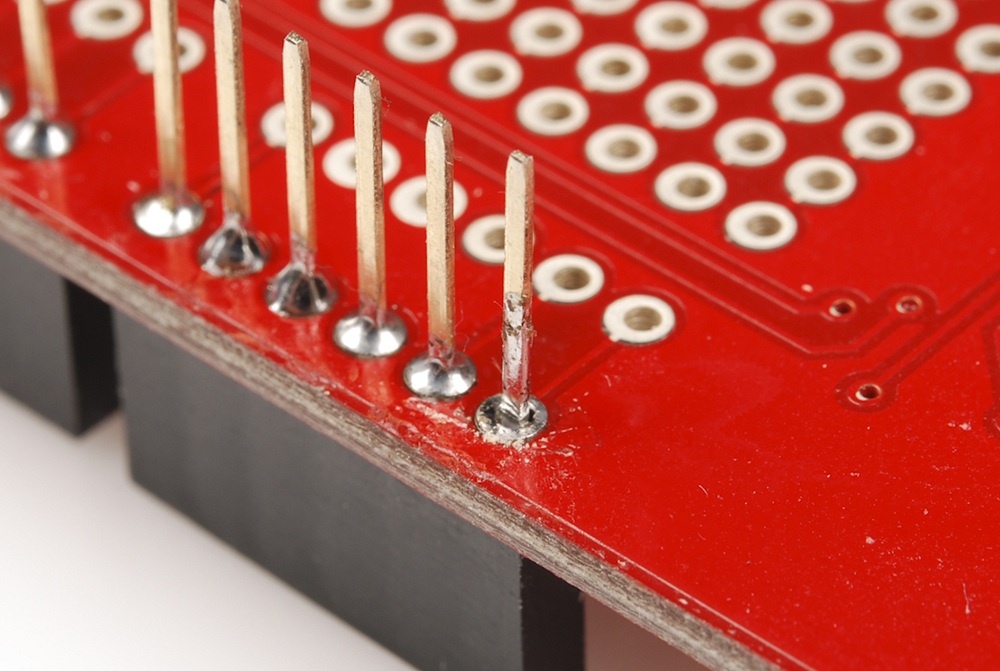
Step 3: Check Header Alignment
With those four pins soldered, try plugging the shield into your Arduino to test the header's alignment. Make sure your Arduino's not powered while you do this alignment check.
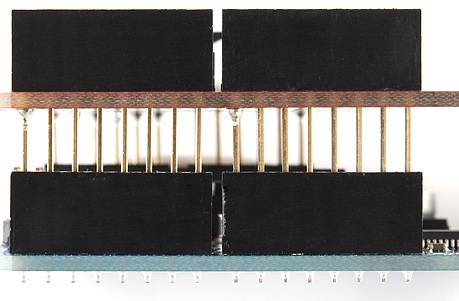
Does everything line up? No pins bending? If not, find the guilty header and try to re-align it. Warm the joint back up with your iron, and slightly move and adjust the header alignment. Also, be careful when pulling the partially soldered shield out of the Arduino. Since all the headers are not soldered, you could easily bend them as you pull it out of the Arduino's female headers.
Step 4: Solder All Remaining Pins
If your headers are all lined up, you can attack the remaining unsoldered header pins. When you're done, you should have 28 (or 32) shiny volcanoes of solder.
Step 5: Check For Shorts or Cold Joints
With everything soldered, double check for bad solder joints. Did any of your joints stray into another creating a short? If so, you can take some solder wick to the joint, or just try re-heating the short and "pushing" the solder where you want it.
Also check for cold solder joints - a joint that's got some solder on it, but isn't quite connecting the two solder points together. Cold joints aren't always the easiest to see; look out for joints that aren't as shiny, or pins that still seem loose.
To fix a cold joint, re-heat the solder on the pin, and add just a bit more.
Step 6: Plug It In!
It's usually best practice to power down (unplug) your Arduino before you connect a shield to it. Hopefully all of the pins are still well-aligned and the shield just slides right into the Arduino. Take care not to bend any pins while inserting, and make sure they all go into their mating female headers.