Arduino Shields
This Tutorial is Retired!
Note: This tutorial is for reference only. Most of the shields covered in the "Shieldstravaganza" video series and section are no longer carried by SparkFun. For an updated version of this tutorial, follow the link below.
View the updated tutorial: Arduino Shields v2
 jimblom
Assembly Tricks
The previous assembly page should detail everything you need to know about simple shield header installation. There are, however, a few tricks we've picked up along the way...
Use An Old Shield to Aid Alignment
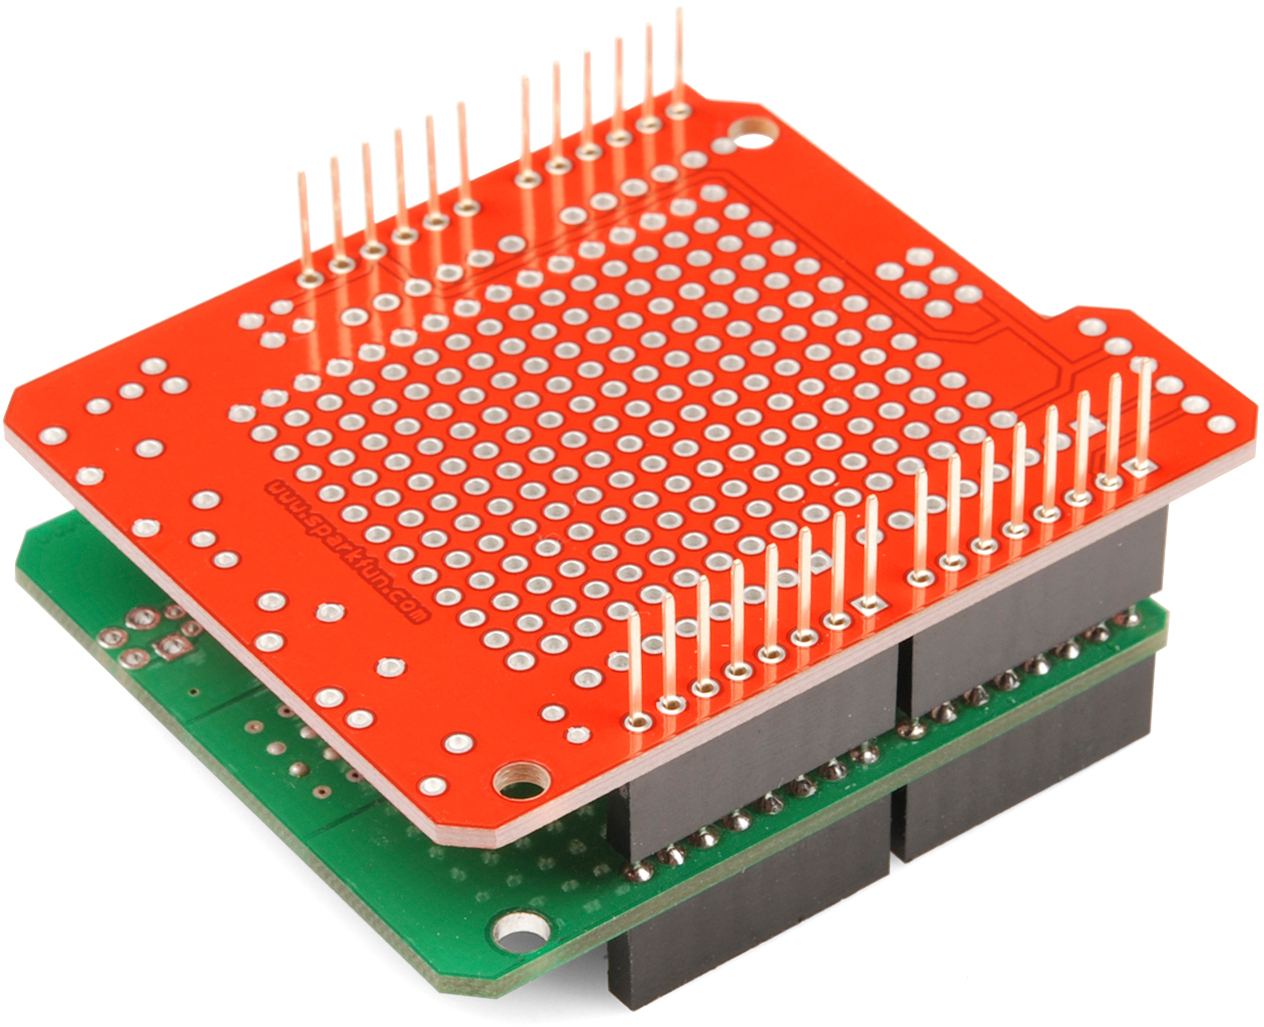
The easiest place to mess up shield assembly is in aligning each of those headers. It's best to avoid soldering the stackable headers while the shield's connected to the Arduino, so the method described in the assembly section is usually best. If you've got a spare shield lying around, you can take advantage of another little trick by using it as a header-alignment-jig.
Begin by plugging all of the headers into your spare shield jig.
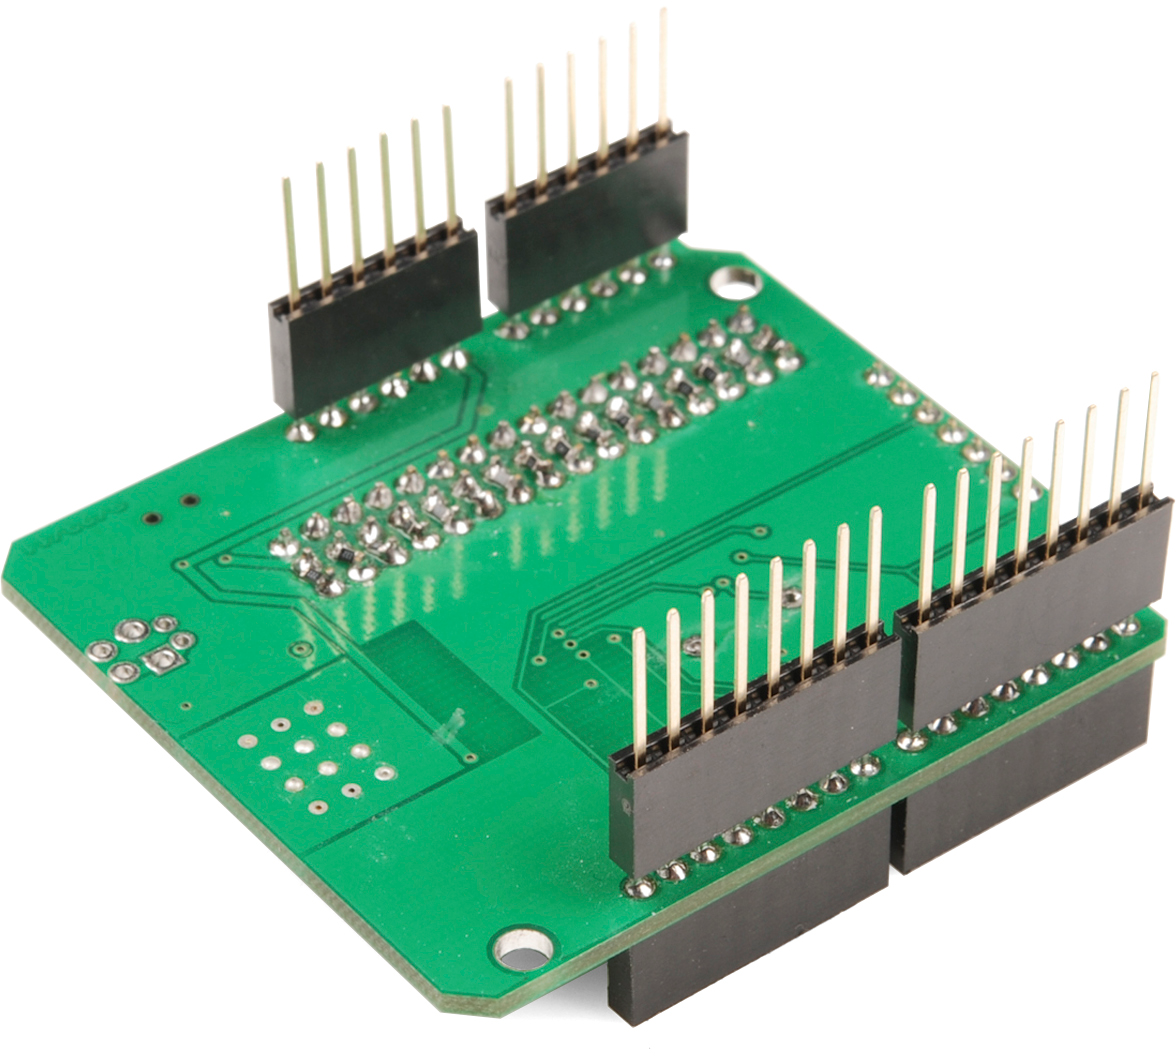
Then insert the headers into your to-be-soldered shield, and solder them all up. Assuming the spare shield is well-aligned (you may want to check that first), it should handle all of the alignment of your new headers.
Installing Male Headers
If you value a smaller profile shield installation over the ability to stack shields and connect jumper wires, male headers are an option.
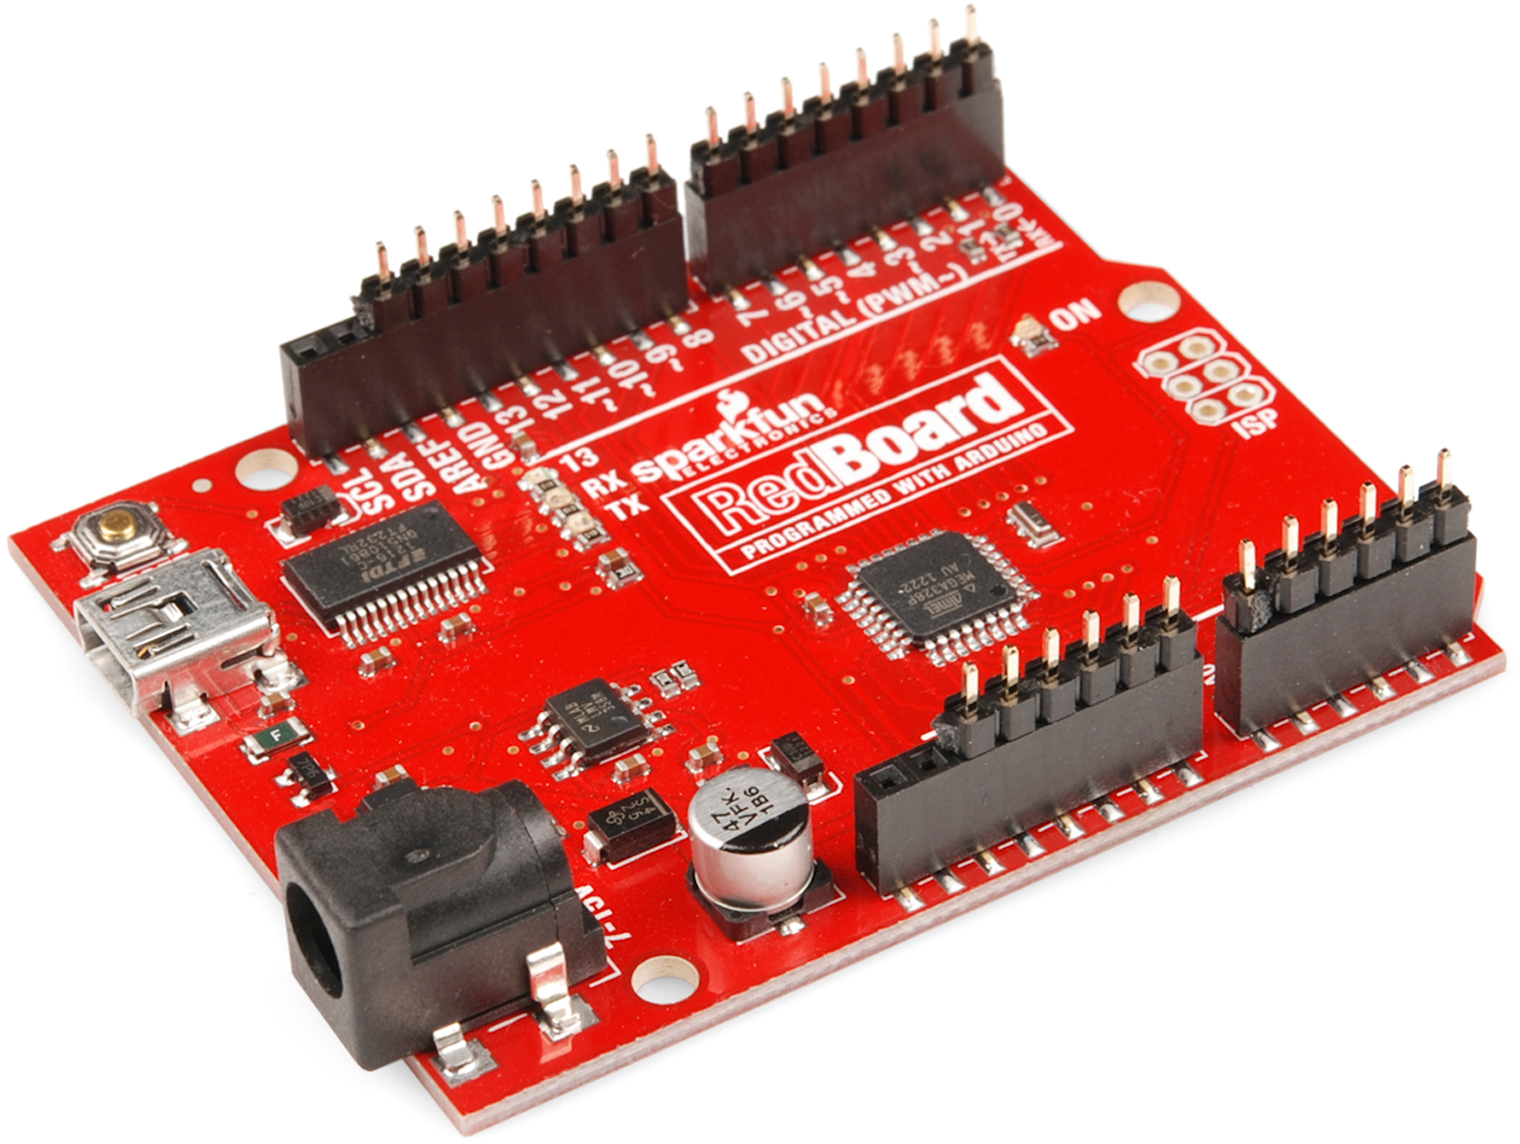
In a way, male headers are actually easier to align and install, because you can use your Arduino as a jig. Begin by inserting the headers into your Arduino.
Then line up and plug in the shield, and solder away.
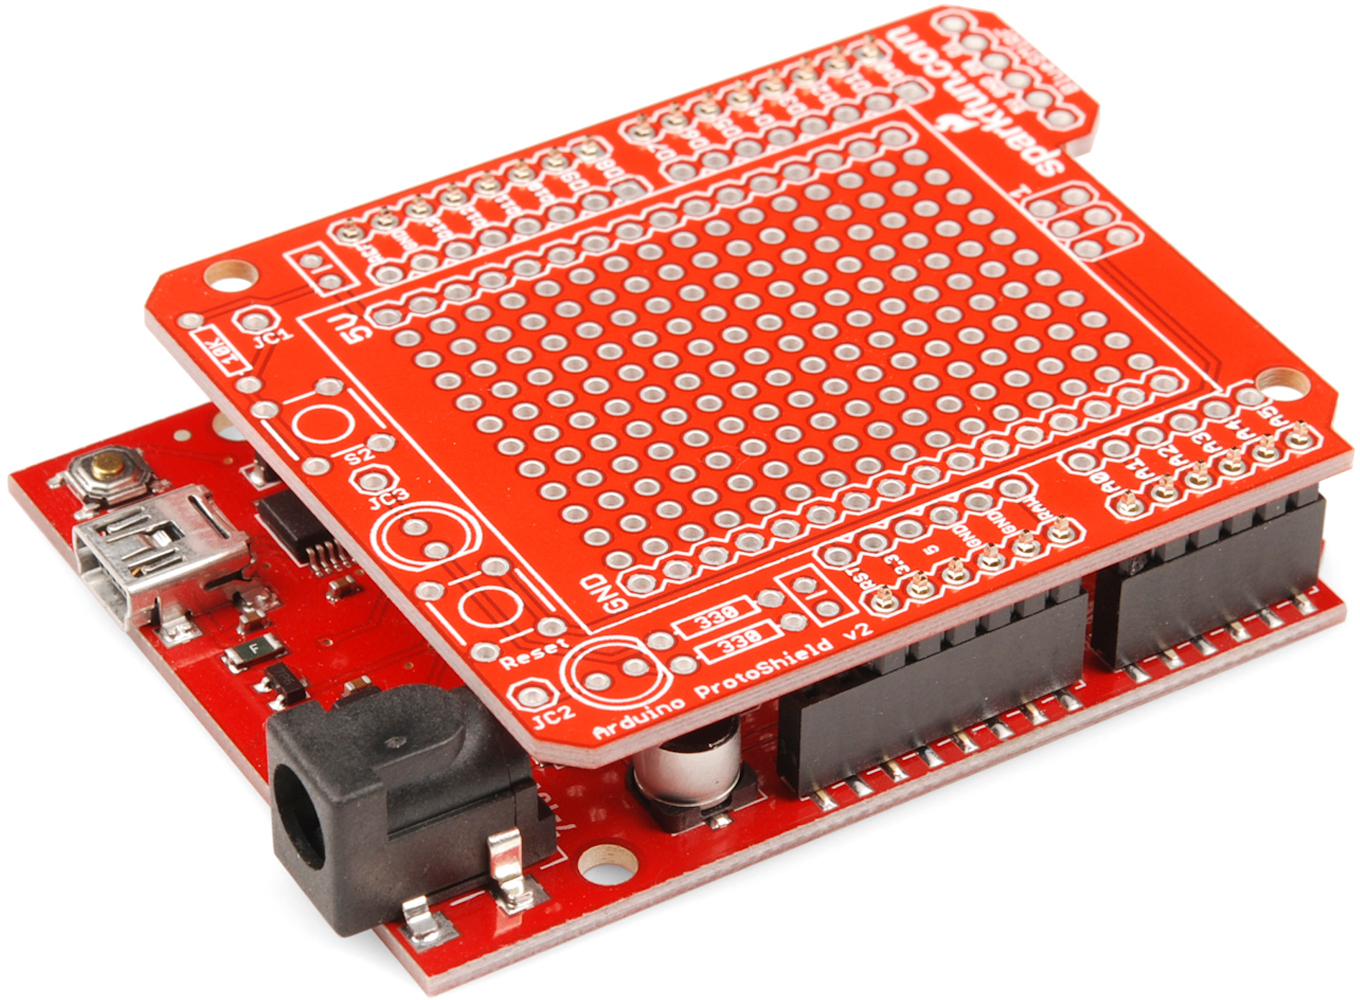
Be somewhat careful using this method, don't leave the iron on the pins for too long or you risk burning the Arduino's headers. If you're especially worried about burning your Arduino's female headers, you can solder just a single pin on each header, remove the shield, and solder the rest.