21st Century Fashion Kit: Inflation
 Dia, Member #313449
 Soft Circuit Button
If you would like to make your own fabric button, follow the steps below. For a more traditional button, move ahead to the next step, Momentary Push Button.
You will use conductive thread and felt to sew a button. When you push the felt, two pieces of conductive thread inside of the button will touch, turning on the circuit.

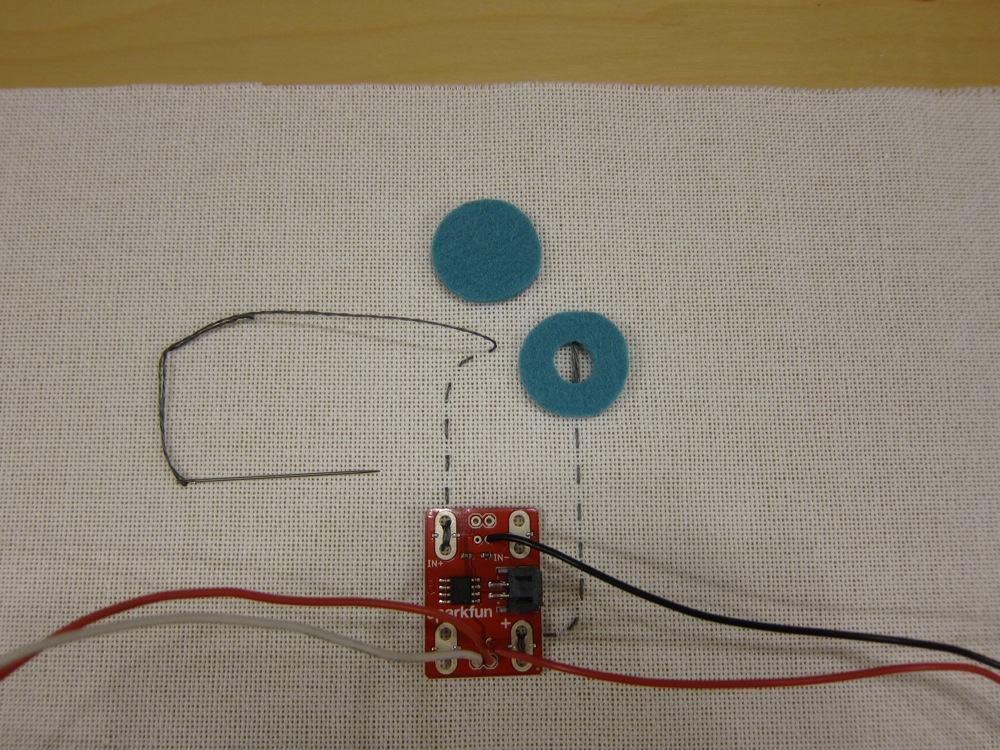
Solder the white ground (GND) wire of the squirrel cage blower to 'Out -' on the MOSFET Power Controller. Solder the red voltage wire to 'Out +'. Solder the red wire of 9V snap connector to the same 'Out +' pin on the Power Controller. Solder the black ground wire of the 9V snap connector to 'In -'.
Using the conductive thread, sew from 'In+' to the side of your button location. With a second piece of conductive thread, sew from 'In-' to the bottom of your button location. For a strong secure connection, stitch through the through-holes in the board a few times, and make sure your stitches are tight. The two threads should not touch.
Tip: Don’t use your fancy sewing scissor to cut the conductive thread. It is steel and will dull them.

With one thread, create a long stitch in the fabric that will go under the button. Sew back over the stitch three times, tie off the thread on the back, and cut off the loose end.
Cut a piece of felt for the top of the button and a piece for the inside. Cut a small hole in the inside piece of felt (the conductive thread will touch through this hole when the button is pushed).
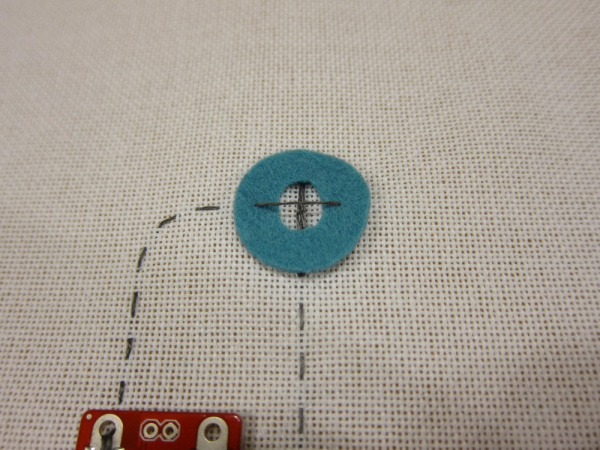
Place the felt button inside piece over the long stitch. With the remaining conductive thread, sew across the felt button inside piece so that the two threads are perpendicular to each other. Stitch so that the thread spans across the top of the hole and is separated from the bottom thread by the felt. Once you have sewn to the opposite side of the button, tie off the thread on the back, and cut the loose end. Make sure the two threads do not touch.

Fine-tune Your Button
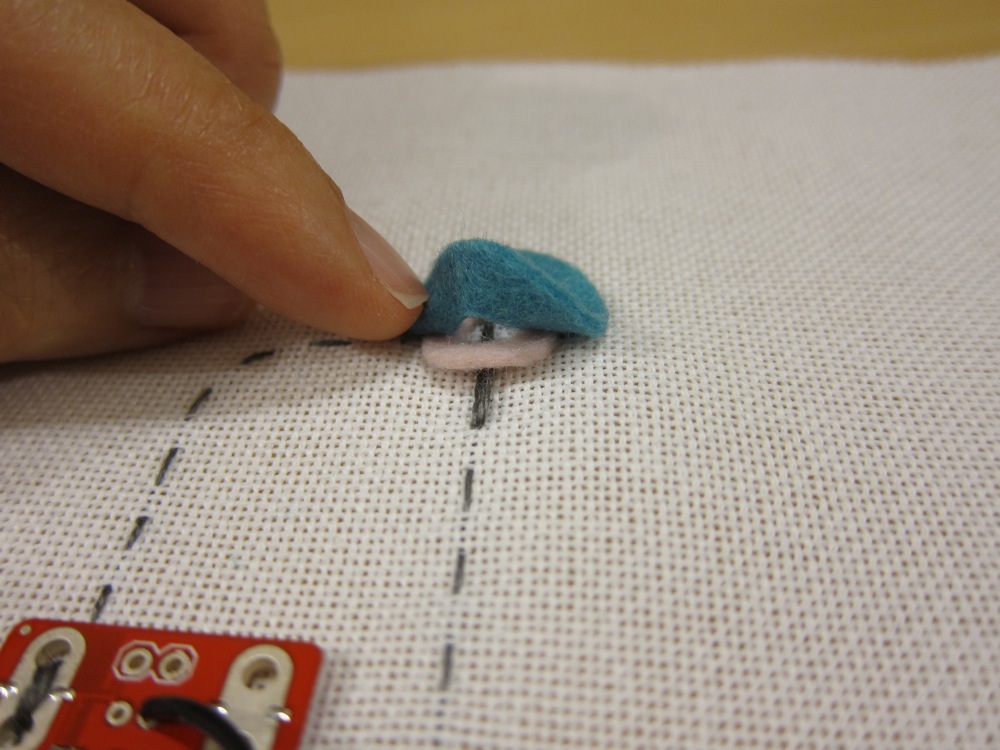
Start by making sure your button can be turned off. If the fan turns on, unplug your battery immediately. This means the top thread of the button is too close to the bottom thread (it’s completing the circuit before you even press the button). Cut a small doughnut of felt, and slide it under the button felt. This will raise the top thread a little higher.
Repeat the previous step until the fan no longer turns on.
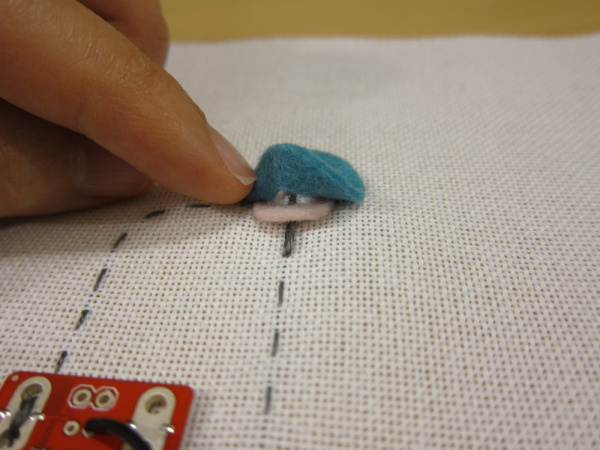
Now it’s time to make sure your button can be turned on. With the battery plugged in, place the top piece of felt on the button. Then push the button. Make sure that the fan is turning on. If the fan is not turning on, trim the holes in the felt button and felt doughnuts a little bigger. Then try to push the button again. Be patient, you will probably need to trim and test several times. Once you can turn the circuit on by pushing the button, go back to the previous step, and make sure the button also turns off. Remember, this is experimental fashion, so getting a working button takes some fine tuning. Make sure to unplug your battery whenever you are working on your circuit.
Got a working button? Great! Stitch all of your felt pieces in place with traditional thread. Be careful not to sew through the conductive thread. Give the button one more test. If it isn't working, you'll need to do some restitching and trouble shoot your circuit using these steps.