Tilt-a-Whirl Hookup Guide
This Tutorial is Retired!
This tutorial covers concepts or technologies that are no longer current. It's still here for you to read and enjoy, but may not be as useful as our newest tutorials.
 Toni_K
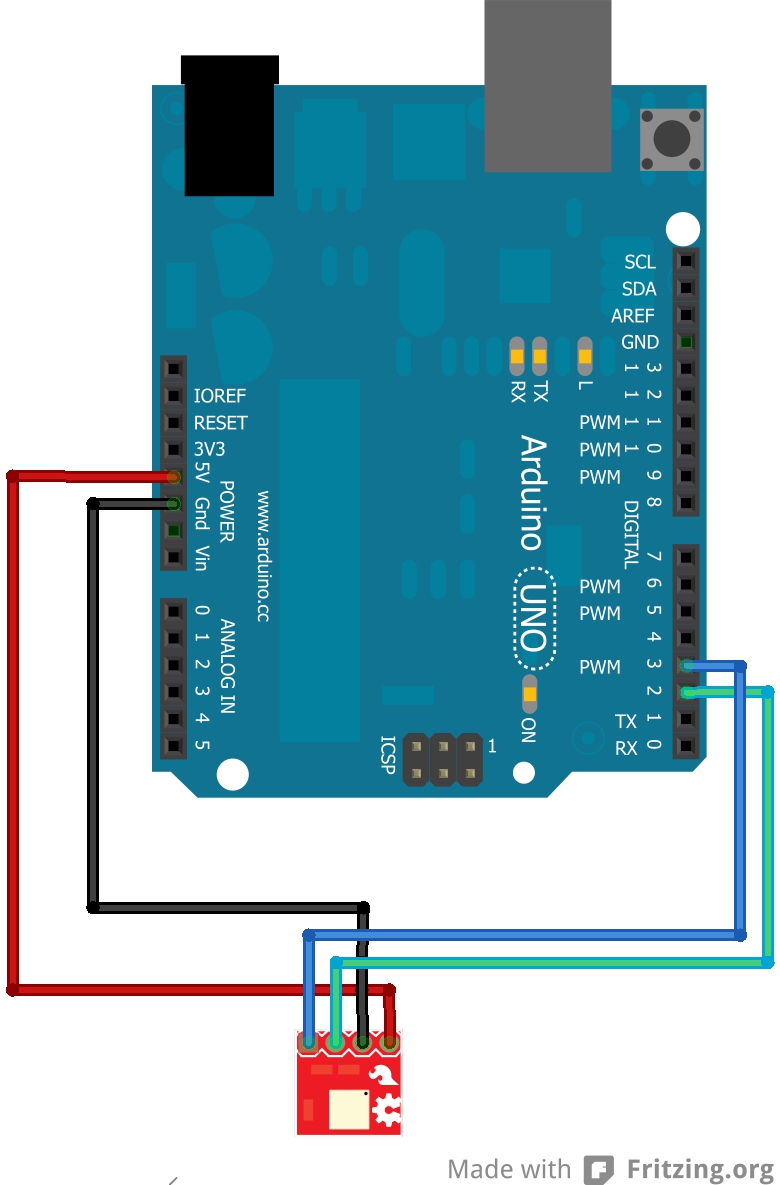
Hardware Hookup
There are only four pins that need to be hooked up in order to start using this sensor in a project. One for VCC, one for GND, and two data lines for outputting the photointerrupter data.
For this example, we are using an Arduino Uno to show the connections. However, you can use any microcontroller you prefer with this sensor.
Connections:
- VCC → 5V (or 3.3V)
- GND → GND
- S1 → D2
- S2 → D3
Here is a Fritzing diagram showing the actual connections between the Tilt-a-Whirl and an Arduino Uno.
Multiple Sensors
You can connect multiple sensors to a single Arduino board, you will just need to use 2 digital pins for each sensor you would like to connect. For example, if you want to hook up two additional sensors (3 total), you would need to connect to digital pins 2, 3, 4, 5, 6, and 7 on the Arduino.