SparkFun Qwiic Shield for Teensy Hookup Guide
 QCPete
 Introduction
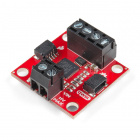
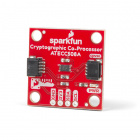
The SparkFun Qwiic Shield for Teensy and SparkFun Qwiic Shield for Teensy Extended provide an easy-to-assemble way to add the SparkFun Qwiic ecosystem to Teensy development boards. Both of these shields connect the I2C bus (GND, 3.3V, SDA, and SCL) on your Teensy to four SparkFun Qwiic connectors. The Qwiic ecosystem allows for easy daisy chaining so, as long as your devices are on different addresses, you can connect as many Qwiic devices as you'd like.
Required Materials
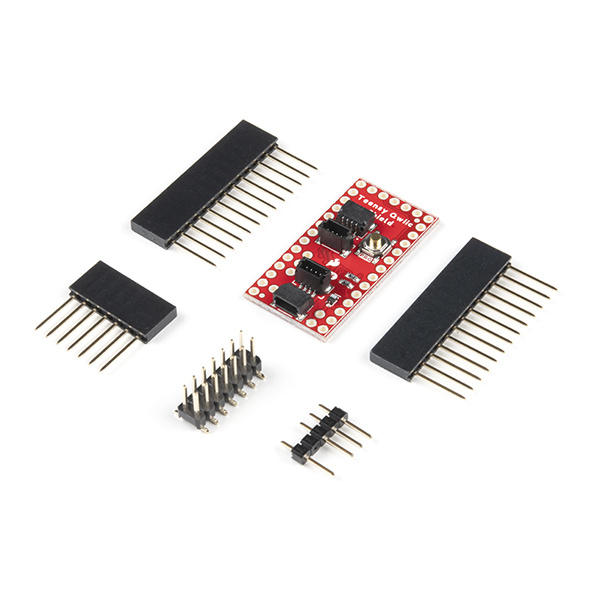
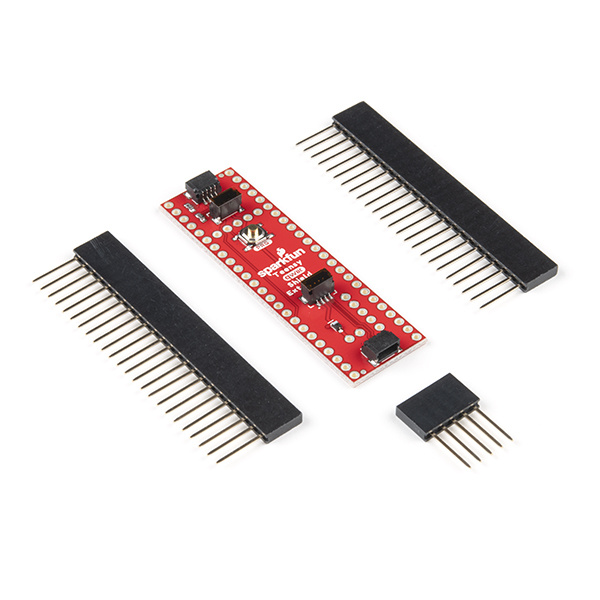
To follow along with this tutorial, you will need a Teensy development board with either the "standard" or "extended" form factor. Here are is a collection of the compatible boards. Note, some of them come with headers pre-populated, so keep that in mind when considering which headers to populate on your shield.
The Qwiic Shield includes a set of stackable headers to fit the Teensy footprint but you may also need some headers to solder to your Teensy. Or if you would prefer to use another header type for your shield assembly we've listed a few options below:


You will need some of our Qwiic cables to connect your devices to the shield. Below are a few options:

Qwiic Cable - 50mm
PRT-14426
Qwiic Cable - 100mm
PRT-14427
Qwiic Cable - 200mm
PRT-14428
Qwiic Cable - 500mm
PRT-14429Lastly, if you want to use a non-Qwiic I2C device, these adapters help to convert it to a Qwiic connector:


Qwiic Cable - Breadboard Jumper (4-pin)
PRT-14425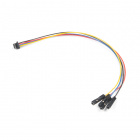
Qwiic Cable - Female Jumper (4-pin)
CAB-14988Required Tools
You will need a soldering iron, solder, and general soldering accessories to solder the header pins to the Qwiic shields:


Suggested Reading
If you aren't familiar with the Qwiic system, we recommend reading here for an overview:
| Qwiic Connect System |
We would also recommend taking a look at the following tutorials if you aren't familiar with them:
How to Solder: Through-Hole Soldering
I2C
Getting Started with the Teensy
Arduino Shields v2
Hardware Overview
Qwiic Connectors
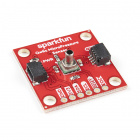
The Qwiic Shields for Teensy each have four Qwiic connectors on them. The two on the edges are the standard horizontal connectors and the two in the middle are vertical connectors.
Note, the horizontal Qwiic connector on the "top" (aka North end) of the non-extended version is positioned slightly downward to allow space for proper cable insertion, and to avoid any conflicts with the nearby 6-pin header on the edge of the board.

|

|
| Teensy Qwiic Connectors | Teensy Extended Qwiic Connectors |
Program Button
Each of these shields have a "PROG" button. This is to allow easier access to a programming button for each time you want to upload to the Teensy. Note, it is electrically in parallel with the "PROG" button on the Teensy boards themselves. This means that you can choose to use either the button on your Teensy or the button on the shield. If your shield is located on top of your Teensy (using stack-able headers), then it will be much more accessible to use the button on the shield, rather than trying to reach under the shield.

|

|
| Teensy Program Button | Teensy Extended Program Button |
I2C Jumper
This jumper is a little different than our normal I2C pull up jumpers as it is open by default. The jumper only needs to be closed if your attached I2C device does not have pull up resistors. Essentially all SparkFun I2C breakouts come with pull up resistors on them so if you are using a Qwiic I2C device or another SparkFun I2C device, you can most likely leave it open. When closed, the SDA and SCL lines are pulled to 3.3V by 4.7KΩ resistors. If you have never worked with solder jumpers before, check out this tutorial for some tips and tricks for working with them.

|

|
| Teensy I2C Jumper | Teensy Extended I2C Jumper |
External Power Input
These shields include an optional 3.3V power input. The 3.3V pin off of the Teensy is rated to supply 250mA. If your project requires more than that on the Qwiic 3.3V power rail, then you should consider supplying a separate power source and soldering it into the header pins labeled "ALT 3V3". Note, you must also cut the jumper labeled "ISO" to properly isolate the Teensy's 3.3V power rail from your external.

|

|
| Optional External Power Input | Extended Optional External Power Input |
Note, when using the external power input header, you may notice a slight voltage drop. This is because we have included a protective diode in the circuit. For most applications, this will be fine to leave in place. For more advanced users, we have included a bypass jumper to easily bypass this jumper and have a direct connection to the 3.3V power net.

|

|
| Schematic highlight | External power input header and bypass jumper |
Board Dimensions
The Qwiic Shield for Teensy measures 0.70in x 1.40in (17.78mm x 35.56mm). The extended version measures 0.70in x 2.40in (17.78mm x 60.96mm). Note, because these are such small form factor boards, they do not have any standoff holes. They simply rely on the headers for both electrical connections and "mounting hardware".
 |
 |
| Qwiic Shield for Teensy Dimensions | Qwiic Shield for Teensy Extended Dimensions |
Hardware Assembly
To get started using the Qwiic Shield for Teensy, solder the headers onto your Teensy board and your Qwiic Shield. You may choose to use the included stackable header kit or any combination of male/female breakaway headers. Below we show a couple options using standard breakaway headers. Note, for best access to the program button on the shield and the two vertical Qwiic connectors, it is best to have it be the top of your stack.

|

|
| Teensy 4.0 and shield with M/F headers soldered into place. | Teensy 4.1 and extended shield with M/F headers soldered into place. |
Once you have soldered headers to your shield and connected it to your Teensy, it's time to start connecting Qwiic devices! Below you can see an example of each shield connected to the appropriate Teensy (4.0 or 4.1). Here we used our standard breakaway headers along with a couple of Qwiic Devices chained to it.

|

|
| Teensy Example Hookup | Teensy Extended Example Hookup |
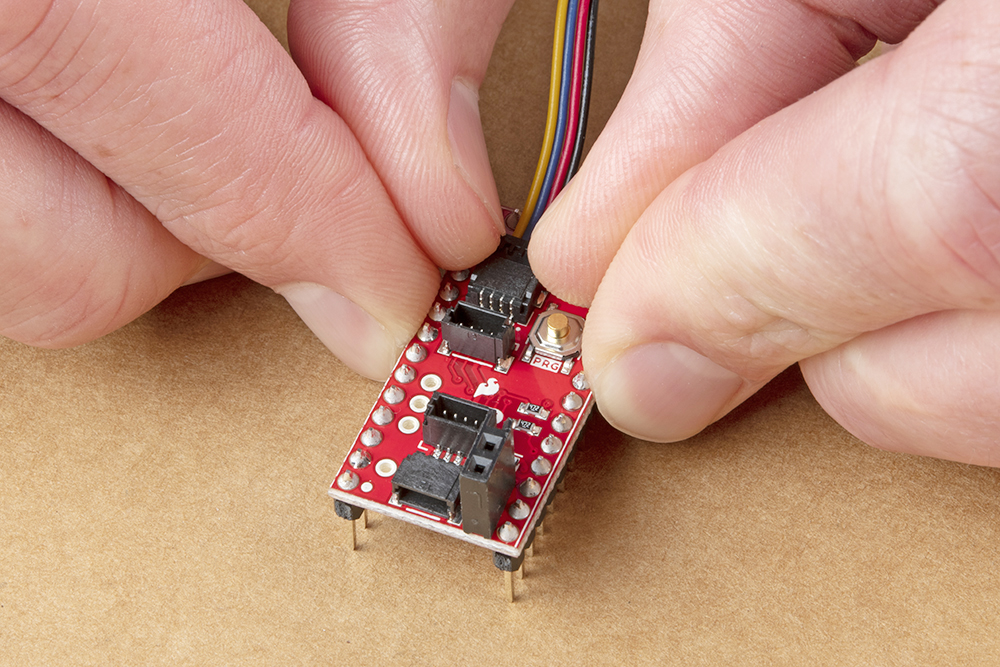
If you are using the upper-most qwiic connector on the Qwiic Shield for Teensy, please check out the following tips. It helps to bend/curl your Qwiic cable a bit before inserting it into the right-angle connector on the sheild.
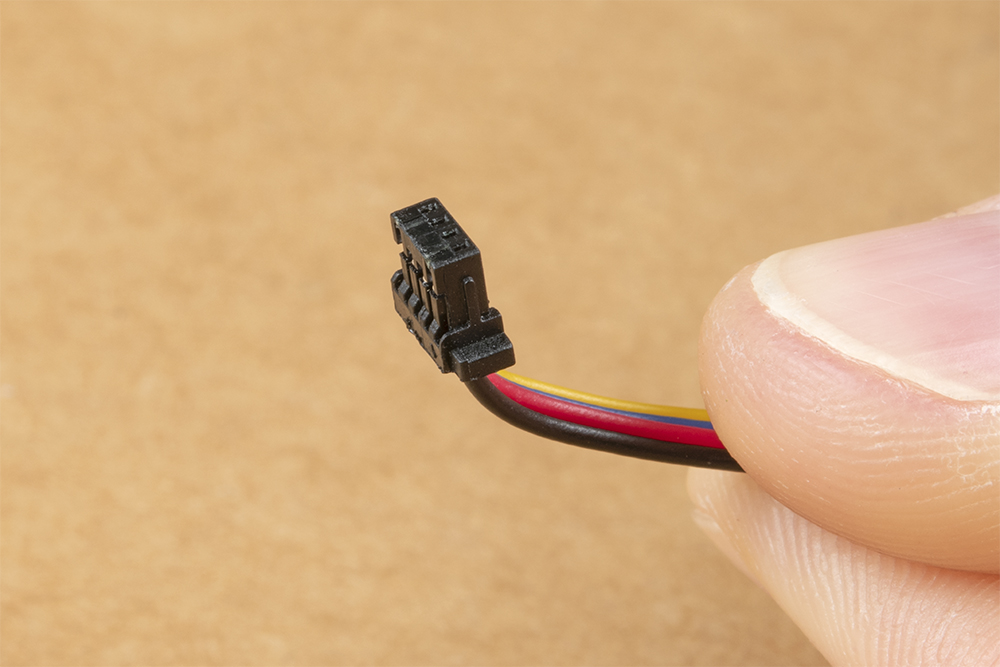
With the bend in place, you can better align it before inserting it all the way.
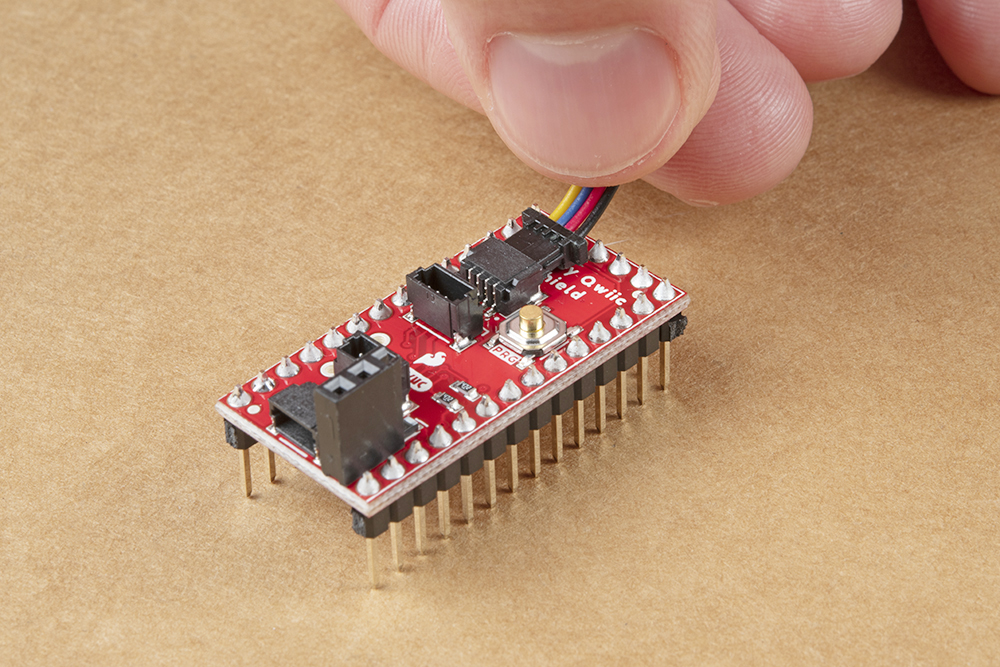
To avoid stressing the cable wires, it is best to push the Qwiic connector using your fingernails on the sides of the connector plastic. Tweezers can also do the trick.
Resources and Going Further
That's a wrap! Your Qwiic Shield for Teensy/Teensy Extended is now ready to connect to any of a host of Qwiic devices SparkFun offers. For more information, take a look at the resources below.
Qwiic Shield for Teensy
Qwiic Shield for Teensy Extended
Even More Resources
If you are having trouble getting your Qwiic devices to connect using your newly assembled Qwiic Shield, you may want to take a look at these tutorials for help troubleshooting and reworking your shield.
Now that you have your Qwiic Shield ready to go, it's time to check out some Qwiic products. Below are a few to get started.
Before you go, here are some other tutorials using the Qwiic Connect System you may want to look through: