Roshamglo Hookup Guide
 Alex the Giant
Hardware Assembly
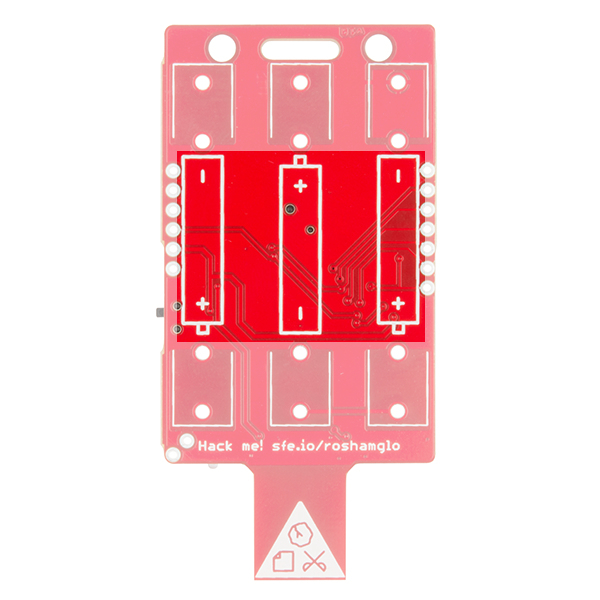
To use your Roshamglo, all that's needed is to solder in the battery clips. To insert the battery clips, you'll need to turn the board to the side with the pictures of the batteries and push the battery clips into the holes. Make sure that the metal tab on the ends are facing away from the center of the board.

Make sure the battery clips aren't touching each other! To make sure they won't short against each other, make sure the clips sit flat against the circuit board.
After the clips are installed, you can turn the board over and solder all of the joints on the top side of the board. When they're all soldered together, they should look like this:
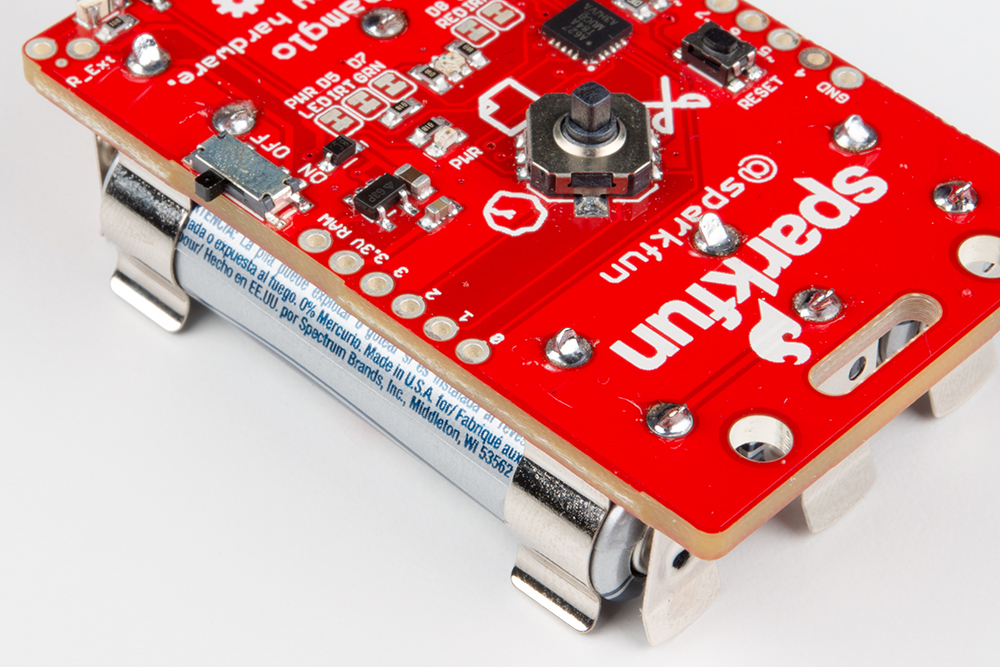
Installing the batteries are easy, but as you install the batteries, make sure you insert the batteries in the same orientation as the silkscreen image between each pair of battery clips. After the batteries are installed, you're all set! You can move the switch on the left side of the board to "ON", and you should see the red power LED come on.