RETIRED - SparkFun Inventor's Kit Experiment Guide - v4.0
This Tutorial is Retired!
This tutorial covers concepts or technologies that are no longer current. It's still here for you to read and enjoy, but may not be as useful as our newest tutorials.
View the updated tutorial: SparkFun Inventor's Kit Experiment Guide - v4.0
Baseplate Assembly
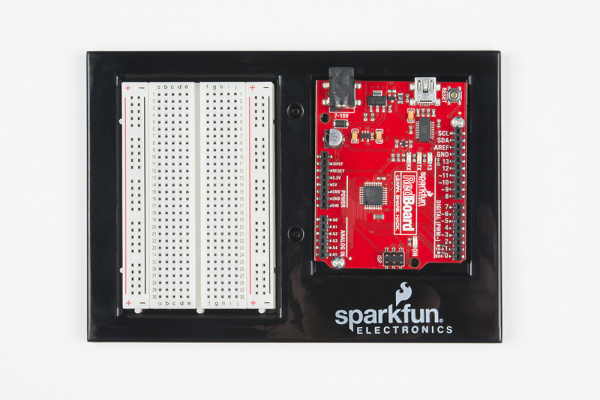
Before you can build circuits, you'll want to first assemble the breadboard baseplate. This apparatus makes circuit building easier by keeping the breadboard and the RedBoard microcontroller connected together without the worry of disconnecting or damaging your circuit. The larger the circuit, the more wires needed to build it. The more wires there are, the easier it is for one of those wires to come undone.
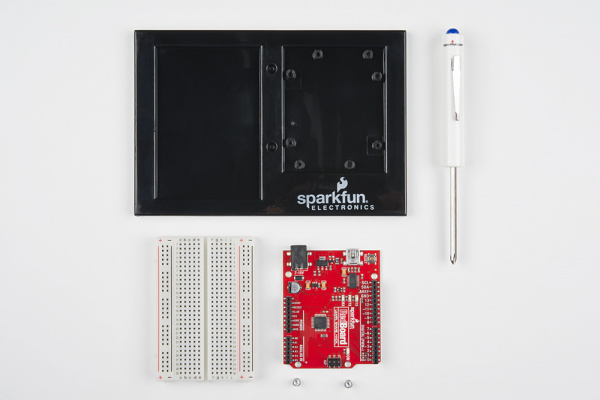
To begin, grab all the parts: the RedBoard, the breadbaord, the included screwdriver, the baseplate and the two baseplate screws.
If the screwdriver end is a flathead screwdriver, pull the shaft out, rotate it around to the Phillips head screwdriver side, and reinsert the shaft.
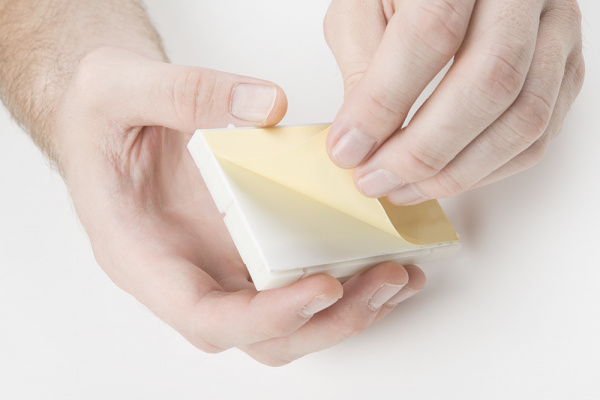
Next, peel the adhesive backing off the breadboard.
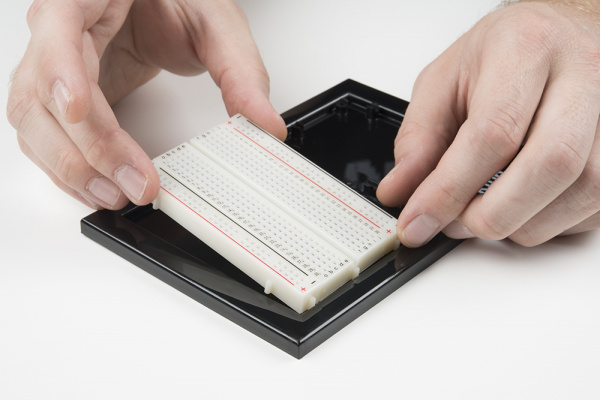
Carefully align the breadboard over its spot on the baseplate. The text on the breadboard should face the same direction as the text on the baseplate. Firmly press the breadboard to the baseplate to adhere it.
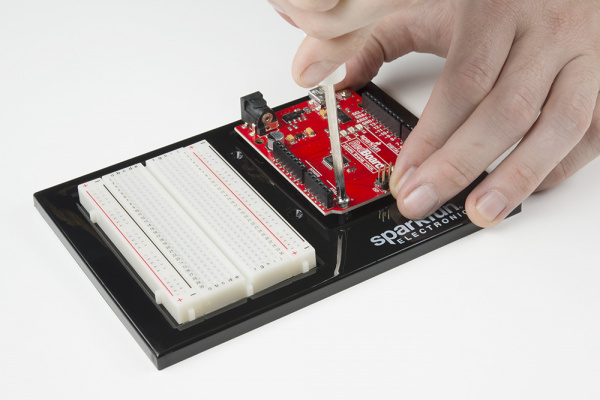
Align the RedBoard with its spot on the baseplate. The text on it should face the same direction as the text on the breadboard and the baseplate. Grab on of the two included screws, and firmly screw it into one of the four stand-off holes found on the RedBoard. The plastic holes are not threaded, so you will need to apply pressure as you twist the screwdriver.
Screw the second screw in the stand-off hole diagonally across from the first. With that, your baseplate is now assembled.
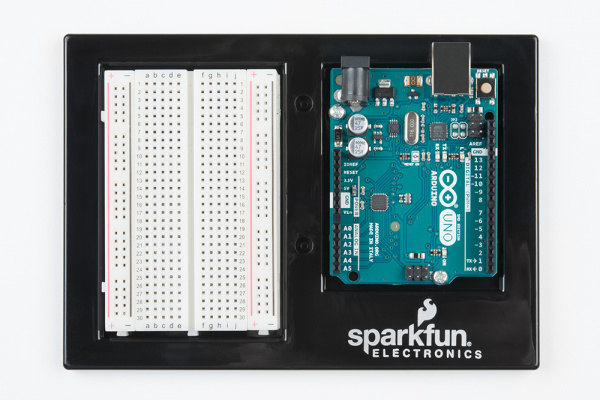
Arduino Uno Baseplate Assembly
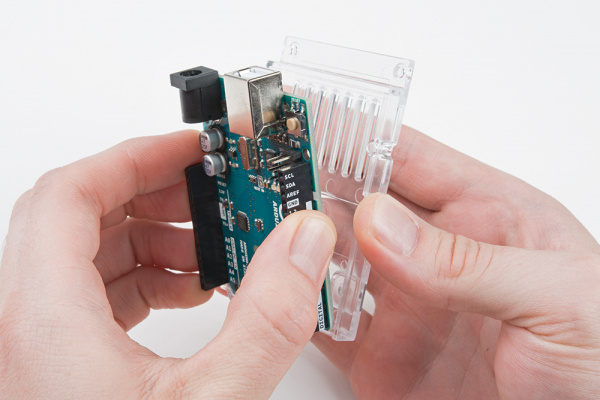
Newer versions of the Arduino Uno come with a clear, plastic baseplate of their own. It will need to be removed before the Uno can be attached to the breadboard baseplate. To remove it, pull it from the Uno.
You may now attach the Uno to the baseplate as shown in the instructions above.
