RED-V RedBoard Hookup Guide
 Englandsaurus,
  bboyho
 Introduction
SparkFun is pleased to welcome a whole new instruction set architecture (ISA) to its family, the RISC-V ISA (pronounced “risk-five”), and along with it, introduce the RED-V RedBoard (pronounced “red-five”). In this tutorial, we'll be focusing on the hardware.
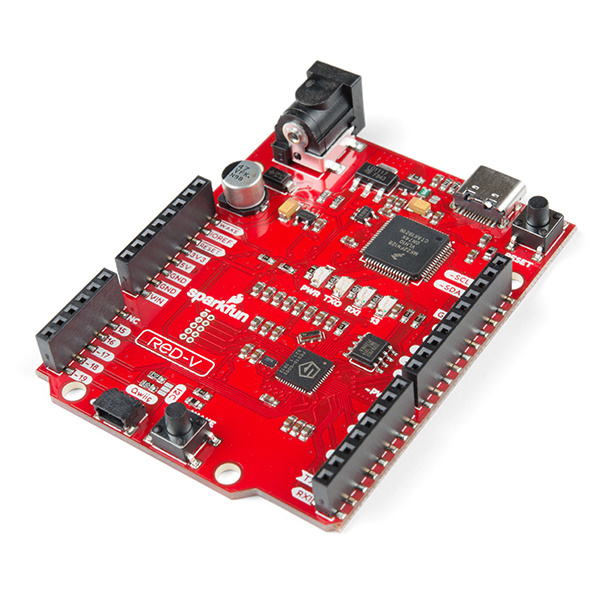
What sets the RISC-V ISA from the rest is that it is completely open-source; including the instruction set architecture (ISA). That means anyone can make full use the microcontroller without requiring royalties, licenses, or non-disclosure agreements (NDAs). The RED-V comes in the familiar Arduino Uno form factor and includes the SiFive Freedom E310 core, 32MB of QSPI flash, an NXP K22 ARM Cortex-M4 for USB connectivity and operating as a JTAG interface, and a Qwiic connector.
Required Materials
To follow along with this tutorial, you will need the following materials and software. You may not need everything though depending on what you have. Add it to your cart, read through the guide, and adjust the cart as necessary. Here is what you would need to get started:


- RED-V - You'll definitely need this; otherwise, you are probably on the wrong tutorial page (wink).
- USB 3.1 Cable A to C - 3 Foot - The USB interface serves two purposes: it powers the board and allows you to upload programs to it. (You might even have a few of these in you drawer!)
You Will Also Need
To utilize all the features of the development board, you may need the following tools and accessories. If you would like to modify the jumpers on the board, you will need soldering equipment.


Weller WLC100 Soldering Station
TOL-14228
Jumper Modification
If you would like to modify the jumpers on the board, you will need soldering equipment.
Weller WLC100 Soldering Station
TOL-14228Qwiic Example
If you would like to follow along with the examples below to interact with the physical world, you will also need the following items:
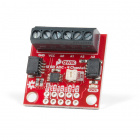

Qwiic Cable - 100mm
PRT-14427
Magnetic Screwdriver Set (20 Piece)
TOL-15003Segger Programmers
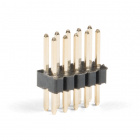
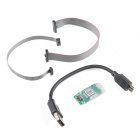
If you would like to debug or flash your processor on your own, here are some of our SEGGER Programmers. We also recommend getting the 1.27mm header pins with some jumper wires to connect. Depending on the programmer that you use, you may need to use a combination of wire wrap and IC hooks to connect.
J-Link EDU Mini Programmer
PGM-15345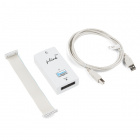
J-Link EDU Base Programmer
PGM-15346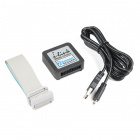
J-Link BASE Compact Programmer
PGM-15347Suggested Reading
Before continuing on with this tutorial, you may want to familiarize yourself with some of these topics if they’re unfamiliar to you.