Contributors:
 Englandsaurus
 Introduction
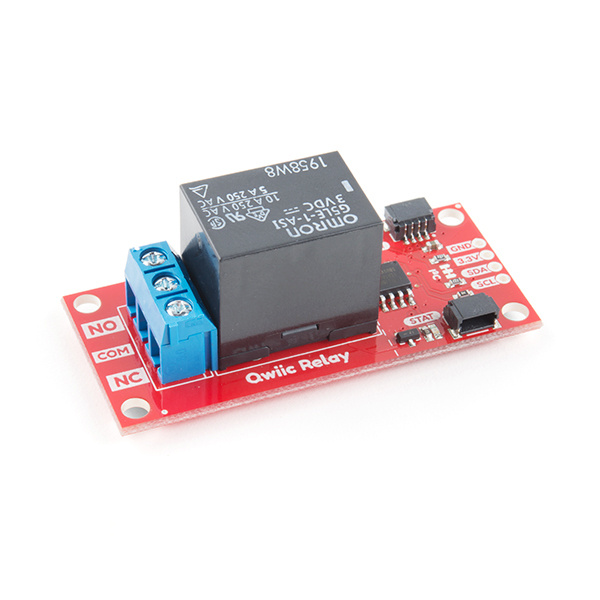
The Qwiic Single Relay is SparkFun's easiest to use relay yet. The single relay can handle up to 5.5A at 240 VAC for long periods of time. The Qwiic connectors and screw terminals also mean that no soldering is necessary.
COM-15093
The SparkFun Qwiic Single Relay provides you with the easiest to use relay yet, handling up to 5.5A at 240VAC for long period…
⚡
Warning! The Qwiic single relay is great for switching loads like motors, batteries, solenoids, pumps, and more! Keep in mind controlling high voltage (110/220VAC) requires certain precautions. A beginner can do it but if you're unsure then please consider the pre-made
IoT Power Relay. It's not I
2C but the IoT Power Relay contains shielding to prevent accidental shock.
Required Materials
To get started, you'll need a microcontroller to control everything. You may not need everything though depending on what you have. Add it to your cart, read through the guide, and adjust the cart as necessary.
DEV-13975
The SparkFun RedBoard combines the simplicity of the UNO's Optiboot bootloader, the stability of the FTDI, and the shield com…
DEV-13907
The SparkFun ESP32 Thing is a comprehensive development platform for Espressif’s ESP32, their super-charged version of the …
WRL-13774
Particle's IoT (Internet of Things) hardware development board, the Photon, provides everything you need to build a connected…
Retired
DEV-13825
Everyone knows and loves Raspberry Pi, but what if you didn't need additional peripherals to make it wireless. The Raspberry …
Retired
Now to get into the Qwiic ecosystem, the key will be one of the following Qwiic shields to match your preference of microcontroller:
DEV-14459
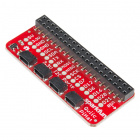
The SparkFun Qwiic HAT for Raspberry Pi is the quickest and easiest way to make your way into the Qwiic ecosystem and still u…
DEV-14352
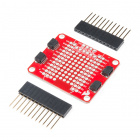
The SparkFun Qwiic Shield is an easy-to-assemble board that provides a simple way to incorporate the Qwiic Connect System wit…
DEV-14477
The SparkFun Qwiic Shield for Photon is an easy-to-assemble board that provides a simple way to incorporate the Qwiic System …
Retired
You will also need a Qwiic cable to connect the shield to your Qwiic Single Relay, choose a length that suits your needs.
PRT-14427
This is a 100mm long 4-conductor cable with 1mm JST termination. It’s designed to connect Qwiic enabled components together…
Retired
PRT-14426
This is a 50mm long 4-conductor cable with 1mm JST termination. It’s designed to connect Qwiic enabled components together …
Retired
PRT-14428
This is a 200mm long 4-conductor cable with 1mm JST termination. It’s designed to connect Qwiic enabled components together…
Retired
PRT-14429
This is a 500mm long 4-conductor cable with 1mm JST termination. It’s designed to connect Qwiic enabled components together…
Retired
Tools
You will need a flush cutter and wire stripper to remove the sheath and insulation from a cable. A Phillips head screwdriver will be required to connect the load's to a screw terminal.
TOL-09146
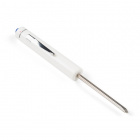
This is just your basic reversible screwdriver - pocket sized! Both flat and phillips heads available. Comes with pin clip an…
TOL-14782
These are simple flush cutters from Excelite that give you a way to cut leads very cleanly and close to the solder joint.
Retired
TOL-14872
The Self-Adjusting Wire Stripper can take a wire, placed in the head of the tool, compress the handles, and you will have a p…
Retired
Suggested Reading
If you aren't familiar with the Qwiic system, we recommend reading here for an overview.
We would also recommend taking a look at the following tutorials if you aren't familiar with them.
Serial Communication
Asynchronous serial communication concepts: packets, signal levels, baud rates, UARTs and more!
I2C
An introduction to I2C, one of the main embedded communications protocols in use today.
Serial Terminal Basics
This tutorial will show you how to communicate with your serial devices using a variety of terminal emulator applications.

