Planning a Wearable Electronics Project
 Gella
Gella 
Refining Your Design
After some basic prototyping with your components, take some time to do a more refined sketch or diagram of the circuit layout. This is an opportunity to catch any problems with the design (crossed conductive thread paths, lack of room for components, etc.) before you start the construction process. This final sketch can also serve as a guideline if components get misplaced or moved during the build process.


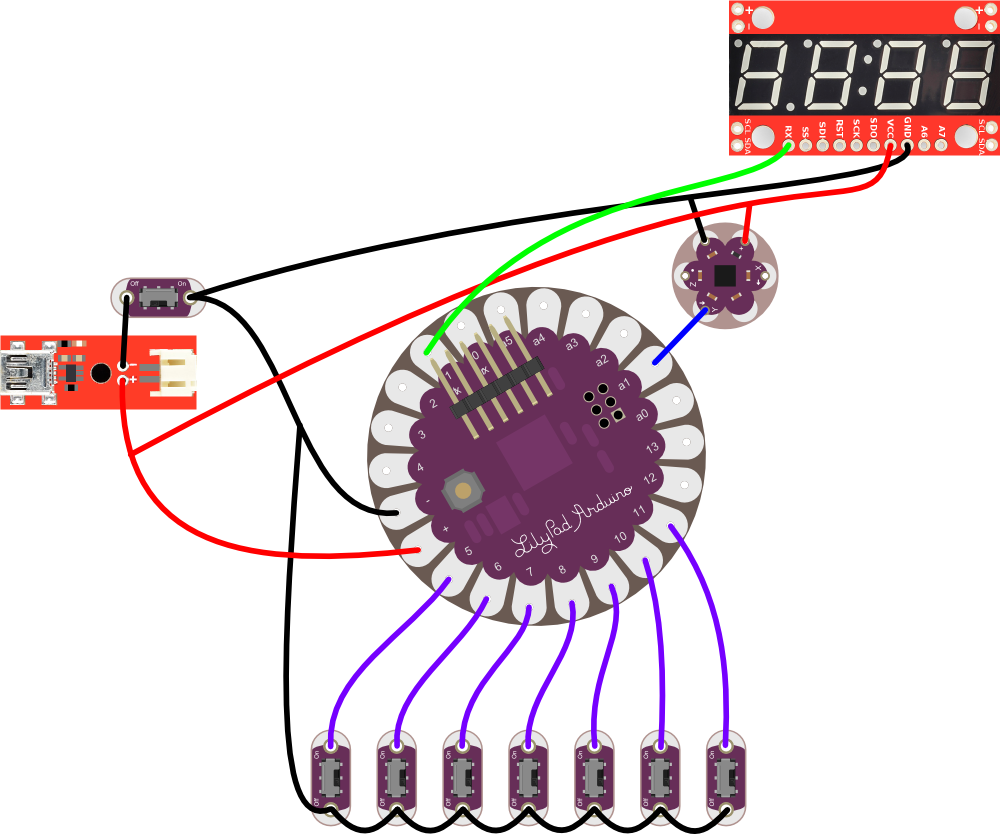
Diagramming with Fritzing
Fritzing is a great open source tool that allows you to design a schematic and wiring diagrams. The program allows you to drag and drop components in a window and drag wiring lines between them to brainstorm or document hook ups. If you prefer a computer generated circuit diagram to hand sketching, Fritzing is a great choice that also comes pre-loaded with a lot of LilyPad components to use.
After doing a final sketch it is time to connect the electronics. Depending on your design, you may also be able to place the clipped pieces on your project to help plan final placement.