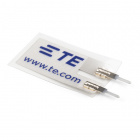
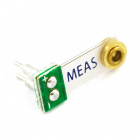
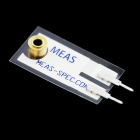
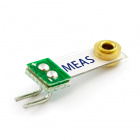
Piezo Vibration Sensor Hookup Guide
Introduction
Piezo sensors are flexible devices that generate electric charge when they’re stressed. This characteristic makes piezos an ideal solution for low-power flex, touch, and vibration sensing. In more advanced applications, piezos can be the foundation for energy harvesting. Piezo's are the perfect sensor for catching when your fridge is running or as the power source for energy harvesting shake-lights.
Piezo's have the potential to produce very large AC voltage spikes -- ranging upwards of ±50V. Because they produce such high voltages, large resistors are often used to “load down” the piezo sensor in vibration-sensing applications. Zener diodes can also be used to clamp voltages down to safe levels.
Suggested Materials
This tutorial serves as a quick primer on piezo vibration sensors, and demonstrates how to hook them up and use them. Beyond the sensor, the following materials are recommended:
Arduino Uno -- We'll be using the Arduino's analog-to-digital converter to read in the voltage produced by the piezo sensor. Any Arduino-compatible development platform -- be it a RedBoard, Pro or Pro Mini -- can substitute.
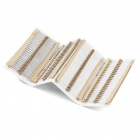
Resistor Kit -- To dampen the piezo sensor's AC voltage spikes, a large load resistor -- somewhere around 1MΩ -- is used. This resistor kit includes multiple 1MΩ's, in case you want to combine a few in series.
Breadboard and Jumper Wires -- The piezo sensor's legs are spaced by 0.2" and are breadboard compatible. We'll stick them and the resistor into a breadboard, then use the jumper wires to connect from breadboard to Arduino.
Suggested Reading
Piezos are an great entry-level component for beginners, but there are still a few basic electronics concepts you should be familiar with. If any of these tutorial titles sound foreign to you, consider skimming through that content first.
