Photon Wearable Shield Hookup Guide
This Tutorial is Retired!
This tutorial covers concepts or technologies that are no longer current. It's still here for you to read and enjoy, but may not be as useful as our newest tutorials.
 HelloTechie
Hardware Overview
This might be a simple shield for the Photon, but you can use it in many different types of projects! Here is a list of hardware features for this shield.
Female Headers for the Photon
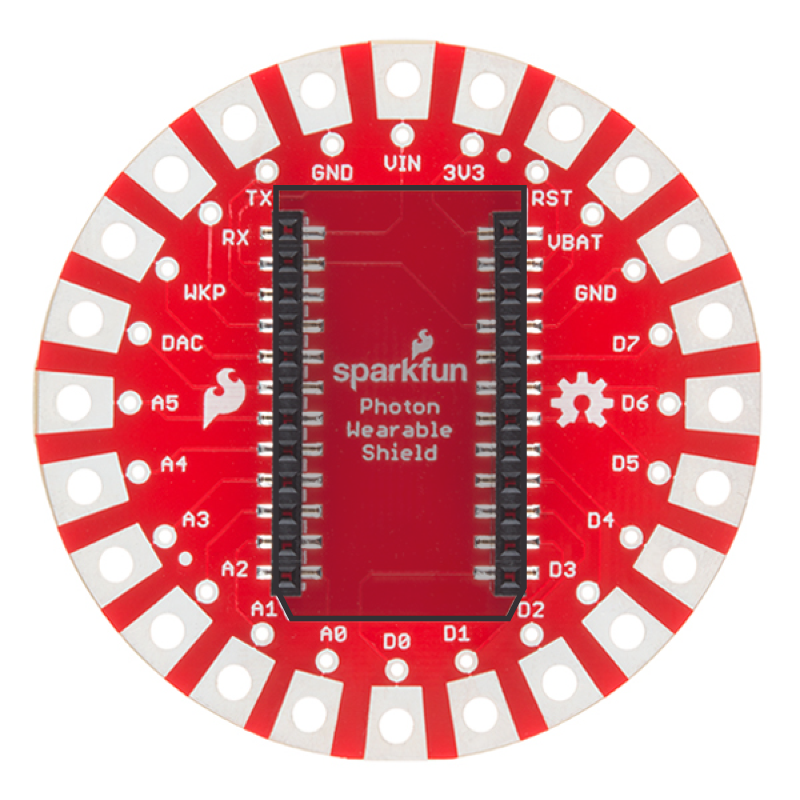
No soldering required! The shield comes with two SMD headers already soldered on, which makes easy to place the Photon on top and start a new project. There is a white Photon silkscreen outline to help show what direction the Photon needs to be placed.
Large Sewable Pins
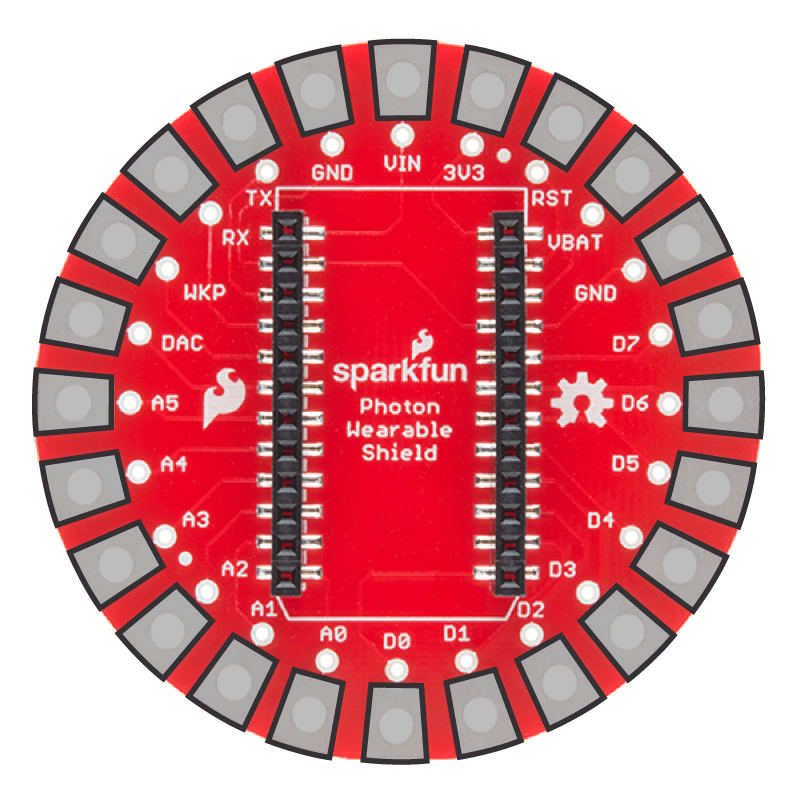
The larger pins makes it possible to use different types of conductive materials to connect sensors, LEDs, and other components to the Photon. Conductive paint, conductive thread, and copper tape are just few different conductive materials you can use with the large pins. When prototyping, the large pads makes it easy to use alligator clips.

Normal Sized Pins
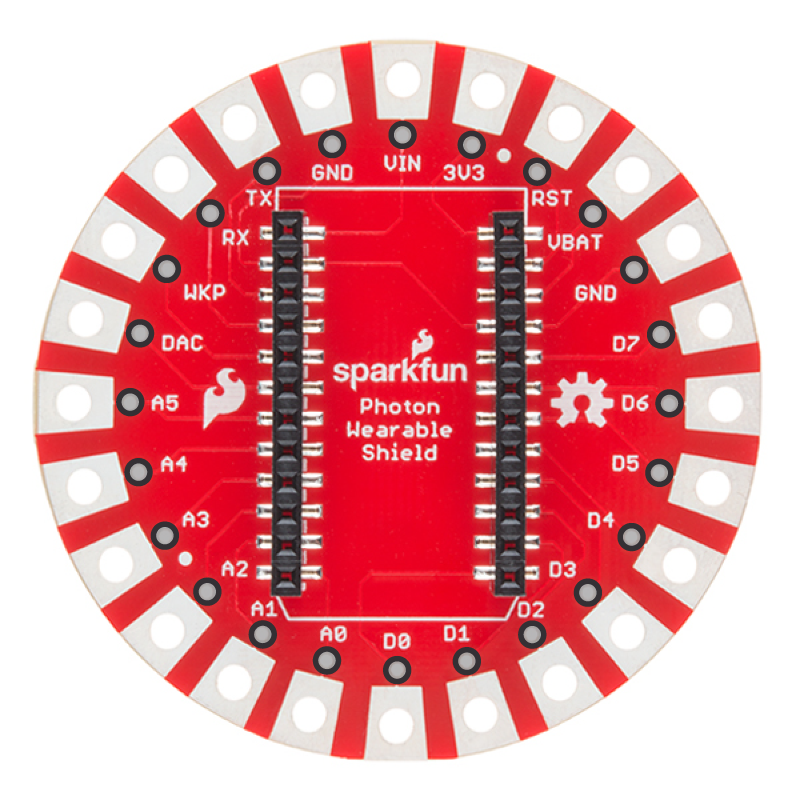
There are normal sized pins for soldering hook-up wire to the shield. Which, is great for projects needing tons of LEDs or a solid connection.