Papa Soundie Audio Player Hookup Guide
 LightningHawk
Hardware Overview
Let's go over the Papa Soundie Audio Player in detail.
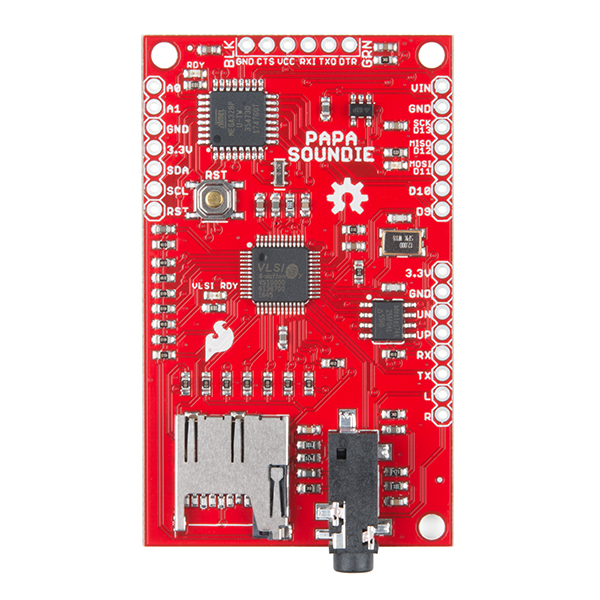
Details:
- VIN 3.3V-6V, regulated to 3.3V
- All IO 3.3V logic (not 5V tolerant)
- Plays audio stored on micro-SD card
- 4Mb flash for boot firmware
- Uses high-performance license-free Ogg Vorbis decoder for compressed audio
- Also plays .WAV type files
- Customizable
- Line-Out stereo analog output with SNR>90dB
- Supports variable bit-rate and sample rates
- Built-in Arduino
- I2C & SPI
- 2 Analog Inputs
- 7 Digital IO pins (3 PWM)
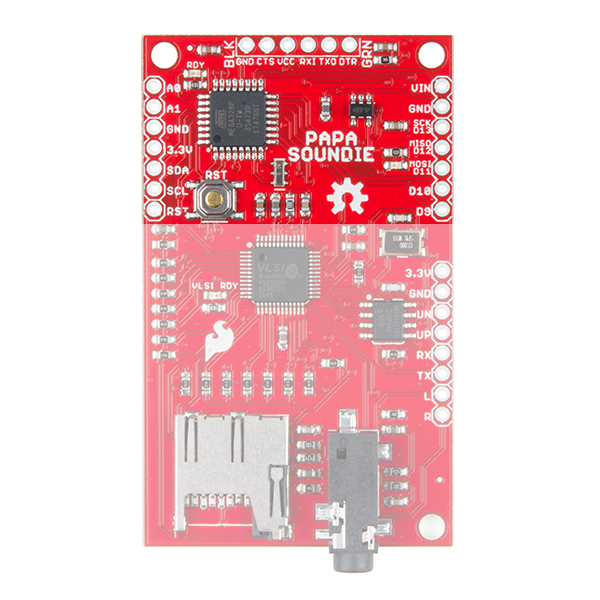
Arduino Control
The top section of this board contains the Arduino Controls. We've broken out 2 analog input pins and 7 digital pins, which includes 3 PWM pins, SPI and I2C communication pins.
The ATMEGA328P is there to easily trigger the pins on the VS1000D using software. The GPIO (D2-D6) are connected to the trigger pins on the VS1000D with pull-down resistors. Sending those digital pins high triggers the audio. Having a built-in software solution means you can trigger audio with or without external hardware on the Arduino pins.
Using binary-coded playback, an audio file is mapped to a number which is also mapped to a series of pins set high or low. For instance, if you wanted to play file 5 under some specific set of conditions you call the function that would set the first and third IO high while leaving the second, fourth and fifth IO low. This allows triggering more files than available pins on the VS1000D.
IO triggers aside, this is also a paired down Arduino board. It can be used both to control and sense, just like a Redboard or Pro-Mini. You will need an FTDI breakout board to program the Papa Soundie in Arduino.
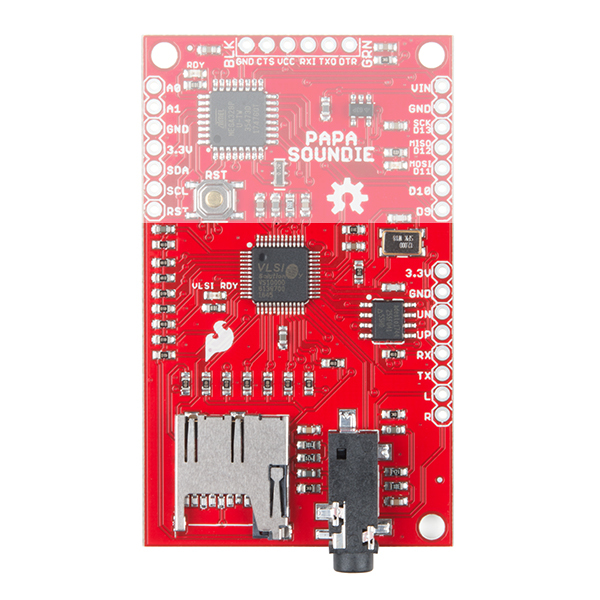
Audio Playback
UN and UP are the USB lines you can use if you wish to add USB functionality to the product. There are firmware solutions written by VLSI that allow the VS1000D to be mounted as a mass storage device. Audio files can then be dragged and dropped onto the flash storage. This functionality is not built into the firmware by default.
RX and TX can be used to reprogram the VS1000D, which is done through VLSI's VSIDE. VLSI is a great resource for researching other software solutions.
The Left and Right audio signals are broken out so you can either use the noisy cricket or build your own amplifier speaker system using 2 Mono Audio Amp Breakout boards.
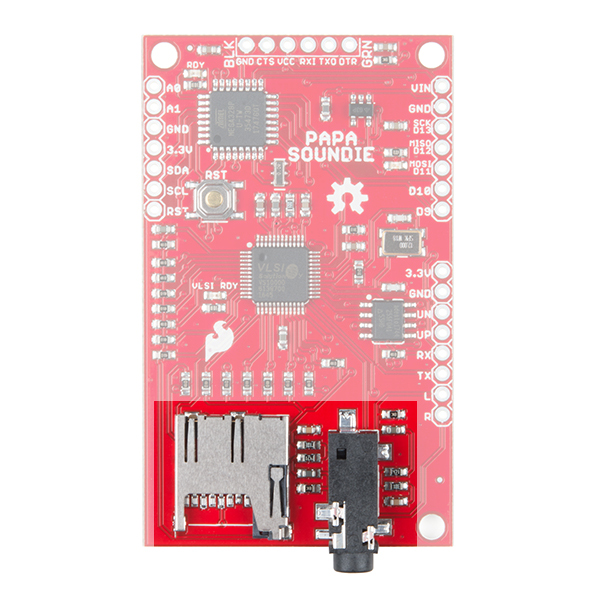
Connectors
The connectors highlighted here are the micro-SD card socket and the 3.5mm Jack which is to be used with powered speakers only - not headphones. Headphones won't break anything but you won't get any sound either.