Little Soundie Audio Player Hookup Guide
 LightningHawk
Hardware Example
The Little Soundie includes almost everything you'll need to add sound effects to your project. You'll need, a USB cable to connect to your computer, a power supply of 3.3V to 5.5V, and either a button, a switch, or anything that will set a pin HIGH at 3.3V logic.
For this project you will need the following the parts:
Load Your Audio Clip
Load the sound clips you wish to use for this project. Simply connect the board to your computer through USB and press the power/play button, drag and drop your audio files, and safely remove the hardware via your computer (don't just unplug it). Remove the USB. You can not power your project from the USB port - this causes the VS1000D to boot into "USB, Mass Storage Device" mode.
Power
Since you can power your project from 3.3V to 5.5V, I used a LiPo battery to power this project. Keep in mind that the I/O is not 5V tolerant.
Buttons
The Little Soundie's GPIO pins are connected to GND through pull-down resistors. This makes the hardware wiring a bit easier. For each switch connected to a GPIO pin you'll need to connect one side of the switch to a GPIO pin on the Little Soundie and the other side to the 3.3V rail. When the button is pressed the file corresponding to the pin(s) sent HIGH will trigger playback of the audio file. With this set-up it may appear as though you can only trigger 5 files, but you can actually trigger 32. Since the GPIO are binary coded, pressing button 1 will correspond to the first file saved to the drive. If the first and third buttons are pressed at the same time the fifth file saved to the drive will play. Remember - the naming conventions of your audio files does not matter; what matters is the order in which they are loaded onto the USB drive.
Hardware Hookup
For a clearer look at the wiring hookup, see the Fritzing diagram below.

Once your wiring is set up, plug in a powered speaker to the 3.5mm jack. Alternatively, you can use the left and right audio signals that are broken out on a Mono Amp Breakout Board or use the Noisy Cricket.
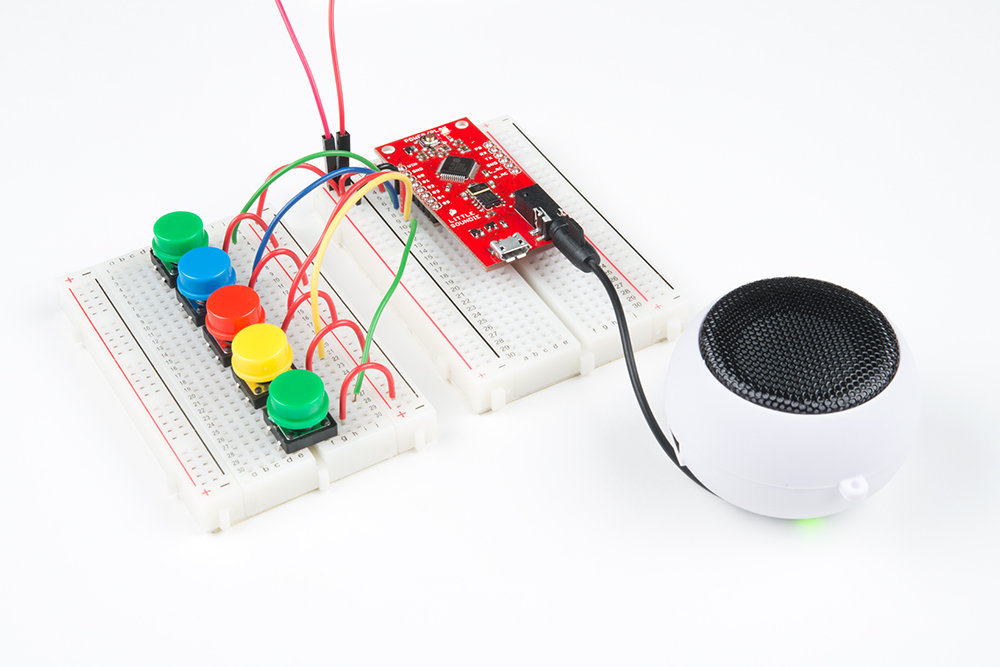
When you are all set up and ready to hear some sounds press the power/play button and you should hear a little pop in the speaker. This lets you know the VS1000D is powered and ready to go.
This project is easily extensible by replacing the buttons with connections to a microcontrollers I/O. Hands-free, sensor-based, or remote controlled sound effects are just a Pro-Mini and Arduino sketch away!