LilyPad Buttons and Switches
Introduction
Buttons, slide switches, and reed switches are electronic components you can use to control a project, turn it on or off, or trigger behaviors in the code of a program. This guide will provide an overview of the options available in the LilyPad sewable electronics line and some examples of using them in a project.
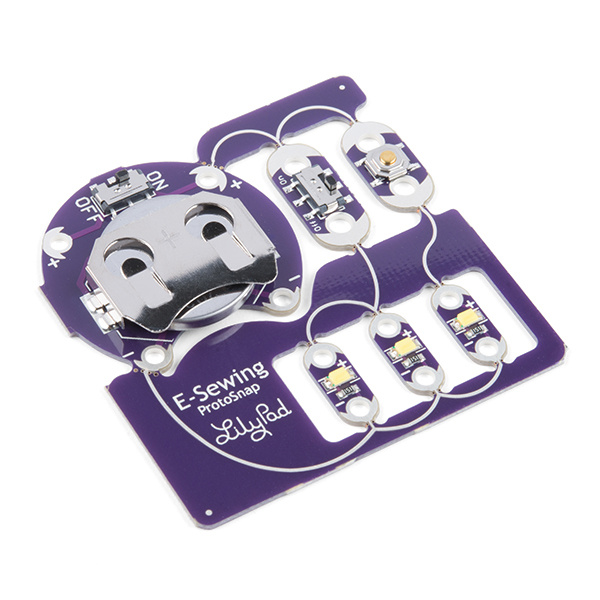
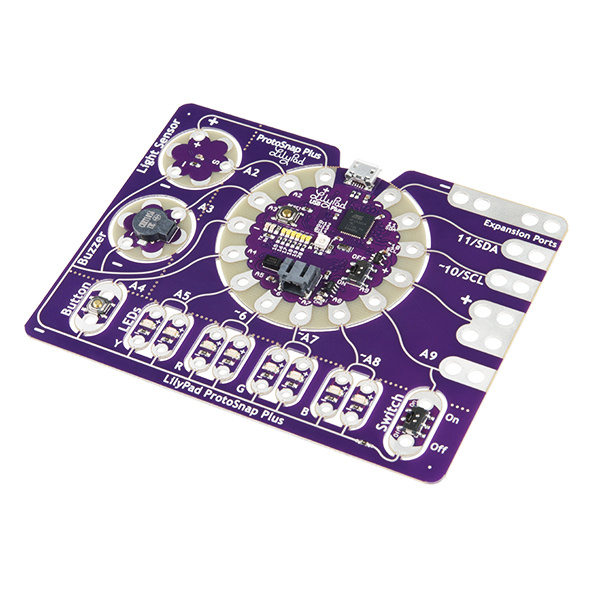
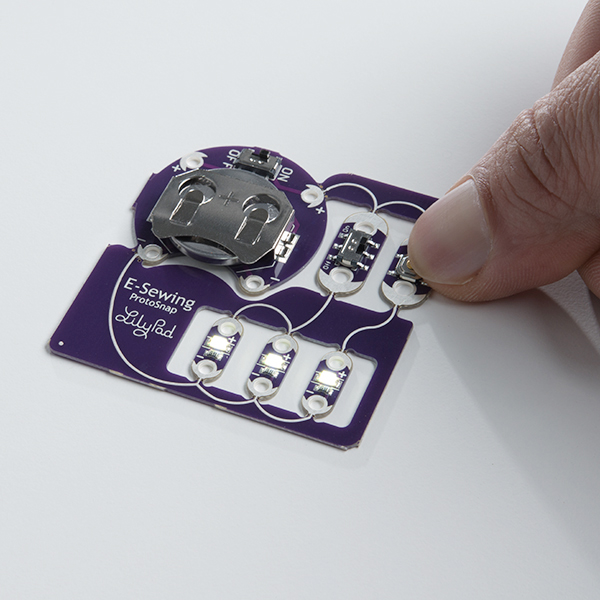
You can also explore buttons and switches in a pre-wired circuit using the E-Sewing ProtoSnap or with Arduino in the LilyPad ProtoSnap Plus.
Suggested Reading
Here are some additional resources to check out before you begin:
Button and Switch Basics
LilyPad Basics: E-Sewing
Getting Started with LilyPad
What are Buttons and Switches?
Buttons and switches are electronic components that control the flow of current in a circuit. They can act as a simple gateway to light up an LED or as inputs for a microcontroller. Buttons are considered a type of switch, often with a momentary push actuation. We'll refer to both as switches in this section.
Switch States
To change a switch from one state to another requires a physical action, often a flip, slide, or push. This is called actuating the switch. Different types of switches have different actuation methods. In the LilyPad line you can activate switches by sliding, pushing, and even using a magnet to trigger.
Maintained vs Momentary Switches
Switches that stay in one state until changed are called maintained switches. Examples of some common maintained switches are light switches, on/off switches on devices, and toggle switches. The LilyPad Slide Switch is an example of a maintained switch.
A momentary switch is only active when being actuated. Push buttons are a common example of a momentary switch. Other momentary switches you may find around you are the keys on your keyboard - a letter is only typed when the key is pressed. The LilyPad Button is an example of a momentary switch.
LilyPad Slide Switch
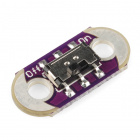
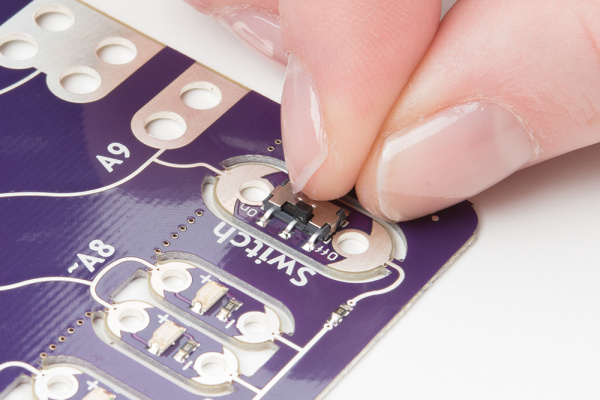
The LilyPad Slide Switch has a small switch labeled ON/OFF. When moved to the OFF position, parts inside the switch move away from each other and open the circuit (disconnecting it). No current will flow through the switch to the components connected to its sew tabs. When the toggle switch is moved to the ON position, the two sew tabs on the switch are connected, allowing current to flow through and close the circuit.
Examples
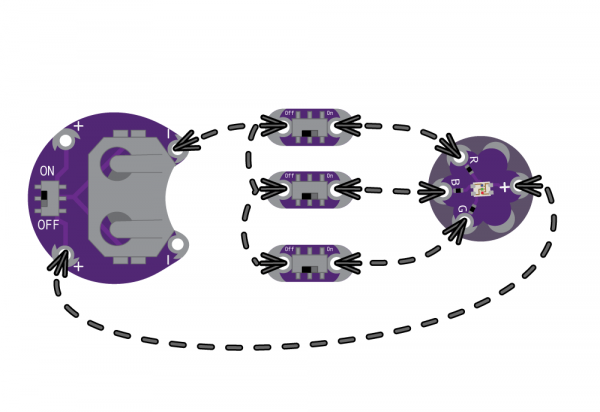
Slide switches can be used to control individual LEDs in an e-sewing project. Here's an example of using three slide switches connnected with conductive thread to control each color channel on a LilyPad TriColor LED.
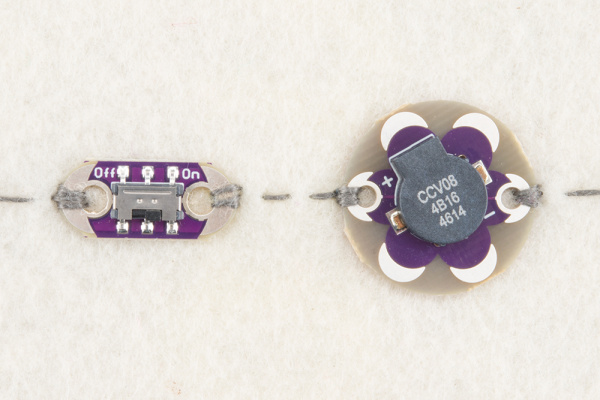
A slide switch can also be used to turn off an element in a project, such as a buzzer or indicator while debugging or when you want a bit of peace and quiet. The example below shows a slide switch sewn in a LilyPad Buzzer. This allows the other features of the project to still function while disconnecting power to the buzzer.
You can also connect the slide switch to a LilyPad Arduino and read its state in your programs. Here's an example of using a LilyPad Button and LilyPad Switch in a project on the LilyPad ProtoSnap Plus to control LEDs.
This wearable dice project tutorial utilizes seven slide switches to select from a 4, 6, 8, 10, 12, 20, and 100 side virtual dice for gaming.
Dungeons and Dragons Dice Gauntlet
LilyPad Reed Switch
The LilyPad Reed Switch is another kind of switch available in the LilyPad line. Unlike the other LilyPad switch offerings, the reed switch does not require you to touch the board to activate it. Inside the reed switch are two thin pieces of metal that are pulled in contact with each other when exposed to a magnetic field.
Read more about how to use it in the full hookup guide.
LilyPad Reed Switch Hookup Guide
Examples
In this episode of Electricute, Dia and Nick build an interactive Krampus stocking using the LilyPad Reed Switch and a magnet.
LilyPad Button
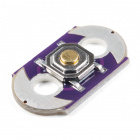
The LilyPad Button Board is also a type of switch. When you press the button in the middle of the board, it connects the two sew tabs and allows current to flow through. When you let go of the button, the connection is opened again, and the button springs back into place. This button is an example of a momentary switch.
Examples
This stuffed creature uses both a slide switch and button to control LEDs embedded in it.
Light-Up Plush
Here's an example of a button being used as an input connected to the LilyMini microcontroller to switch LED modes.
Resources and Going Further
In addition to using LilyPad pieces to add interactivity to your projects, you can also create your own custom buttons and switches. Check out these blog posts for more:
Ready to add some interactivity to a project using LilyPad Arduino? Check out the ProtoSnap Plus Activity Guide for code examples to follow along with.
LilyPad ProtoSnap Plus Activity Guide
For inspiration, have a look at some of the following projects!
