LED Crystal Goddess Crown
 Feldi
Feldi 
Putting It Together
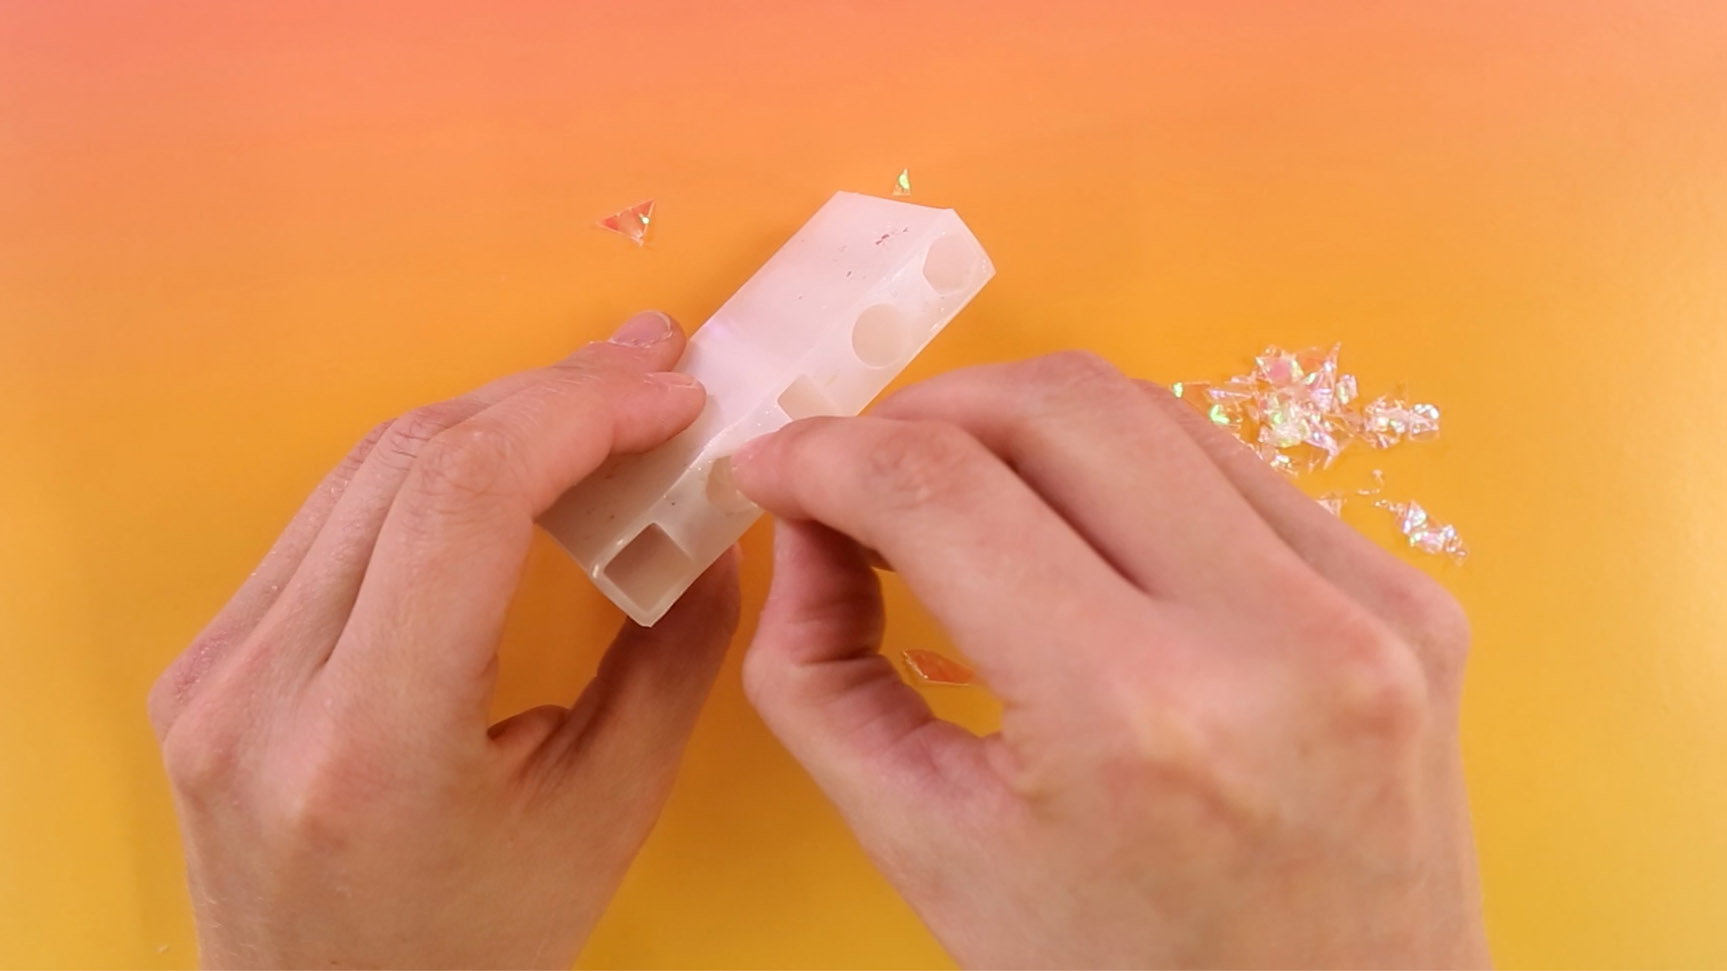
STEP 1:
Stuff your crystal mold with glitter.
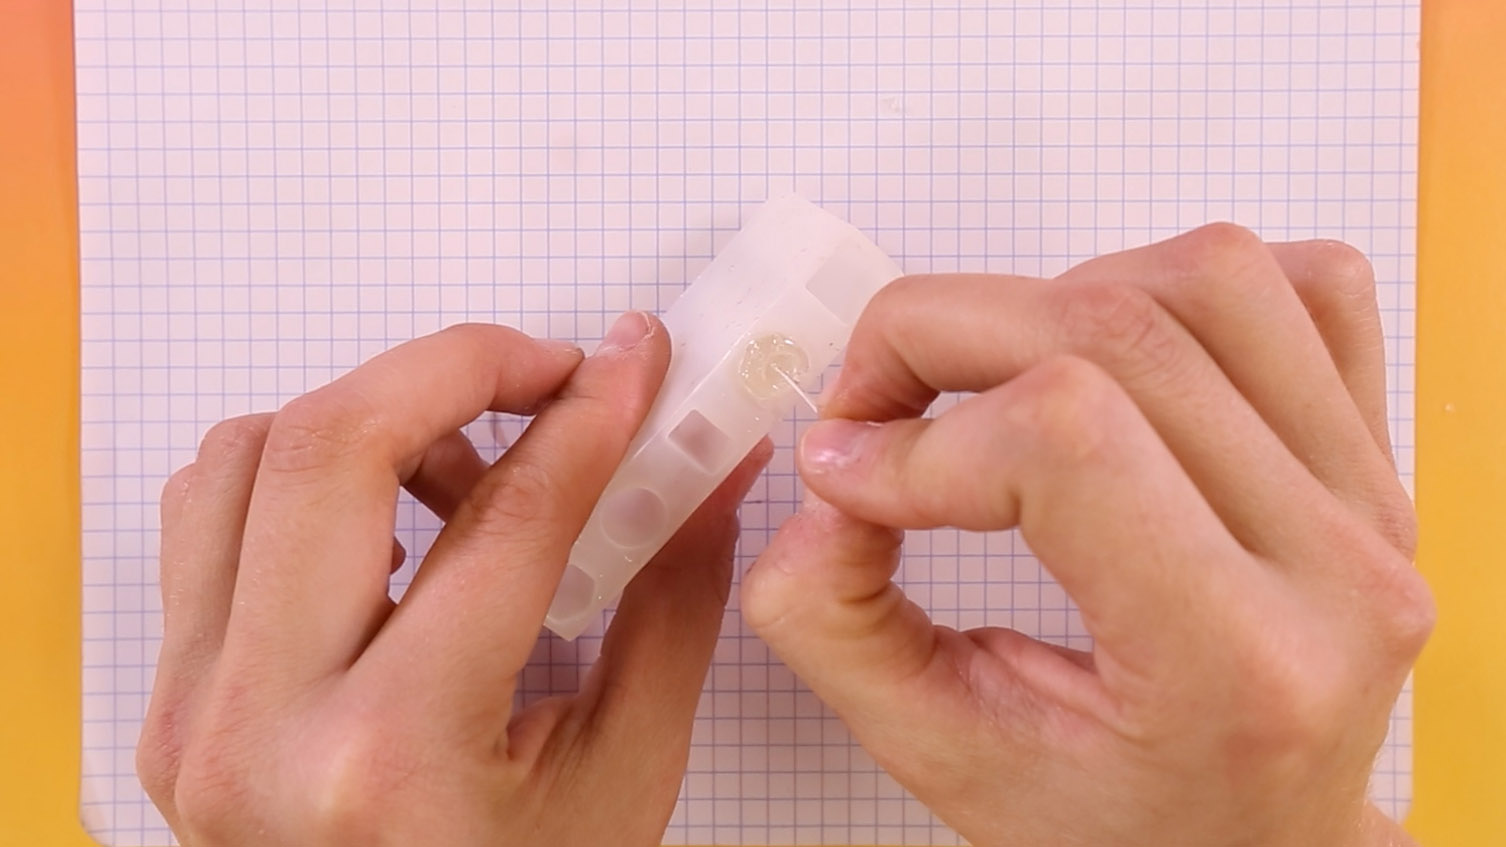
STEP 2:
Prepare the resin according to the instructions on the box. Use a paper clip to mix.

STEP 3:
Pour the prepared resin into your crystal mold. Squeeze, tap, and shake the mold lightly to make sure all air bubbles reach the surface. The resin should be almost to the top, with some extra room left over.

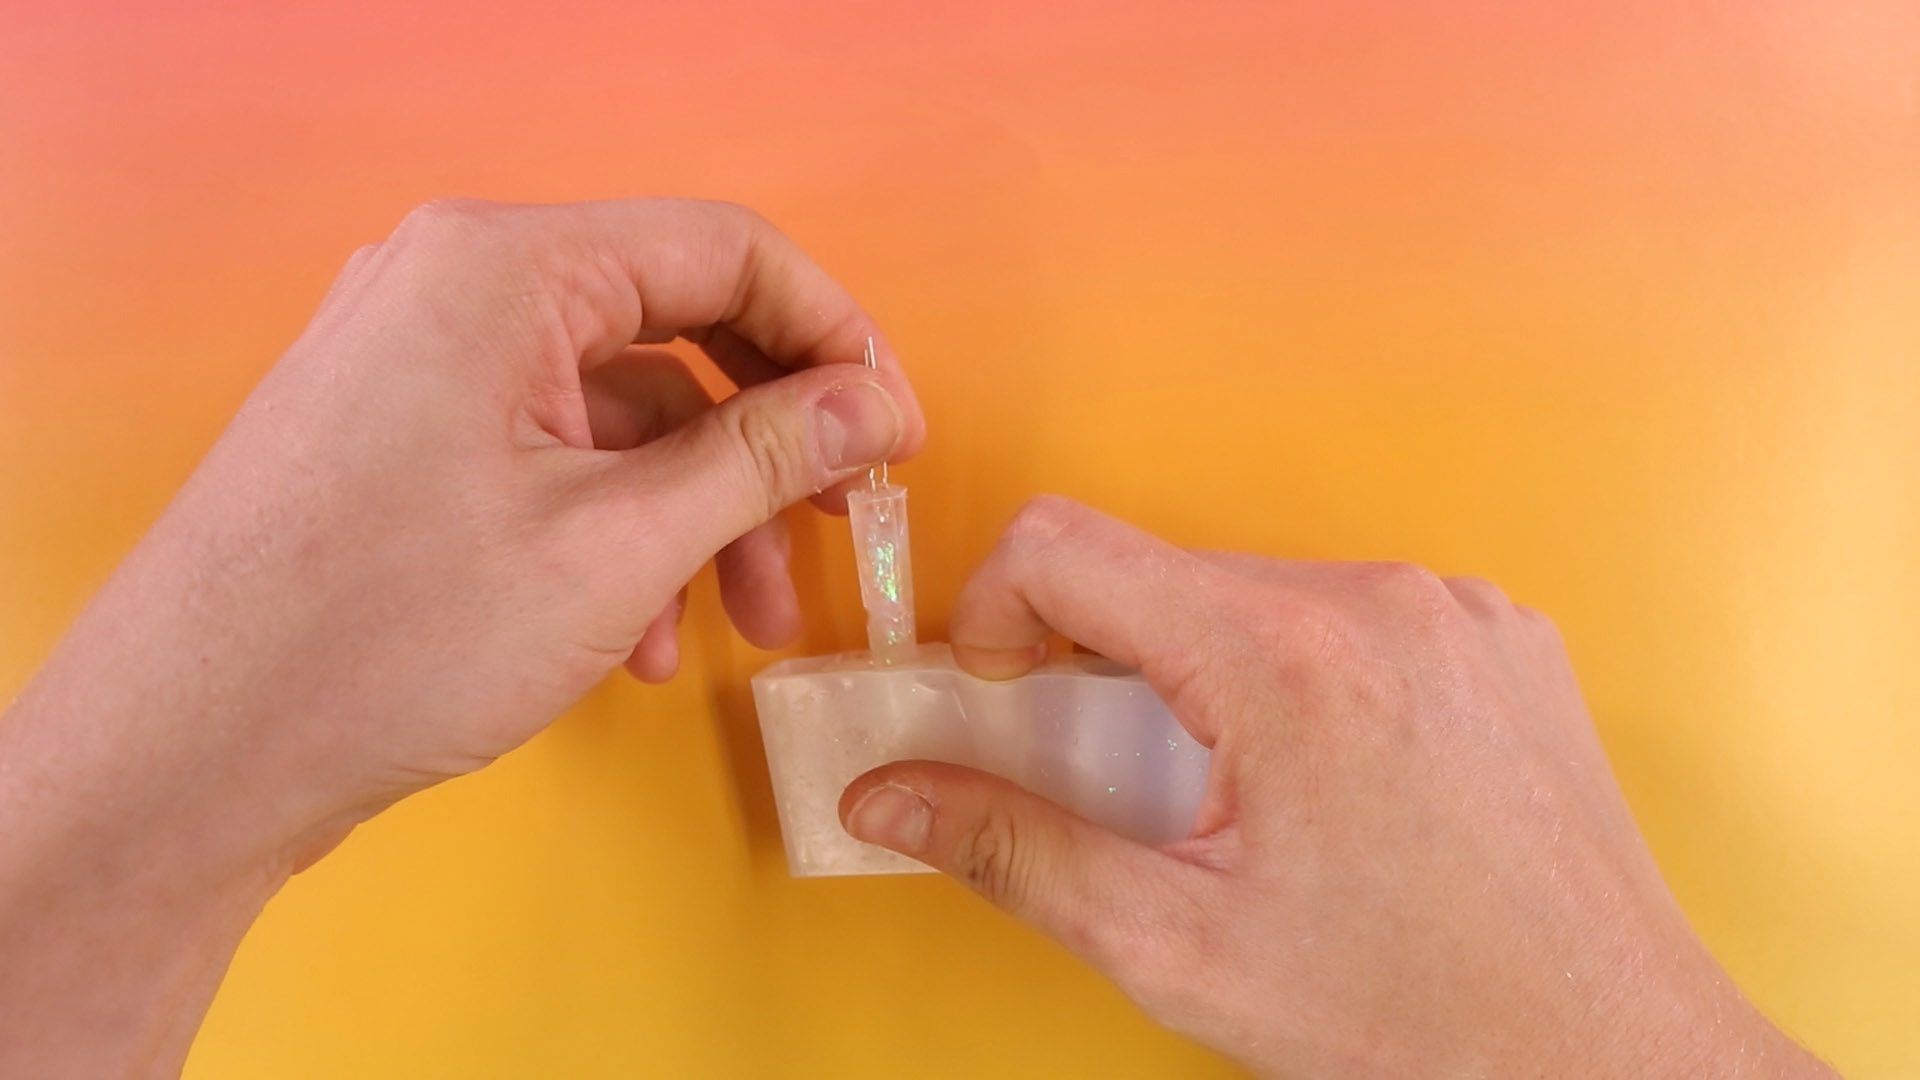
STEP 4:
Place the LED into the resin-filled mold with the electrical leads completely out of the resin and pointing towards the sky. If the LED is falling or leaning in any direction, add some tape to the leads and the side of the mold to keep it straight.
STEP 5:
Let this sit for 24 hours to harden.

STEP 6:
Remove the resin crystal from the mold and repeat step 4-6 another 6 times. This can either be done over the course of 7 days (one full 24 hours per crystal), or in one 24 hours time period with seven separate molds.
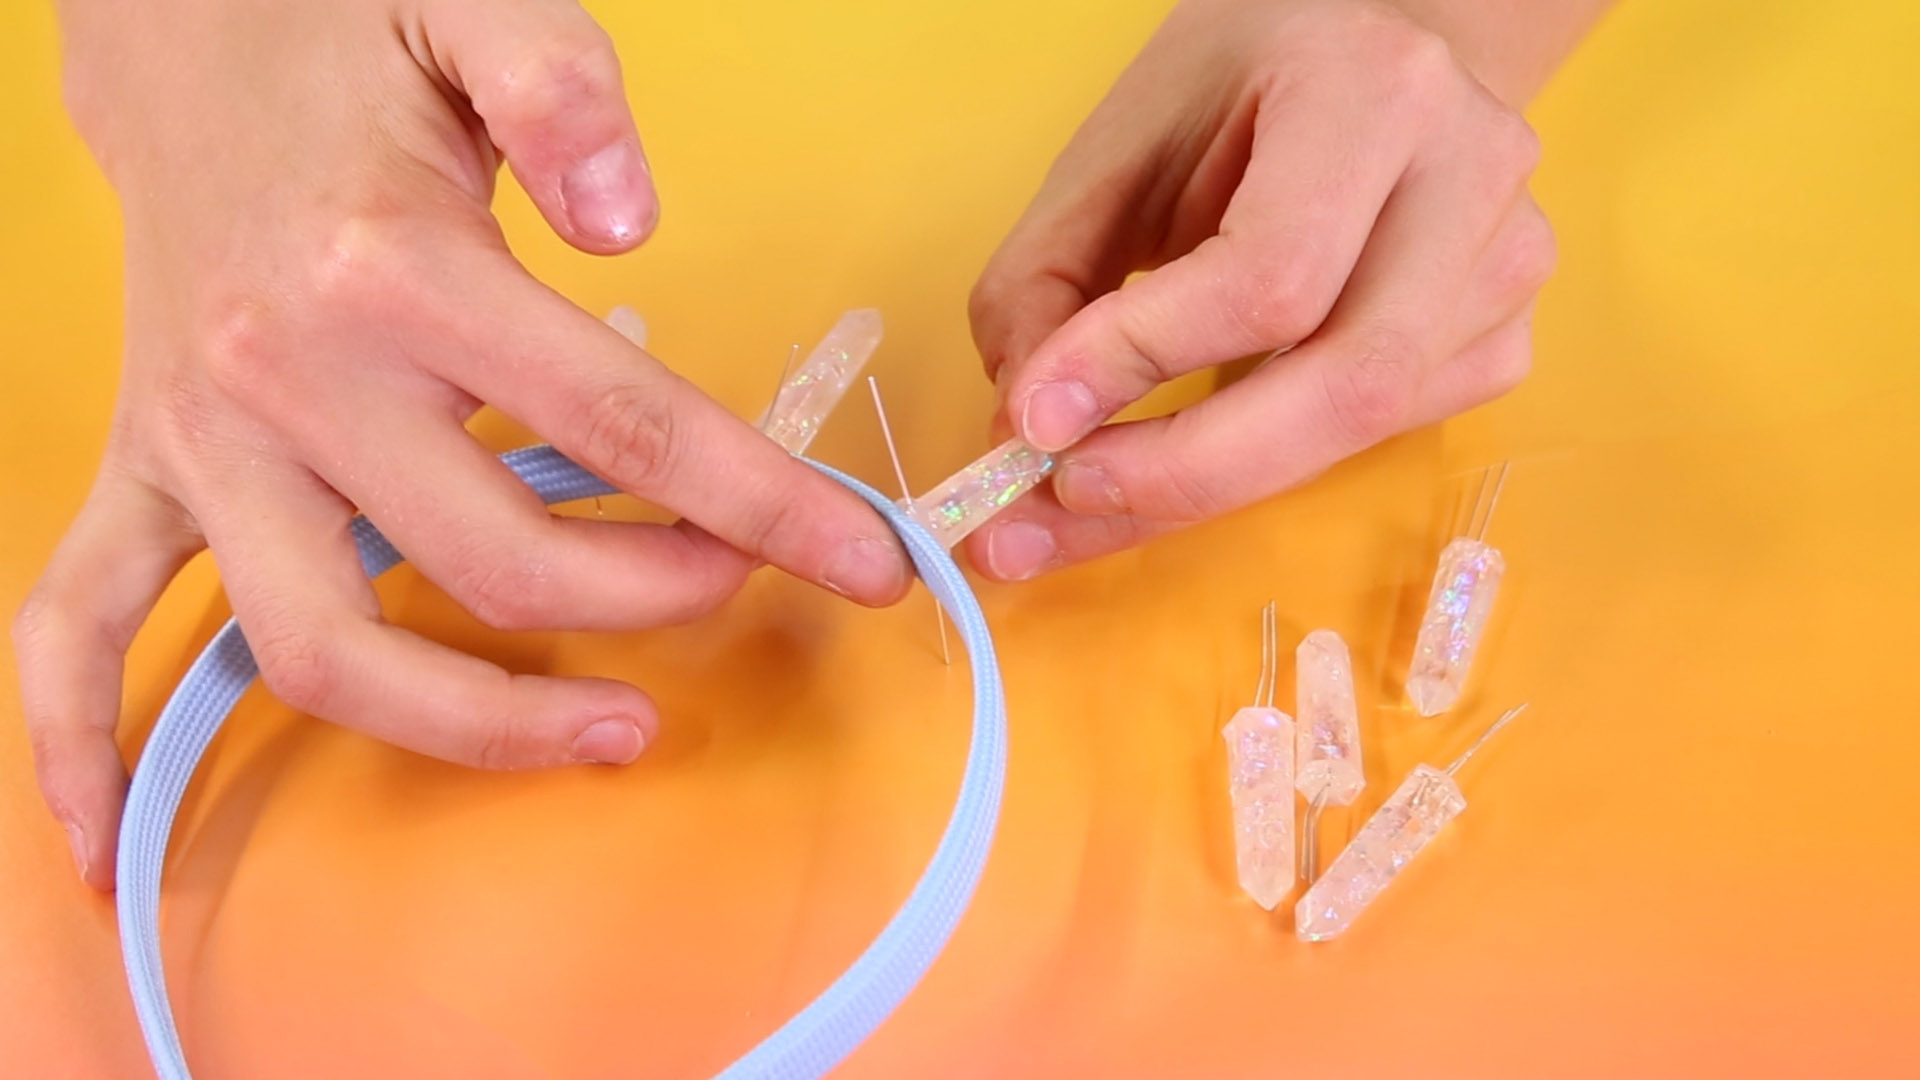
STEP 7:
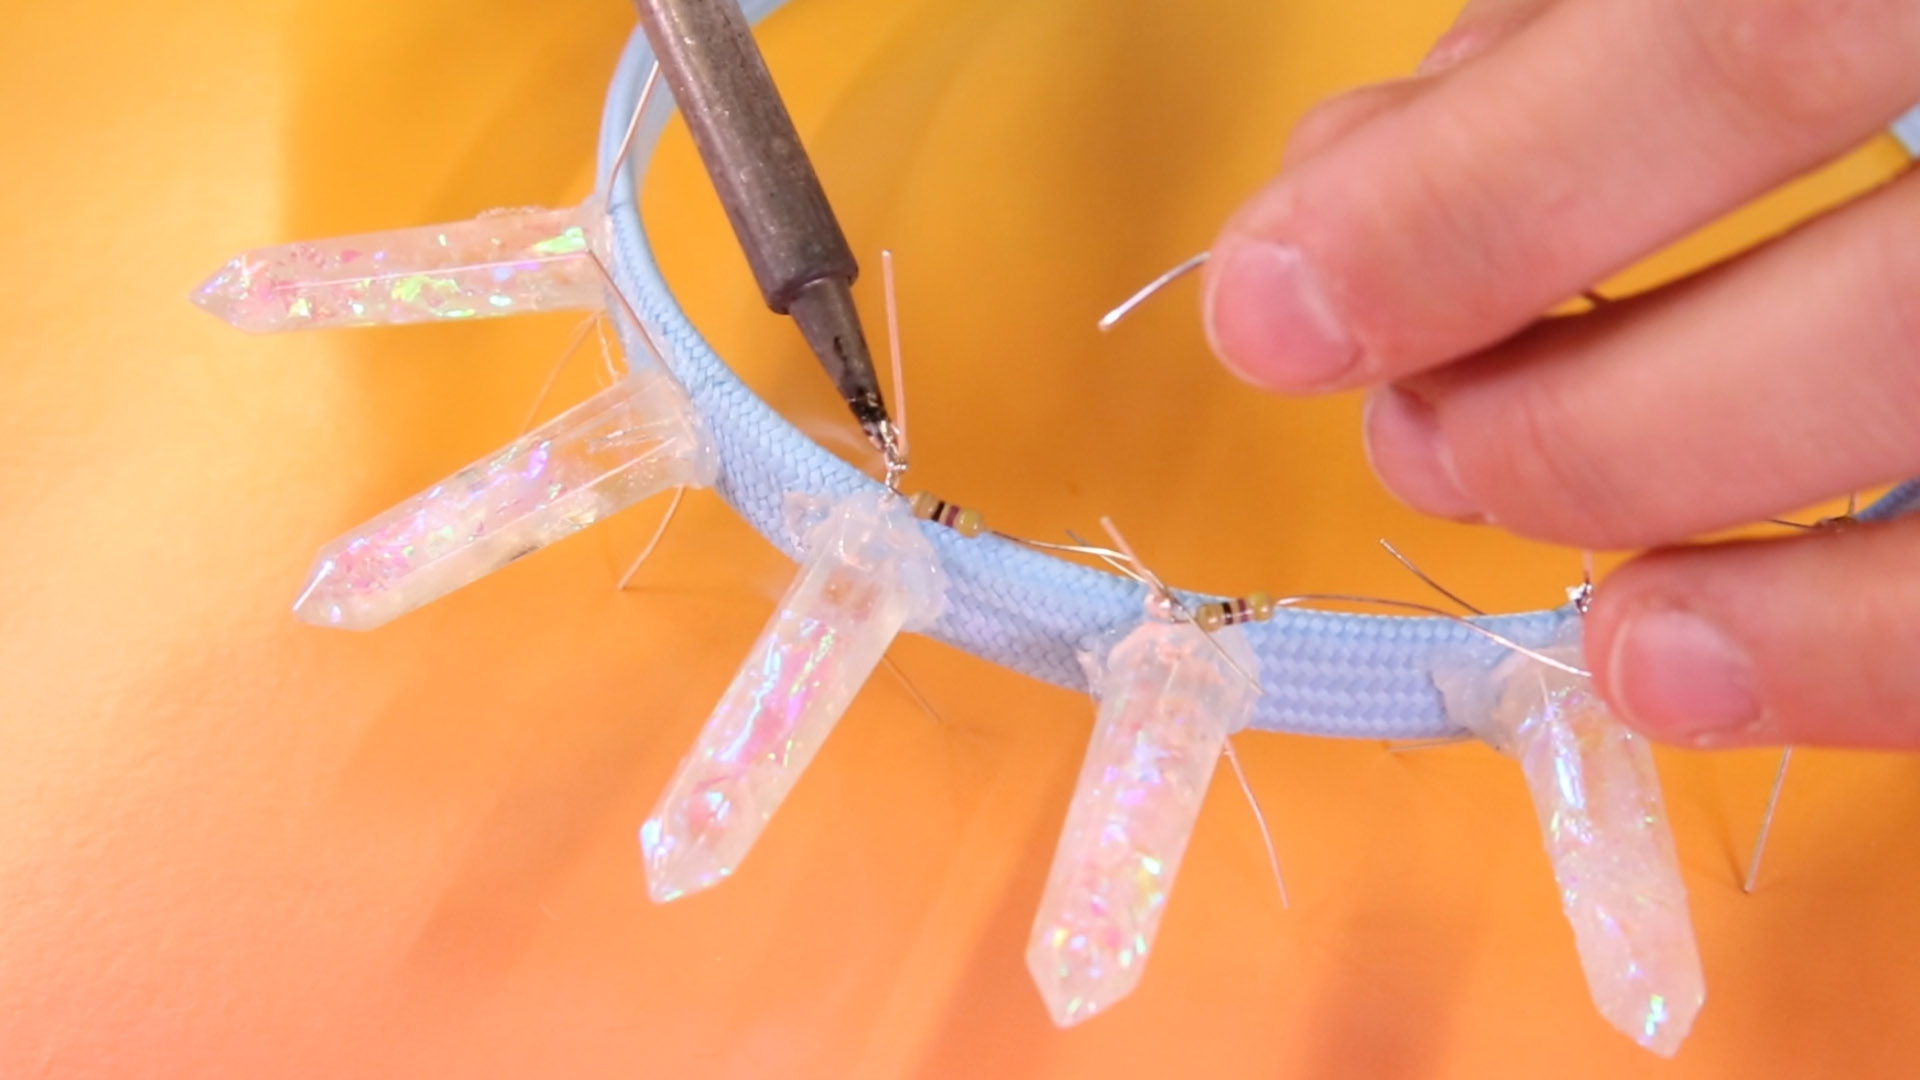
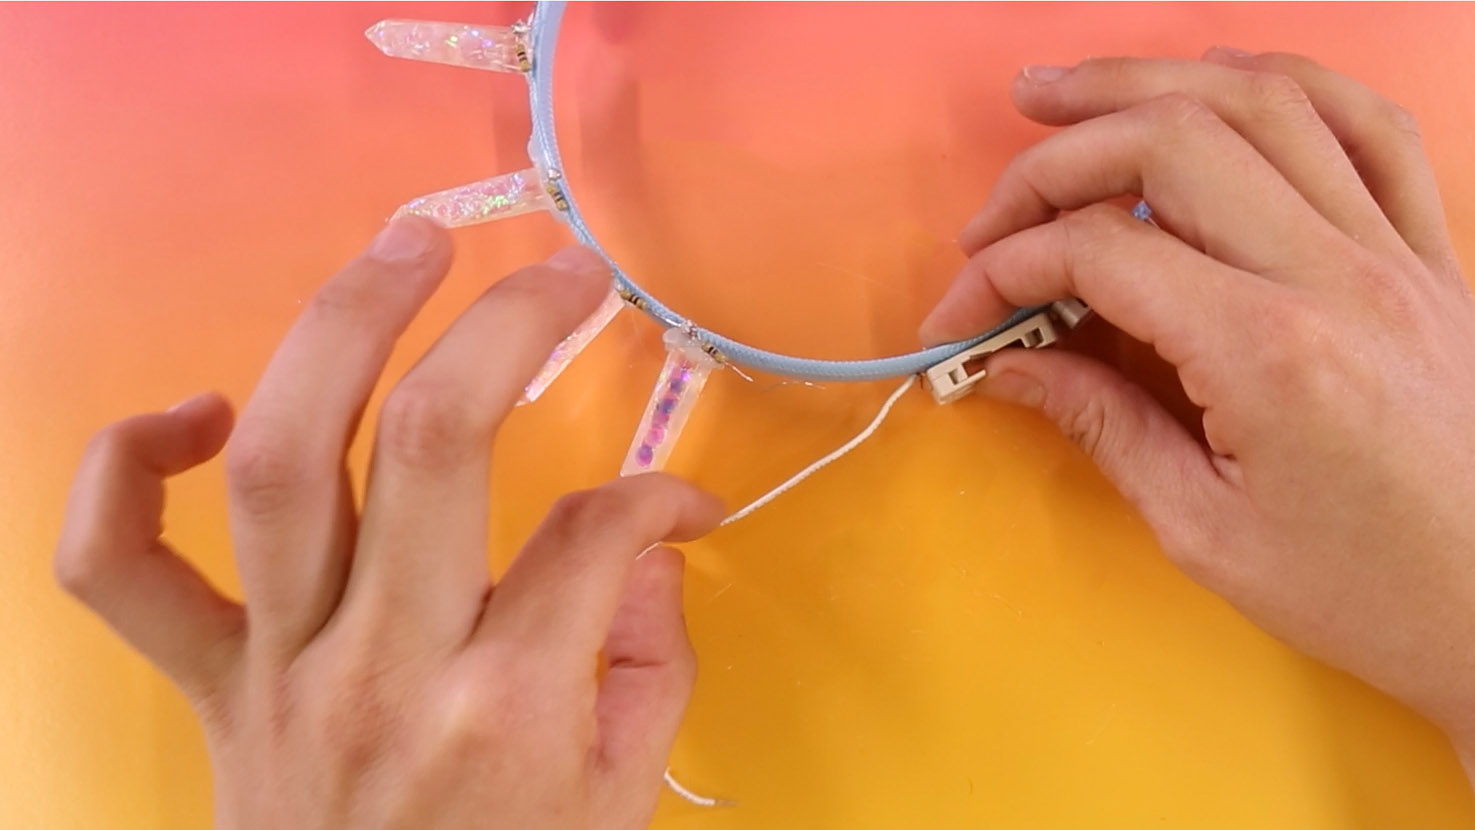
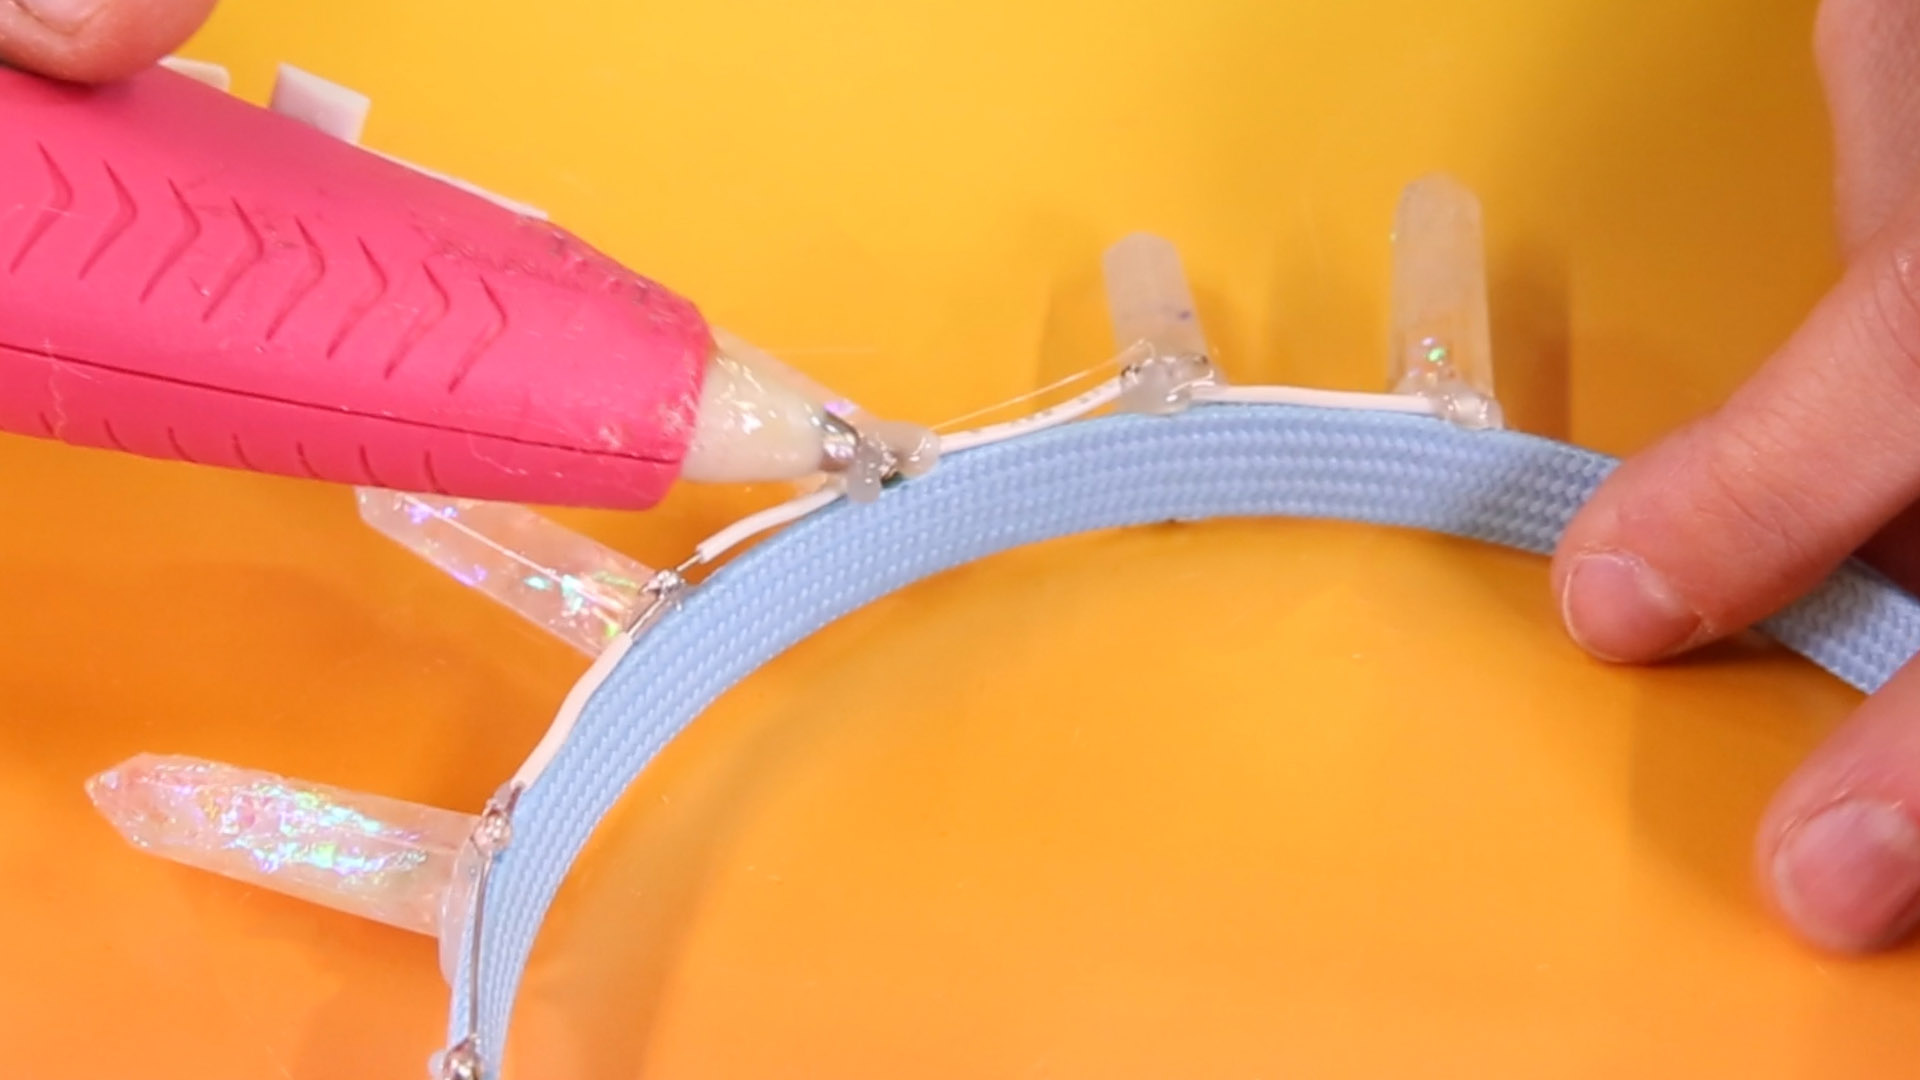
Bend the electrical leads of each crystal perpendicular to their natural position, and hot glue the crystals at the base to your headband.
STEP 8:
Solder the resistors to the LED cathodes according the the circuit diagram provided above.
STEP 9:
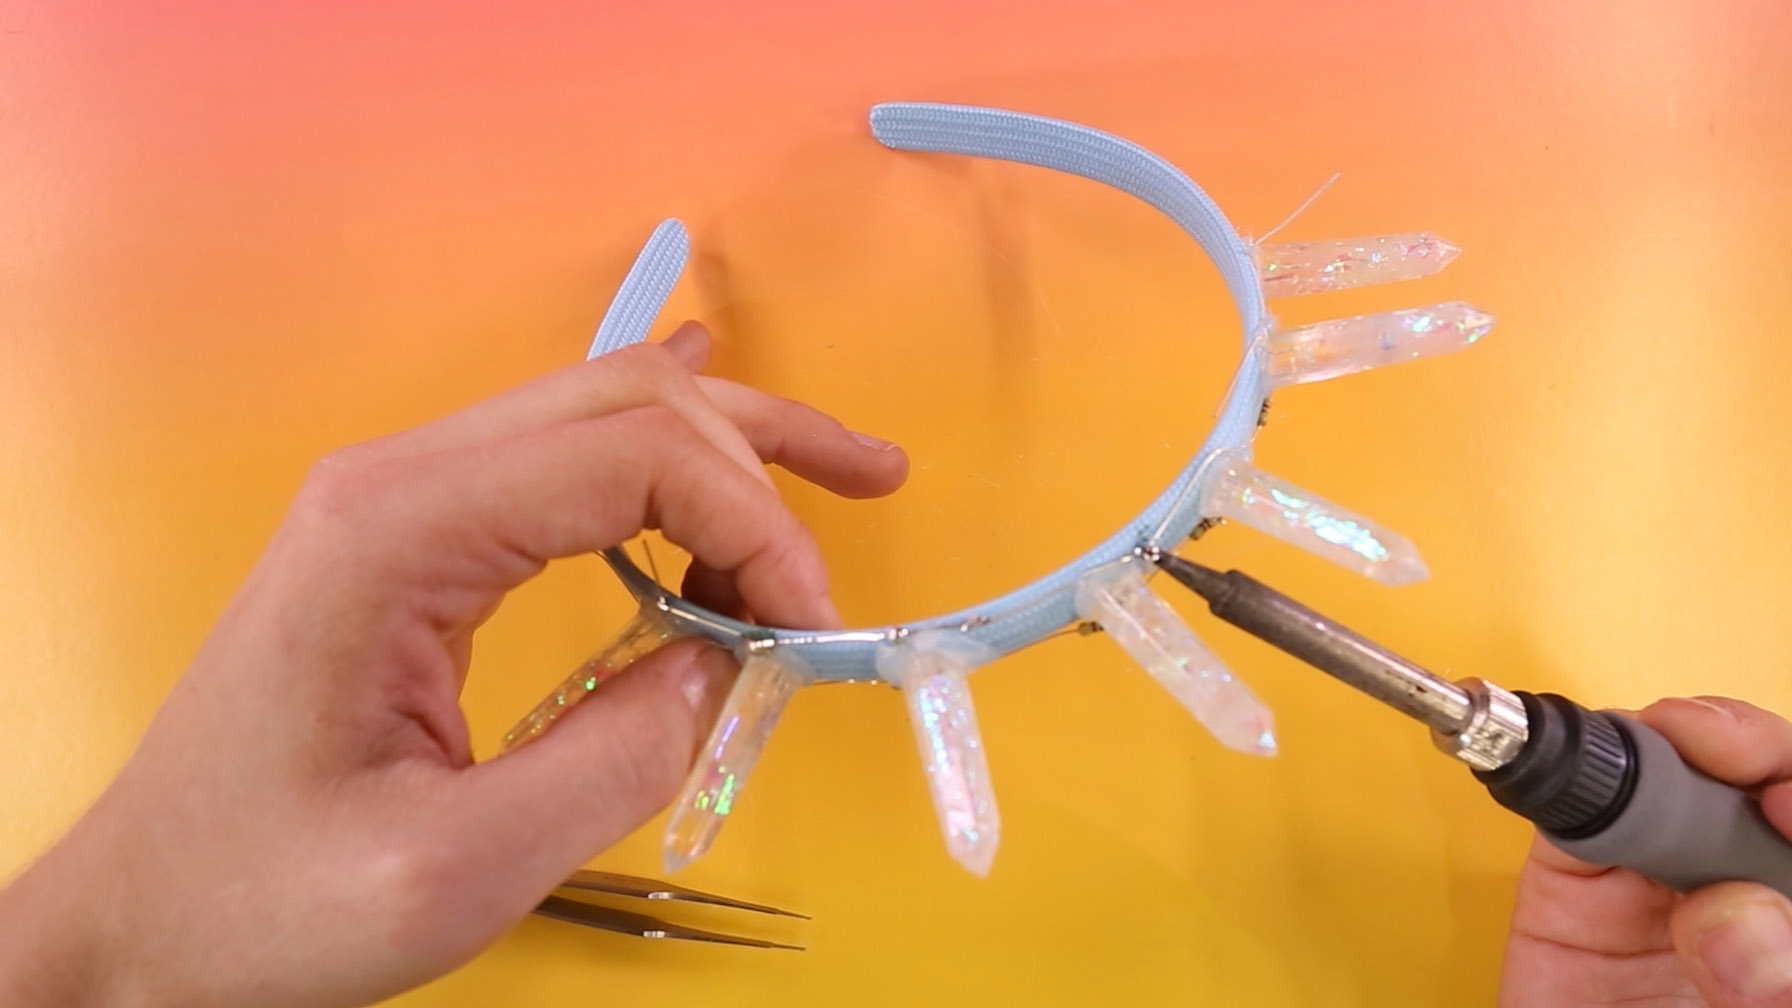
If necessary, use some hook-up wire to connect the LED terminals together in parallel. Cut a piece of the wire from a spool and strip a piece of the wire. Otherwise, bend the LED terminals so that they connect to each other in parallel. Continue to solder the LEDs together in parallel according to the circuit diagram.
STEP 10:
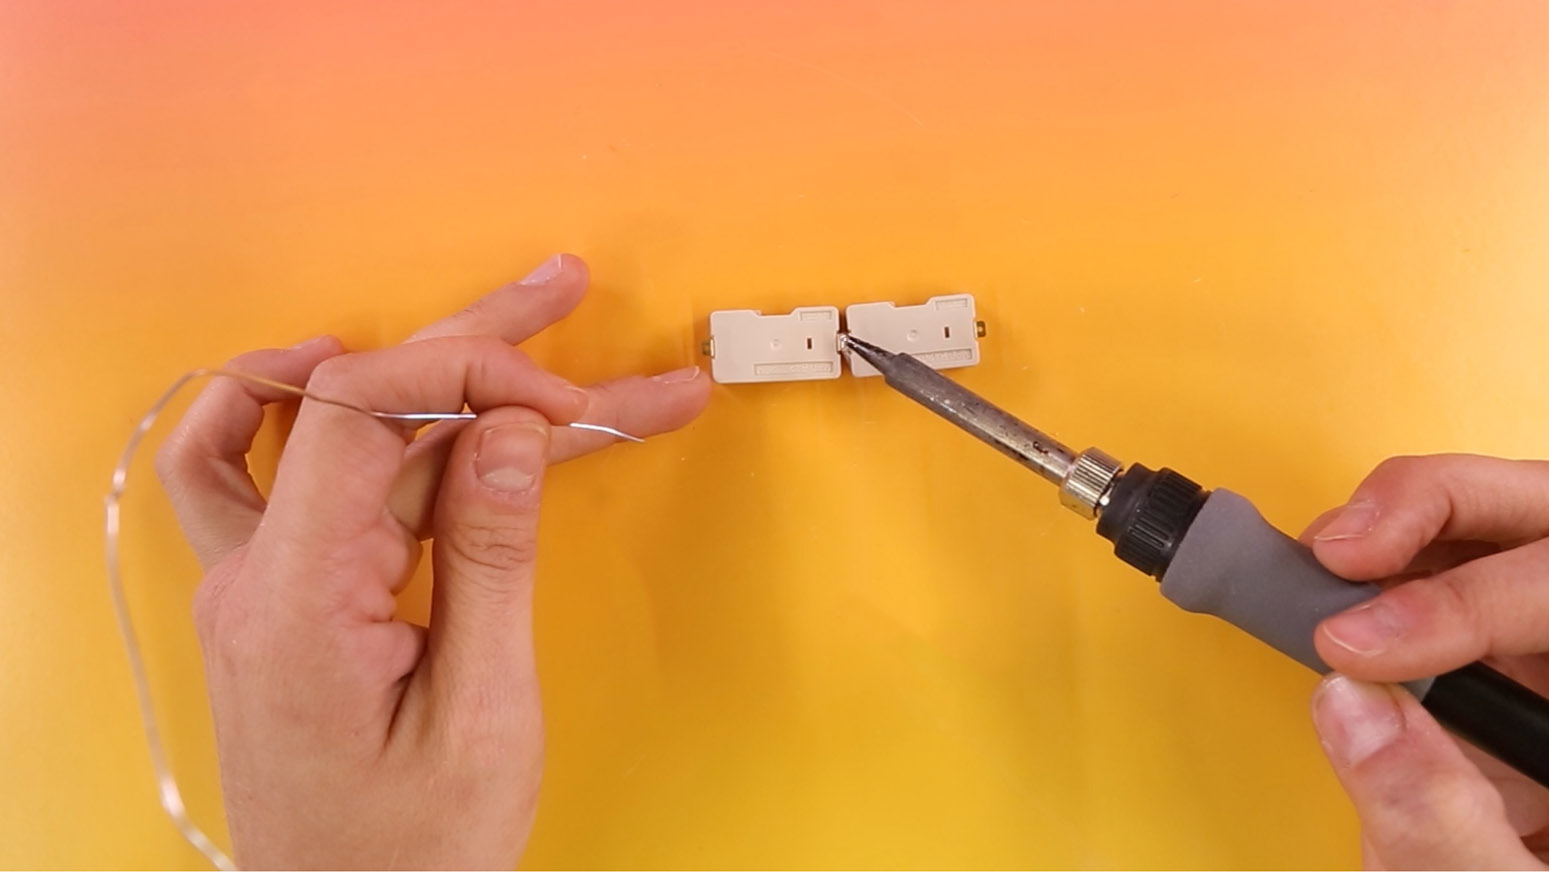
Solder the two battery holders together in series (i.e. positive lead connects to negative lead).
STEP 11:
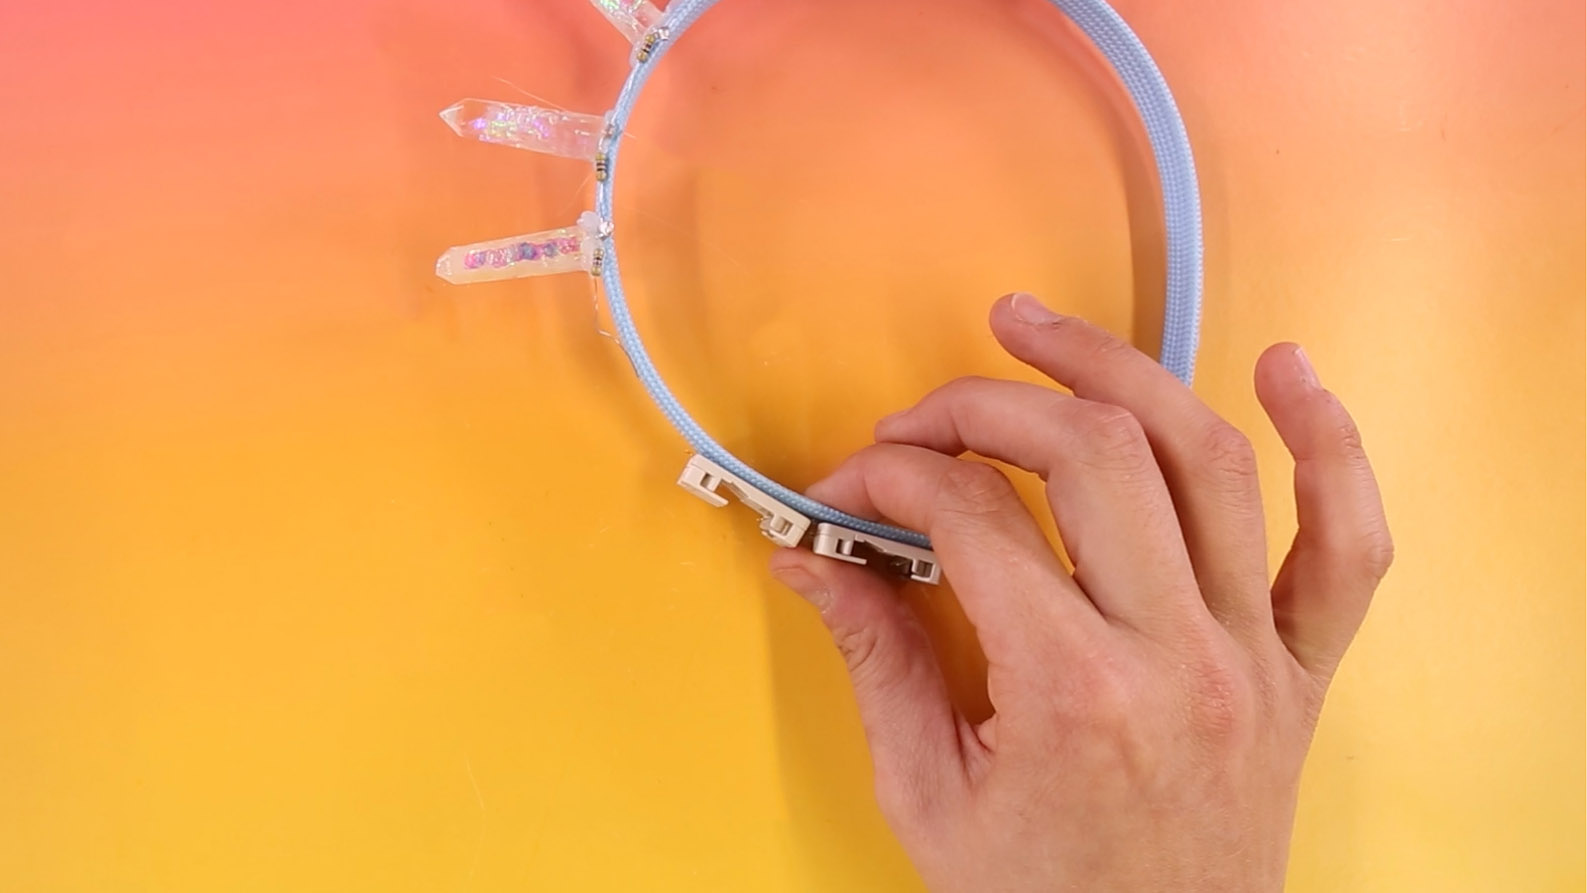
Hot glue the battery holders to the base of the headband.
STEP 12:
Use the hook-up wire to connect the battery holder leads to the LED leads according to the circuit diagram.
At this point, try inserting the batteries into the battery holders to test. If the LEDs are not lighting up, try checking your circuit and connections. If the LEDs are lighting up as expected, remove the batteries and move on to the next step!
STEP 13:
Thoroughly insulate all exposed wire with hot glue.
*PLEASE NOTE: The wires need to be completely covered in hot glue. Make sure that metal pins on the anode and cathode side have some space between each other. This is to prevent a circuit short which can cause a fire. It is important for your safety to completely cover any exposed wire with glue.
STEP 14:
Re-insert the batteries and enjoy!

