Keyboard Shortcut, Qwiic Keypad
Introduction
You may not realize it, but you probably often use keyboard shortcuts for common tasks that, otherwise, were previously extremely monotonous. A perfect example of these shortcuts are the Cut, Copy, and Paste commands, which are almost universally used in every computer application today. Originally, people used to cut (with special scissors) and paste these changes manually.
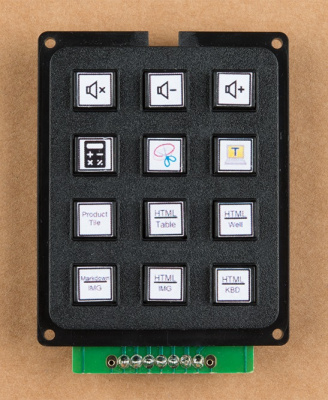
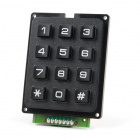
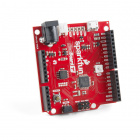
In this guide, we will cover how to utilize the RedBoard Turbo to emulate an HID keyboard that responds to inputs from the Qwiic Keypad to create your own custom shortcut keypad. This is perfect for gaming hotkeys, keyboard shortcuts that require more than two button combinations, or for command line/data/text entries.
This will be similar to the Enginursday Blog Post: Pressing Our Buttons, but without the complex soldering. Although not necessary, it would be good to review the blog post.
Required Materials
For this project, you will need the following products. You may already have a few of these items, so feel free to modify your cart based on your needs.
Qwiic Cable - 100mm
PRT-14427Suggested Reading
If you haven't already gone through the hookup guides for each of these parts, we highly suggest starting off there to understand the basic functionality of each board:
Qwiic Keypad Hookup Guide
RedBoard Turbo Hookup Guide
This project utilizes the Qwiic connect system. We recommend familiarizing yourself with the Logic Levels and I2C tutorials (above) before using it. Click on the banner above to learn more about our Qwiic products.
For a better understanding of how example codes work, please review the following references for the platform you are interested in:
CircuitPython References
Arduino References


