Installing a Bootloader on the MicroView
Gathering the Tools
Before you get going, there are a few tools you'll need to gather: something to pry open the MicroView, a method for connecting to the small vias, and an AVR programmer. There are many options for each of those tools, we'll list a few in the sections below.
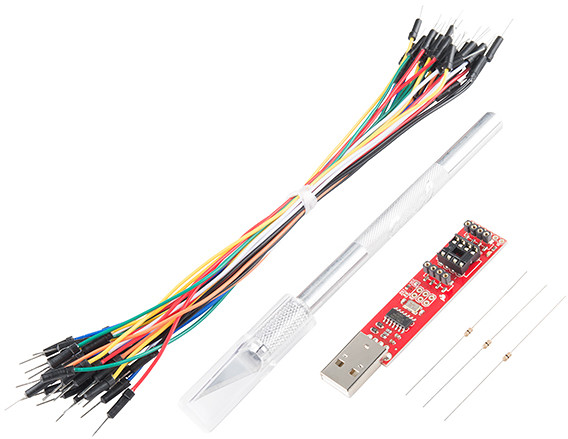
For those short on one tool or another, we've created the MicroView Bootloading Kit, which includes everything you'll need to follow along with this tutorial.
The kit is an especially great deal if you need an AVR programmer -- the price for the kit (which includes a knife, jumpers, and resistors) is the same as the programmer itself.
An Opener
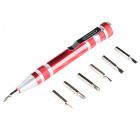
A thin, flat, rigid-ish tool is required to separate the MicroView's shell from the lens covering it. This can be a spudger, hobby knife, or a thin flathead screwdriver (the smallest bit in our Pocket Screwdriver works).
The knife has a lower potential for scratching your MicroView's shell, but the tip will also probably break on your first pry attempt. Use a more veteran, dulled blade if you can. Or, better yet, sacrifice a blade and break the sharp end of the tip off.
A Programmer
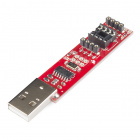
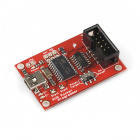
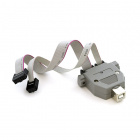
There are a multitude of tools that can perform the task of reprogramming a MicroView over ISP. There are boards built for the task, like the Tiny AVR Programmer, STK500 USB Programmer, or the AVR Pocket Programmer.
Tiny AVR Programmer
PGM-11801STK500 Compatible USB Programmer
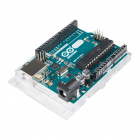
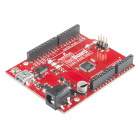
PGM-08702Even if you don't have a dedicated AVR programmer, you might have a programmer and not even know it! Most Arduino's can be programmed to replicate an AVR Programmer. If you have an Arduino Uno, RedBoard, Pro, or, really, any ATmega328P-based Arduino, you're already good-to-go.
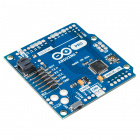
Arduino Pro 328 - 5V/16MHz
DEV-10915By loading the ArduinoISP sketch onto your Arduino, it'll transform into a USB AVR programmer. Arduinos programming Arduinos: madness!
Jumper Wires
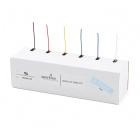
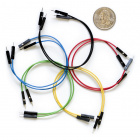
To connect between your Programmer and the MicroView, you'll need six, individual male-to-male jumper wires. Most M/M jumpers will do, including the standard or premium sets.
You can even use solid-core wire if you'd like.
The Arduino IDE
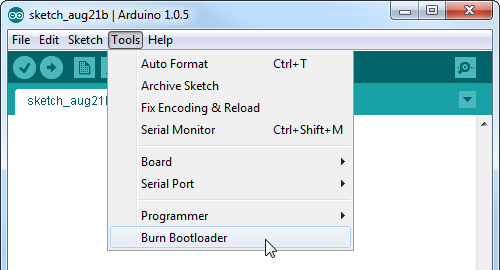
There are a handful of software tools that can be used to reprogram AVRs. The easiest program, and the one we recommend, is the good ol' Arduino IDE. Arduino has a built-in tool, which allows you to burn a bootloader into any of its many boards, it makes programming a bootloader as easy as two clicks.
(Optional, Recommended) Solder Tools or Thin-Gauge PTH Resistors
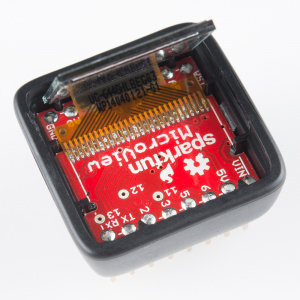
The hardest part of this whole process is connecting your programmer to three of the MicroView's tiny ISP pins. Due to space restrictions they're broken out to a trio of small, exposed vias.
If you apply enough steady pressure, you can complete those three connections without soldering or connecting anything else. Be warned, though, that it'll take a few tries to get right; if you're low on patience, frustration might brew.
If you'd like to avoid soldering to your MicroView, one trick is to plug through-hole, 0Ω (or, at least, very low resistance) resistors into the MicroView's three ISP vias. The trick is finding resistors with thin enough leads. The 0Ω resistors on our Resistor Kit work perfectly for this task, but watch out, many other resistors -- especially those rated for ¼W and above -- have too-thick leads.
(There are all sorts of other, clever ways to connect into those vias. For example, you can poke them with sewing needles. You just need something with a diameter under about 0.015" that conducts electricity.)
Instead of jamming resistors into the vias, if you have soldering tools handy, you can make the programming process a lot smoother by temporarily soldering a jumper wire to the test pin -- creating a reliable electrical connection between MicroView and programmer. A simple iron, and some solder is all you should need.
Soldering Iron - 30W (EU, 230VAC)
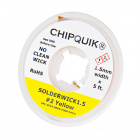
TOL-11650Solder wick might help when you get to disconnecting the wires and cleaning up.
