$4.75
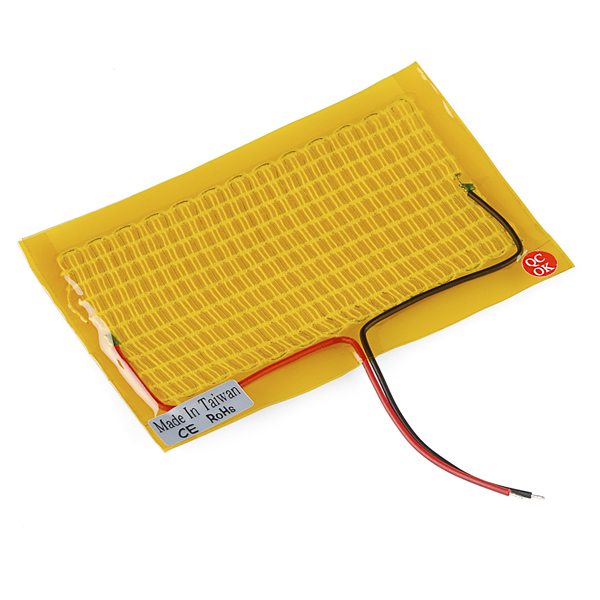
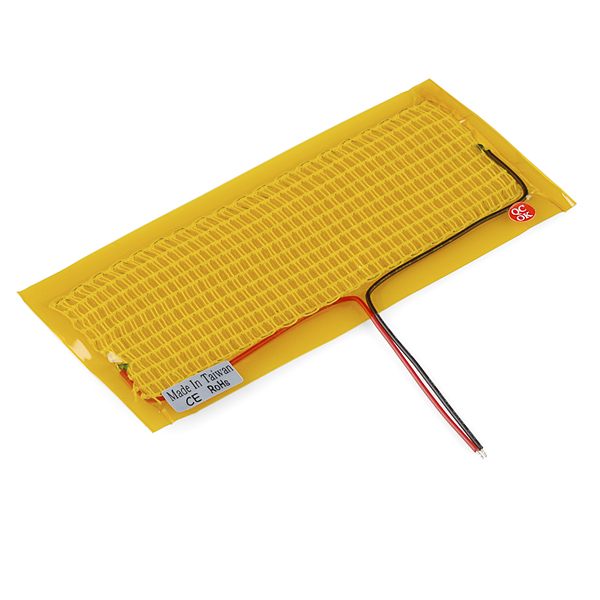
There are a lot of great projects you can use heating pads (5x10cm and 5x15cm) in, ranging from warming gloves, slippers, a blanket, or anything you want to keep nice and warm. Got a beard mask you want to make toasty? Do beards need to be warmer? Not sure. Would it be a fun project? Definitely.
You can go as simple as getting the appropriate power supply and a heating pad. One heating pad is rated for 5V, and draws about 600mA. If you want to add a form of logic or control to your circuit, such as interfacing with sensors, the easiest way is to add a microcontroller/development board to your project. You will also need some wire and transistor to control the heating pad if you are using a microcontroller. Check the wishlist in the next section for more details on the products used in this tutorial.
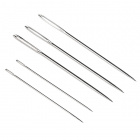
You will need sewing needles, a soldering iron, solder, and general soldering accessories.

If you aren’t familiar with the following concepts, we recommend checking out these tutorials before continuing.
A blanket project with two heating pads to keep your hands warm when you are on the computer/notebook/tablet/phone/playing chess/all other activities.
There are a lot of parts on this list that can be exchanged for alternate parts, or that aren't needed at all, depending on what type of setup you want. To follow along with this project, you will need the following materials. You may not need everything though depending on what you have. Add it to your cart, read through the guide, and adjust the cart as necessary.
You could use a 3.7 LiPo battery to power both the LilyPad USB board and the heating pads. Remember: You will still need a MOSFET, because having two heating pads will draw more current then the LilyPad pins can handle. This option is nice, since you can use the LilyPad to charge the LiPo battery when the heating pad isn't in use. The draw back to using a 3.7v LiPo battery is that the heating pads won't get as warm as they would with a 5v (or higher) power supply.
In this setup, we use the LilyPad USB, because you won't have to get an extra FTDI basic for an USB connection.
The first step is to select your fabric. When picking a fabric, you want to consider the following:
In the video below, you'll see that you can get as weird as you want when customizing your blanket:
For the example in the video, extra fabric and button snaps were sewn on the back of the blanket for easy removal for washing.

If you don't have a sewing machine, or don't want to sew, you can do a No-Sew blanket and be creative when adding a pouch that holds your heating pads and circuit. No-Sew blanket tutorials
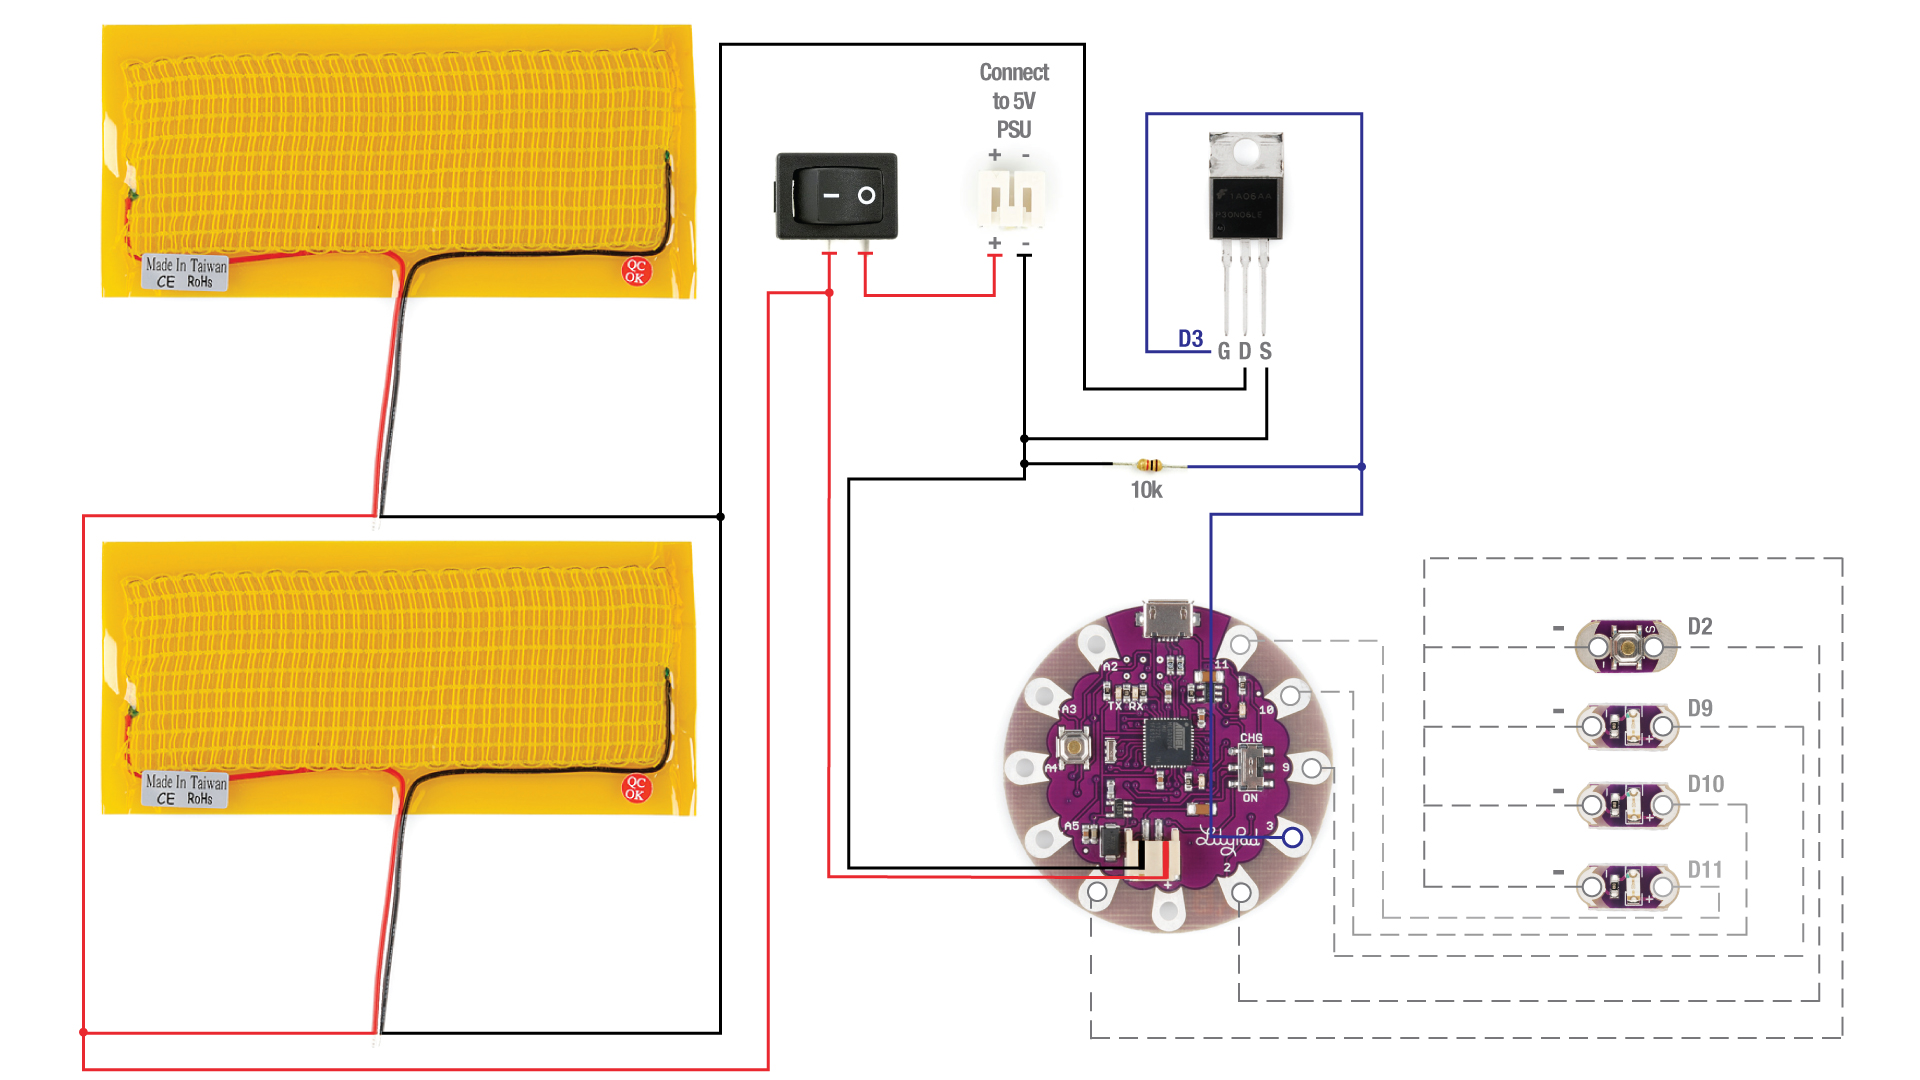
Here is a diagram of the circuit setup:
language:c
  /*

 Heating Pad Hand Warmer Blanket Code Example
  SparkFun Electronics, Pamela, 1/24/2013
  Beerware License

  Hardware Connections:
  -led1 = D9;
  -led2 = D10;
  -led3 = D11;
  -button = D2;
  -Mofset = D3;

  Usage:
  Hit the switch to power, hit the button to adjust how warm the heating elements get, and three LEDs will indicate low, medium, and high levels.
 */

int btnPin = 2;
boolean btnPressed = false;
int fetPin = 3;
int led1 = 9;
int led2 = 10;
int led3 = 11;
int mode;

void setup() {
  // initialize the digital pin as an output.
  pinMode(btnPin, INPUT_PULLUP);  //set internal pull-up resistor for button
  pinMode(fetPin, OUTPUT);
  pinMode(led1, OUTPUT);
  pinMode(led2, OUTPUT);
  pinMode(led3, OUTPUT);
}

// the loop routine runs over and over again forever:
void loop() {
  //Increment mode on depress, unless mode = 3, then reset to 0
  if (btnPressed && digitalRead(btnPin) == LOW)
    mode = mode == 3 ? 0 : mode + 1;
  //Assign button state
  btnPressed = digitalRead(btnPin);
  switch (mode)
  {
    case 0:
      analogWrite(fetPin, 0); //off
      digitalWrite(led1, LOW);
      digitalWrite(led2, LOW);
      digitalWrite(led3, LOW);
      break;
    case 1:
      analogWrite(fetPin, 85); //33% duty cycle
      digitalWrite(led1, HIGH);
      digitalWrite(led2, LOW);
      digitalWrite(led3, LOW);
      break;
    case 2:
      analogWrite(fetPin, 170); //66% duty cycle
      digitalWrite(led1, HIGH);
      digitalWrite(led2, HIGH);
      digitalWrite(led3, LOW);
      break;
    case 3:
      analogWrite(fetPin, 255); //100% duty cycle
      digitalWrite(led1, HIGH);
      digitalWrite(led2, HIGH);
      digitalWrite(led3, HIGH);
      break;
  }
}
There you go! As with any DIY project, you should always customize and tweak what you want for maximum awesomeness.
For more information about the heating pads, check out the resources below:
Need some inspiration for your next project? Check out some of these related tutorials:
Or try controlling thermochromatic pigment with the heating pads.
If you liked this project, we recommend checking out our older tutorials related to e-textiles:
learn.sparkfun.com | CC BY-SA 3.0 | SparkFun Electronics | Niwot, Colorado
