Hackers In Residence - The Tethered Quad
 Emcee Grady
Part 1 - Preppin' the Parrot
Prep Work
Setup Dropcam Account here. Make sure it can connect properly and you can access it. Decide if you want the feed to be private or public.
Install one of the Parrot AR Drone apps on your smartphone of choice. Ensure your drone works and you can fly it around. Say goodbye to all that mobility and fancy handling
Part 1 - Parrot
(Teardown reference on iFixit)
Take off the top hull (the piece with the blue and orange stickers). You won’t need it and getting rid of it gives you more lift.
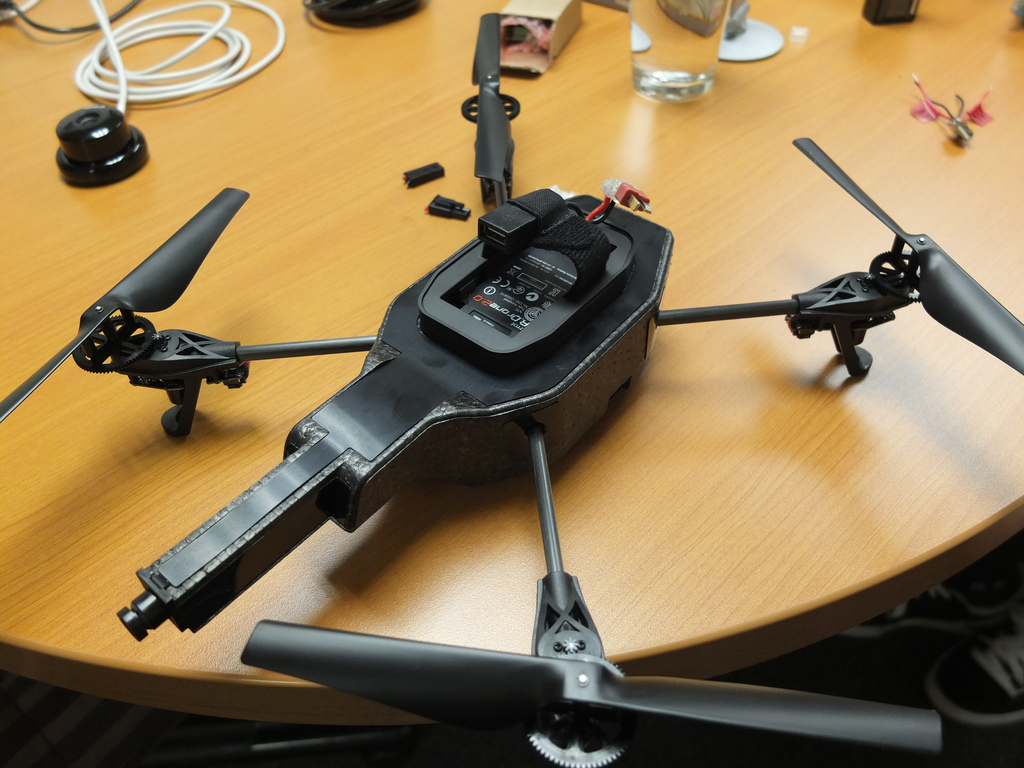
Peel off the plastic plate on the bottom of the drone from the back, but not all the way.
You’ll see that there’s a rather large cavity in the drone, you’ll be shoving your camera in there.
Cut a circle hole in that plastic cover large enough for your camera lens to pop out, but small enough to hold the rest of the camera guts inside. Note that we didn’t glue the dropcam into the hull, it’s just kind of in there.
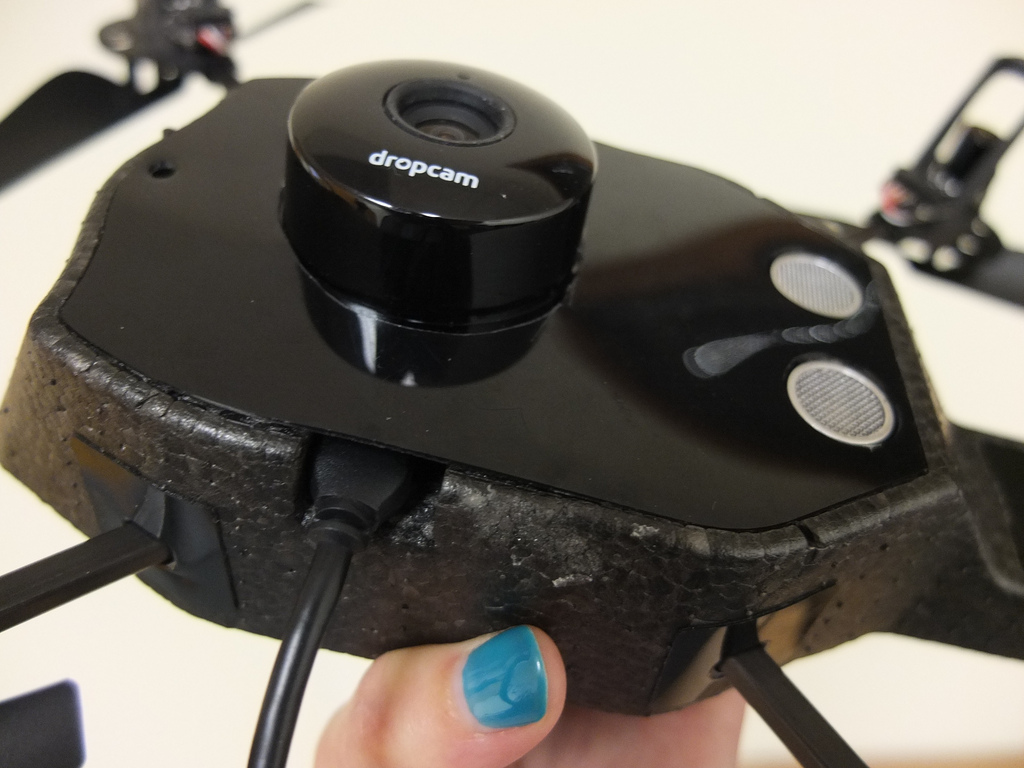
Cut about a half inch notch in the side hull, to allow cables to get to your camera.
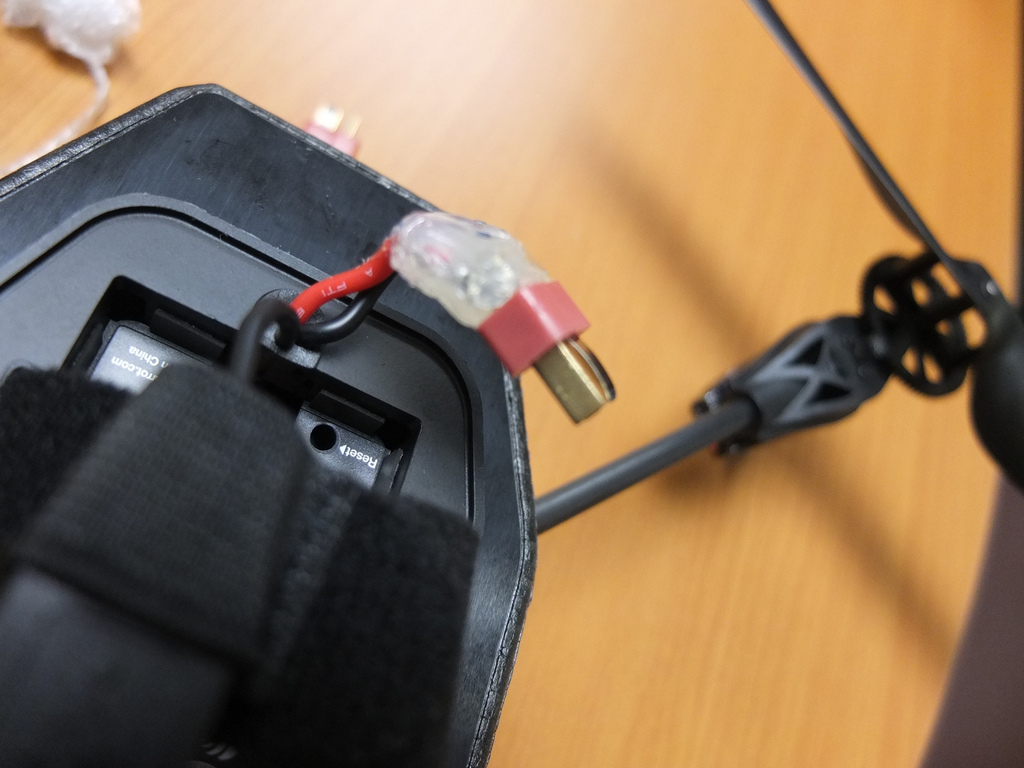
Mod the power connector to use Deans connectors - this way you’ll be able to use the battery or the power tether.
Soldering to the Deans connectors can take some time and lots of heat, so be patient and persistent. We used a male (M) connector on the drone, however this is very dangerous. If the male leads come into contact with anything conductive, you can short that battery and cause a fire. Don't do what Donny Don't does, and always connect the famle end to any battery or other power source! Also, be sure to not solder on two of the same ends. Nothing worse than finishing up and finding both ends of the wire you are trying to connect are female.