Getting Started with Teensy
 ishotjr
Arduino Example
The canonical “Hello World” for hardware is making an LED blink, so let’s try that in order to ensure that everything is working as expected.
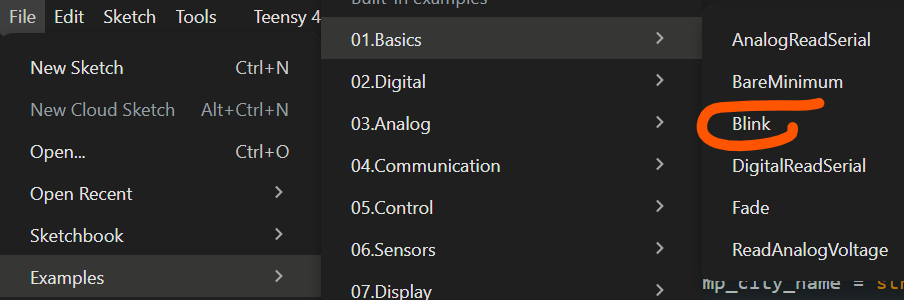
Navigate to File > Examples > 01.Basics > Blink to load the Blink sketch.
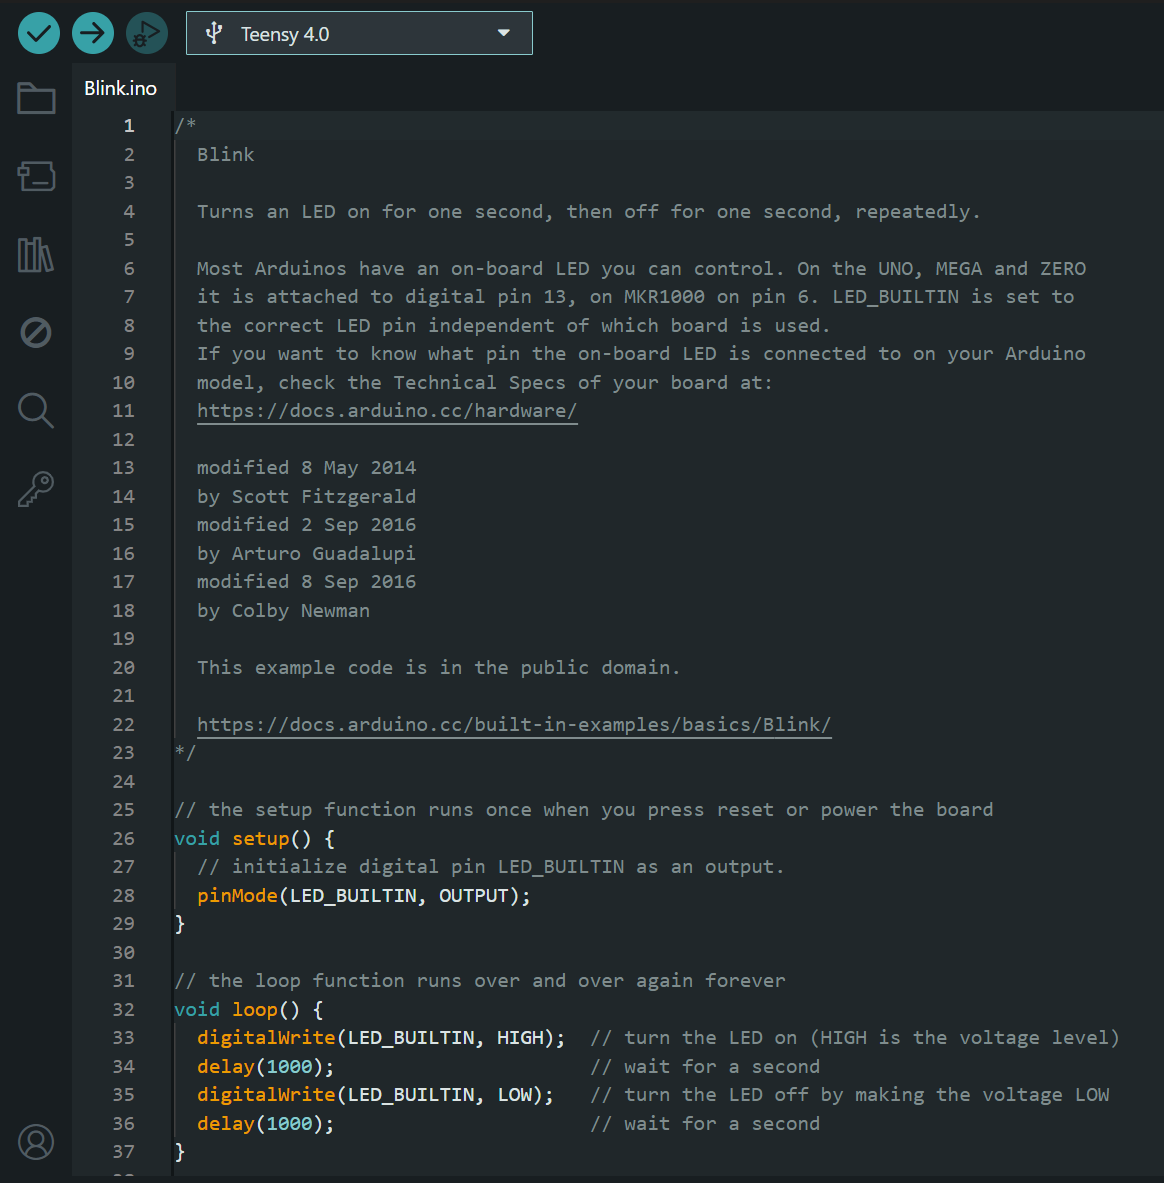
The modern version of this sketch uses LED_BUILTIN so you don’t even need to know what pin the LED is on (although we’ll get into this in subsequent tutorials!) and can run the code without modification.
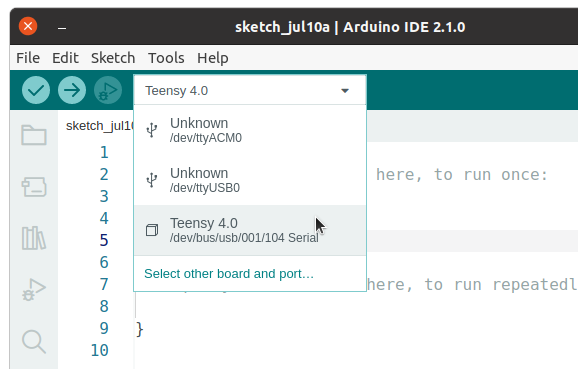
First, press the button at the opposite end of the PCB from the microUSB connector to enter programming mode. Then, select Teensy 4.0 (or 4.1, accordingly) from the Boards dropdown:
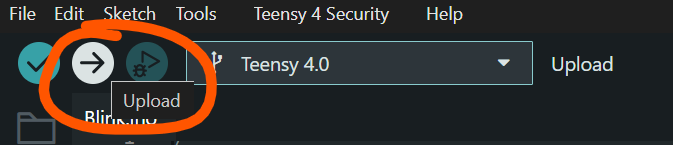
then click Upload:
This will launch the Teensy Loader application which will flash the compiled binary to your board:
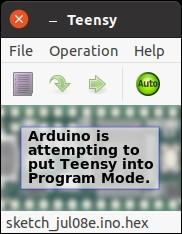
During upload, the red LED next to the microUSB connector will turn on to indicate programming activity. When it’s complete, Teensy Loader should display “Reboot OK”.
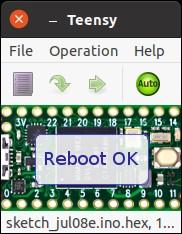
If everything worked as expected, the orange LED will blink on, then off, every second. Each Teensy ships with an LED blinking program already installed, so this might not be the most exciting thing to witness, but you can try adjusting the millisecond delay values in the delay function and re-uploading your adjusted code for (slightly) more interesting results.