Flashlight Kit
 M-Short
Assembly Guide
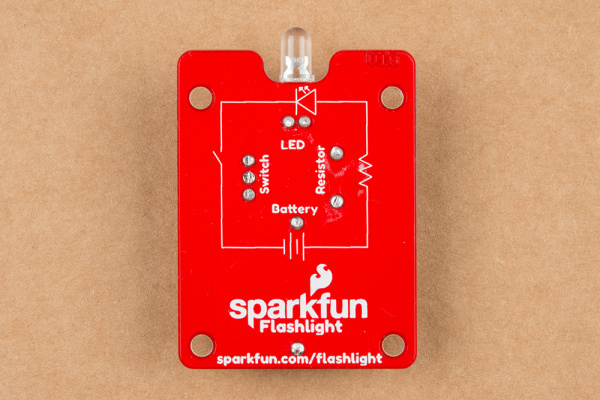
We are going to start with the smallest components first and add parts in as they get larger. This makes it easier to get your components to stay put when you are soldering them in.
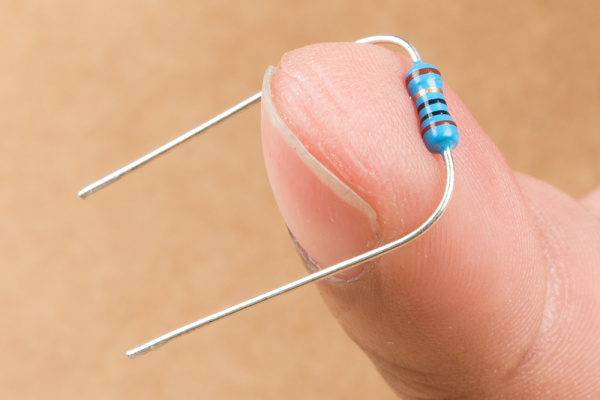
Attaching the Resistor
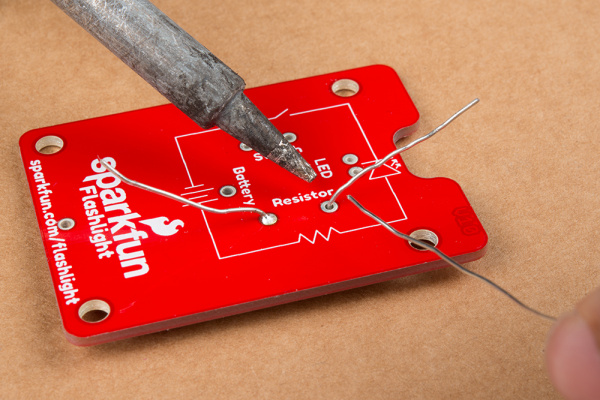
First we'll add the resistor. Bend the ends down at a right angle so that it looks like a 'U'. Personally I like to just bend them over my finger, but depending on your finger size this may or may not work well. We are then going to insert each end into the board in the spot labeled "Resistor". Turn the board over and pull the leads through. Your resistor should be sitting pretty flush to the PCB. It doesn't have to be perfect, but the closer it is, the neater it will look. Now you can go ahead and bend the legs over a bit to help hold everything in place. Then solder the 2 joints (see above for correct solder methods).
 |
 |
| Shaping the Resistor | Solder Points for Resistor Legs |
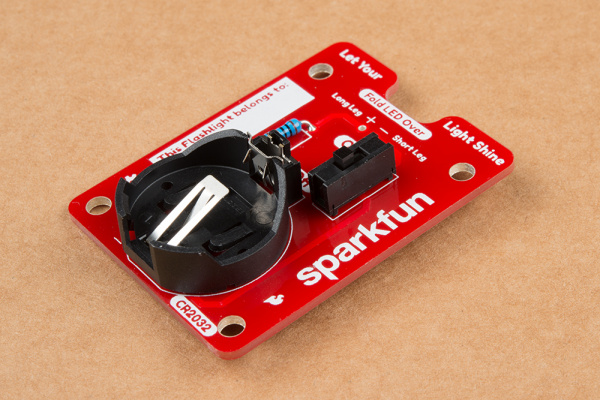
Attaching the Battery Holder
Next we are going to solder on the battery holder. Make sure you put it in the right way! The board will have an outline on it showing which way it goes. Solder the 2 pins on the bottom side of the board. The battery holder should be fairly flush to the board. While it doesn't need to be perfectly flush, it needs to be flush enough that both feet go through the board and can be soldered. If you solder in the first pin and find that it isn't sitting flush don't worry. Put pressure on the board with one hand and heat up the joint with the other hand. Once the solder melts the part should snap into place.
Attaching the Switch
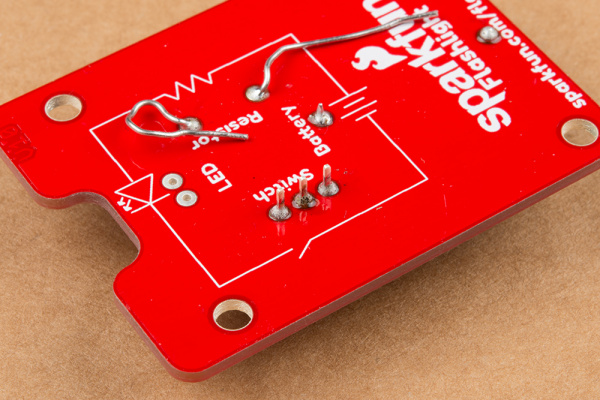
Next is the switch. Insert the switch (either direction is fine) and flip the board over Solder the 3 switch pins into place. Again the switch should be fairly flush to the board. Look at that, you are becoming a pro at this!
 |
 |
| Switch Placement on the Front of the Board | Solder Points for the Switch on the Back of the Board |
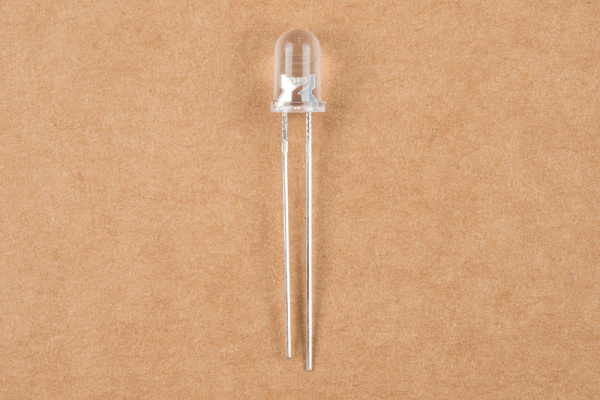
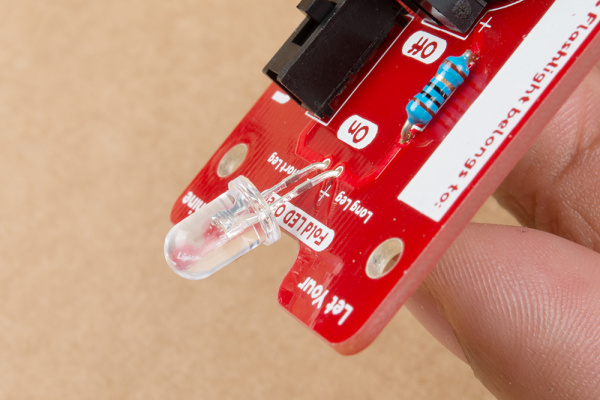
Attaching the LED
The final solder step is the LED. LEDs are polarized, meaning the direction you insert the LED matters. If you take a look at your LED you'll notice one leg is longer than the other. Insert the LED with the long leg on the side labeled "Long Leg". Insert the LED almost to the board and bend it over so it lays in the slot on the top of the PCB. It doesn't have to be exact, but this will allow your flashlight to shine forward instead of straight up and in your eyes. Then you can bend the legs back on the back of the PCB to help hold it in place and solder the legs.
 |
 |
| LED - Note One Leg is Longer! | Placement and Shaping of LED |
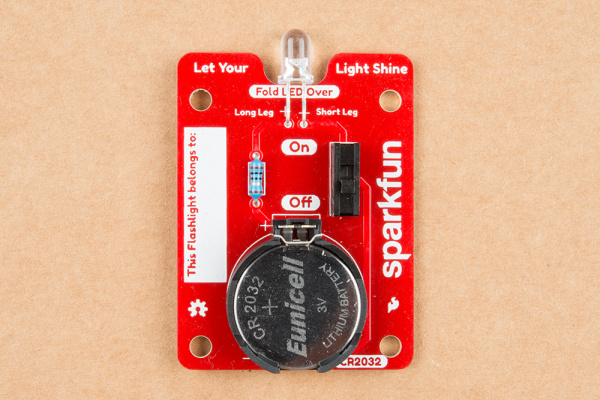
Clean Up
Next is a bit of clean up. Clip off all your extra leads on the back side of the board; you don't want things making connections they shouldn't and the switch pins can poke you if you are not careful. Get a good pair of cutters and snip those leads off! The last step is to put your battery in, make sure the switch is in the "On" position, and let your light shine!
 |
 |
| Front of the Finished Board | Back of the Finished Board |