EL Wire Pants
Sewing the EL Wire
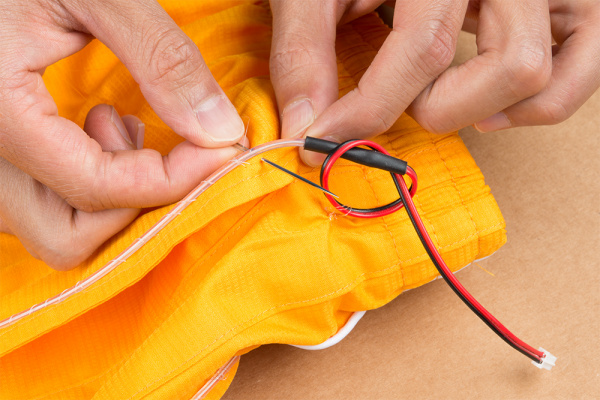
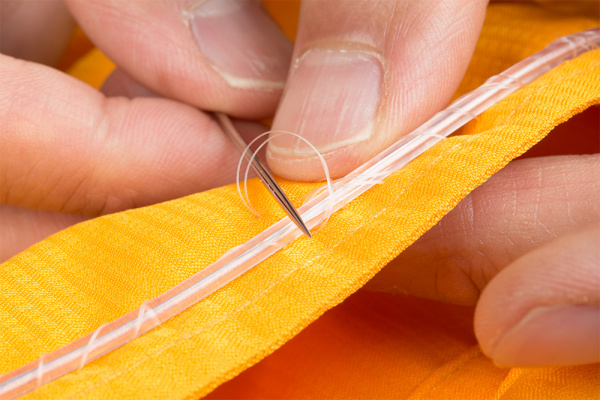
Start sewing by the EL wire's heat shrink and tie a knot around the EL wire. Continue making a loop around the EL wire to hold it down. When sewing with clear thread, make sure to pull the thread all the way through since the thread is slippery when sewn in certain fabrics. Be careful not to sew the front and back of the pants together. Also, ensure that the distance between each stitch is not too long. About 0.5" to 1.0" is a good stitch. Longer stitches can cause the EL wire to snag or become loose when wearing the EL pants.
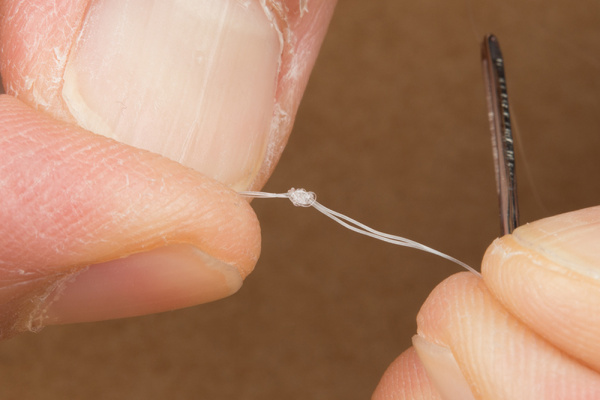
After about 5x stitches, loop back through the last stitch with an overhand knot to lock the thread in and prevent it from sliding.
Once you begin to run out of thread to work with, tie the clear thread down against the fabric. Then repeat the steps outlined above with another piece of clear thread.
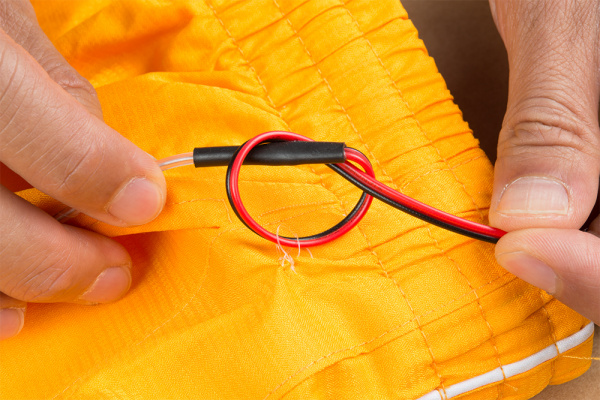
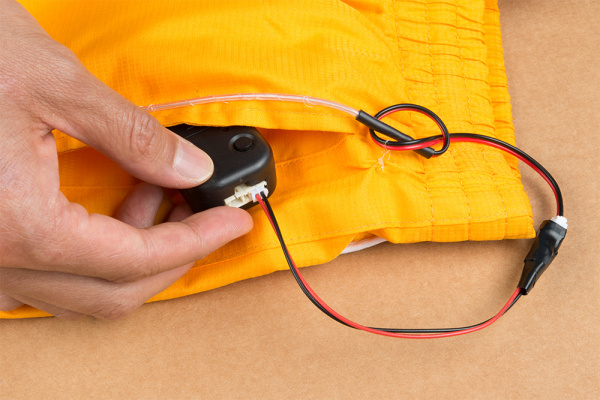
When you are finished sewing the EL wire down, make a loop with the end of the EL wire and sew the wire down for strain relief. Make sure this loop is beyond the heat shrink as the connection at the heat shrink is sensitive to bending.
Plug the EL wire back into the EL inverter to test it out. If it lights up, you are good to go! Place the EL inverter in a pocket or clip to a belt to enjoy! If you are using an EL inverter battery pack, you may want to make an extension cable.
Remember, EL wire works best in low light. It may be hard to see in daylight or in rooms with sources of light.
 |
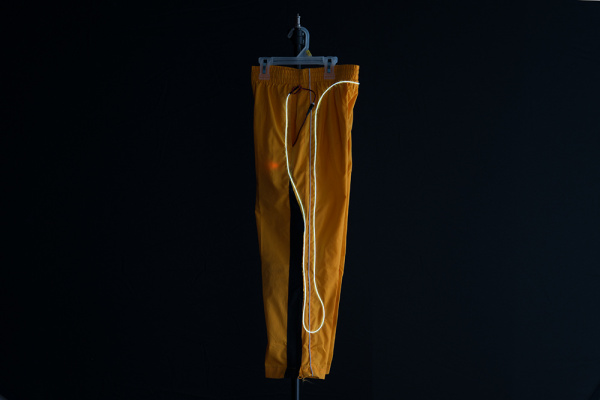 |
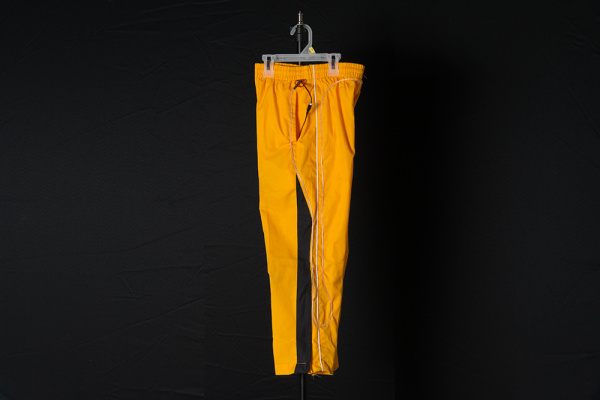
| EL in Light | EL in the Dark |
Different Pant Sizes
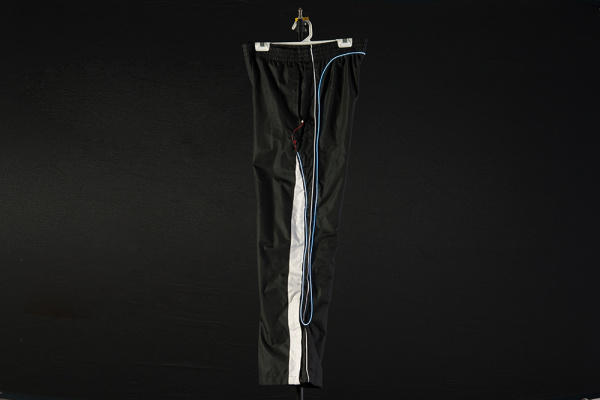
Remember what I said about the size of the pants? Different pant sizes will require different lengths of EL wire - this variation can cause the EL wire to not start or end where you expect it to. Note the difference in the the image compared to the youth sized pants.The beginning of the EL wire was sewn further down the pant leg and followed a narrow path as it headed back up toward the waist.
